Navigating Contacts
Navigating Contacts
Based on web visitors’ browser cookies and IP addresses, the system captures information about web visitors, allowing you to more optimally chat with web visitors. This information is saved in the Contacts tab.
Go to app.getsignals.ai
1. Introduction
You can use this Contacts tab as a customer relationship manager (“CRM”) tool, where you can edit and add information about web visitors, leave notes about the contact, view their activity, and more.
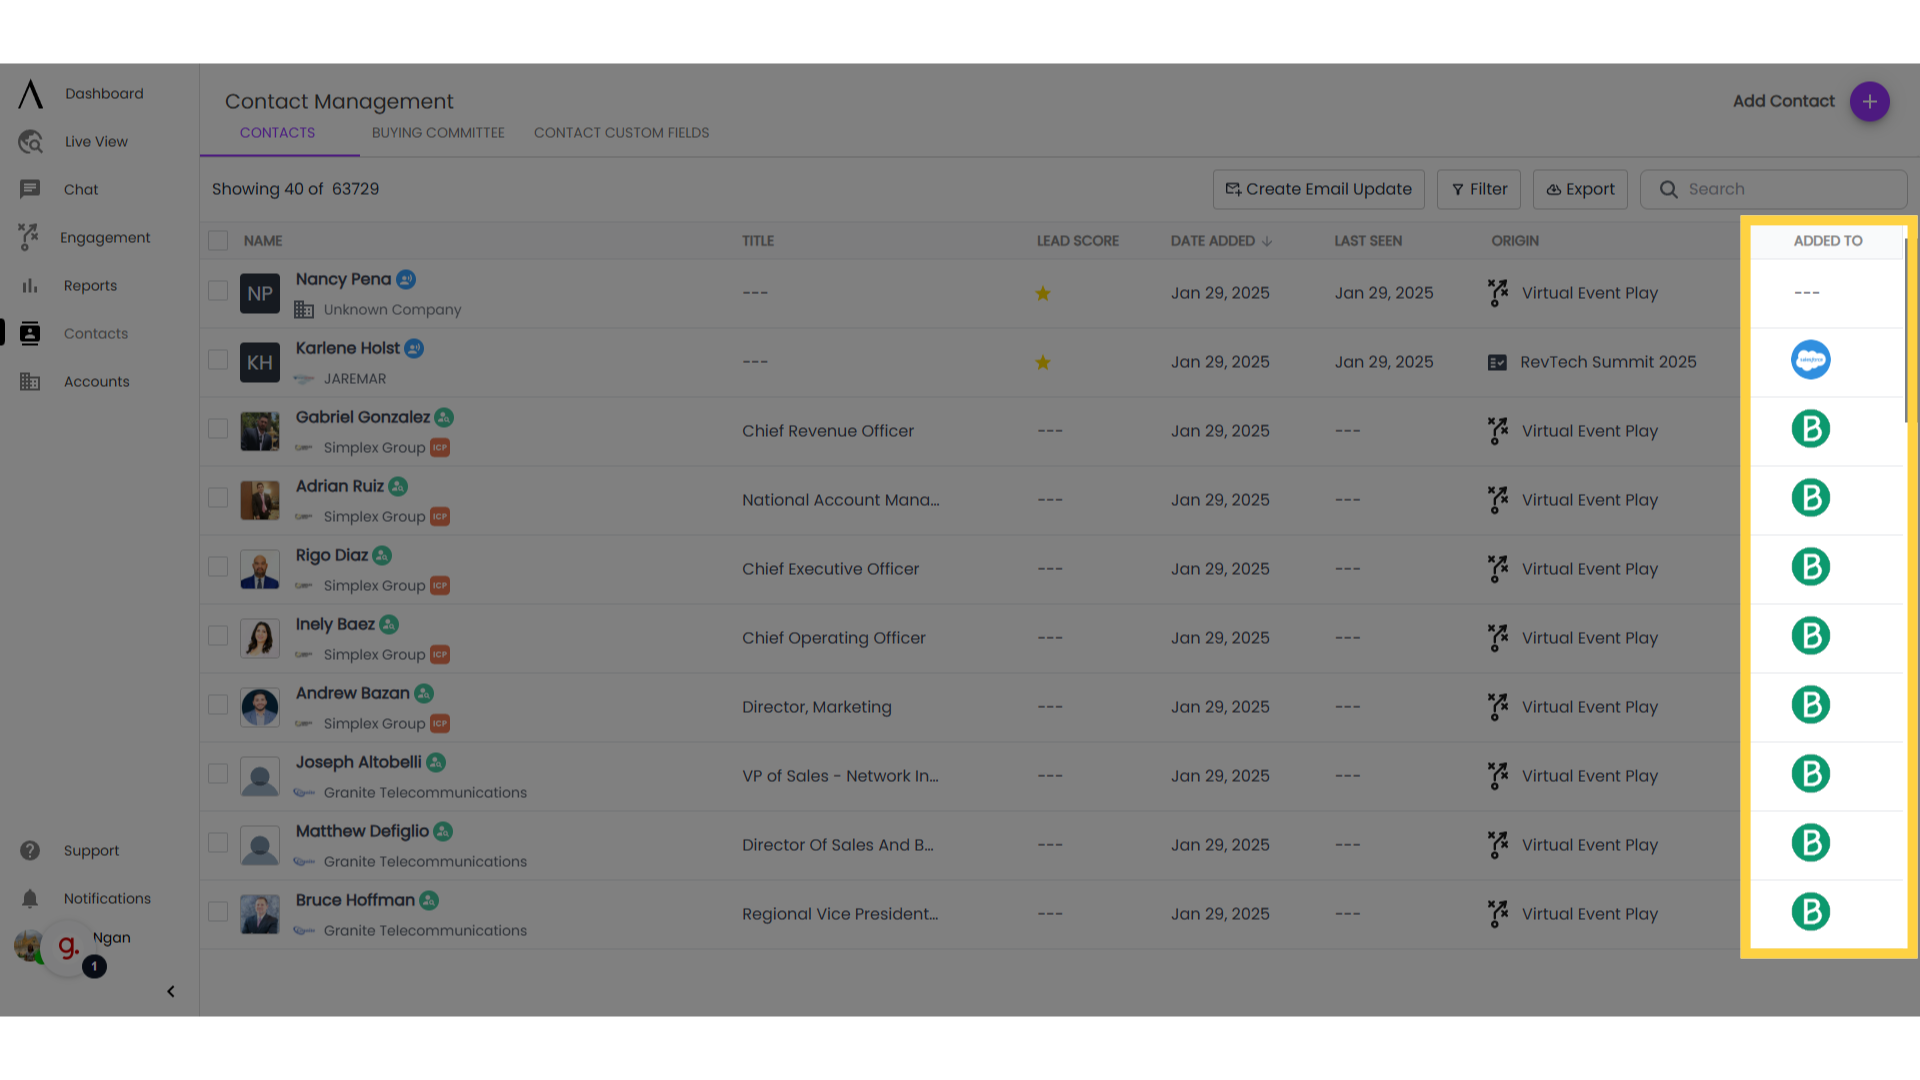
2. Added To
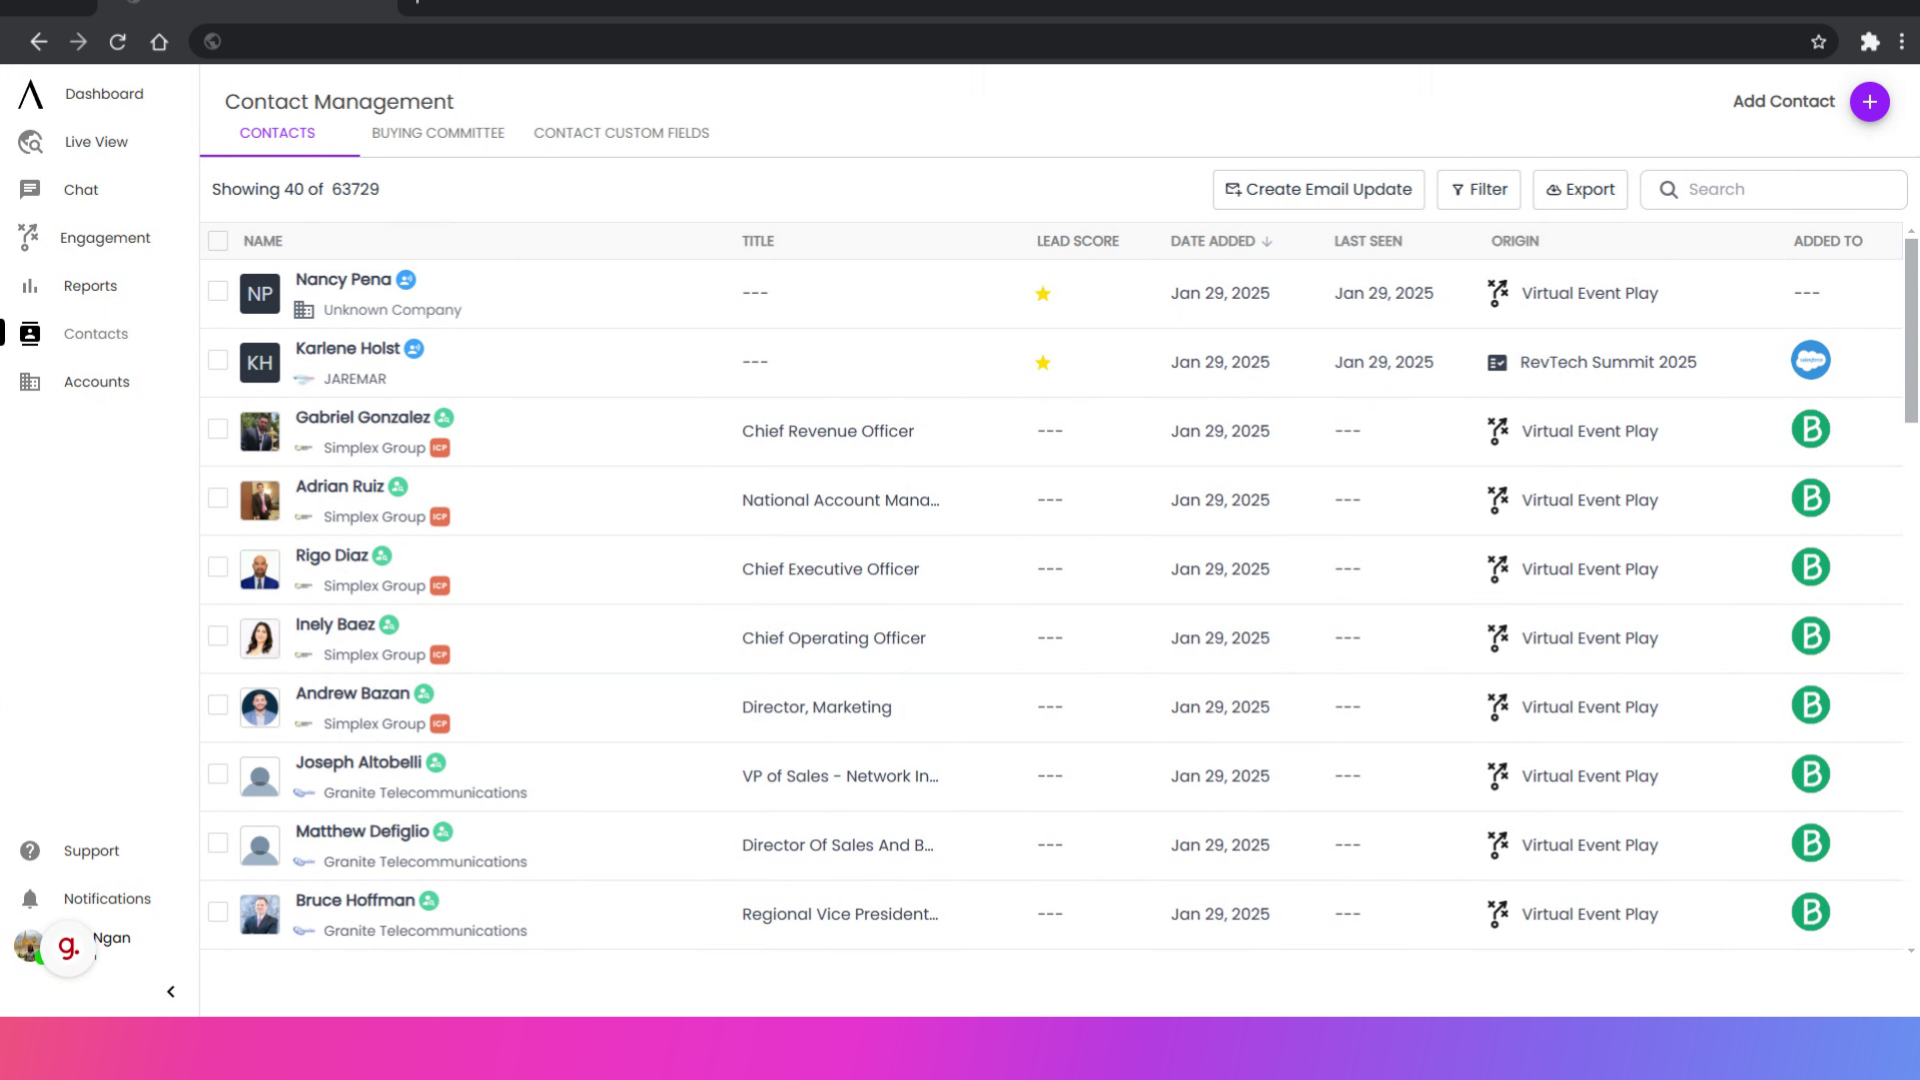
When you first access the Contacts tab, you will see an overview of your contacts. Added to refers to contacts added to your CRM or enrolled in a marketing campaign from PlayMaker. To view more details on a contact click the contacts name and a new window will open.
For more about this, check out our HelpDocs on Viewing Contact Details.
3. Add a contact here
To add a contact manually, click on the “Add contact” icon at the top-right portion of this page.

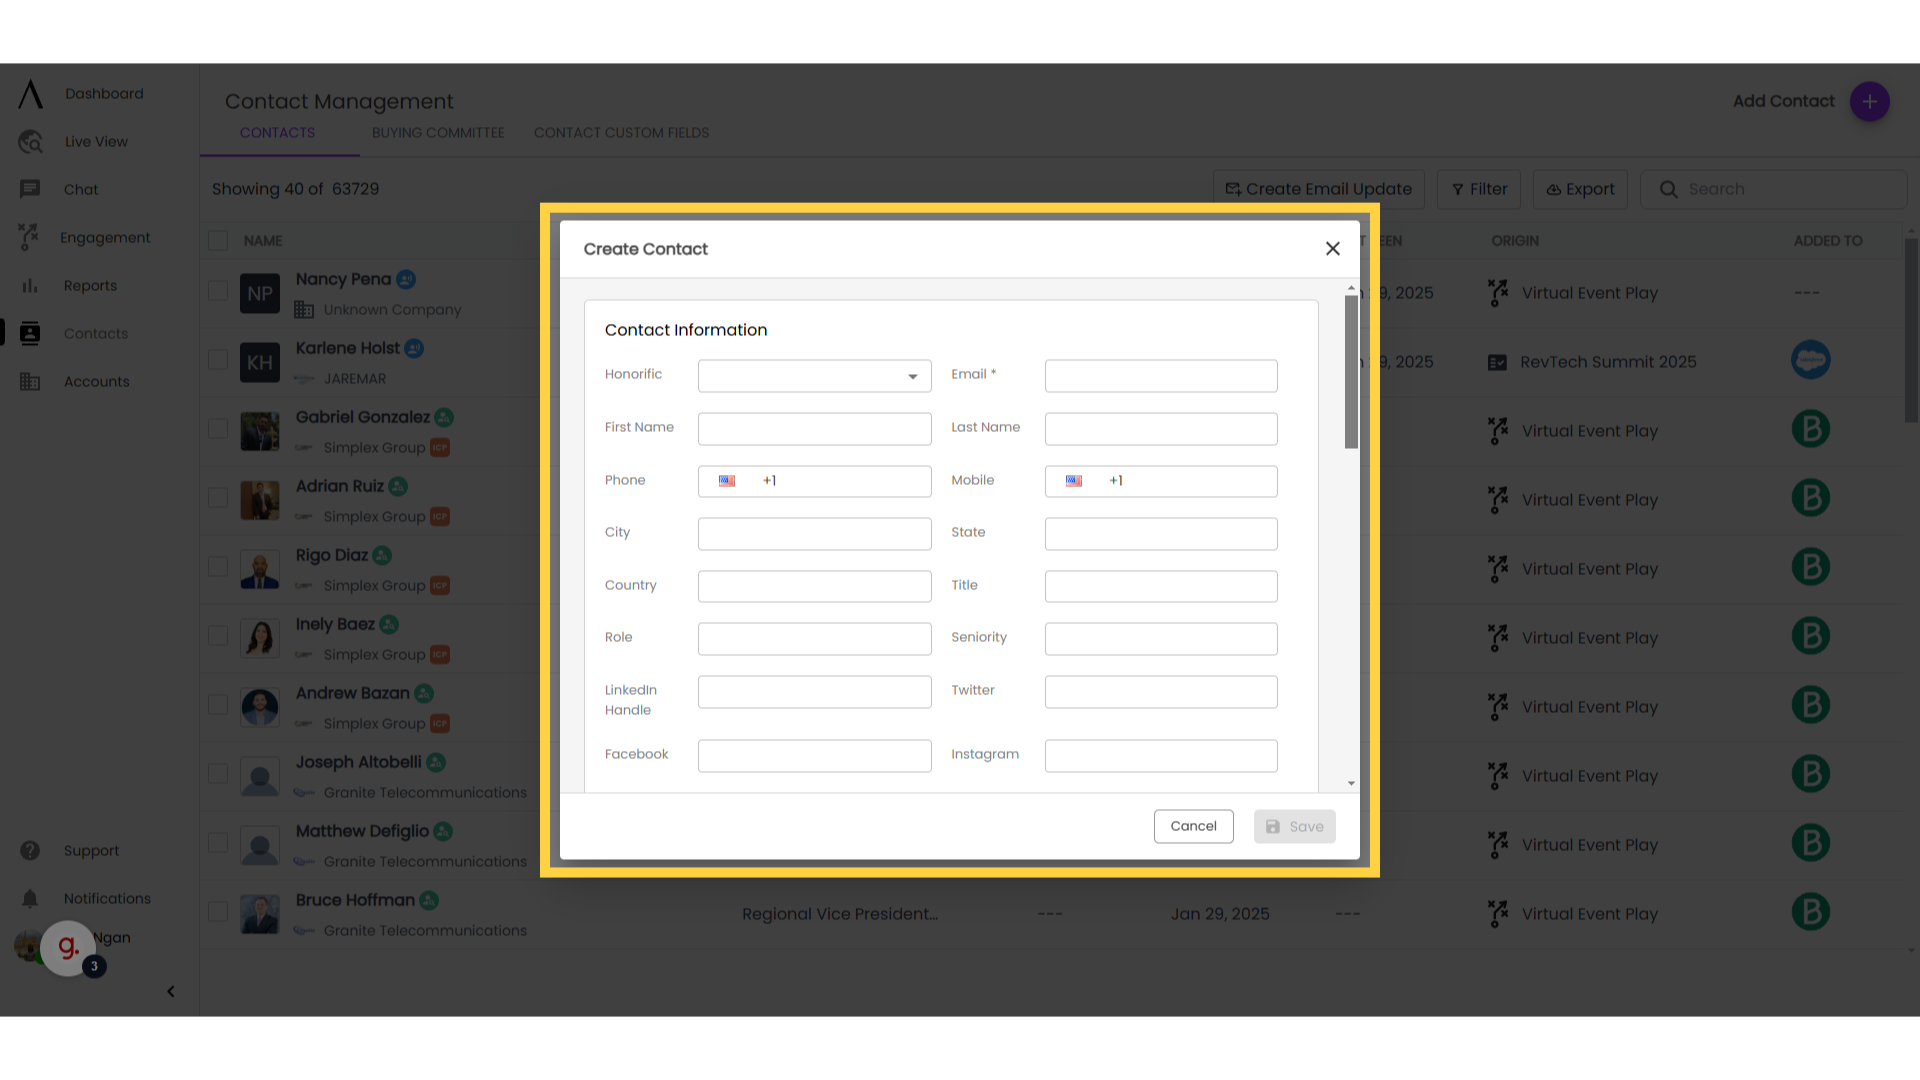
4. Contact Menu
You’ll then be presented with the Create Contact menu. Fill out any fields you have information for and click “Save.” You'll be able to manually dd these contacts to your CRM by hitting the hamburger menu icon on the far right on your contact.
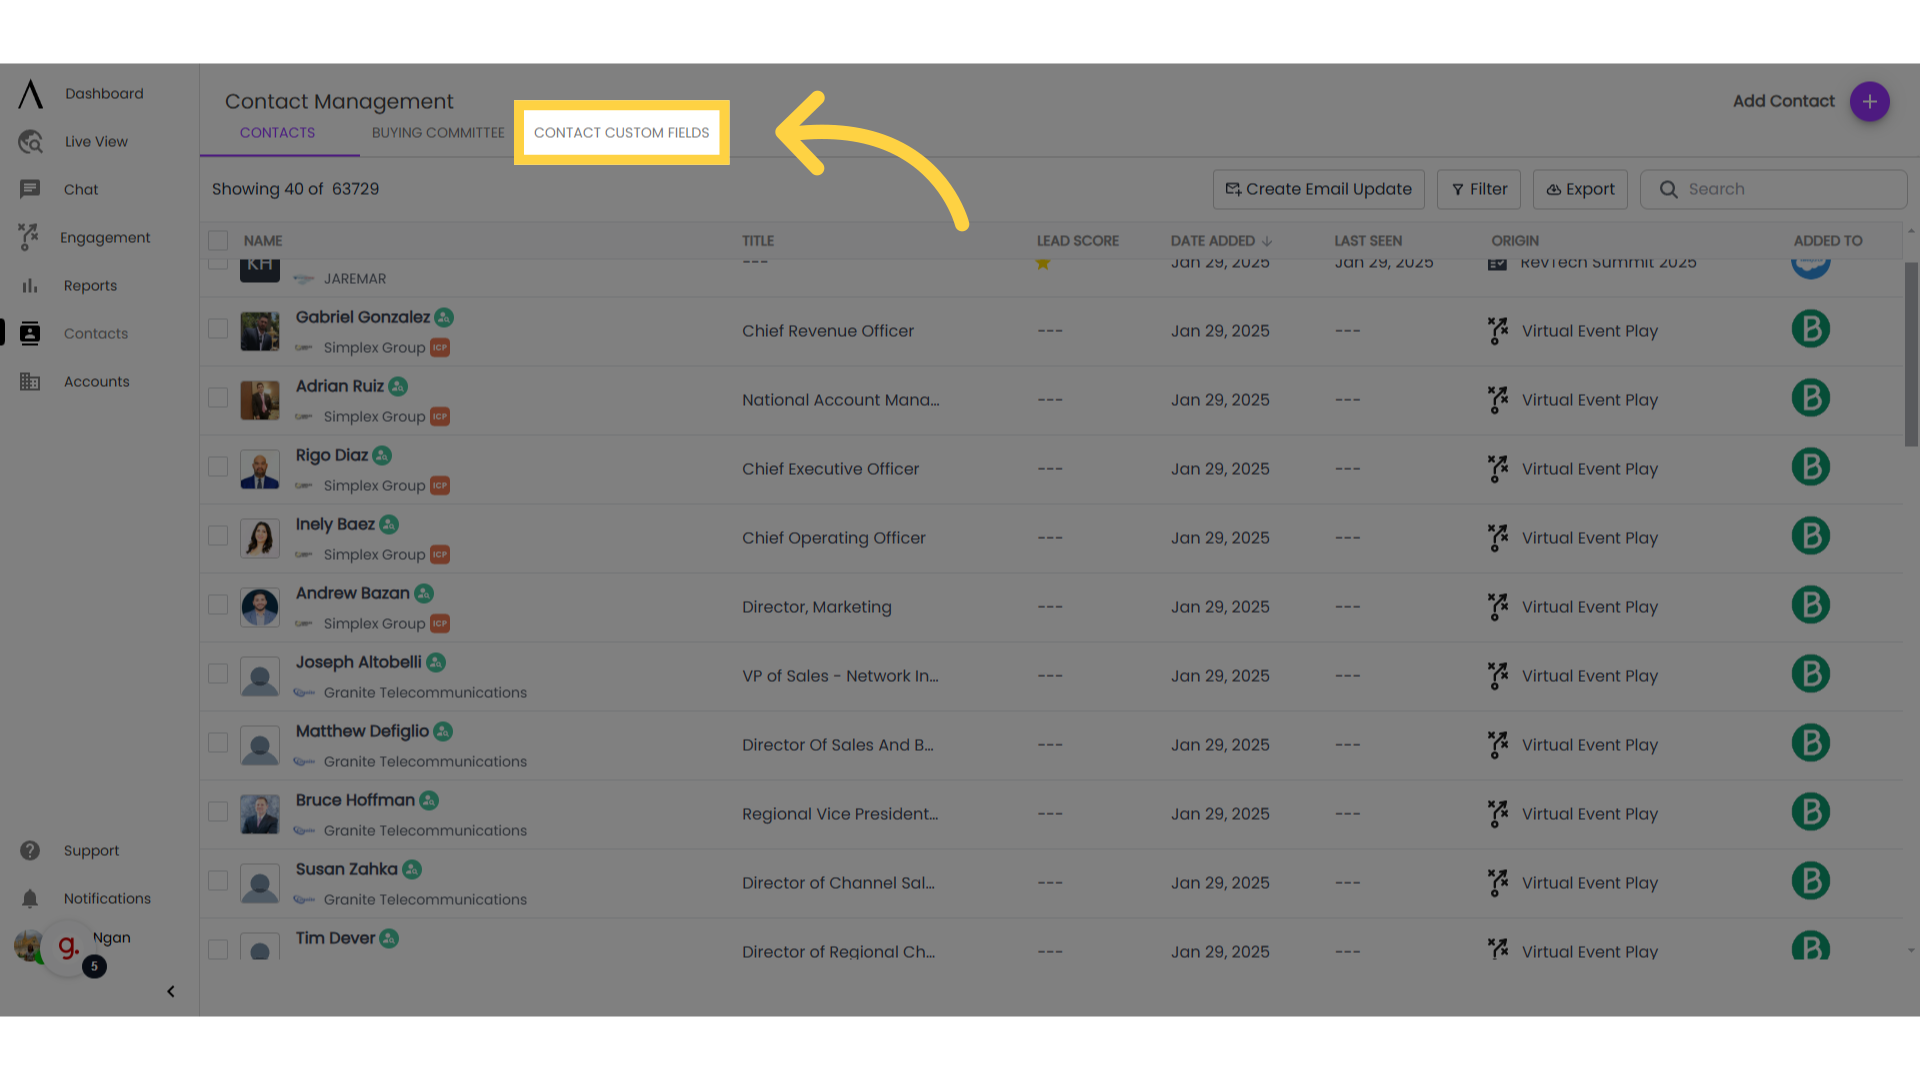
5. Click "Contact Custom Fields"
To access your custom contact fields, simply click on the Custom Fields icon toward the top of the screen.
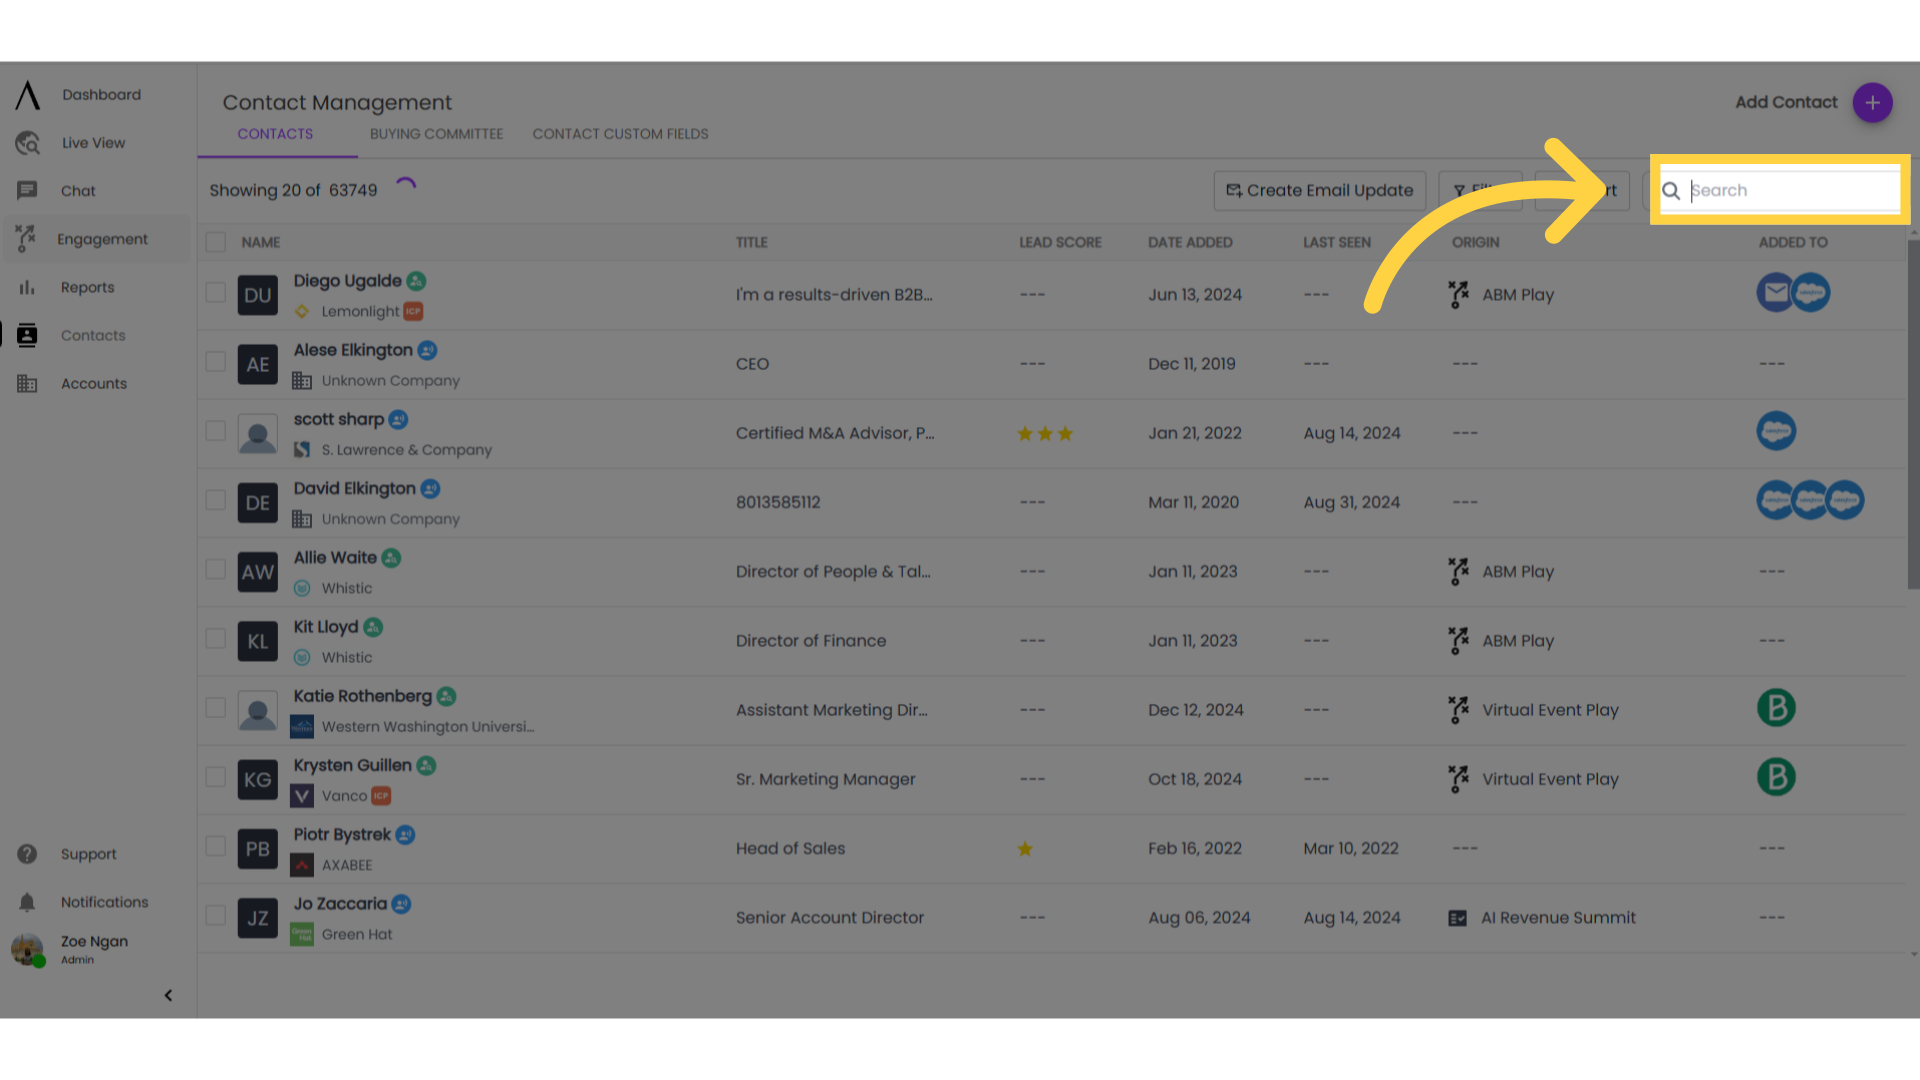
6. Tools: Search
If you know who you're looking for, you can search for their name, company name, or email address by selecting the magnifying glass.
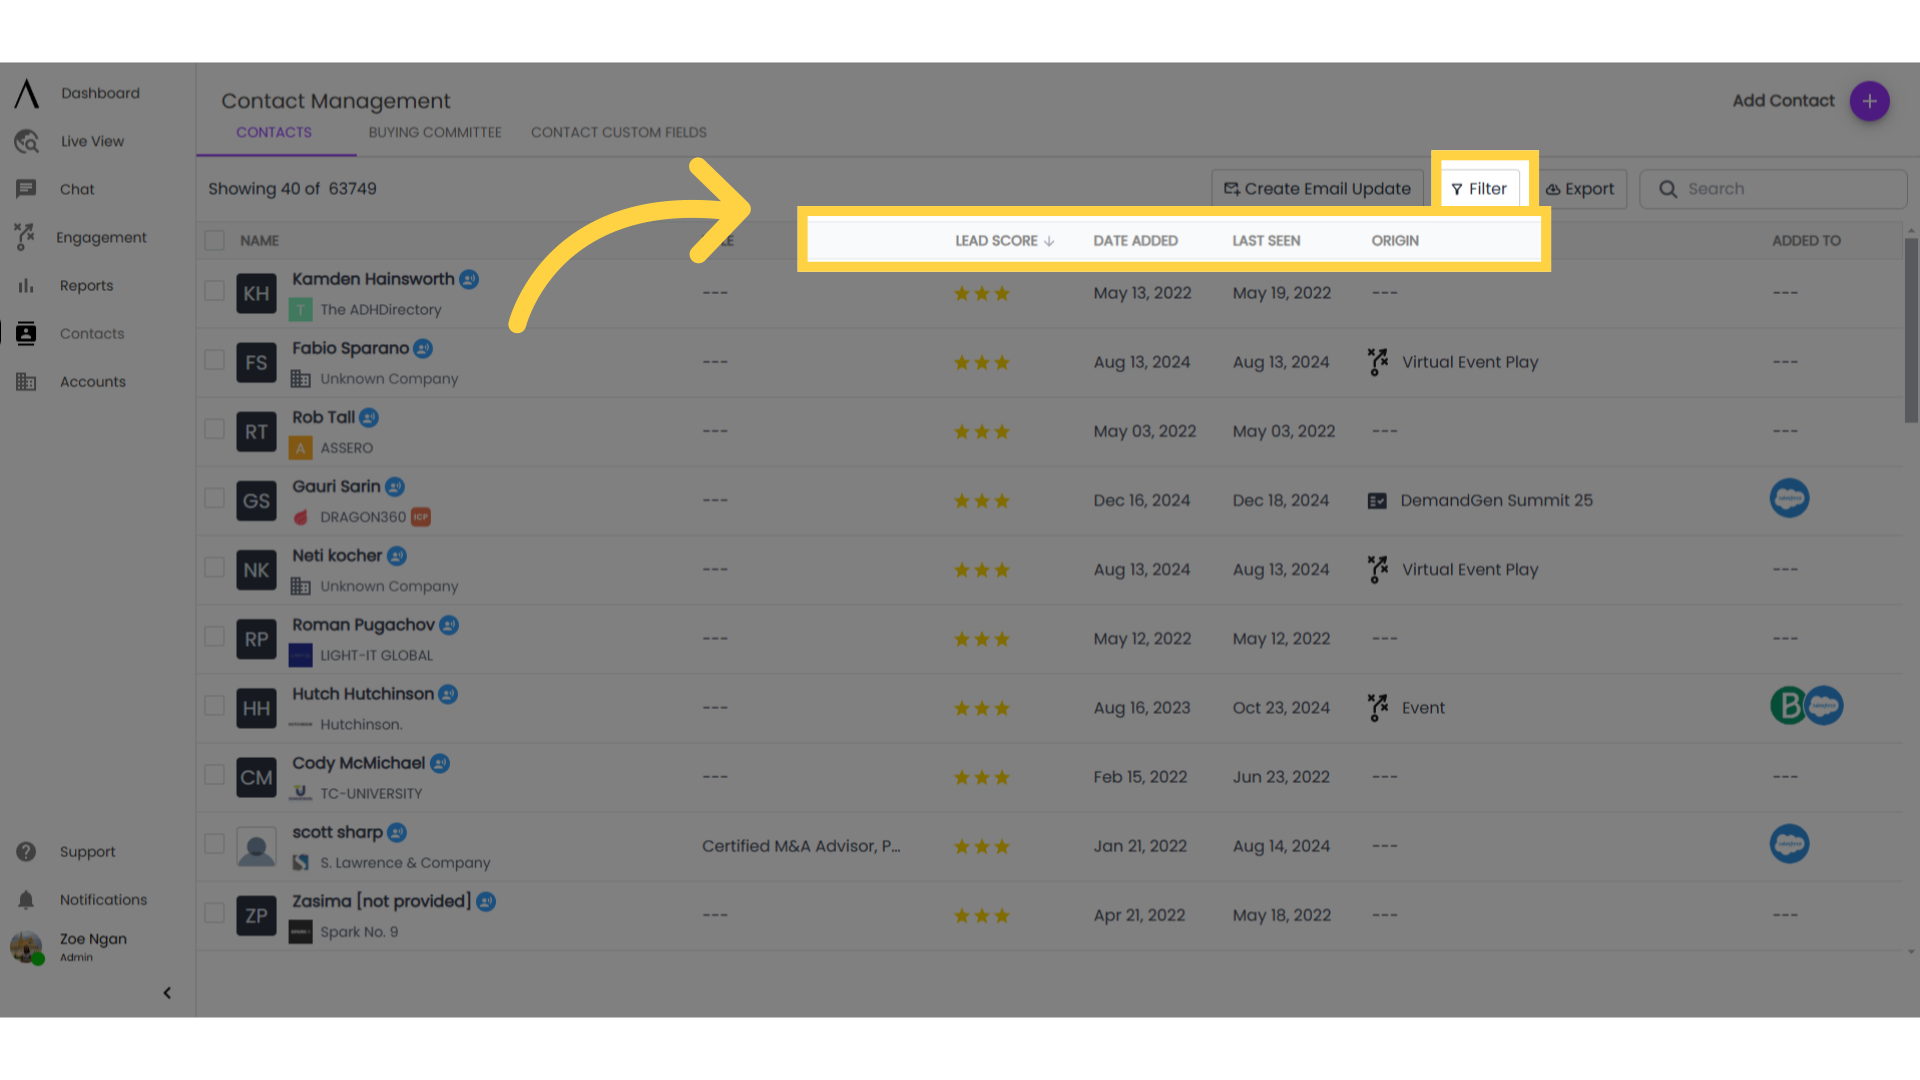
7. Filter, or sort
You can customize this tab further by adding filters. A drop-down menu will appear when you click on the filter button. To clarify, Origin Play refers to contacts generated from a specific play; Contact Type refers to whether the contact was collected organically or via Contact Discovery; and Buying Committee is generated when you set up your ICP under accounts.
You can also click on any of the column headers to show it in reverse order.
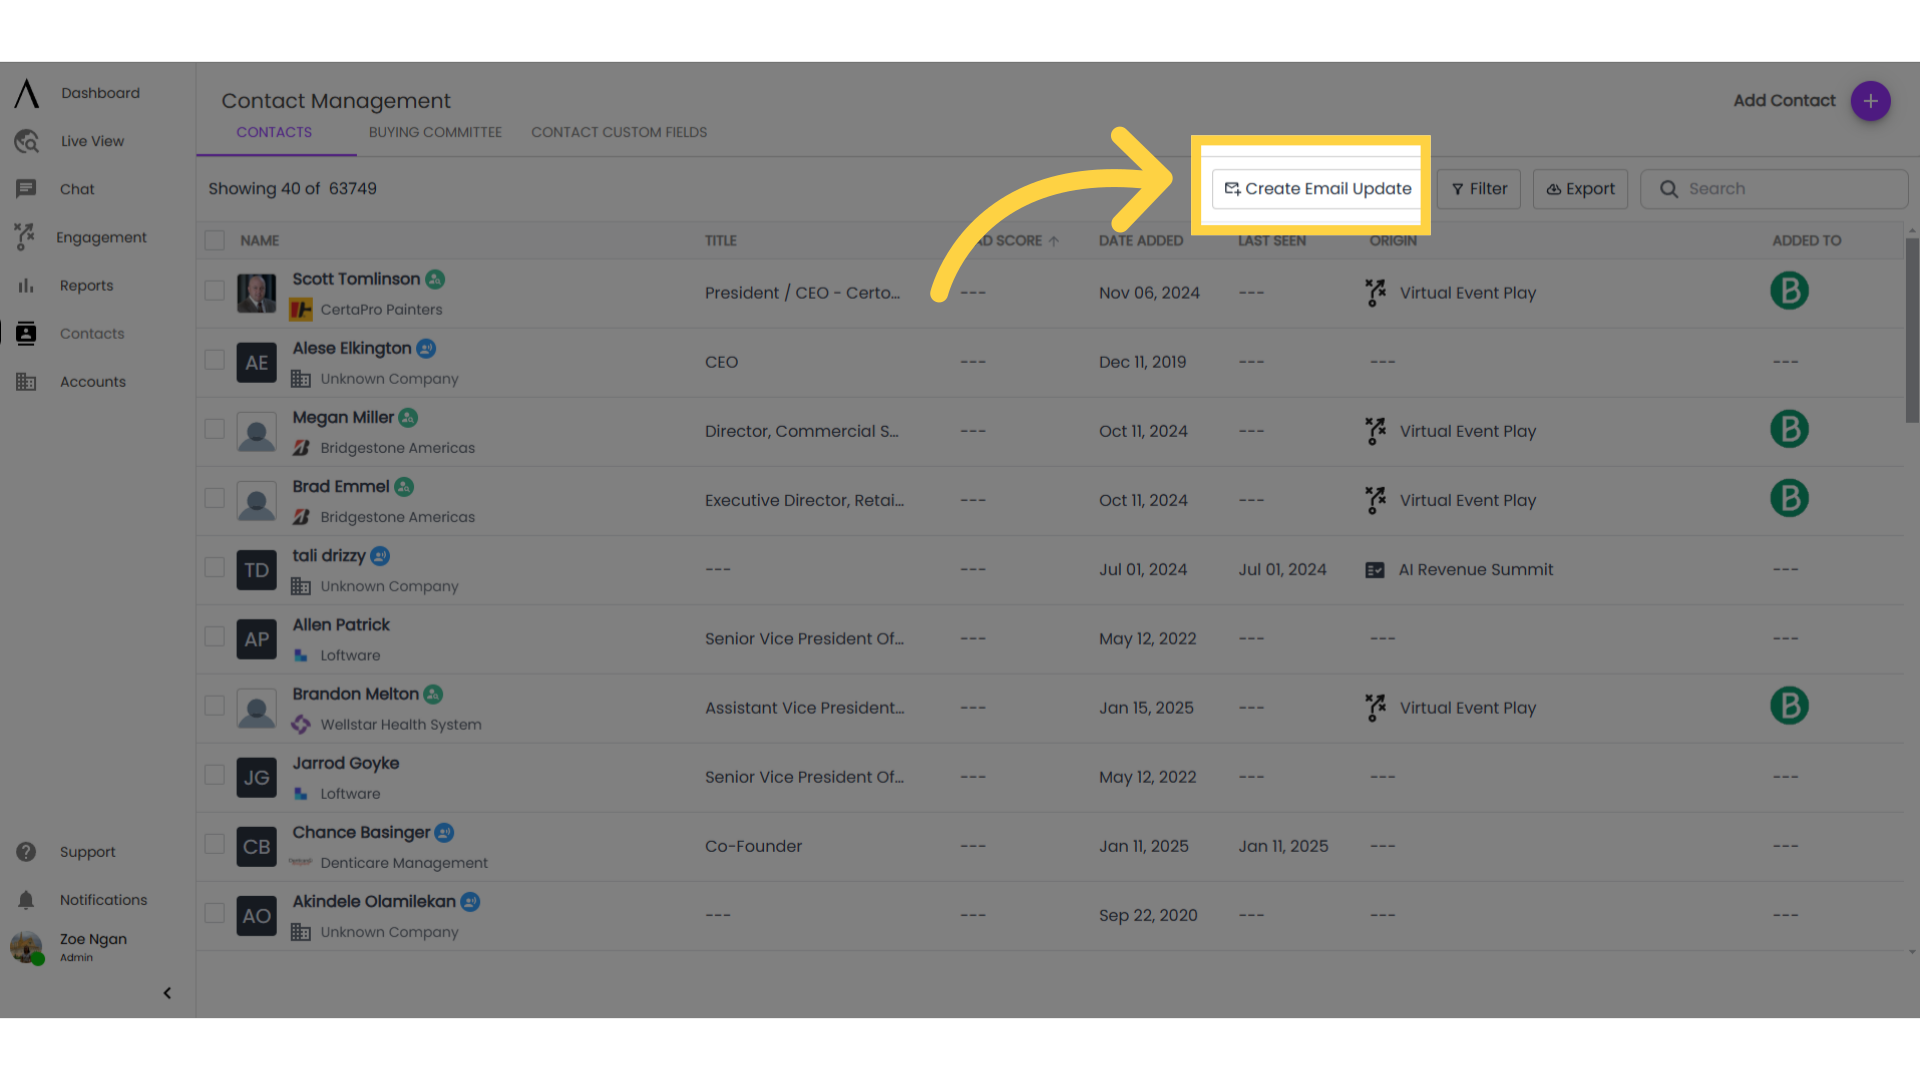
8. Create an update
You can automate reporting on contacts that are being added to the system. Select "Create Email Update."
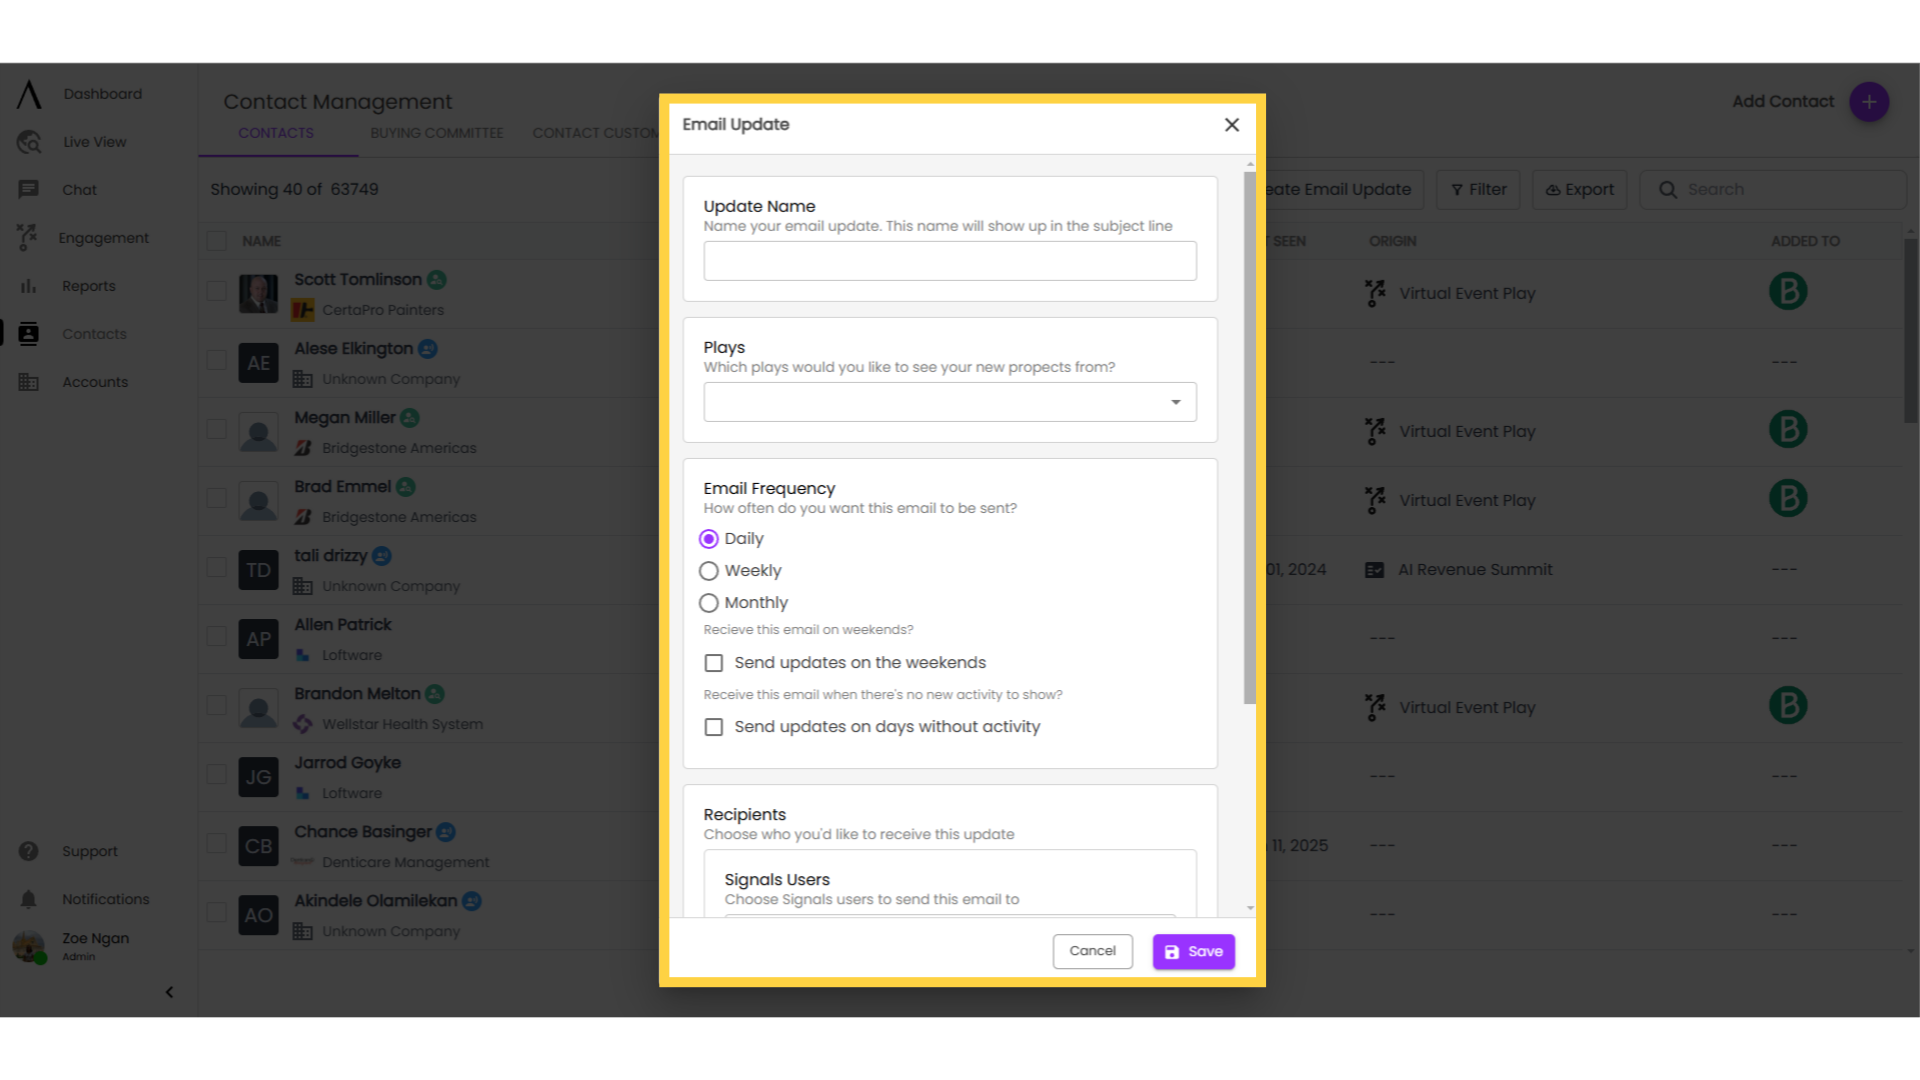
9. Email Update
In the pop-up modal, fill out the form with email name(email subject line), which plays you would like to see new Contact Discovery from, how often you want to receive emails, licensed users you would like to receive the email, AND non-licensed members of your organisation.
Note: Non-licensed email recipients will not be charged to receive these emails, and will not be able to access the Dashboard, but they will be able to see the Contact Discovery looked up from the play selected when creating the email update.
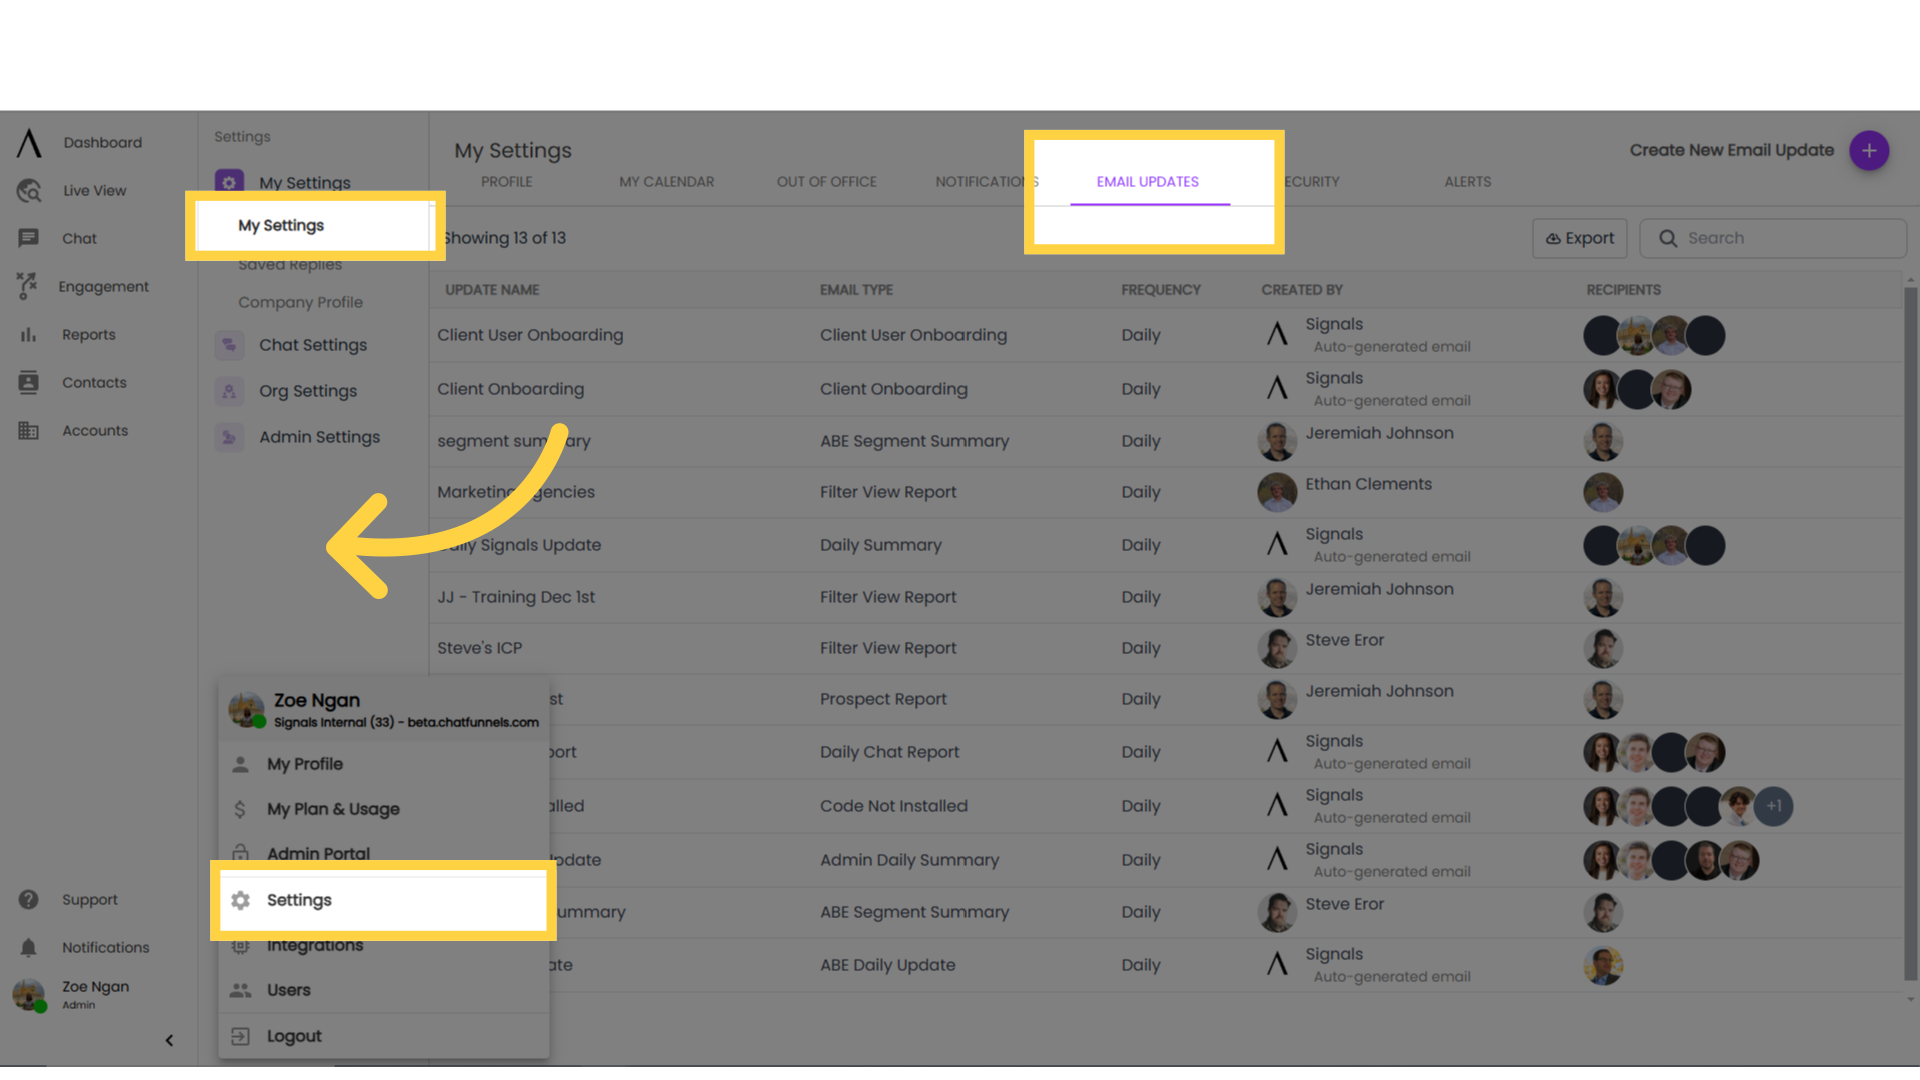
10. Managing Updates
To manage your email updates, click on your Profile in the bottom left corner. Go to Settings, then My Settings, and navigate to the Email Updates tab.
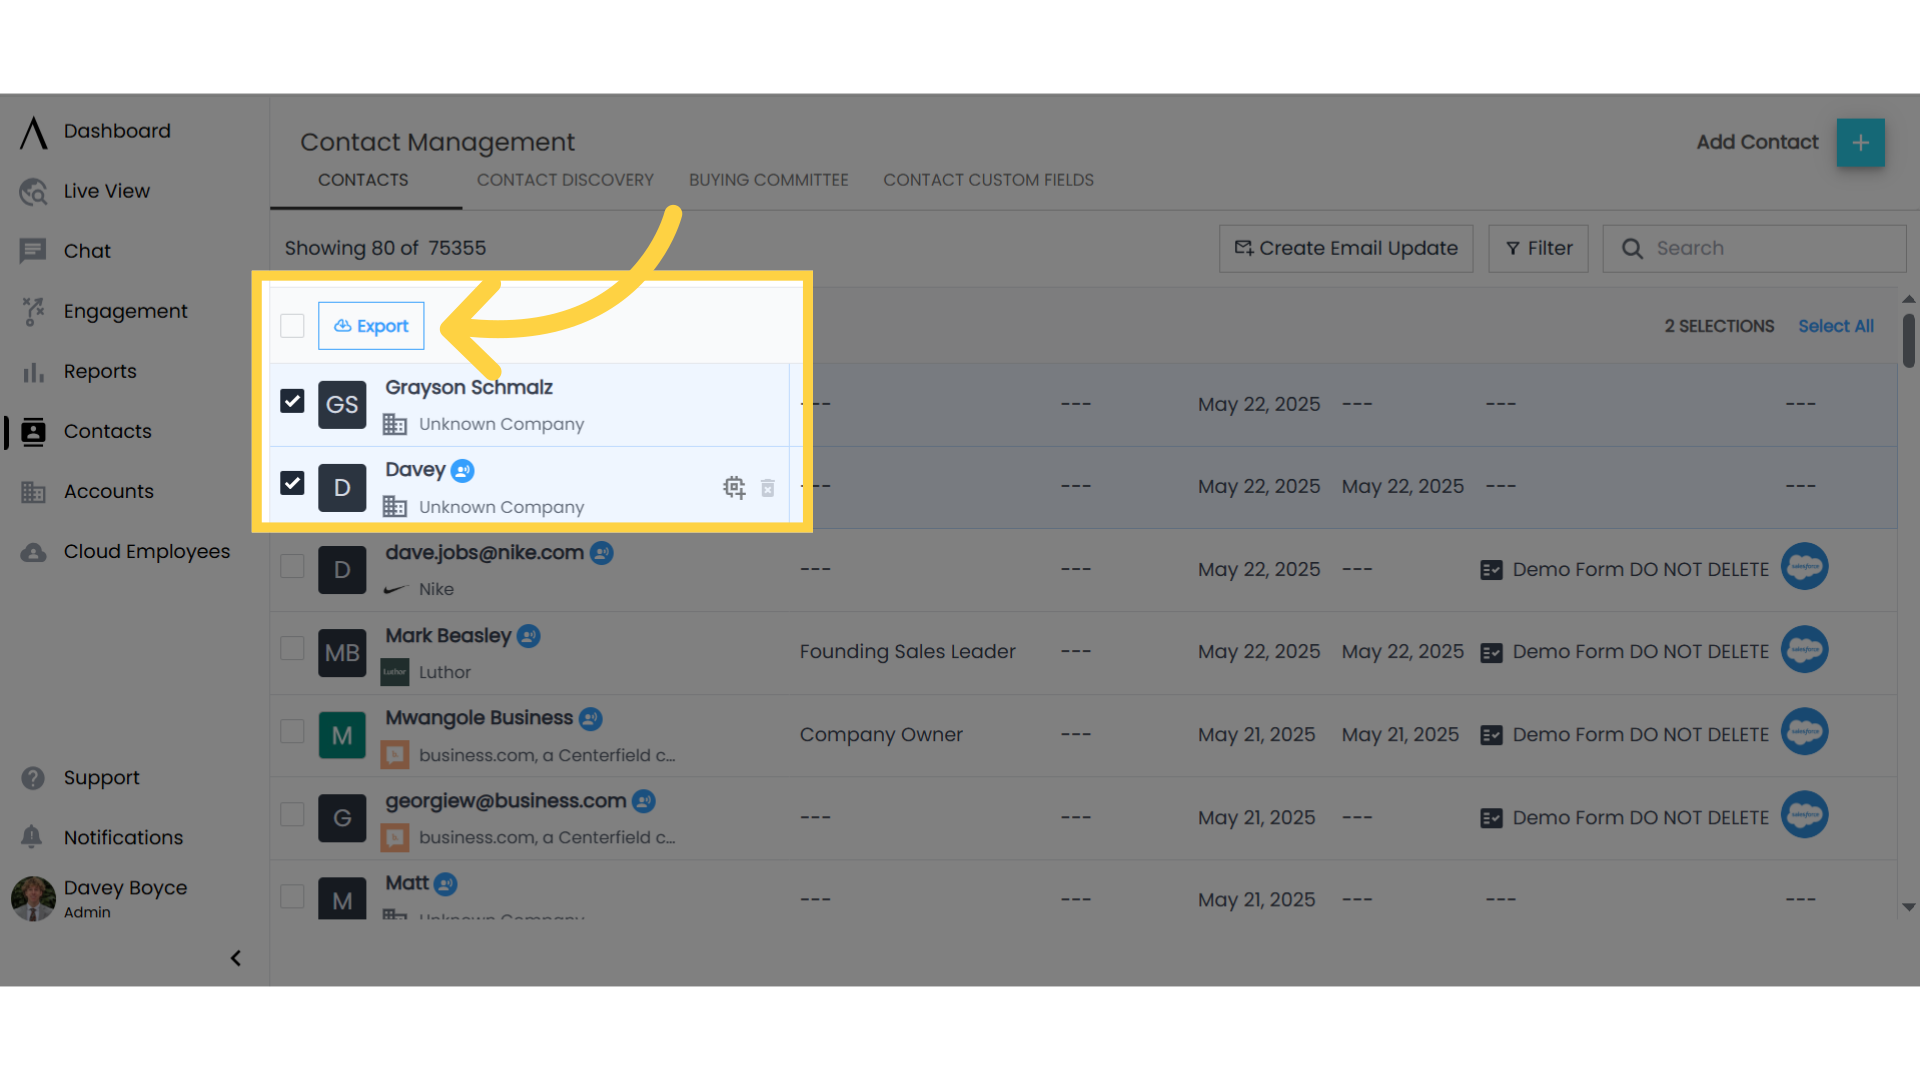
11. Click here to export a CSV