1. Introduction
The Marketo integration allows our users to track, synchronize and manage relationships with their customers in Marketo. The integration also allows users to specify custom settings related to synchronization of contacts, Marketo task creation, and Field Mappings.
2. Click "Integrations"
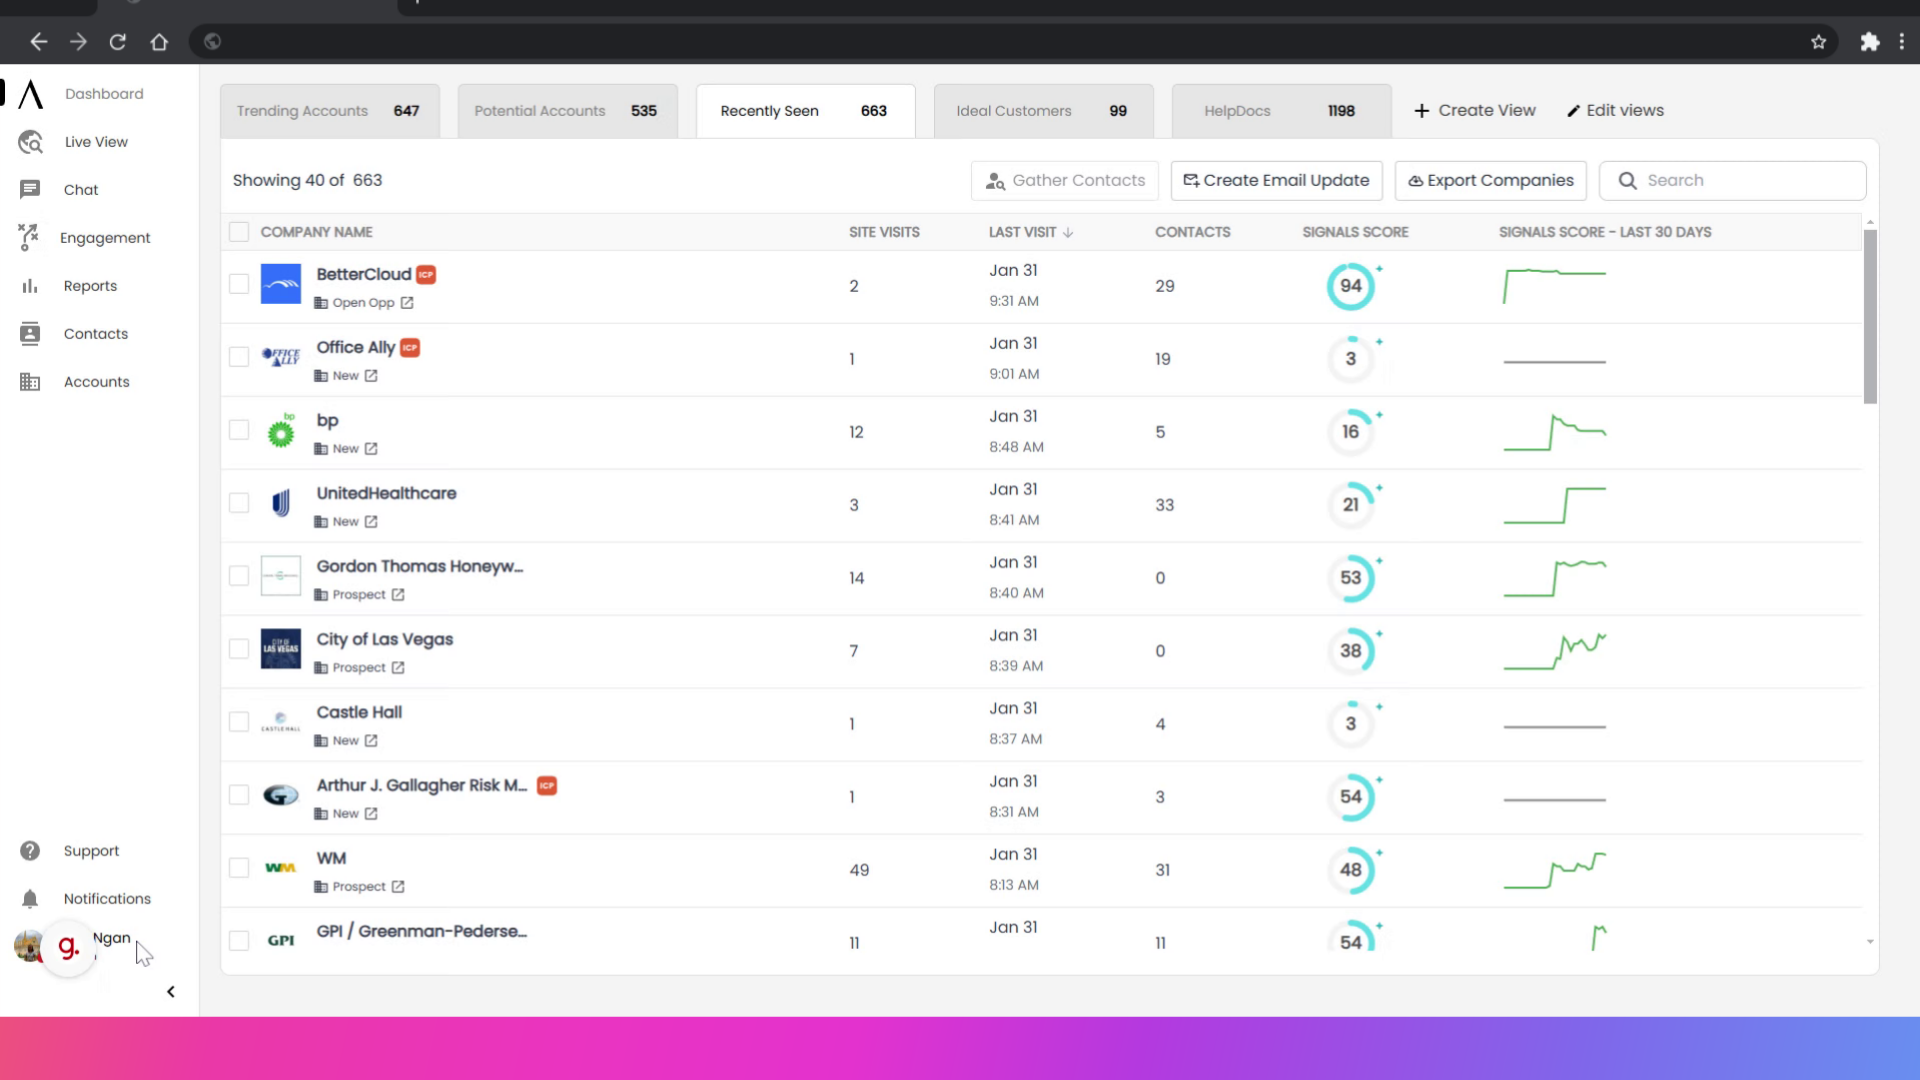
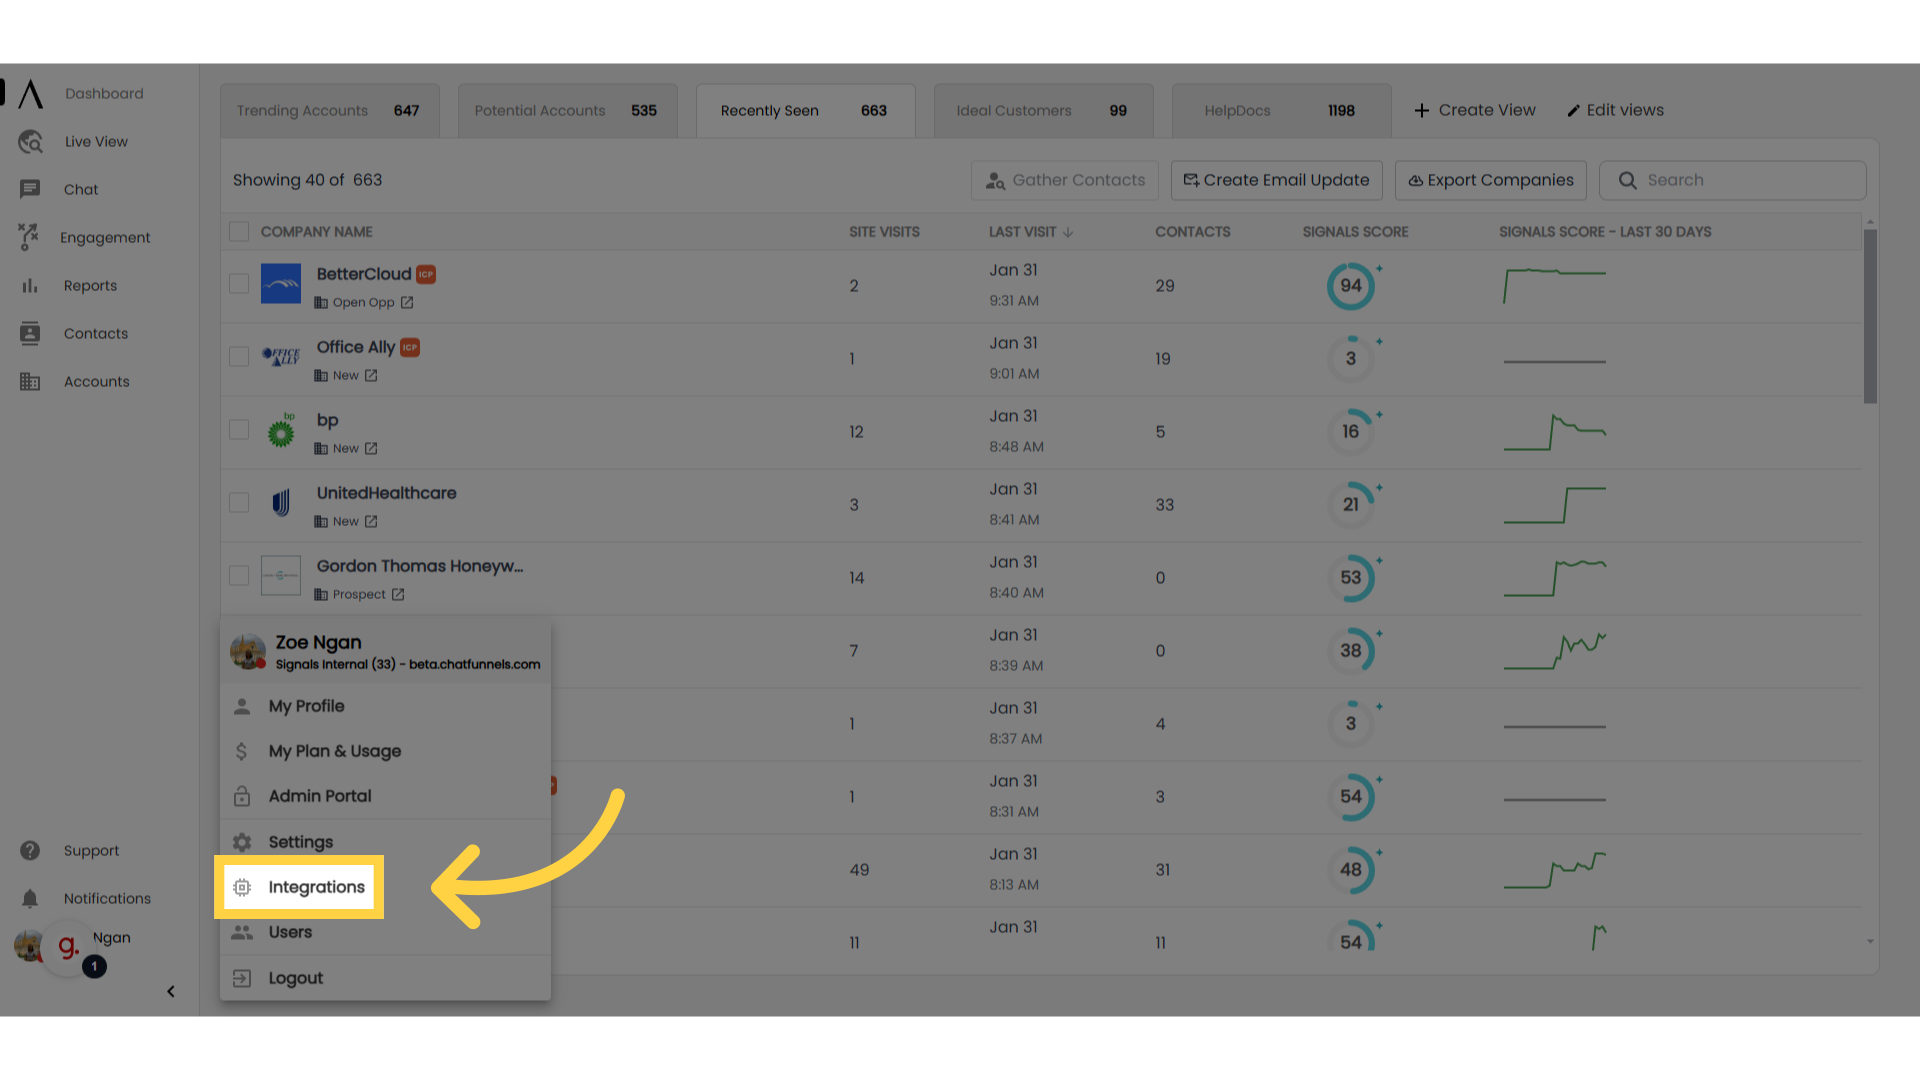
To set up your Marketo integration, click on your Profile in the bottom left corner, then click on Integrations.
3. Go to Marketo
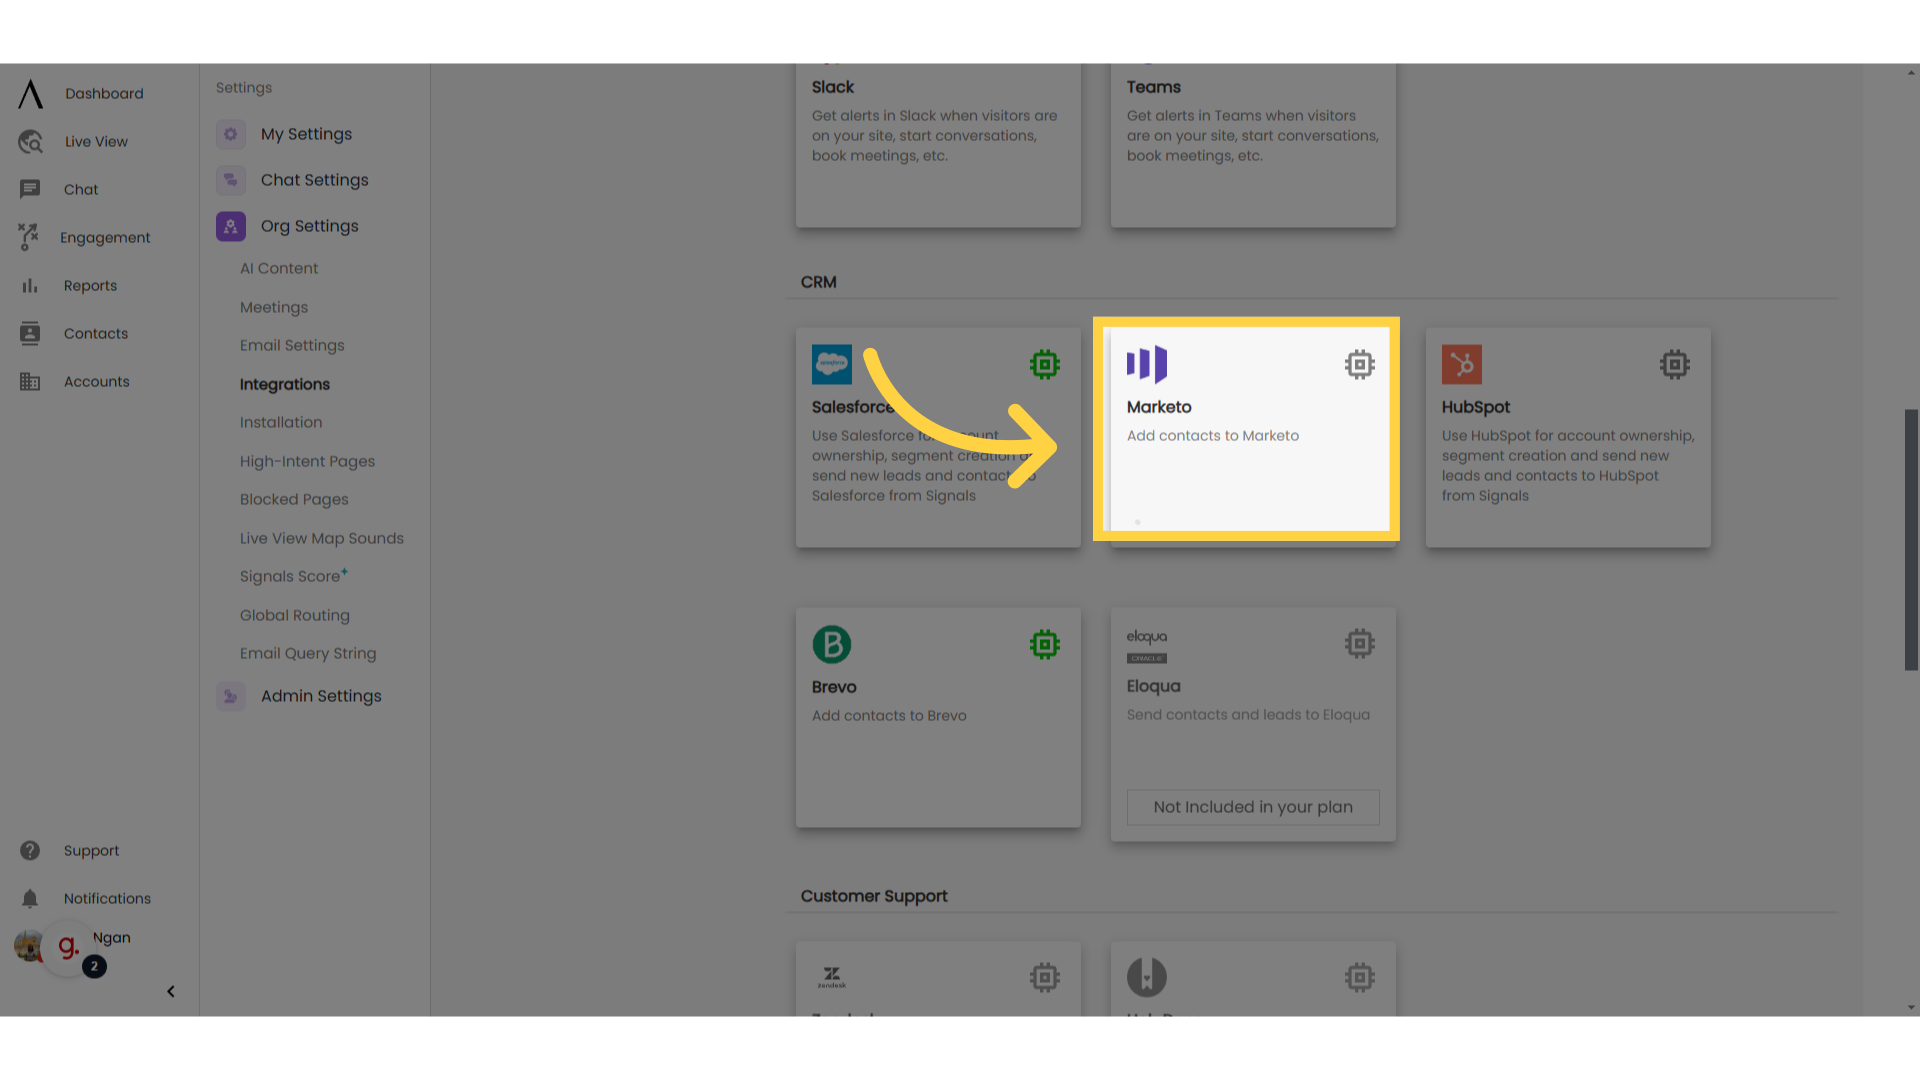
Scroll down to Marketo. It will be under the CRM category.
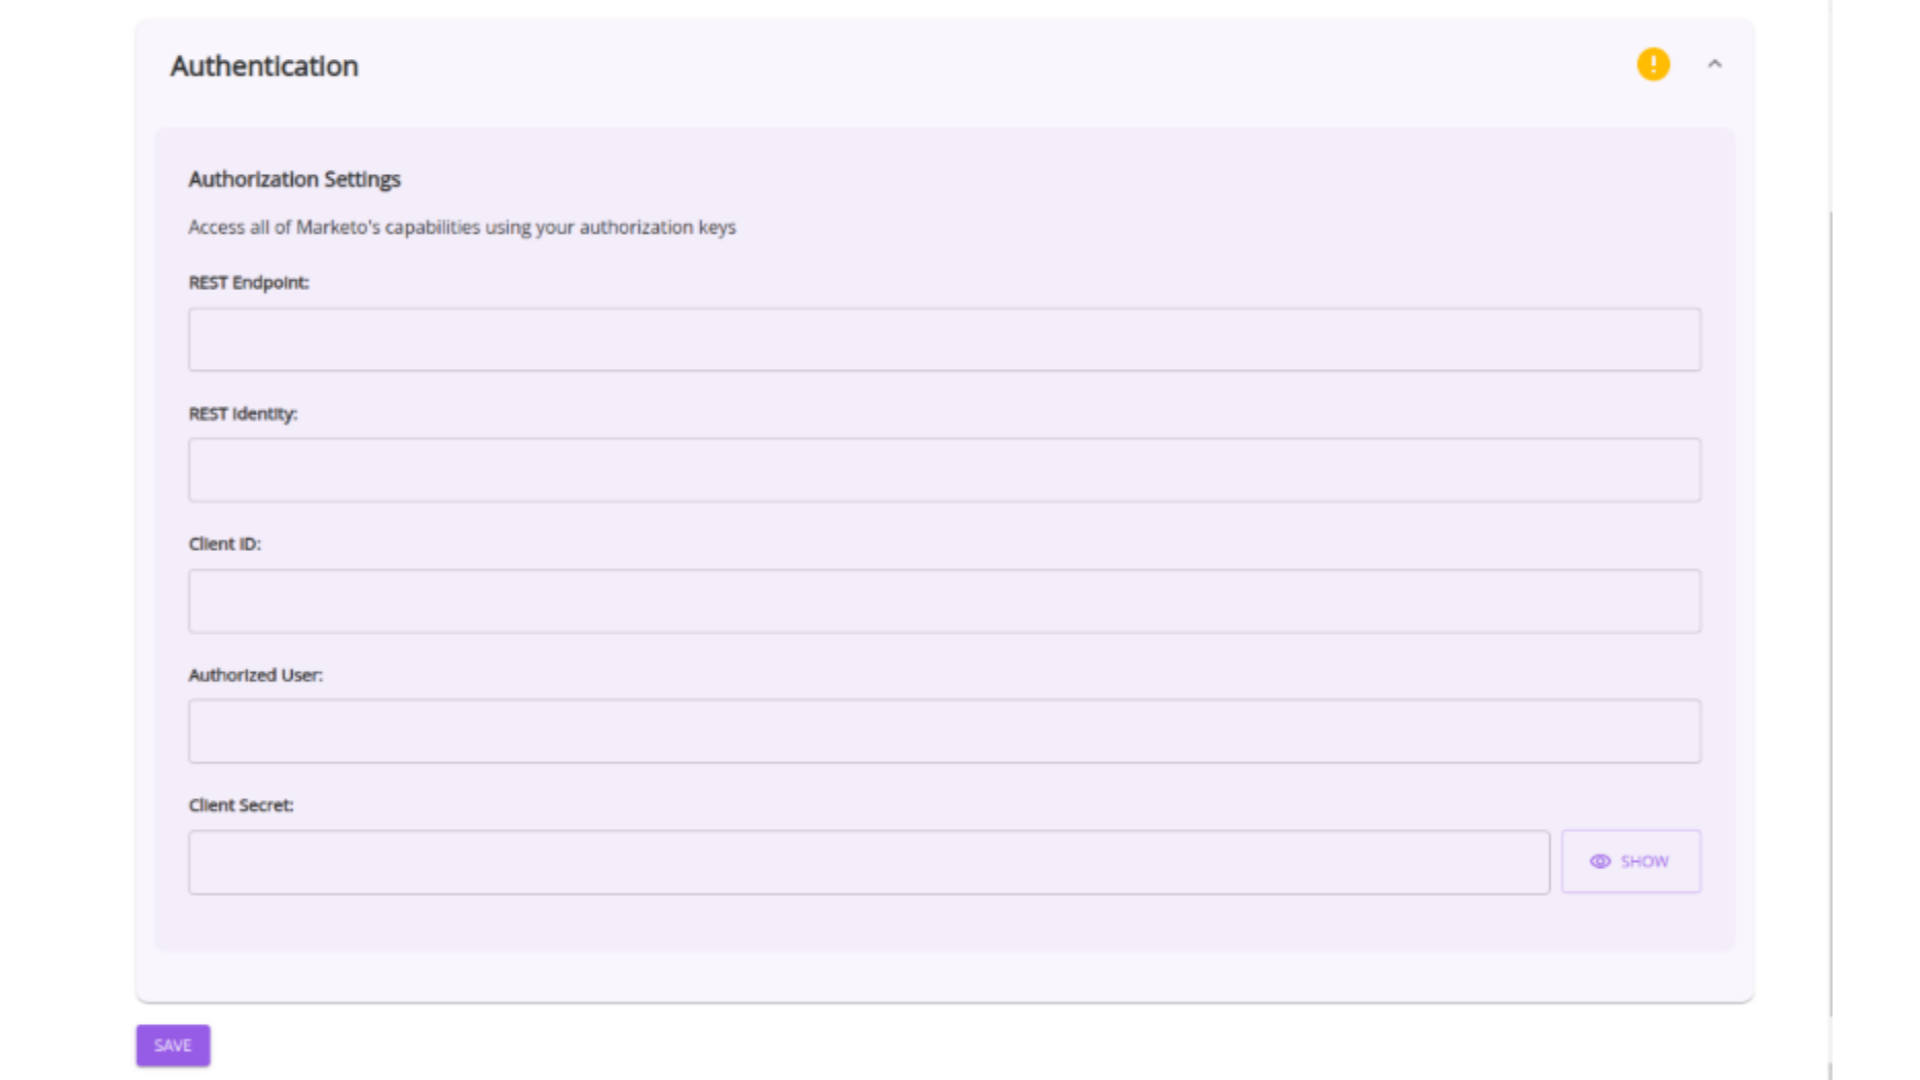
4. Authorisation Settings
Open up the Authentication drop down menu and fill out each of the five sections under Authorisation Settings and hit the “SAVE” button to authorise your connection with Marketo.
5. Successful Authentication
Once your connection to Marketo has successfully been authenticated, a green checkmark will appear at the top of the Authentication dropdown menu.
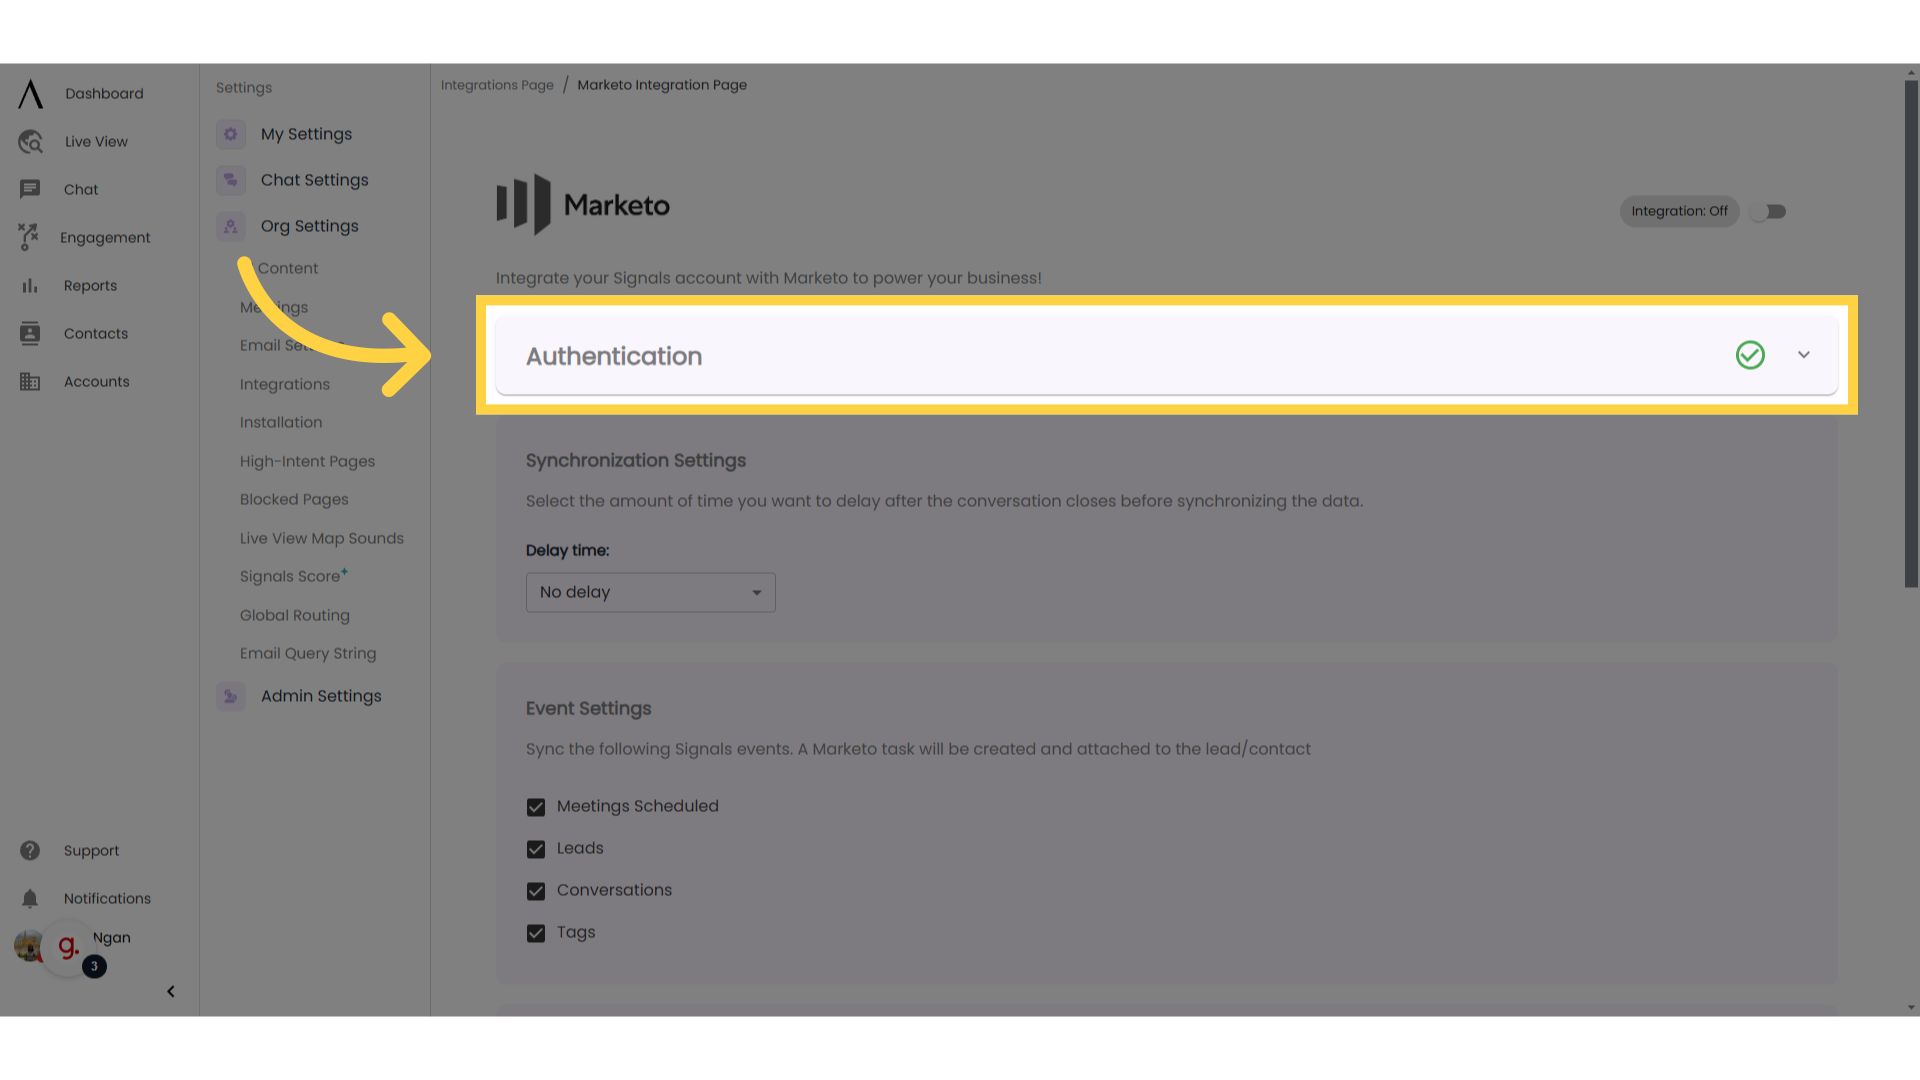
After authentication has been completed you will have the option to customize various settings related to the Marketo integration.
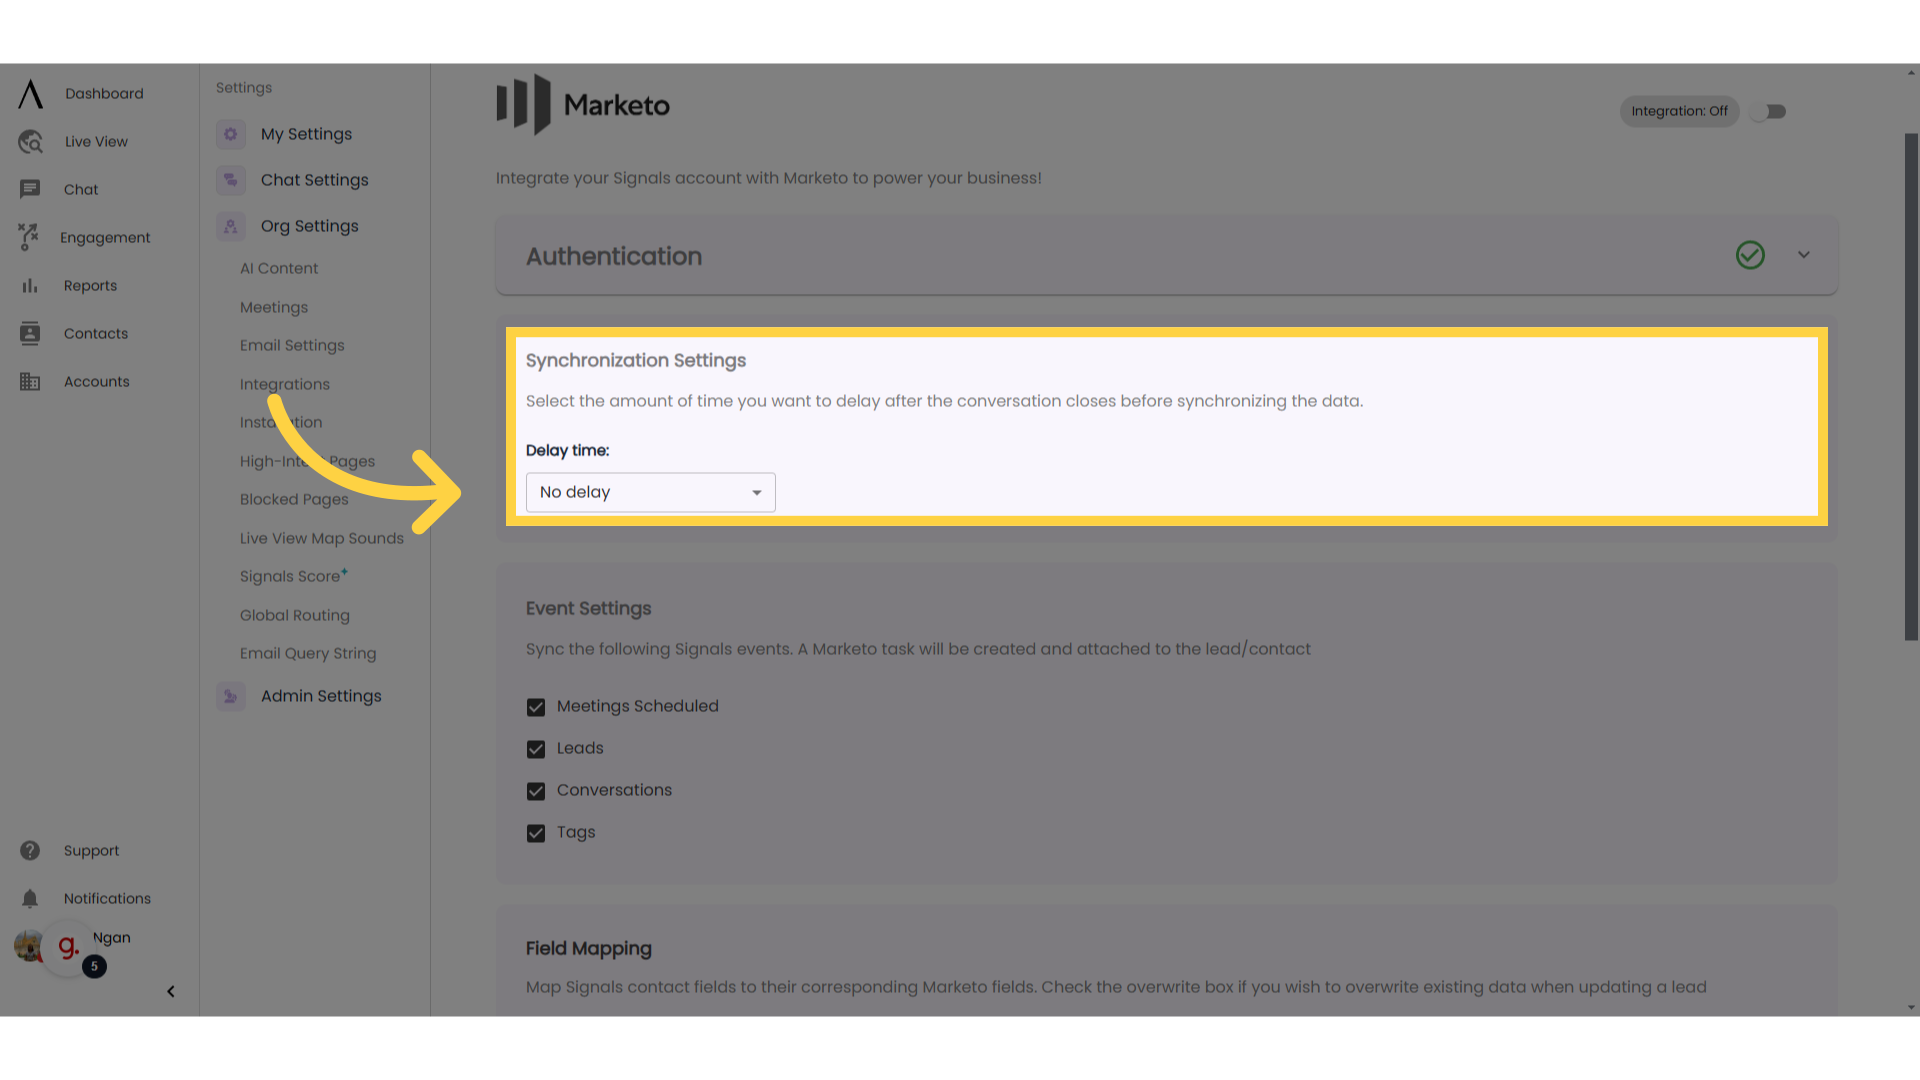
Scroll down to the "Synchronization Settings" box. Select a time from the Delay Time dropdown menu to select a custom delay time for contact synchronization after a conversation has been closed.
7. Set up Event Settings
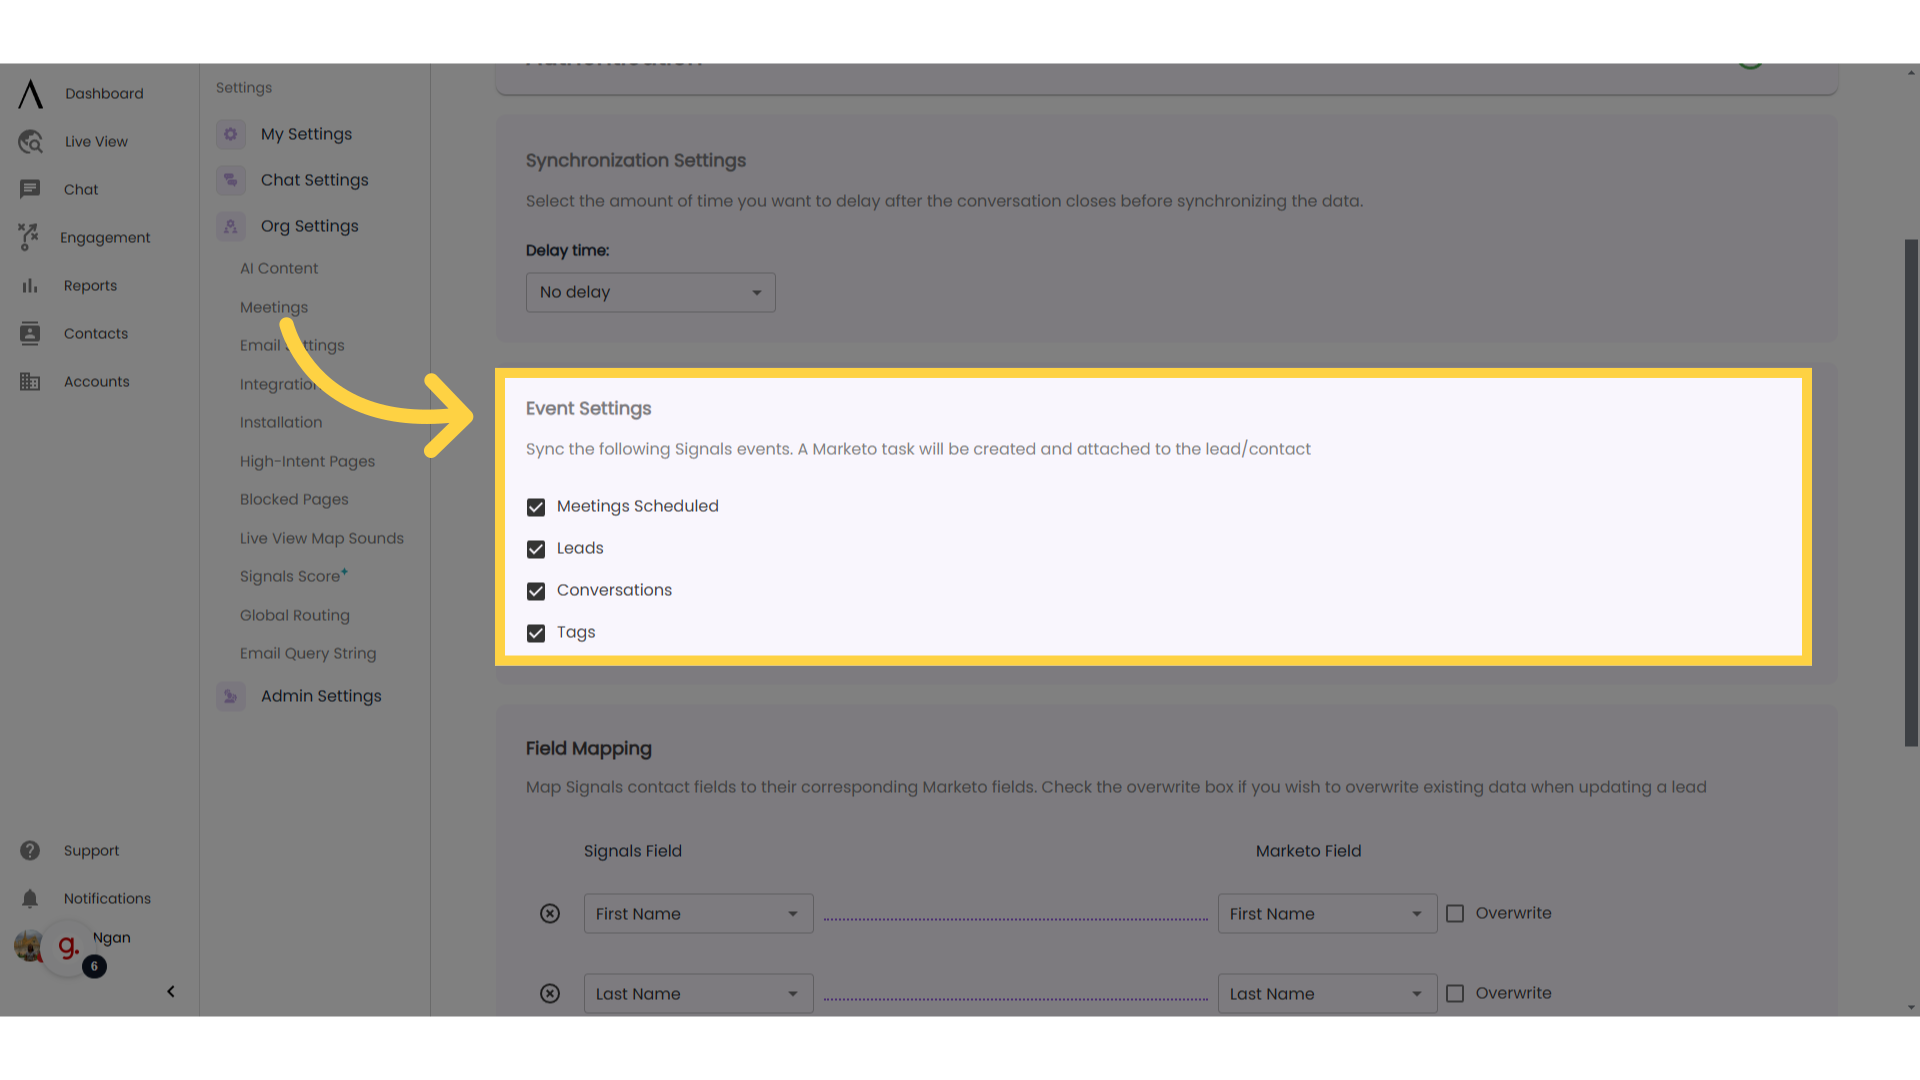
Underneath the "Synchronization Settings" box, you will find the "Event Settings" box. The event settings allows the user to sync various Signals events. A Marketo task will be created and attached to the lead/contact.
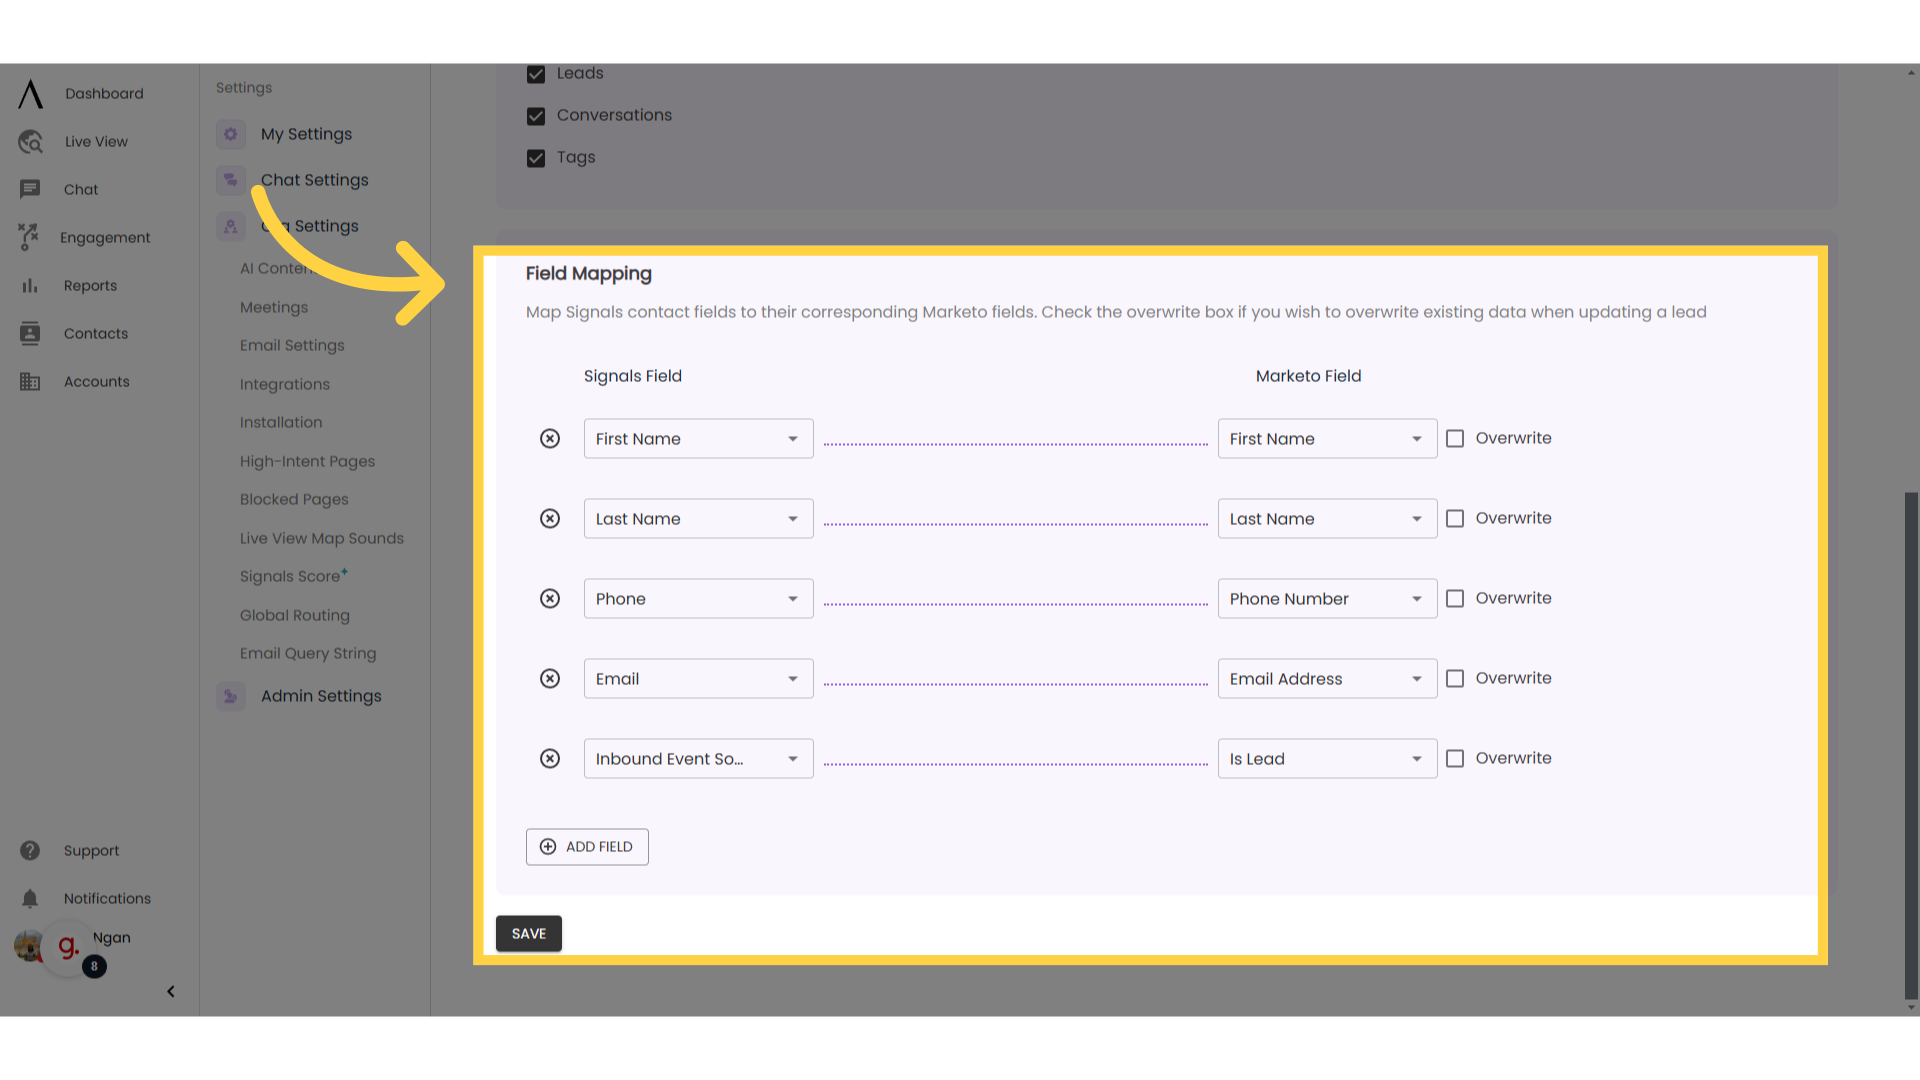
8. Customise Field Mapping
Beneath Event Settings, the field mapping section allows the user to customize Signals fields that they would like to map to corresponding Marketo fields.
NOTE: Always make sure to click on the “SAVE” button at the bottom of the page after changing/adding any settings or field mappings within the integration.
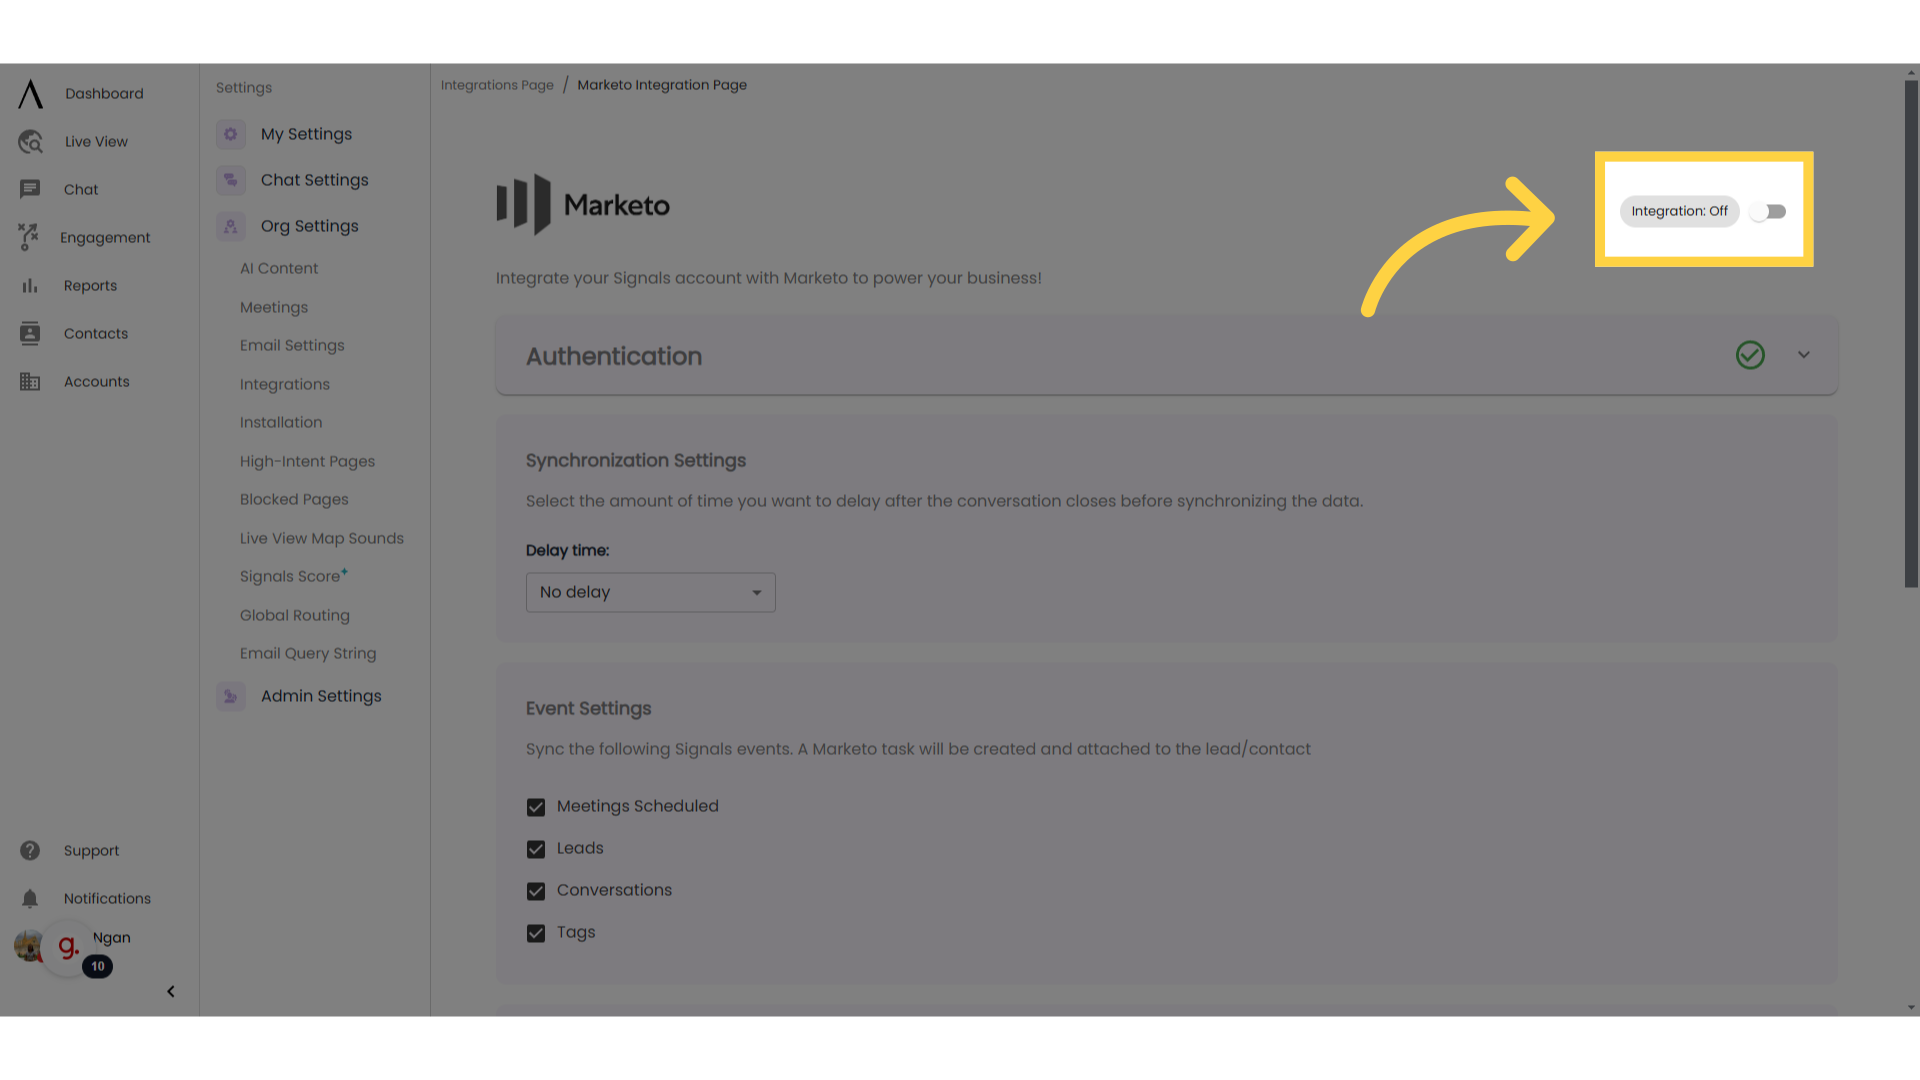
9. Turn integration on
After all settings have been set to your specifications, verify that the integration toggle at the top of the page has been switched to the “On” position.
