The Eloqua integration can be used for campaign orchestration, Segments/Targeting, Lead Management as well as many other automation tools!
1. Introduction
Using this integration you can customize your synchronization settings. Your conversation data will automatically be sent over to Eloqua after a specific amount of delay time has been set, you can also set specific domain filtering if needed. Not only can you migrate data using this integration but using the “Field Mapping“ section you can set specific data to be stored in your custom objects in Eloqua.
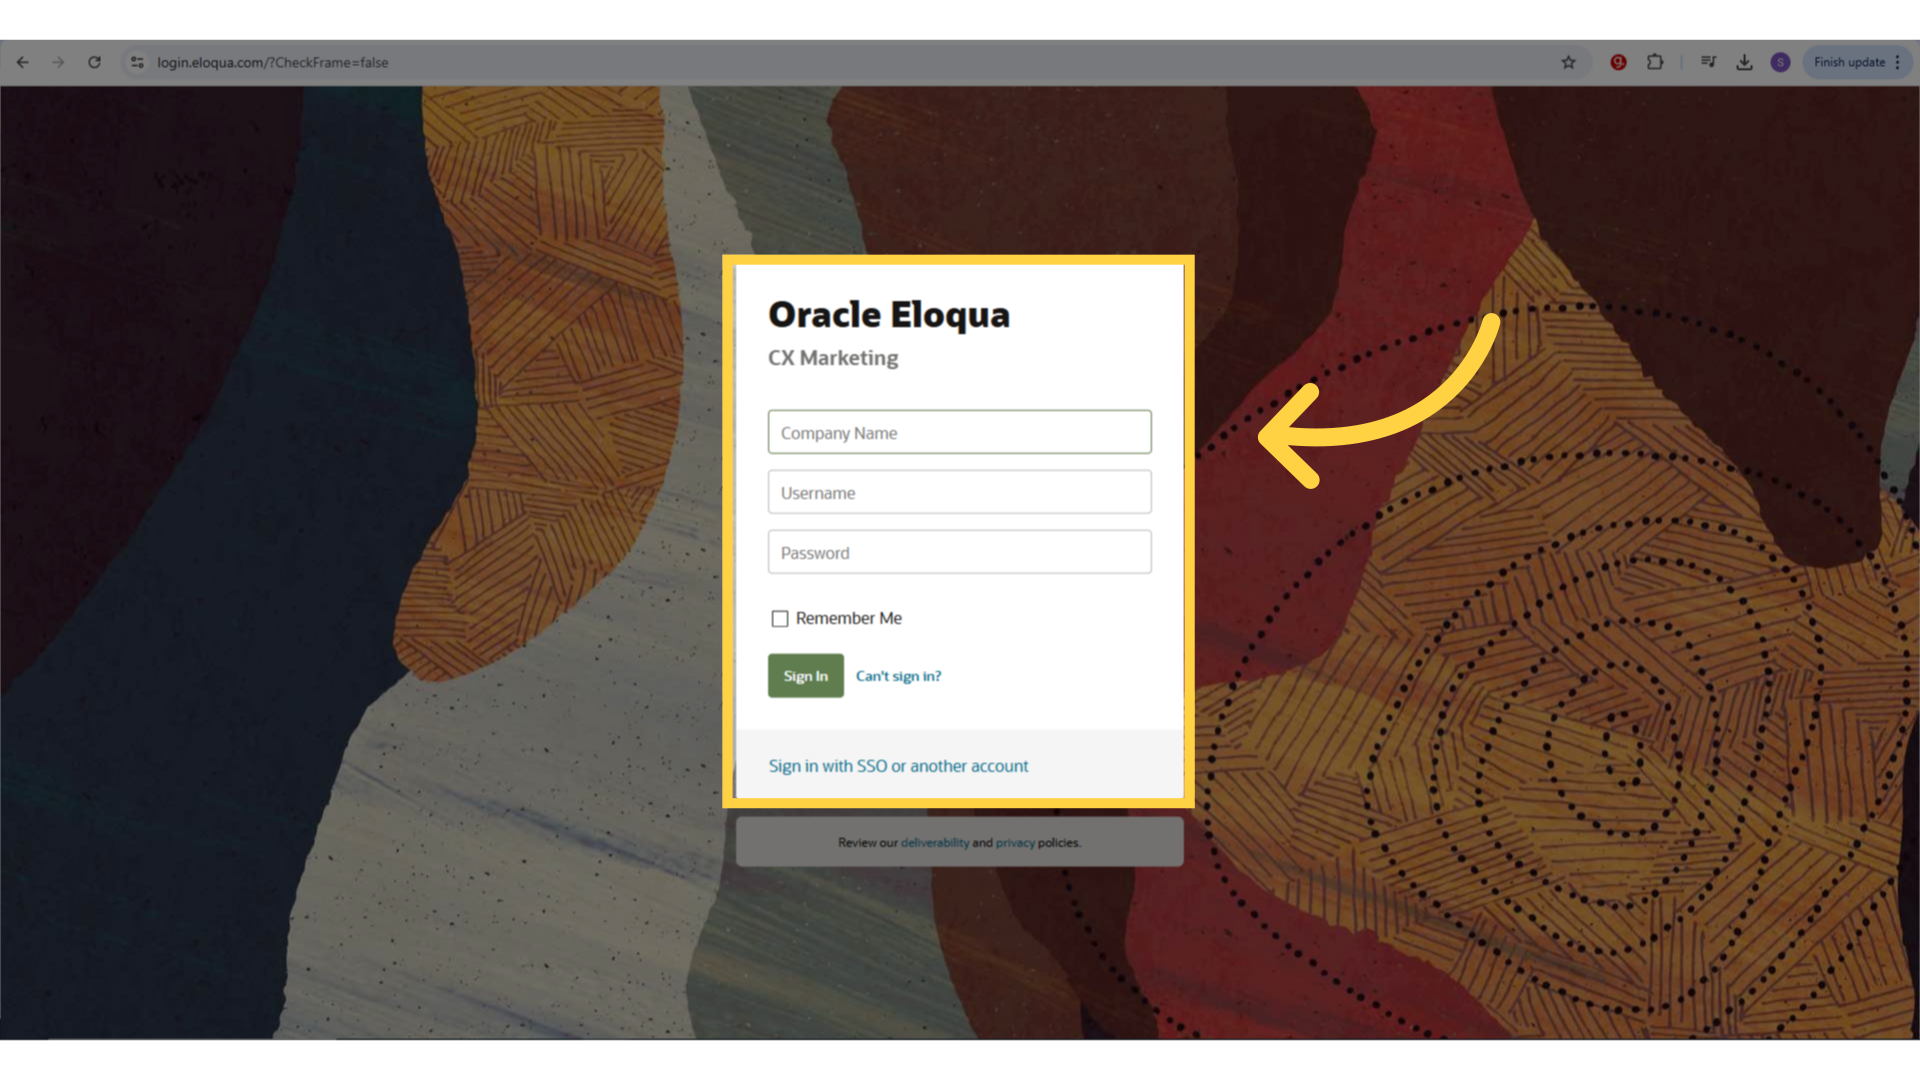
2. Log in to Eloqua
To set up the integration, log in to your developer account at Eloqua. Click Settings, then AppCloud Developer, then click Create App.
You'll then want to fill out the required New App section with a name, description, and icon.
3. Enter Link: https://app.getsignals.ai/api/credentials/oauth/eloqua/exchange
Complete the Lifecycle Setup section, and in the authentication to Eloqua section, enter: https://app.getsignals.ai/api/credentials/oauth/eloqua/exchange. Click "Save."
Record the API Client ID and API Client Secret.

4. Click "Integrations"
Next, access your Signals account and click on your Profile in the bottom left corner, then click on Integrations.

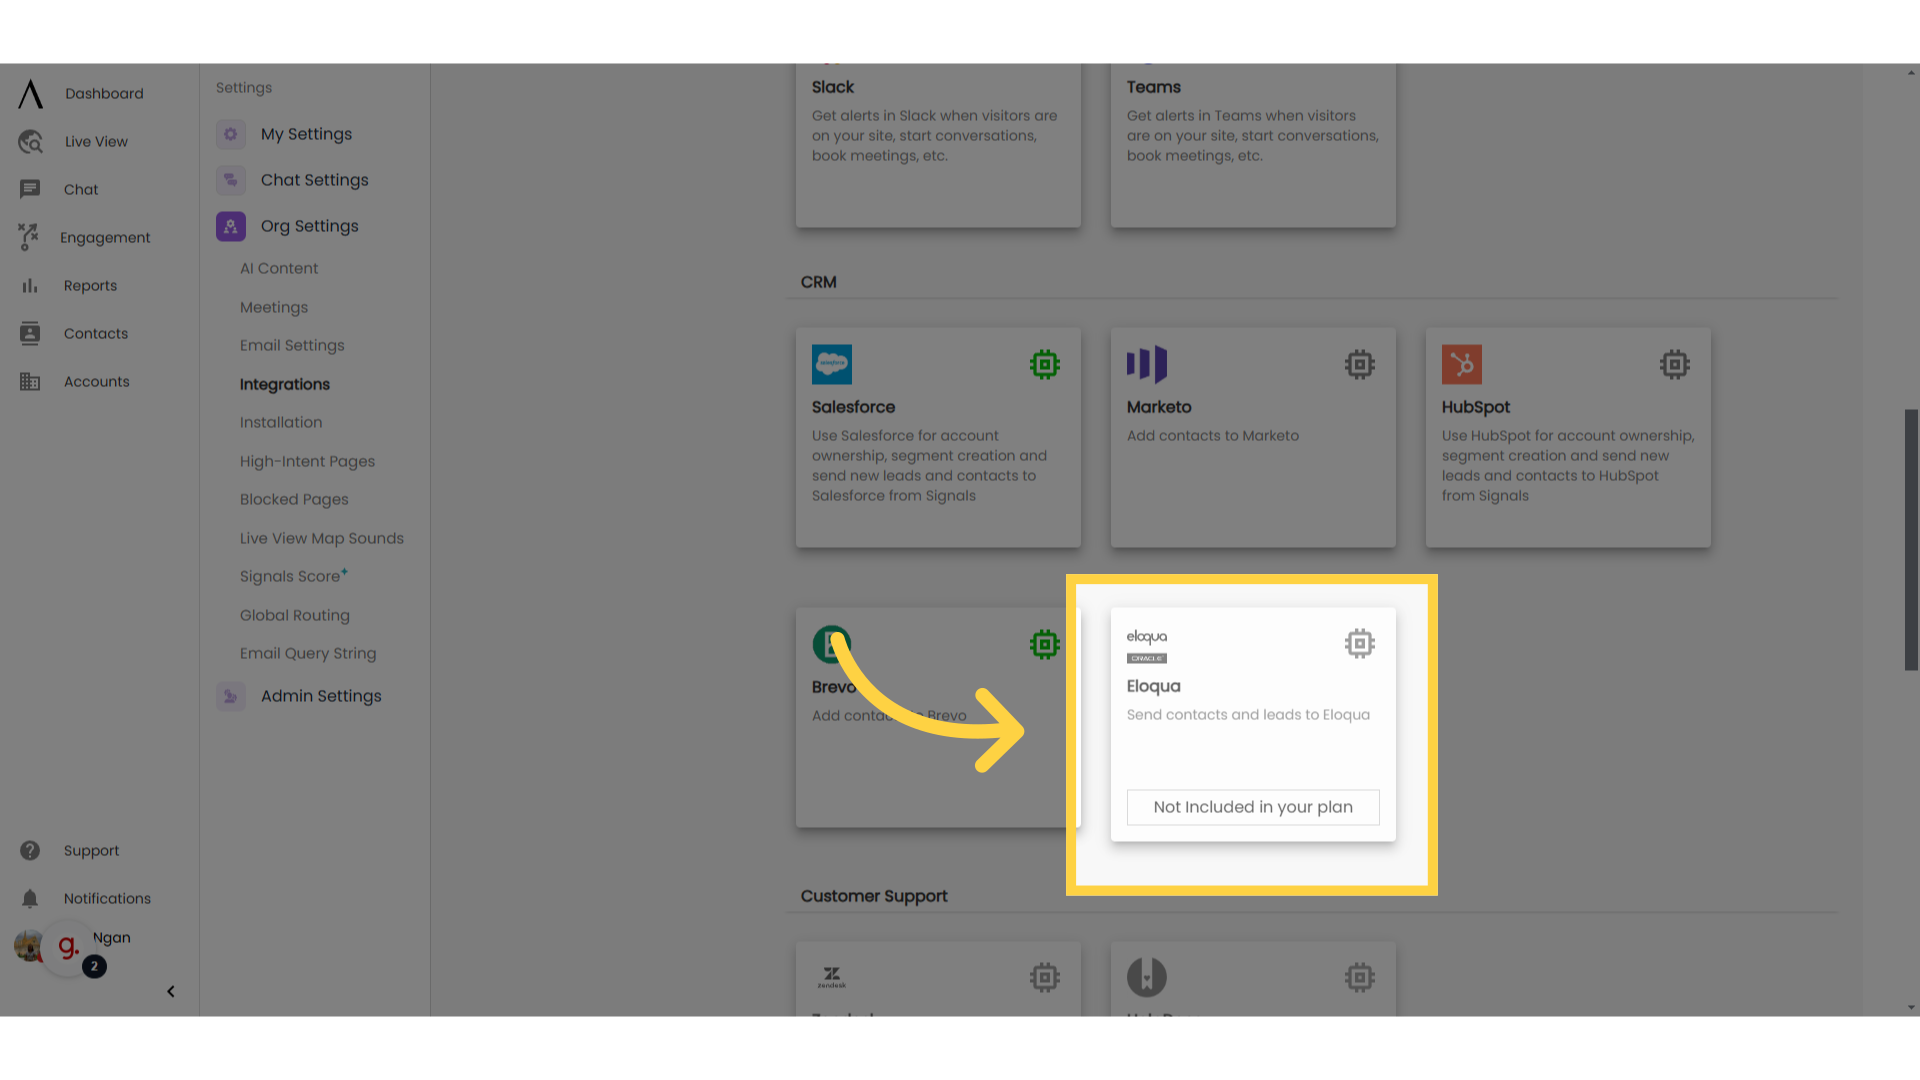
Go to Eloqua and click on it. It will be under the CRM category. You can also search for it in the search bar toward the top of your screen.
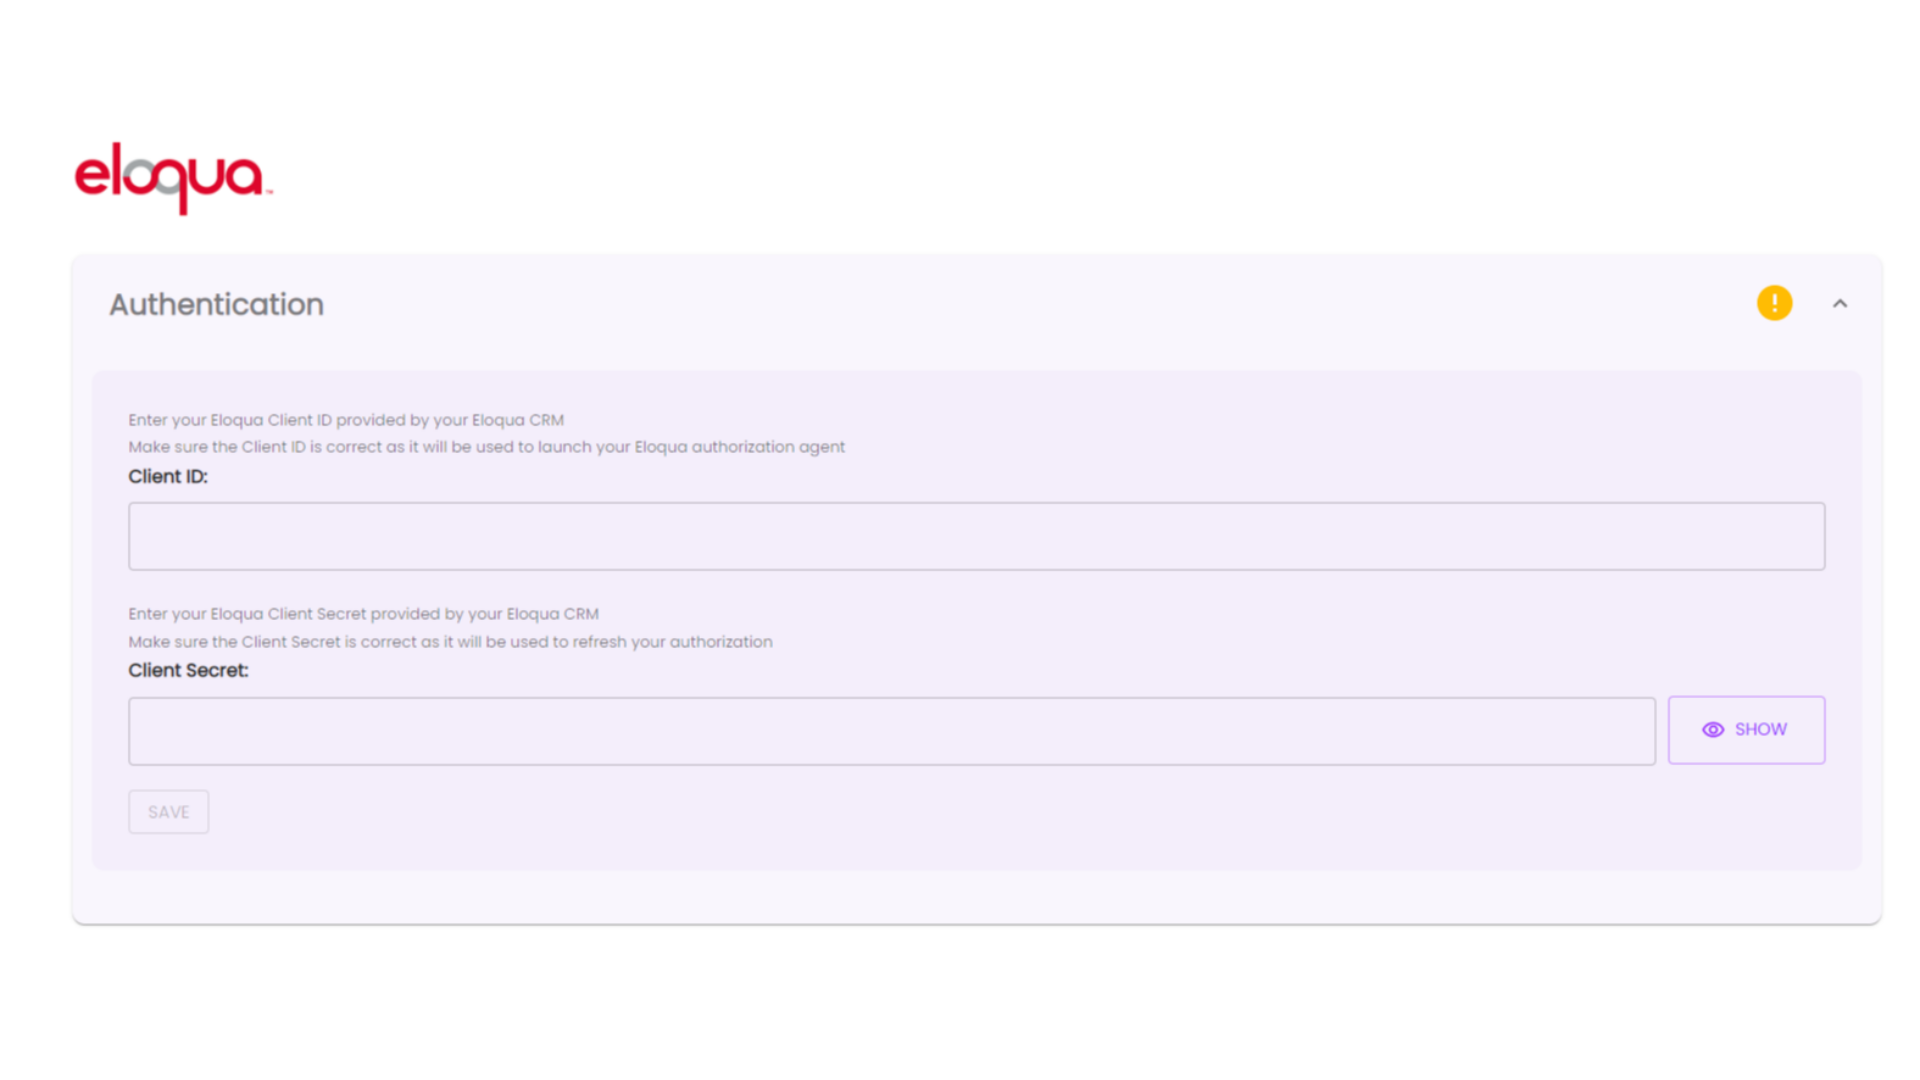
6. Authentication
Select the dropdown titled "Authentication" and paste the API Client ID and API Client Secret that you copied from Eloqua. Hit "Save" at the bottom left of the page. This will redirect you to log in to Eloqua to authorize the connection to Signals.
Note:
Permissions in Eloqua: Signals must have "write" permissions for contacts in order for contacts to properly sync.
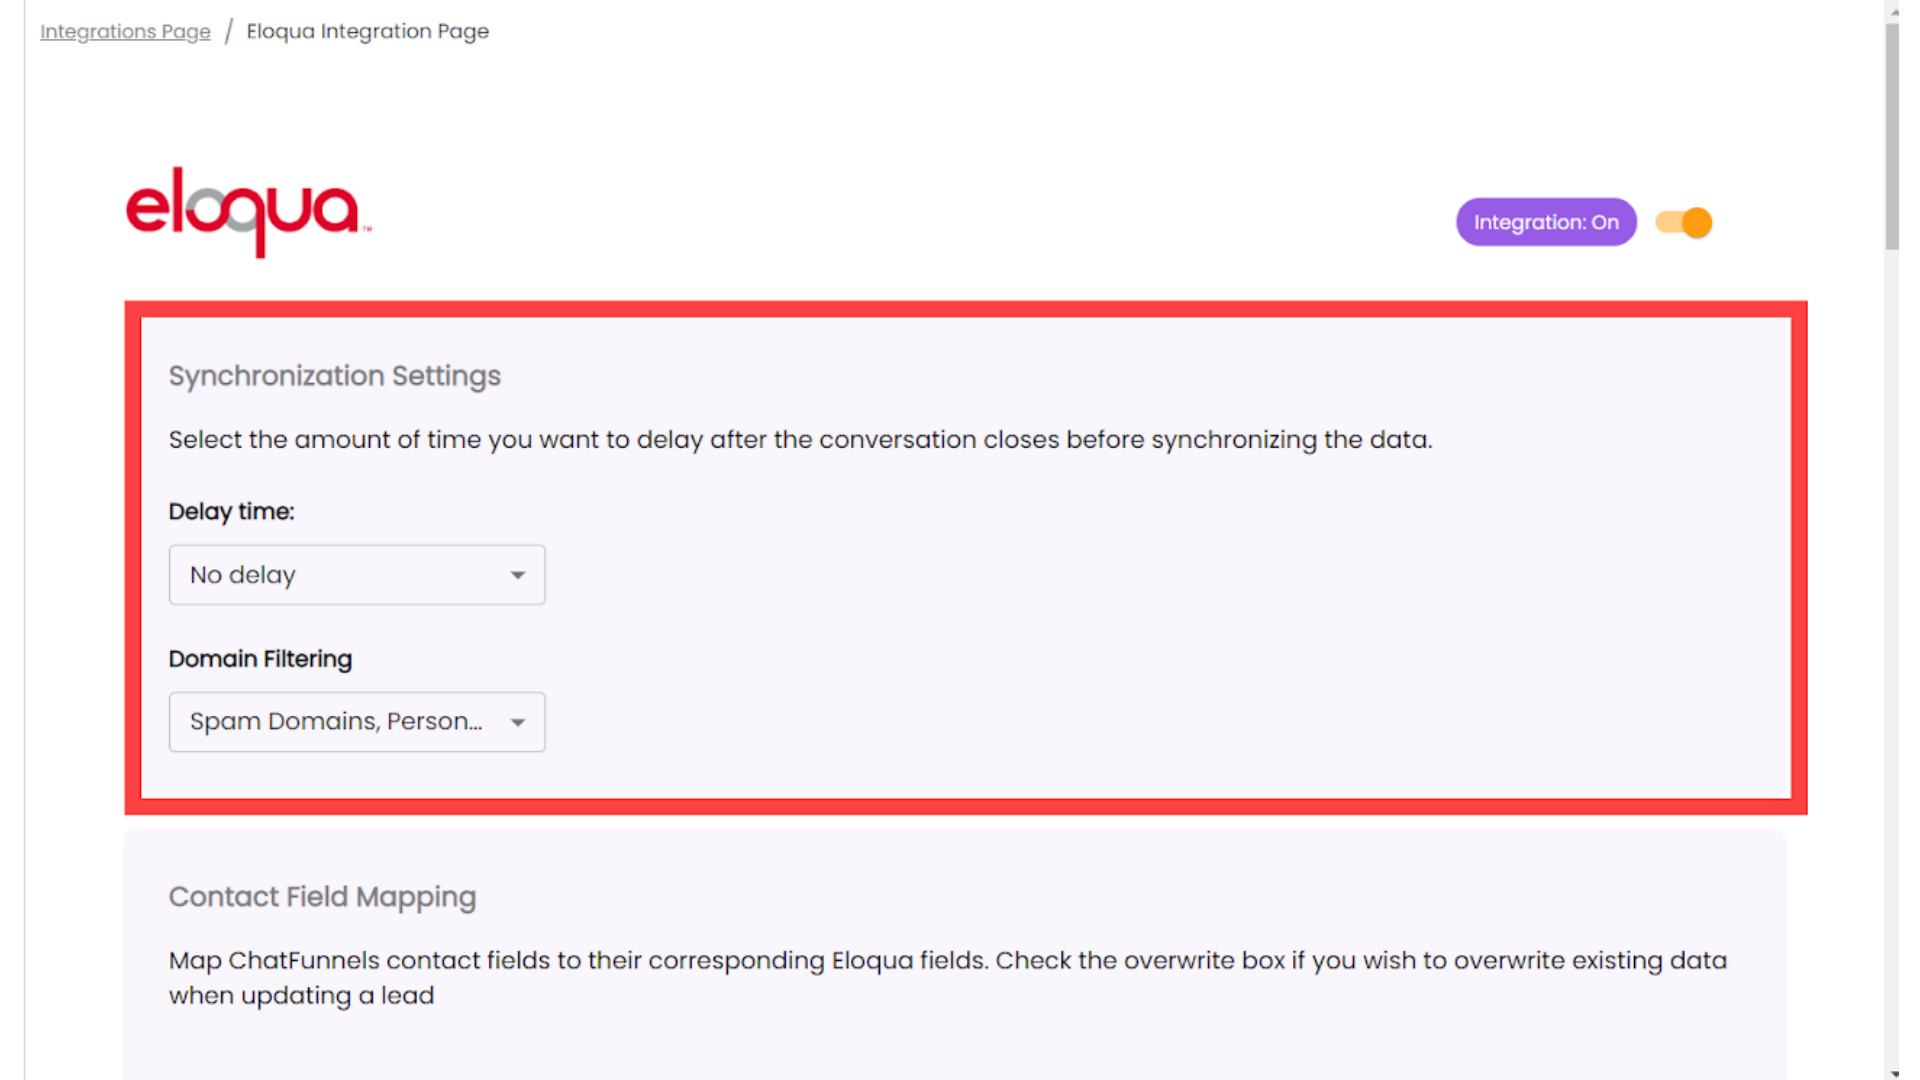
7. Sychronization Settings
In the next menu, configure the settings according to your needs. First, under “Synchronization Settings," set the delay time on your automatic sync and the email domains you would/would not like to accept.
Troubleshooting:
Conversation Closed: Ensure that the conversation is closed. The automated Eloqua integration will not send a web visitor’s information to Eloqua until the conversation closes.
Synchronization Delay: Ensure that the amount of time specified in your Synchronization Delay settings has passed after the conversation was closed.
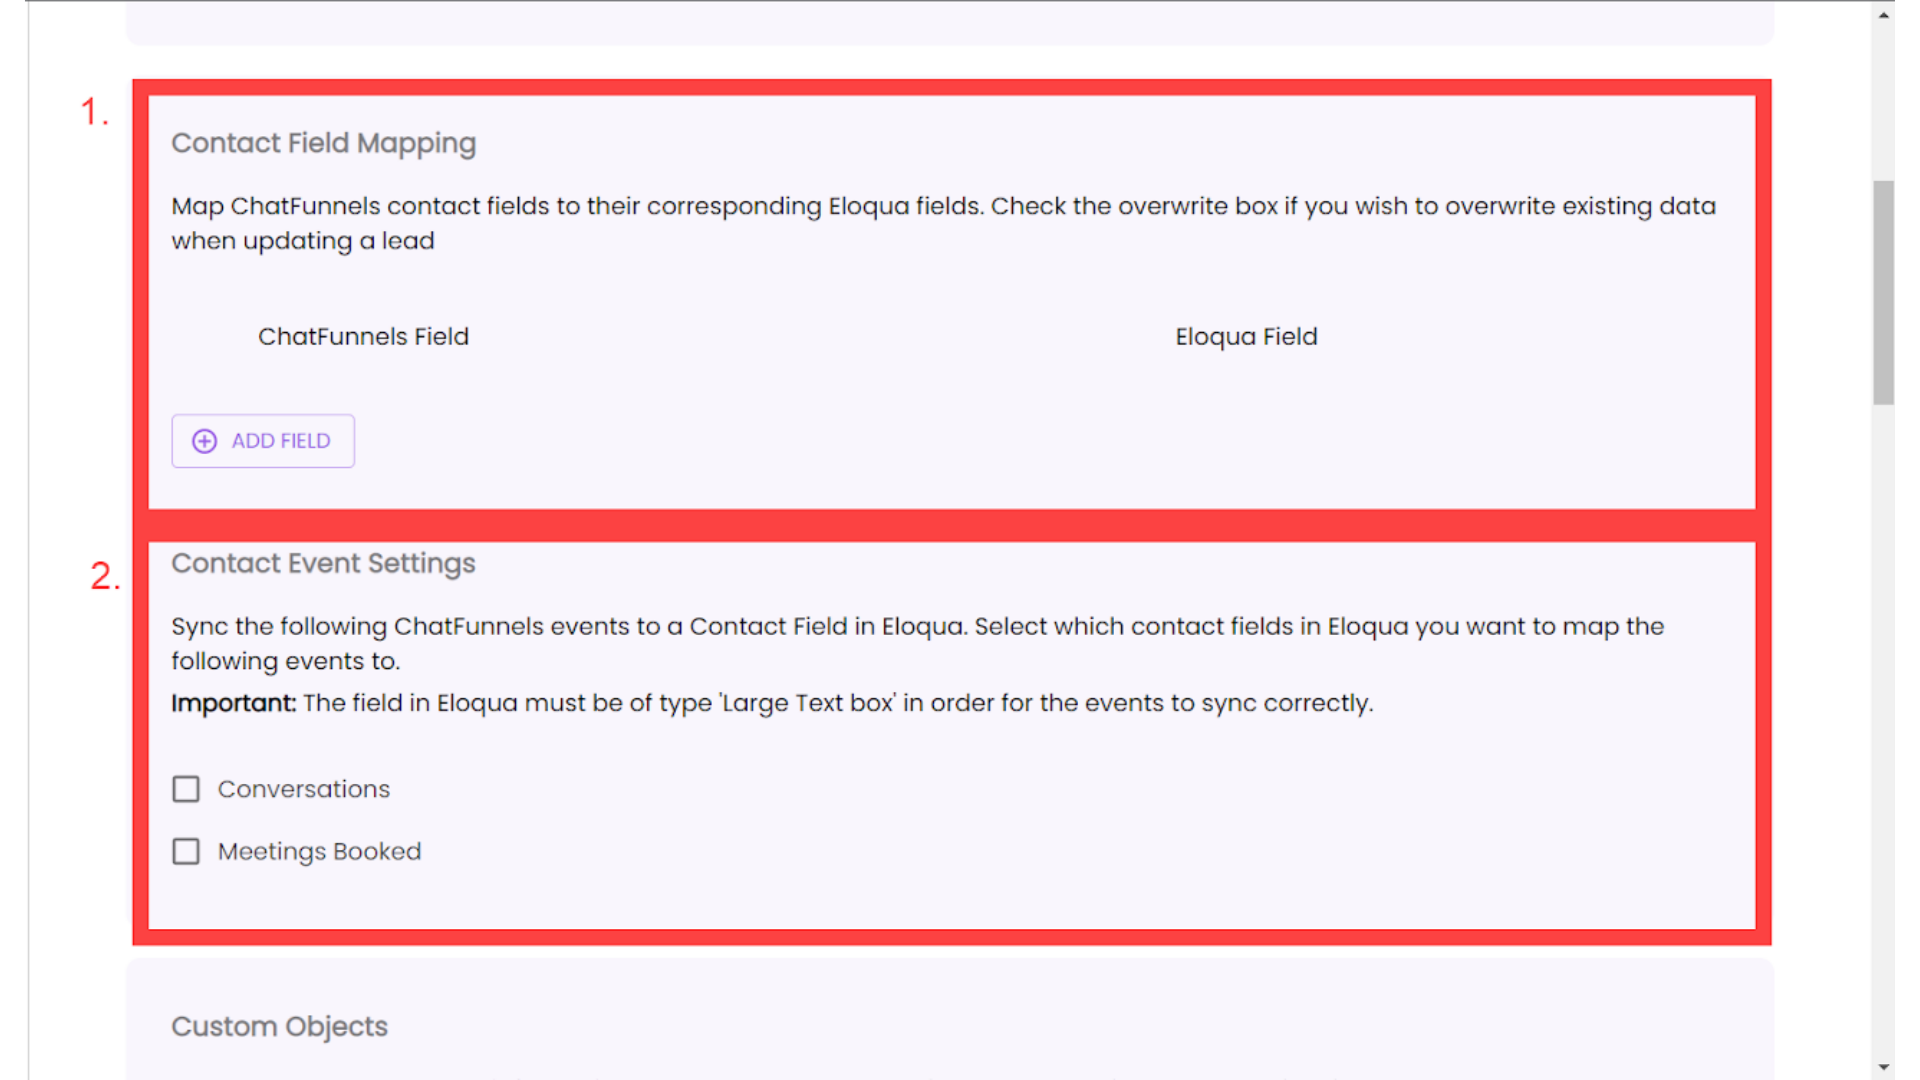
8. Eloqua Settings
In the next dropdown, select the “Contact Field Mapping." Here you can map Signals contact fields to their corresponding Eloqua fields.
Optional: Below you can find the “Contact Event Settings." Here you can sync the following Signals events to a Contact Field in Eloqua. Select which contact fields in Eloqua you want to map the following events to. The field in Eloqua must be of type 'Large Text box' in order for the events to sync correctly.
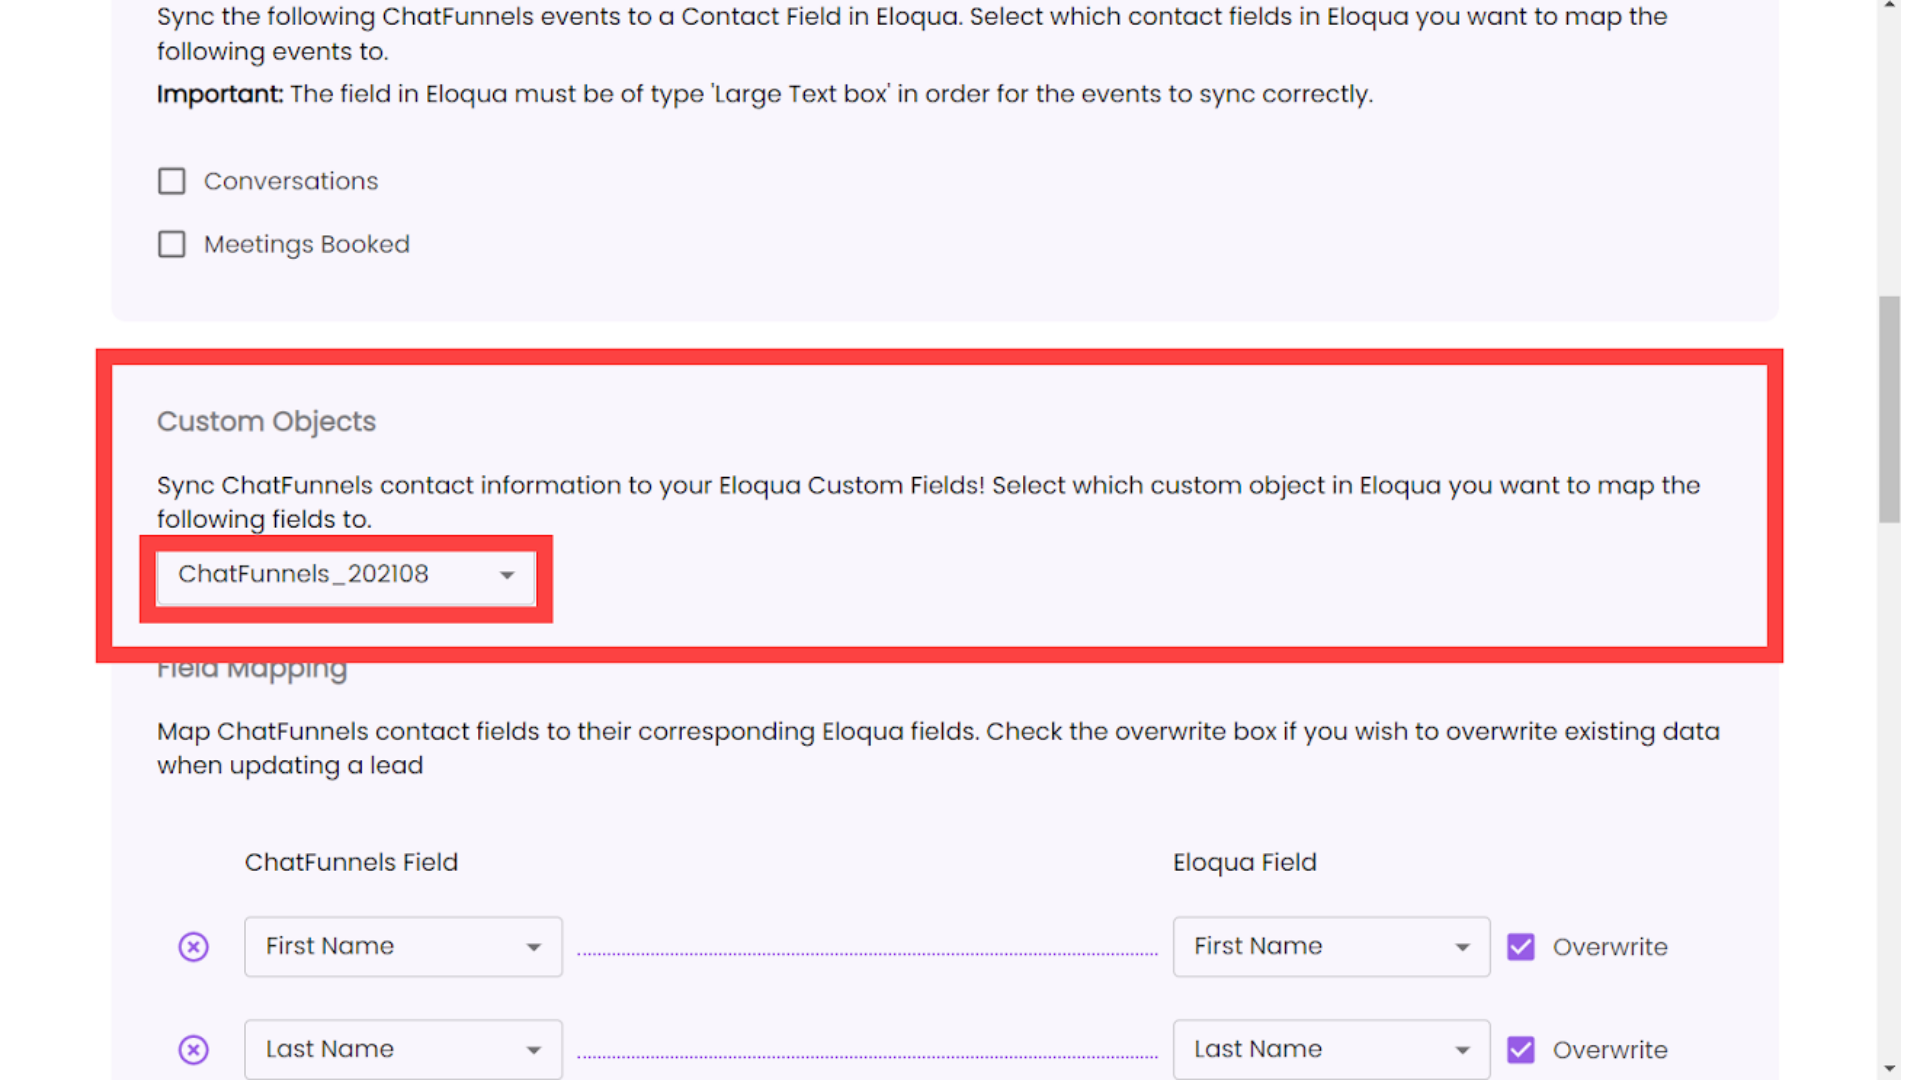
9. Custom Objects
The “Custom Object" selection populates a dropdown menu that allows you to sync Signals contact information to your Eloqua Custom Fields! Select which custom object in Eloqua you want to map the following fields to.
If you select one of these options, the integration will connect the Signals field to the Eloqua as a Custom Object.
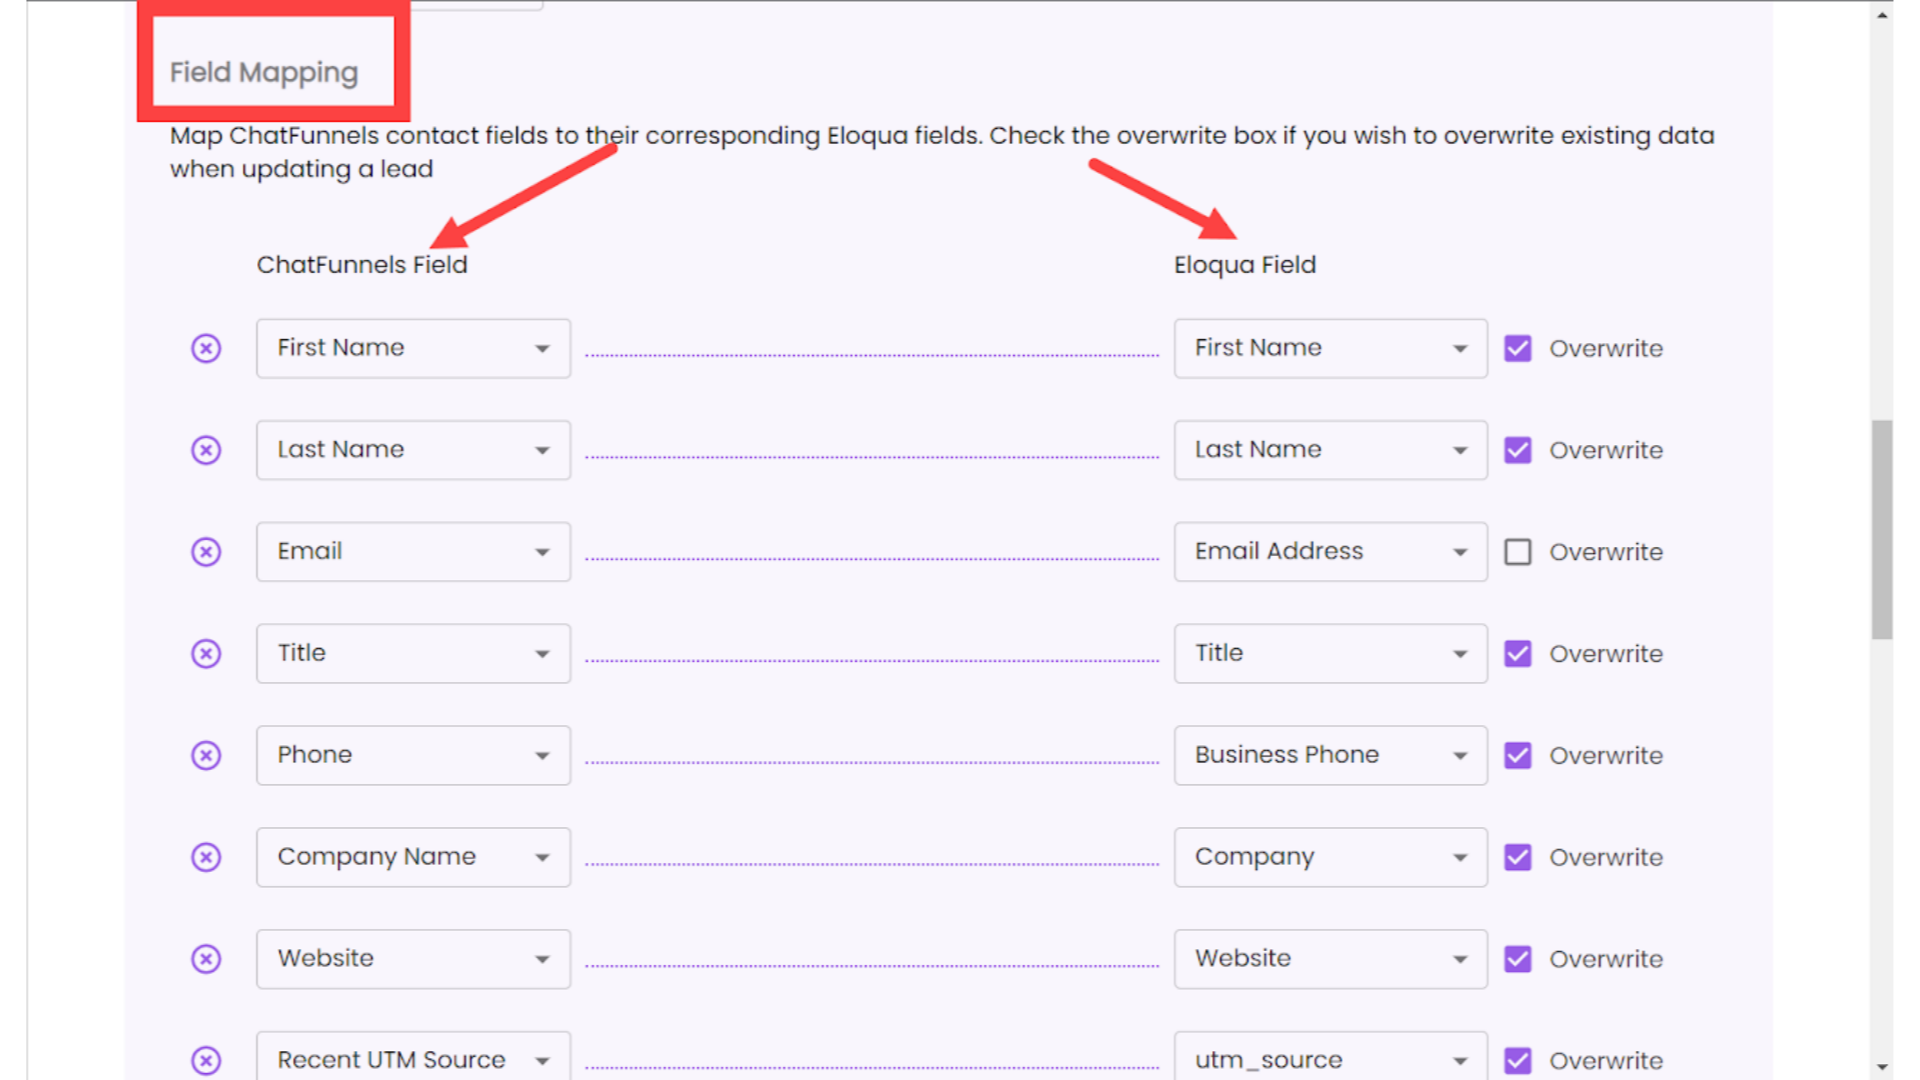
10. Field Mapping
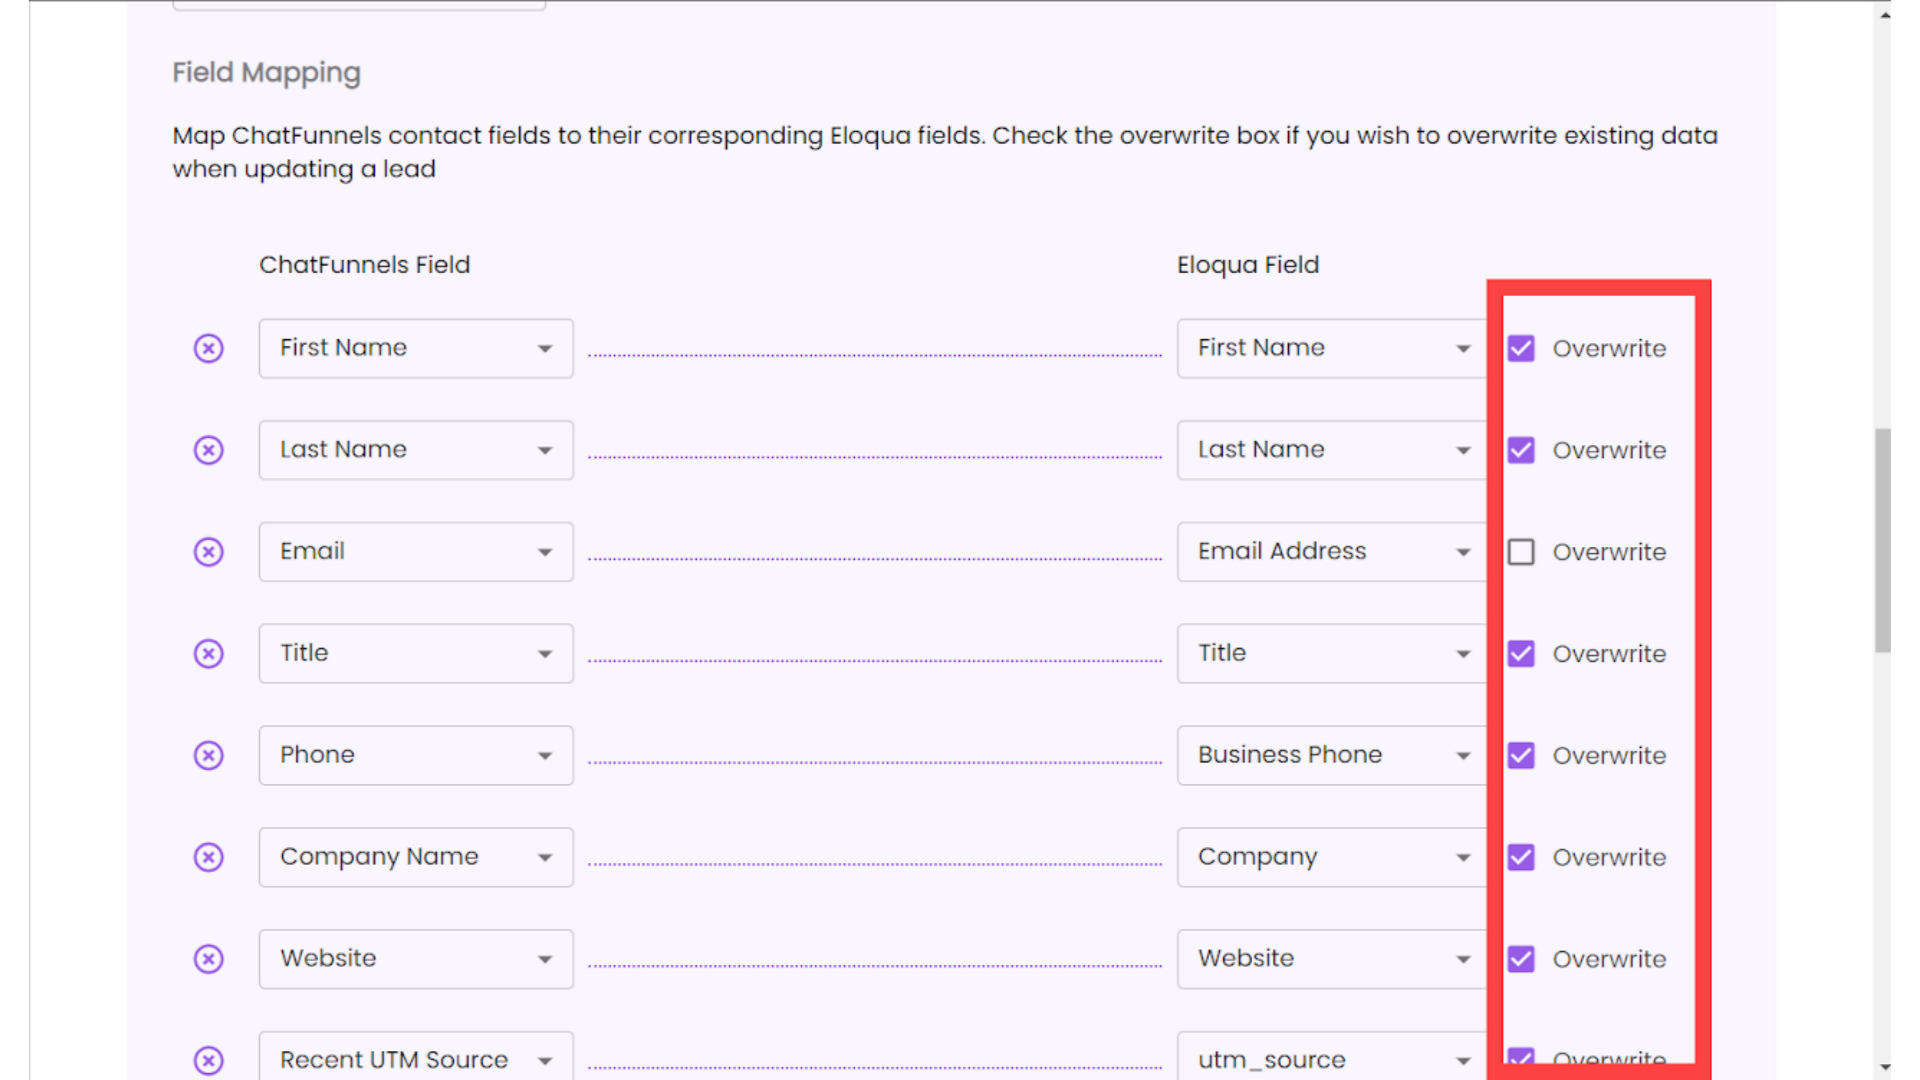
Field mapping is where you can map Signals contact (Company, Custom and Tracking Parameters) fields to their corresponding Eloqua fields. Check the overwrite box on the right side of the screen if you wish to overwrite existing data when updating a lead.
For example, in this image, we’ve configured the Signals “First Name” contact field to populate the Eloqua “First Name” field for the record that the integration sends to Eloqua.
11. Overwrite
In the Field Mapping section, you have the option to overwrite any field that the integration sends to Salesforce.
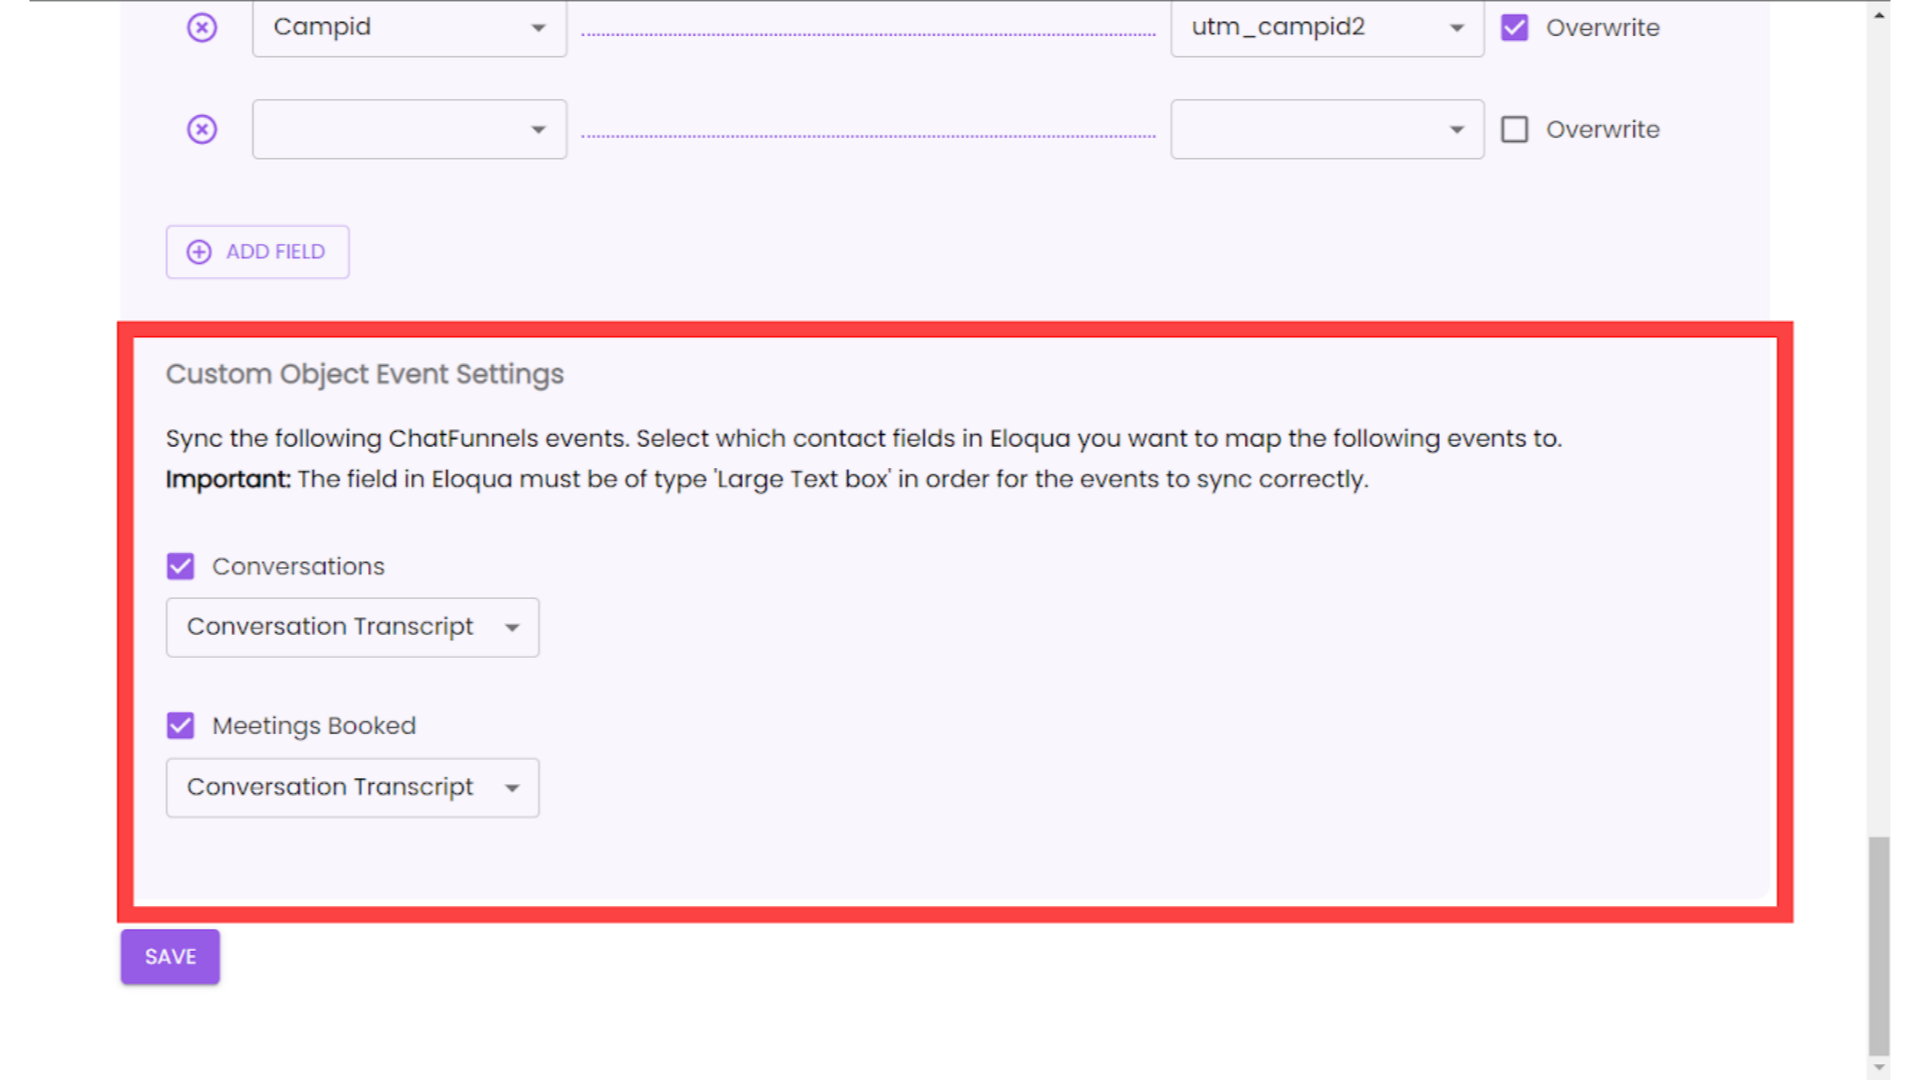
If you scroll down, you can add new mapping fields by selecting the "Add Field" option, or remove any field mappings you’ve created by simply pressing the “x” to the left of the field in the mapping.
12. Custom Object Event settings
Custom Object Event settings sync the following Signals events. Select which contact fields in Eloqua you want to map the following events to. The field in Eloqua must be of type 'Large Text box' in order for the events to sync correctly.
Don't forget to hit "Save" at the bottom of the screen when you're finished configuring your settings.
13. Turn on Integration
Lastly, when you’re ready to turn your Eloqua integration on, simply select the “Integration On” switch at the top right of the page so that the switch is toggled on.
Note: Toggling the On/Off switch for the integration will automatically save the settings
