This video will walk you through the setup required to send automated emails directly from Signals. You can alternatively trigger email sends from integrated software like Sendinblue or HubSpot.
1. Introduction
Note: You may need to work with your IT team so that they can configure settings on your email domain that will allow emails to be sent from Signals on your behalf.
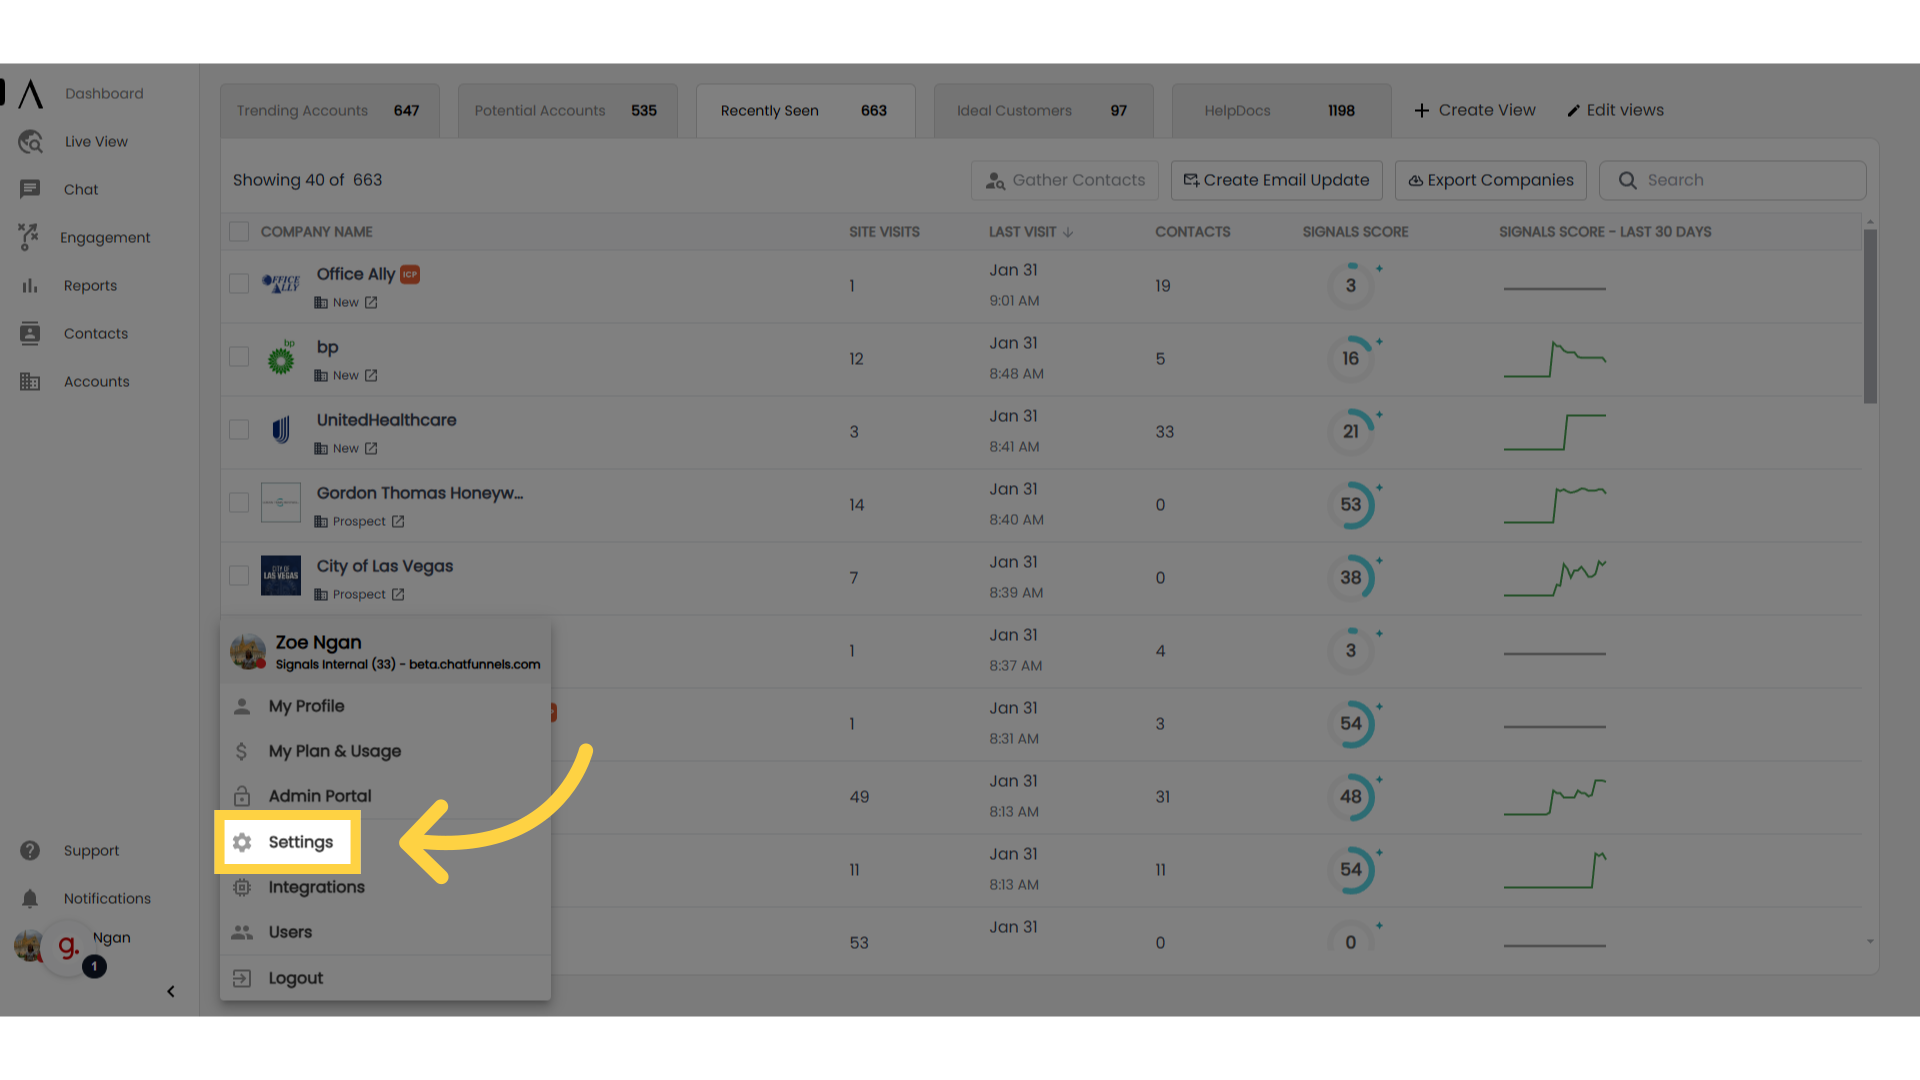
2. Click "Settings"
First, click on your profile in the bottom-left corner, then click Settings.
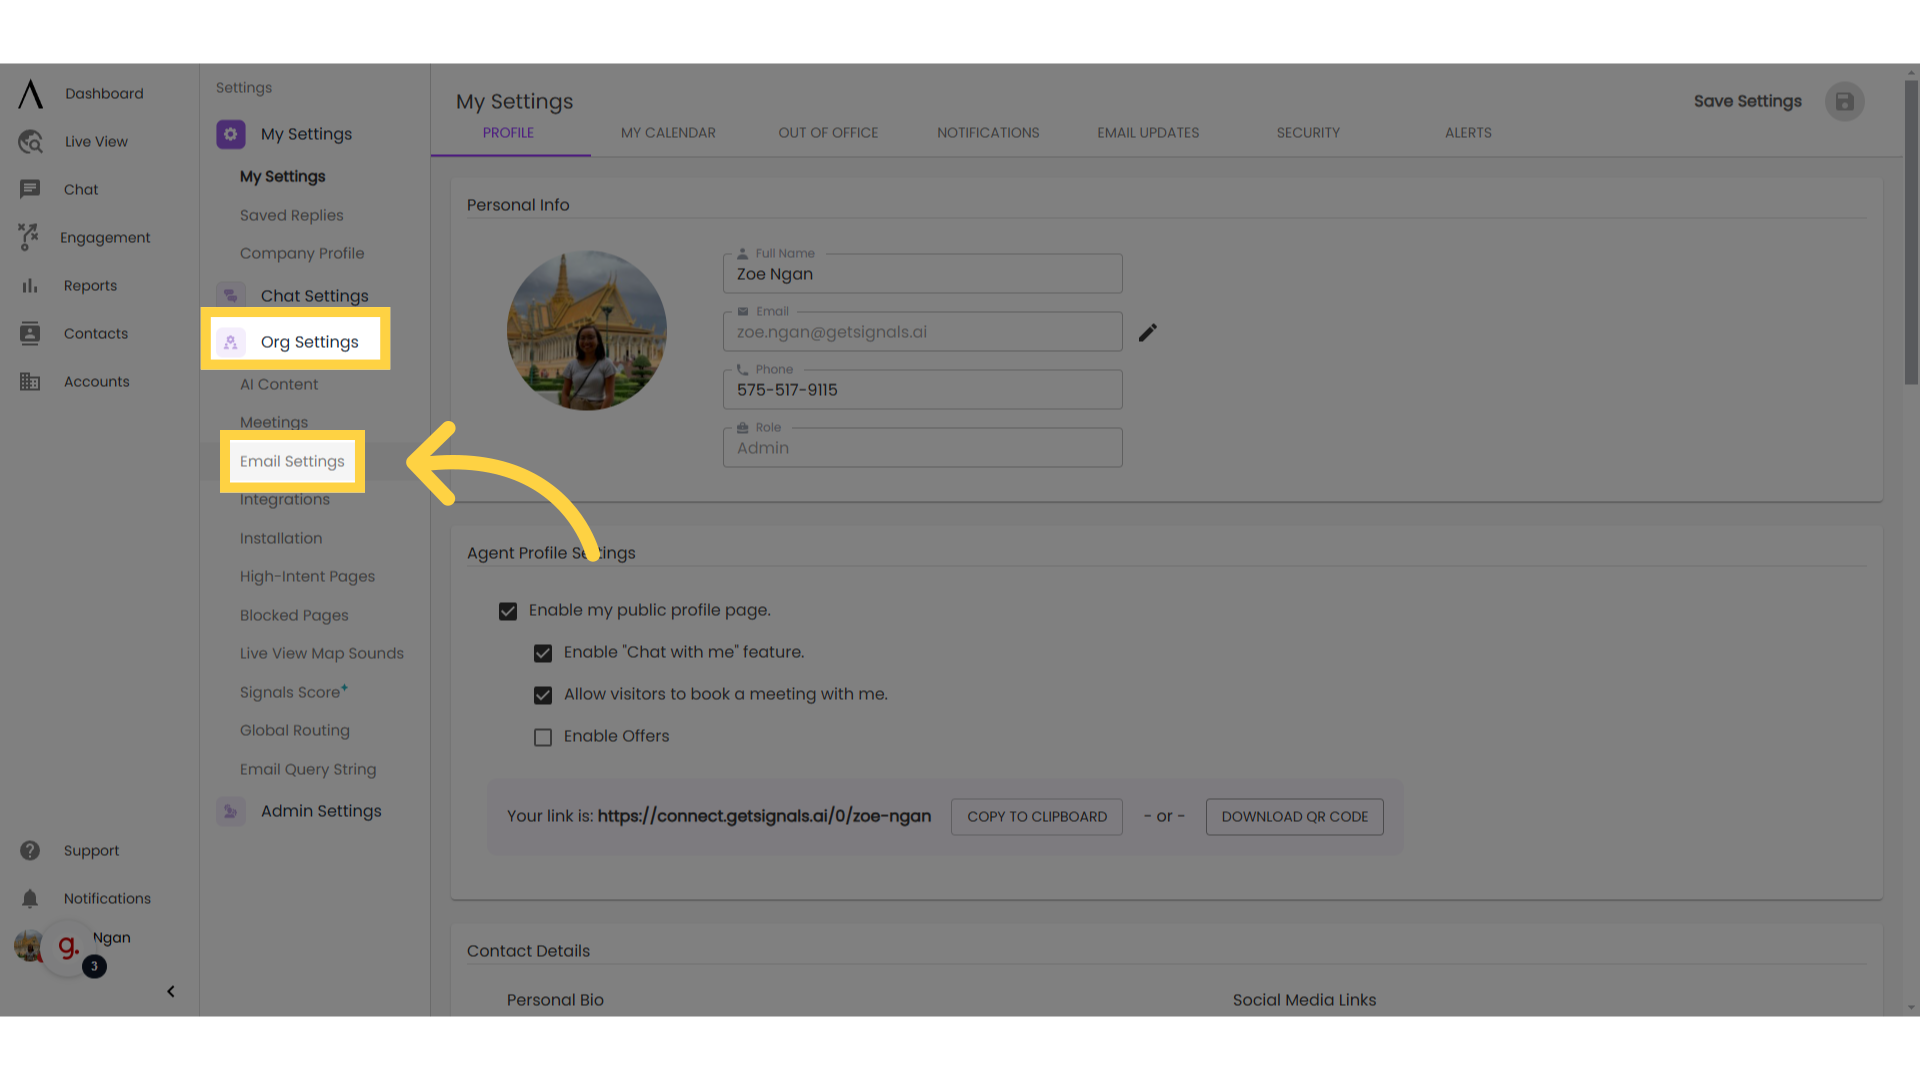
3. Go to "Email Settings"
Once there, navigate to Org Settings under the "My Settings" column, then go to Email Settings.
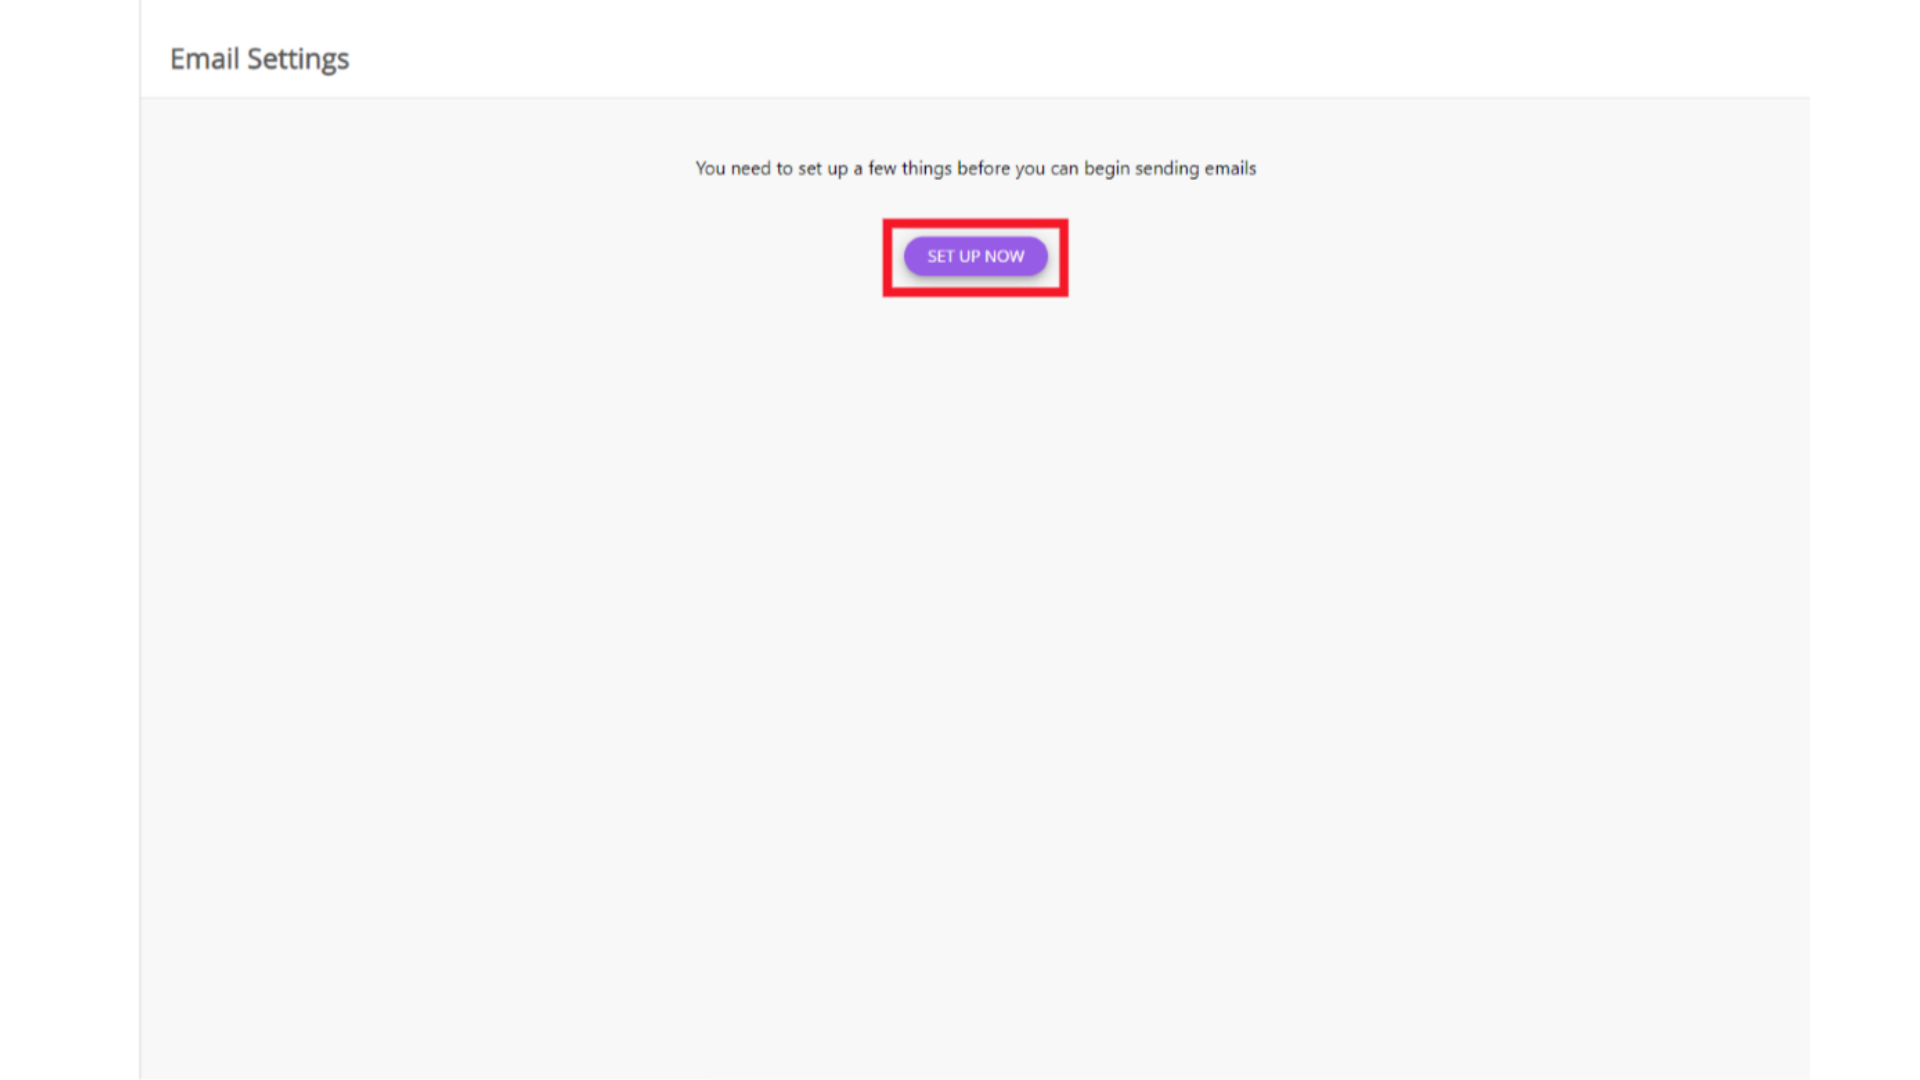
4. Set Up
Click the "Set Up Now" button in the middle of the page to begin.
5. Enter Domain
Enter your organization’s email domain. For example, if your email address for your organization is mattfoley@motivationalspeakers.com, your domain would be “motivationalspeakers.com”.
Pro tip: If you do not want to use the Send Email feature with your entire domain, you could use subdomains. For example, if you company’s domain is “awesomesauce.com”, your IT team could create a subdomain of “chats.awesomesauce.com” and send emails from that subdomain.

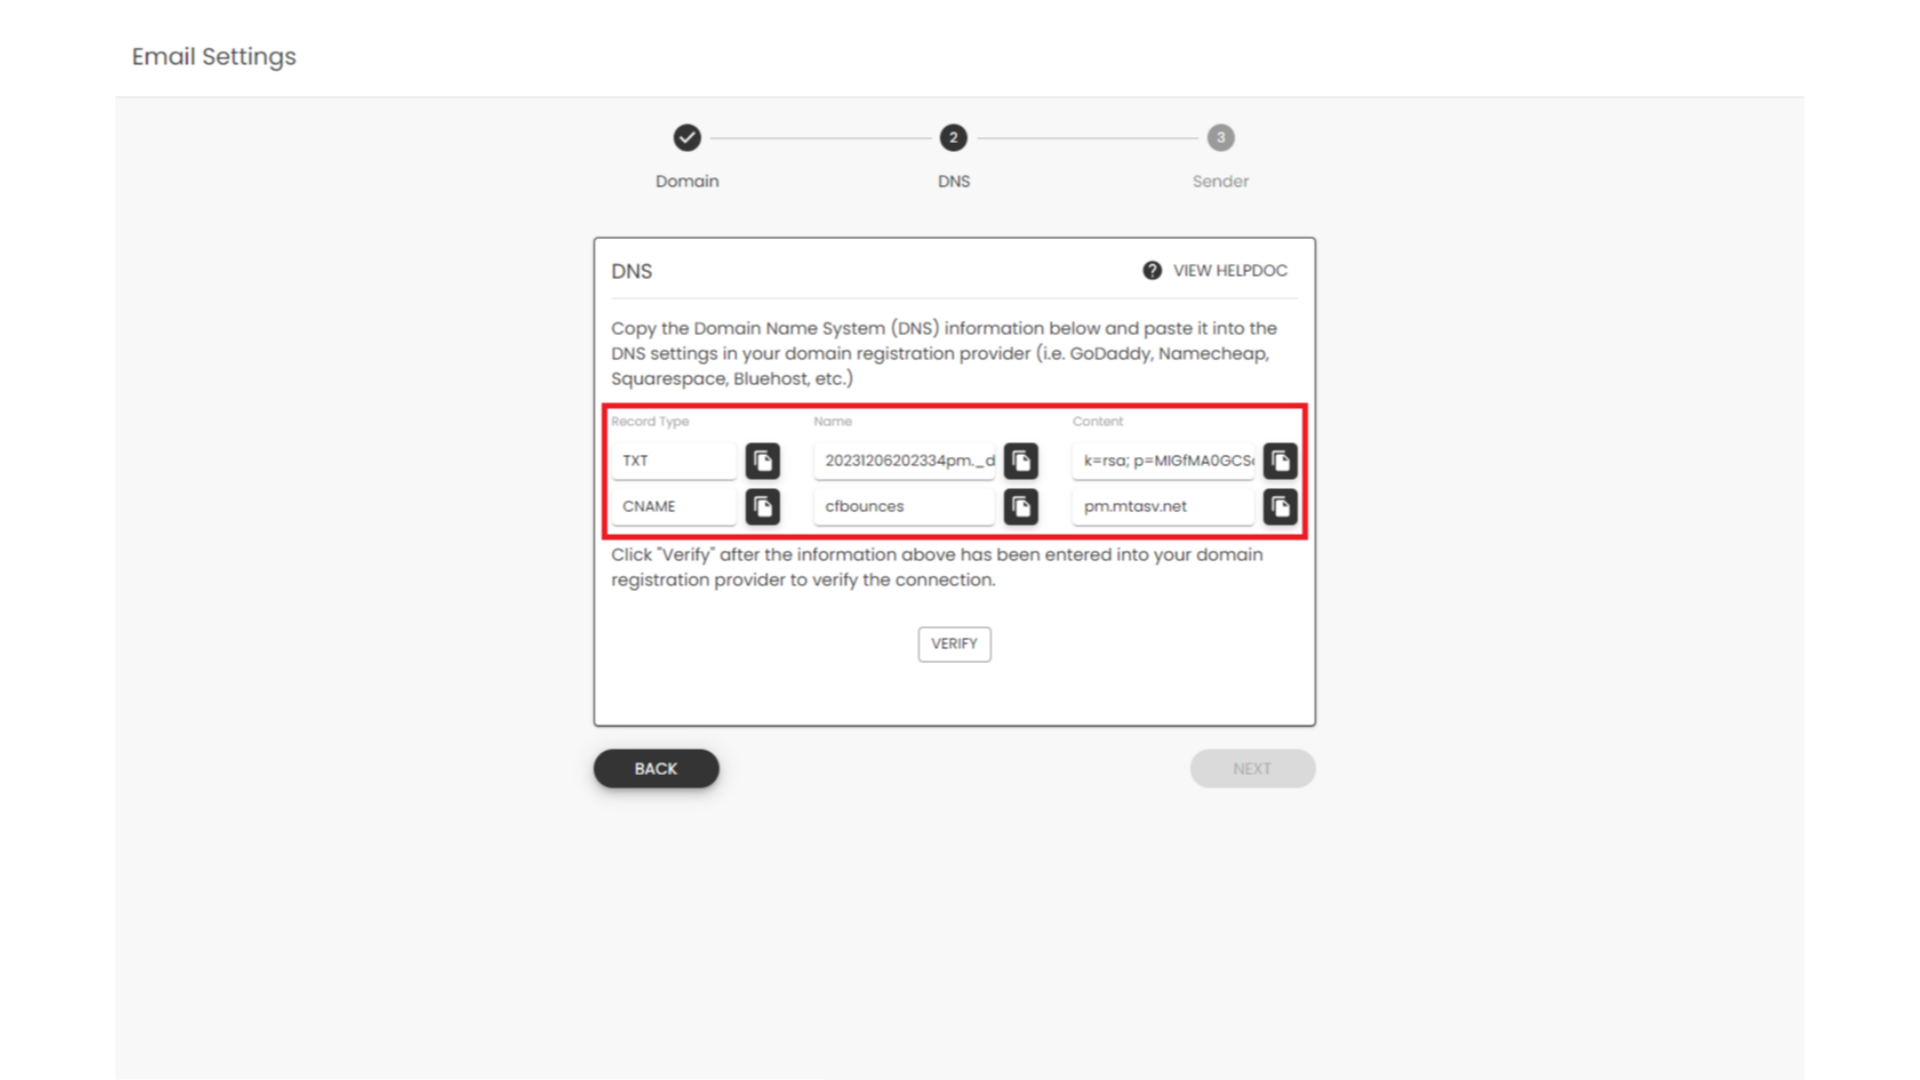
6. TXT/CNAME Records
The next page will provide the TXT/CNAME records. Copy each value here and provide it to your IT team, who can then add these records to your organization's domain registration provider.
Note for IT teams: Depending on which service provider you use for your email provider, there may be specific instructions on how to insert your TXT/CNAME records on your domain.
After providing this information to your IT team, you can leave this page and return once they have inserted the information on your domain.
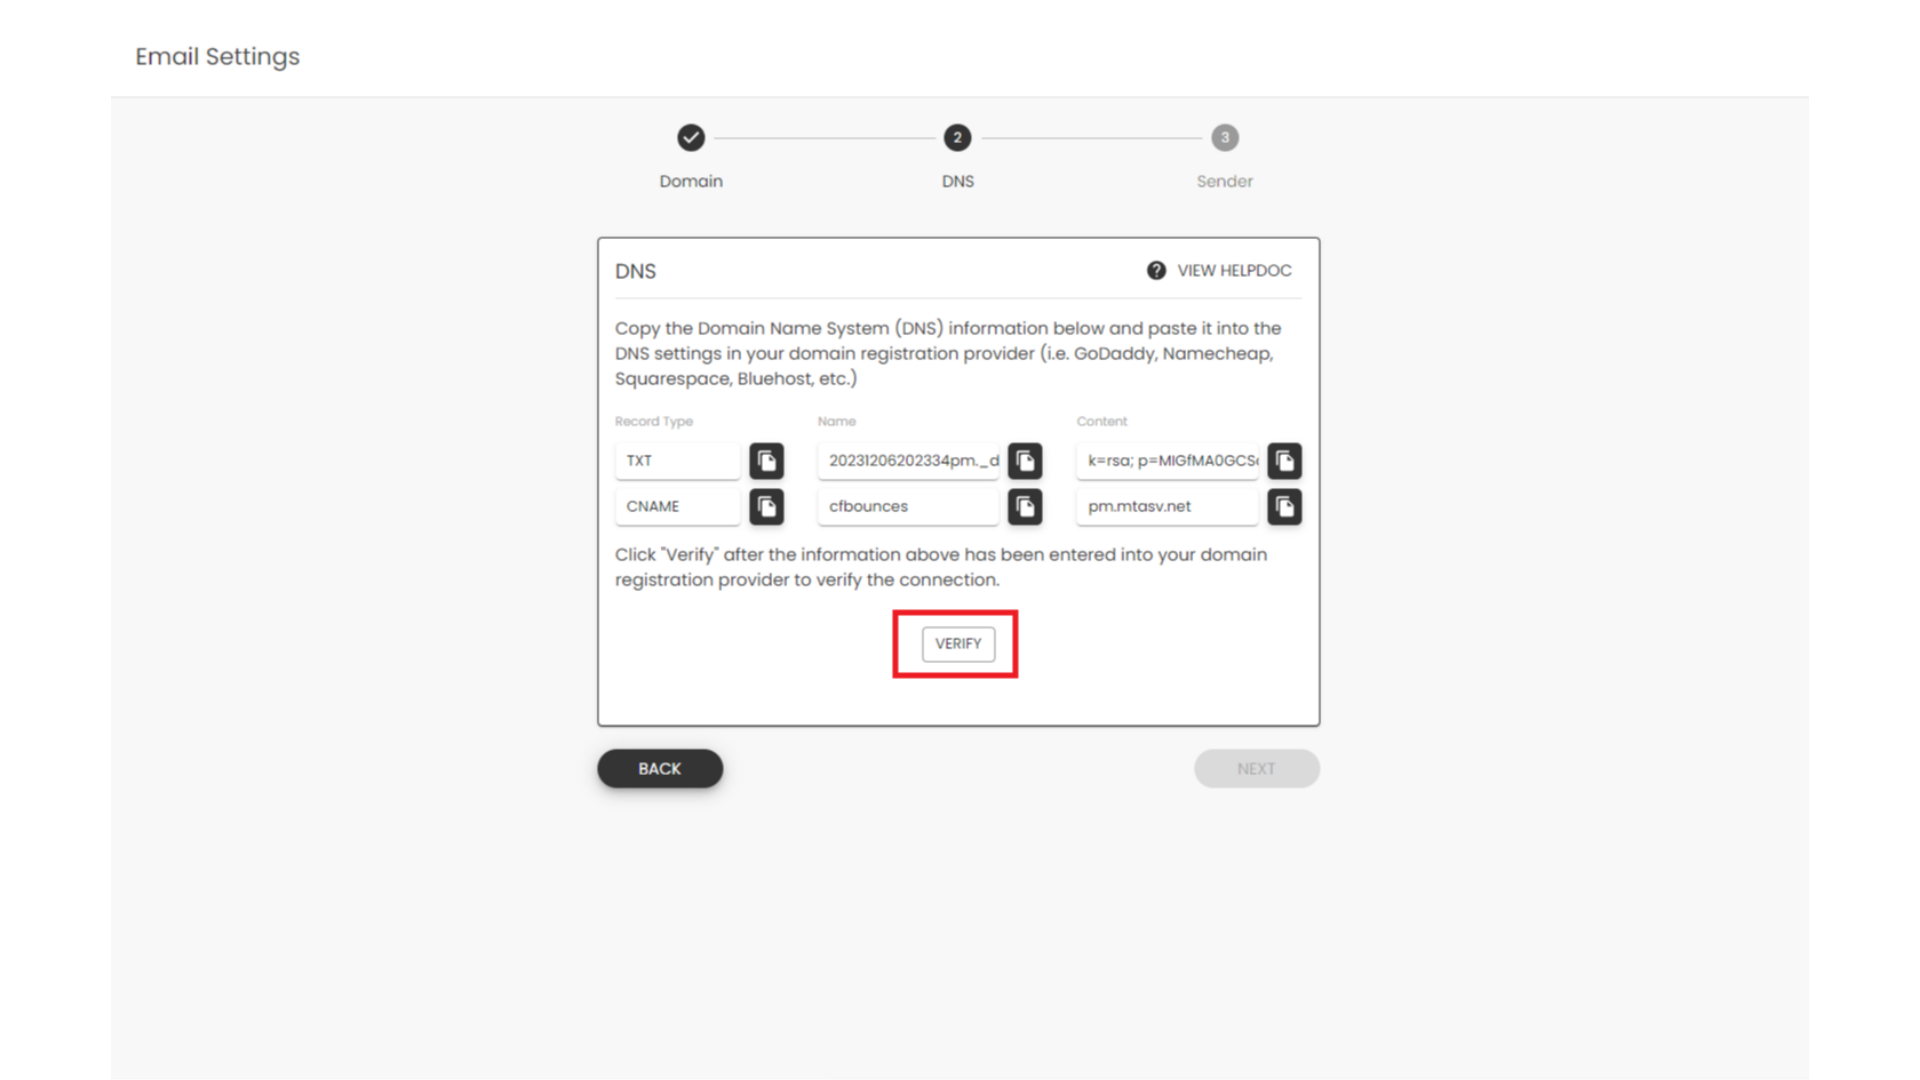
7. Verify domain
Once your IT team has added this information to your domain, you can verify that records are correctly set up. To do so, simply select the “Verify” button on this page.
Once the TXT/CNAME records are verified, you can click “Next” to configure your final setting. In the Sender settings, you configure which email address Signals will send from. Simply insert the email address that will appear as the "From Address" and the name that will appear as the "From Name" in emails.
Note: The prefix of the email address (i.e., the portion before the @ symbol) does not need to be valid – the suffix only needs to be the domain specified in Step 1 above. For example, the sender email address could be “ricki.lake@motivationalspeakers.com”, even if there is no associated mailbox for ricki.lake@motivationalspeakers.com in your domain.
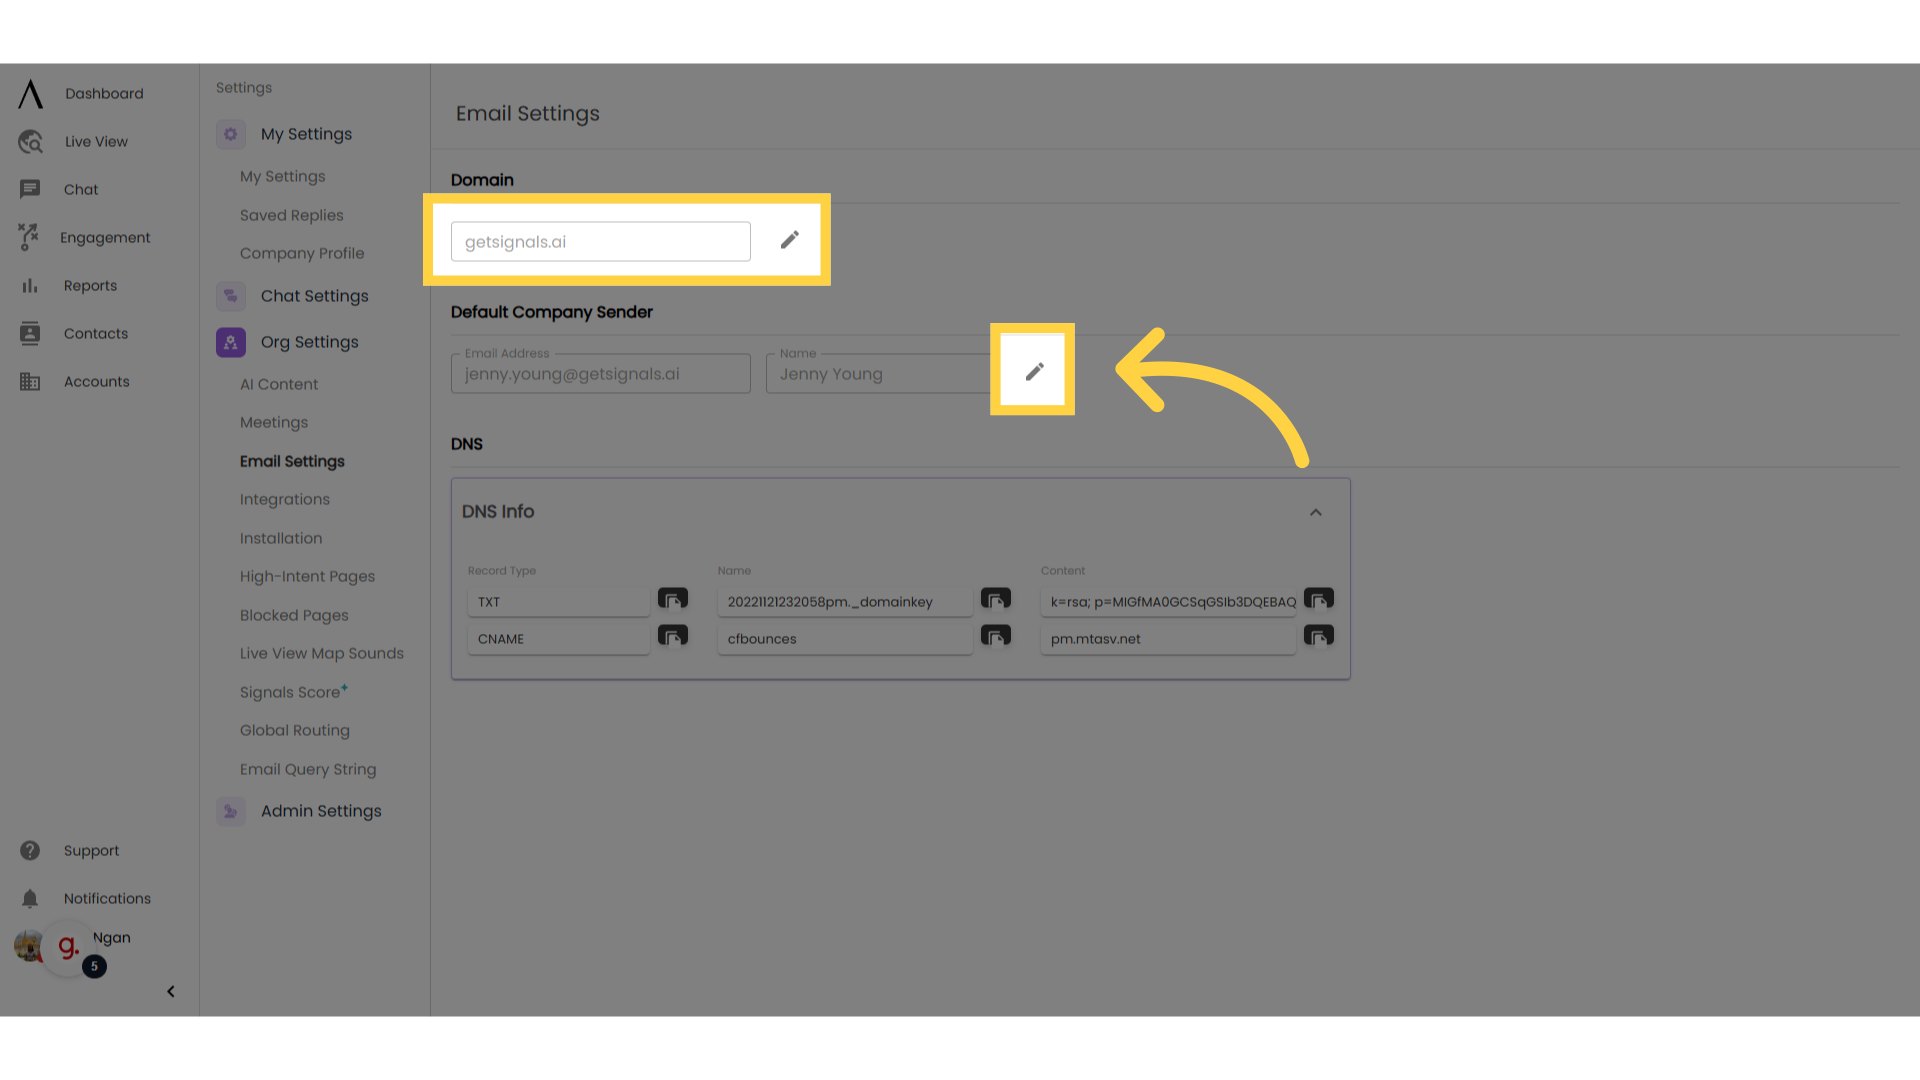
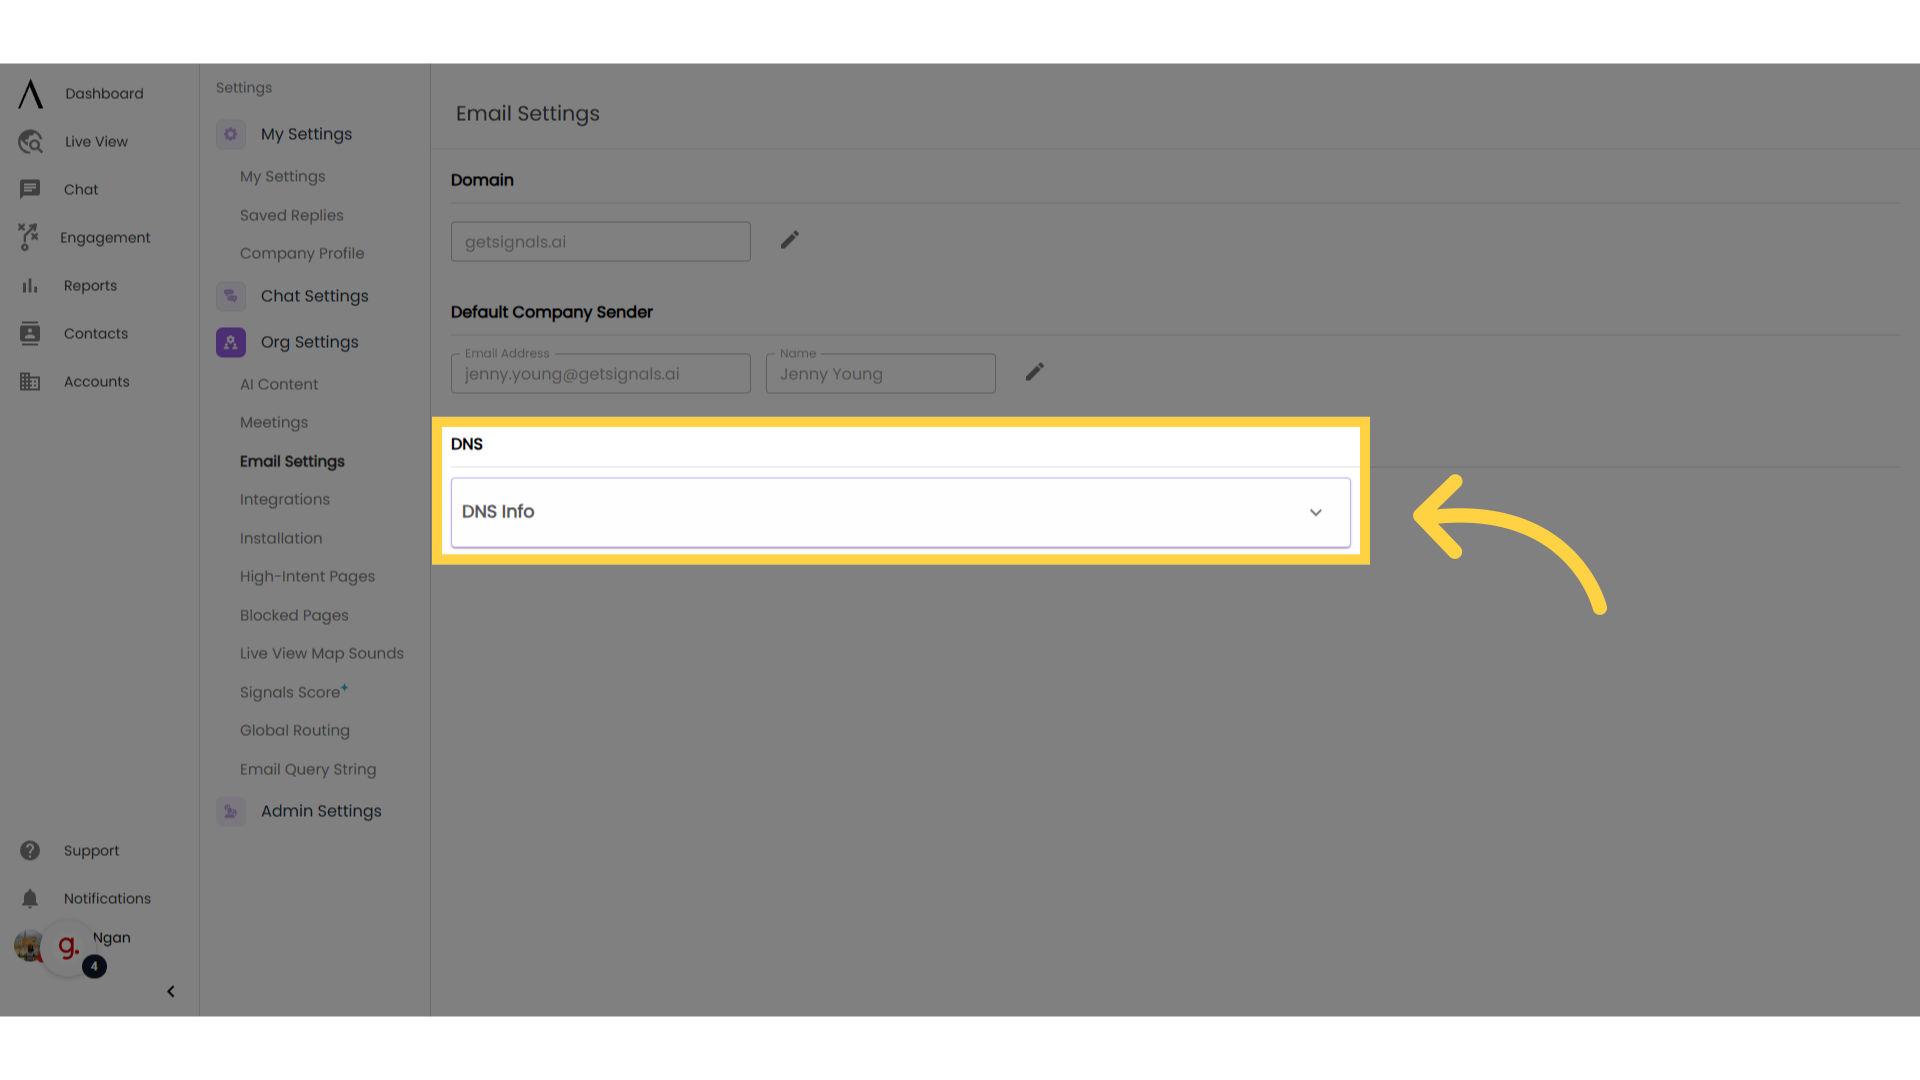
8. Viewing Email Settings
Once your Email Settings are configured, this settings page will show current status rather than the setup modal. To see your TXT/CNAME records, select the dropdown icon next to the DNS Info bar.
9. Editing Email Settings
To edit your Email Settings, click the edit icon associated with the field you want to edit, right under "Domain."
If you select to edit the domain linked to your organization, you will be prompted to go through the entire setup process again.