My Profile
My Profile
The Profile section of your account allows you to edit the personal information of your account such as your name, email address, phone number and social media links.
Go to app.getsignals.ai
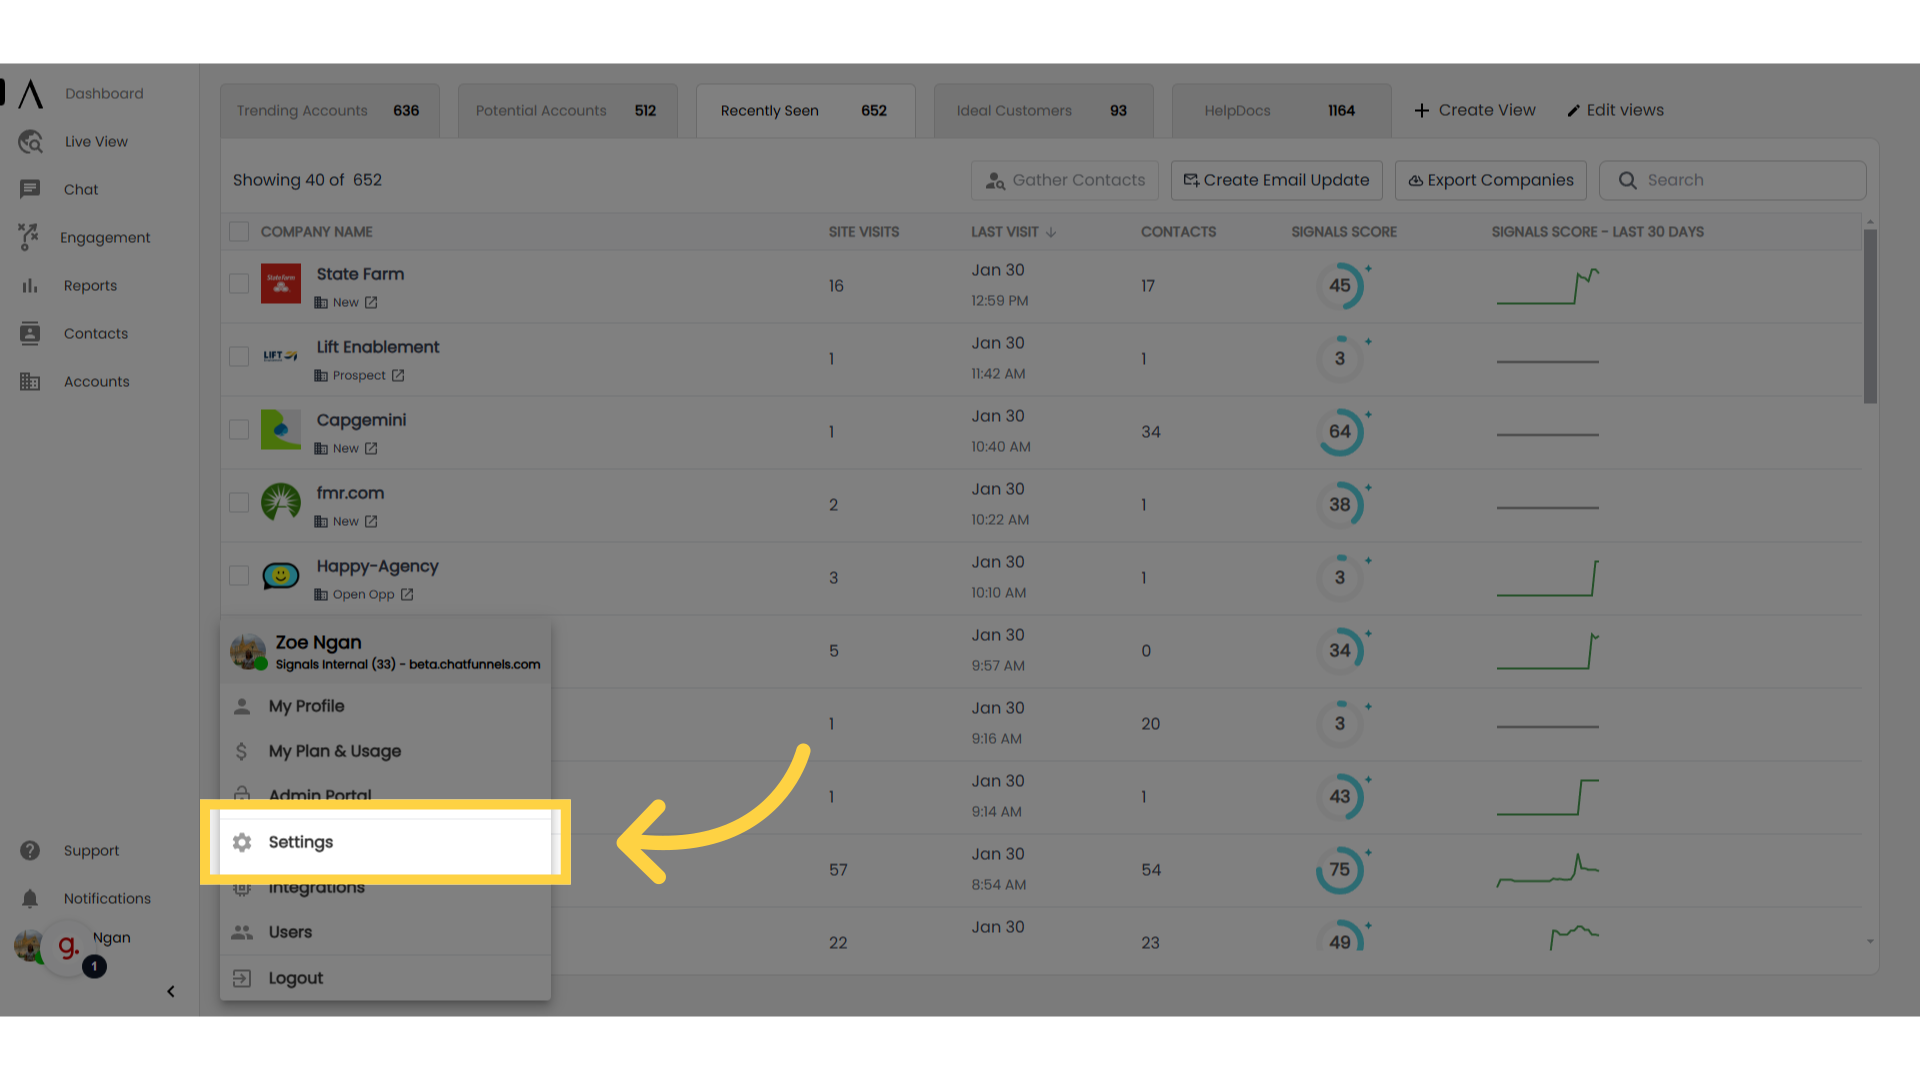
1. Go to "Settings"
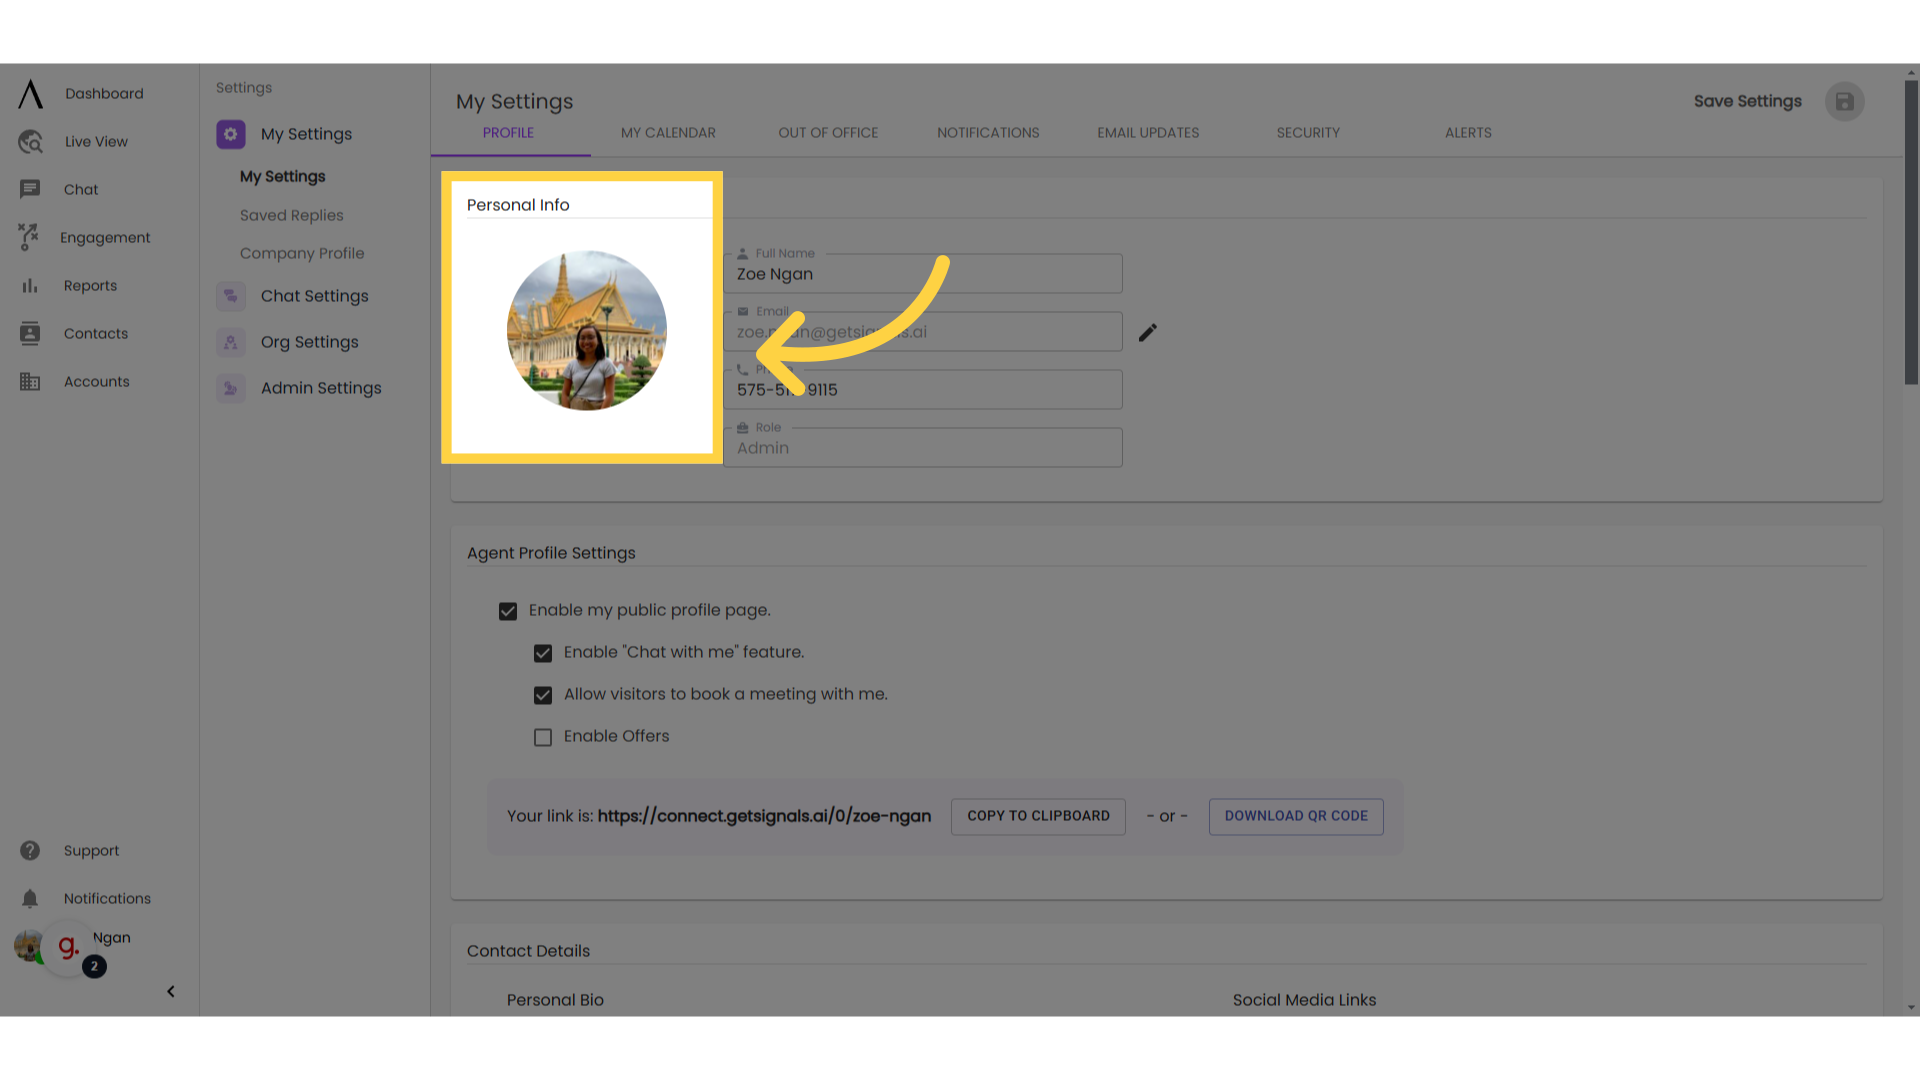
2. Click on the Profile Picture icon
To change or add your Profile Picture, click on the icon.
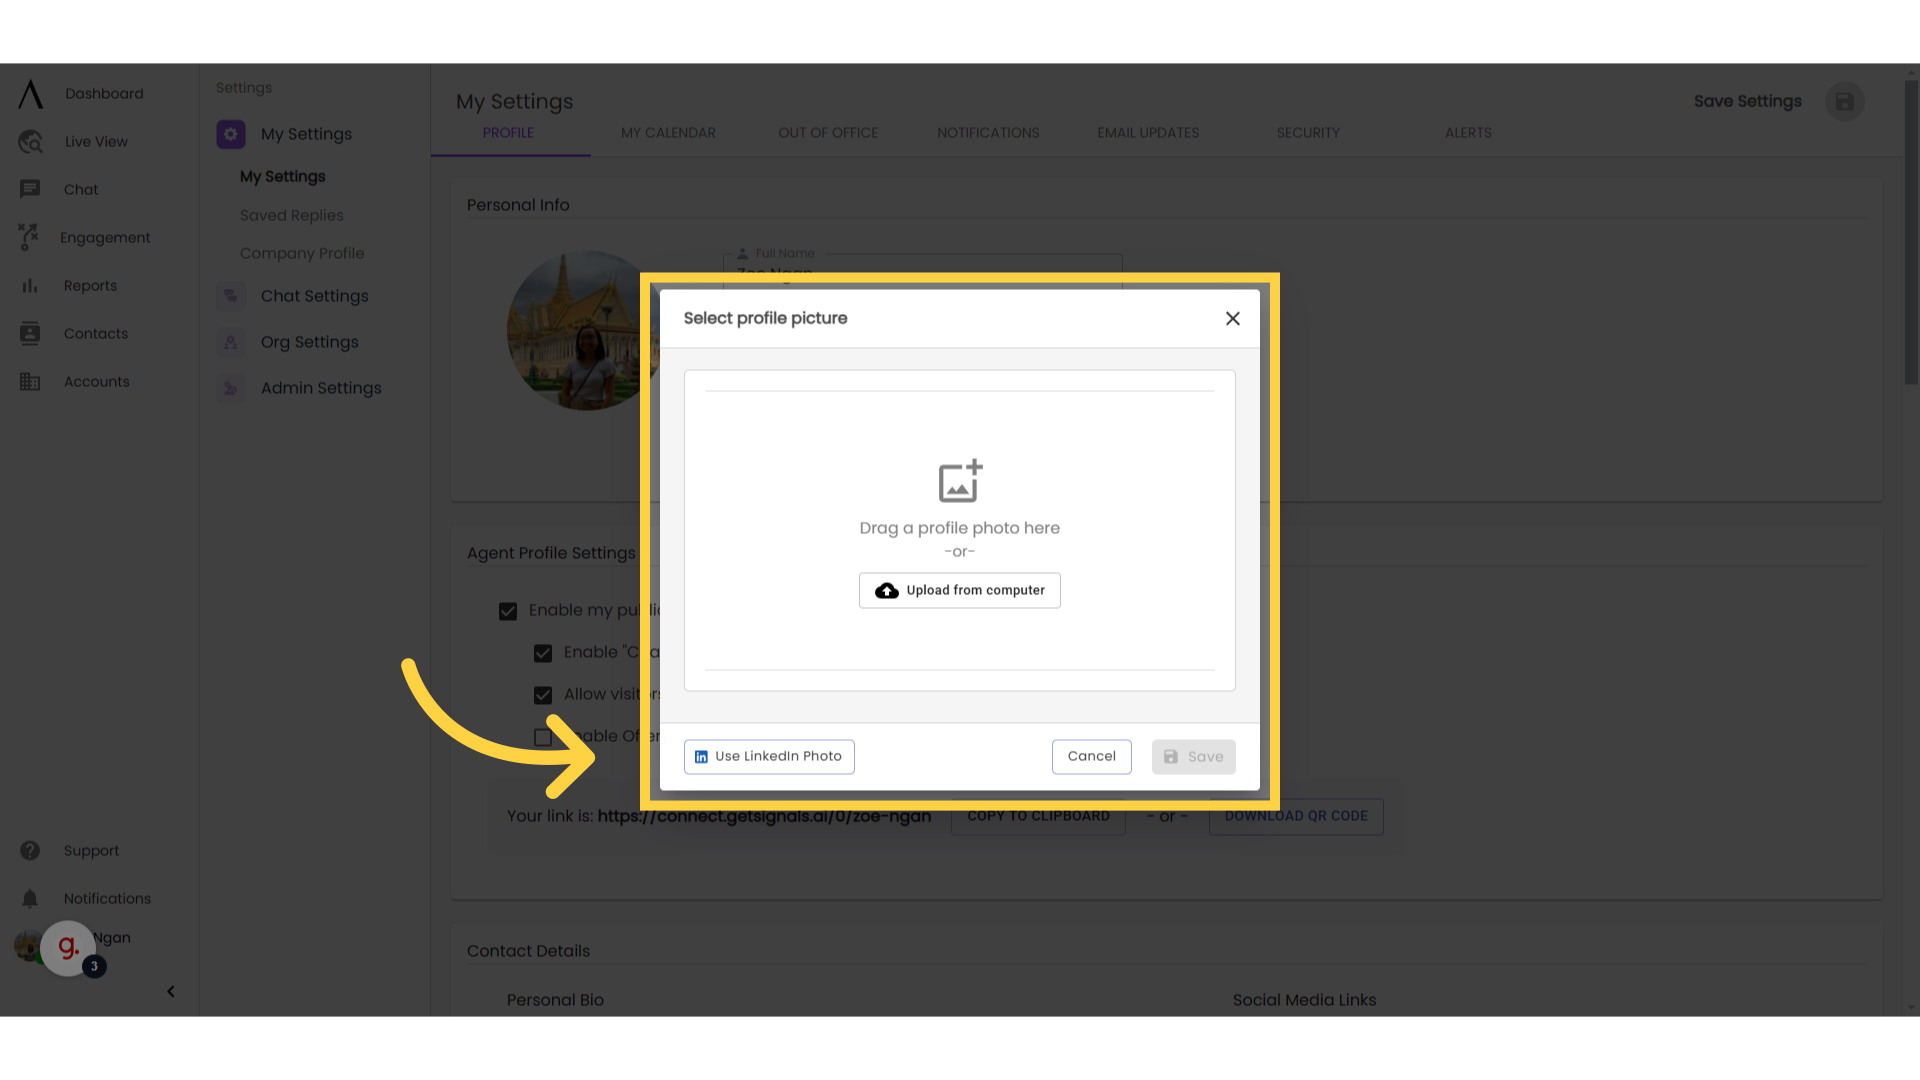
3. Insert picture
Drag and drop an image file from your computer, upload an image from your computer, or used LinkedIn. If you select the option to use your LinkedIn Profile picture, you will be prompted to sign into your LinkedIn so the system can obtain your profile picture to use here.
Note: We recommend that chat agents have a profile picture enabled. This creates a better chat experience for web visitors, signaling to them that are now speaking to a human and not a bot.
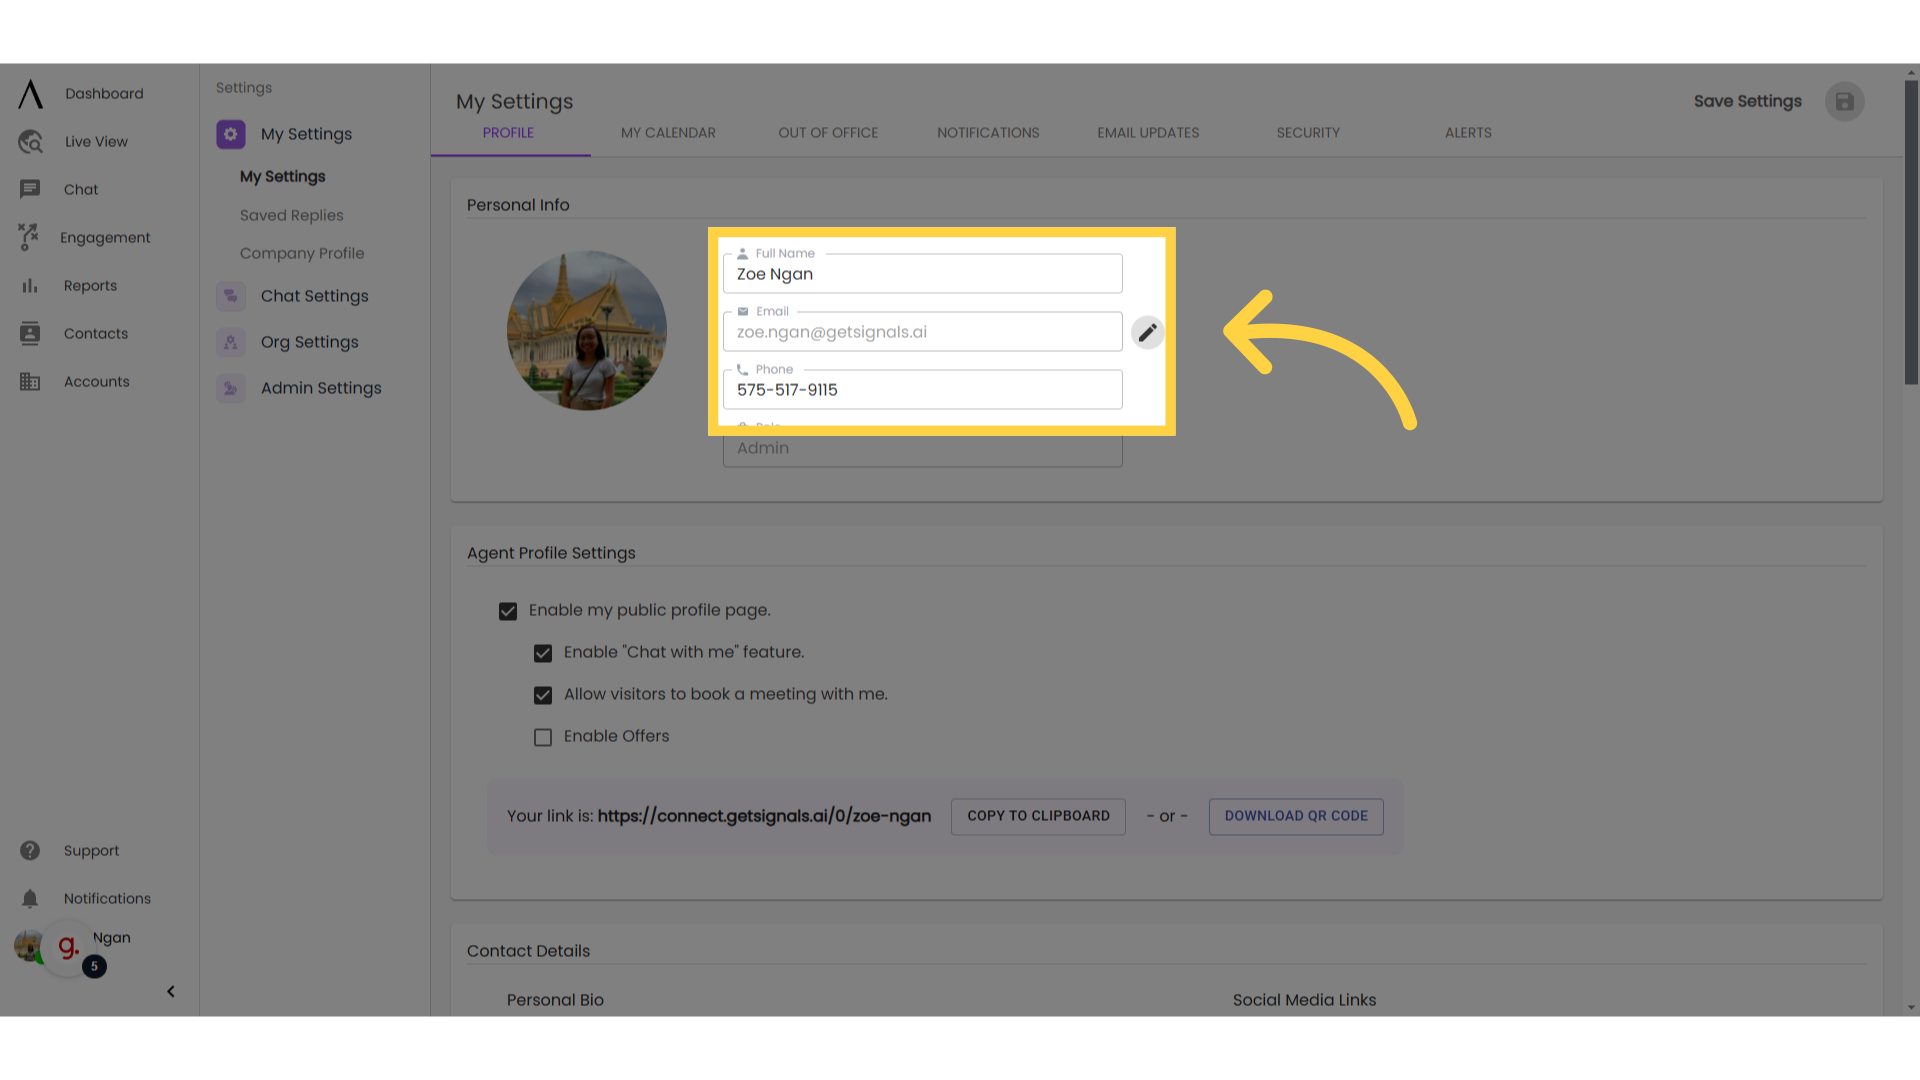
4. Edit these fields:
Click on the field you want to change, and update the field with desired information. If you want to change your email, you'll be sent an email change confirmation. This confirmation is only valid for the next 20 minutes.
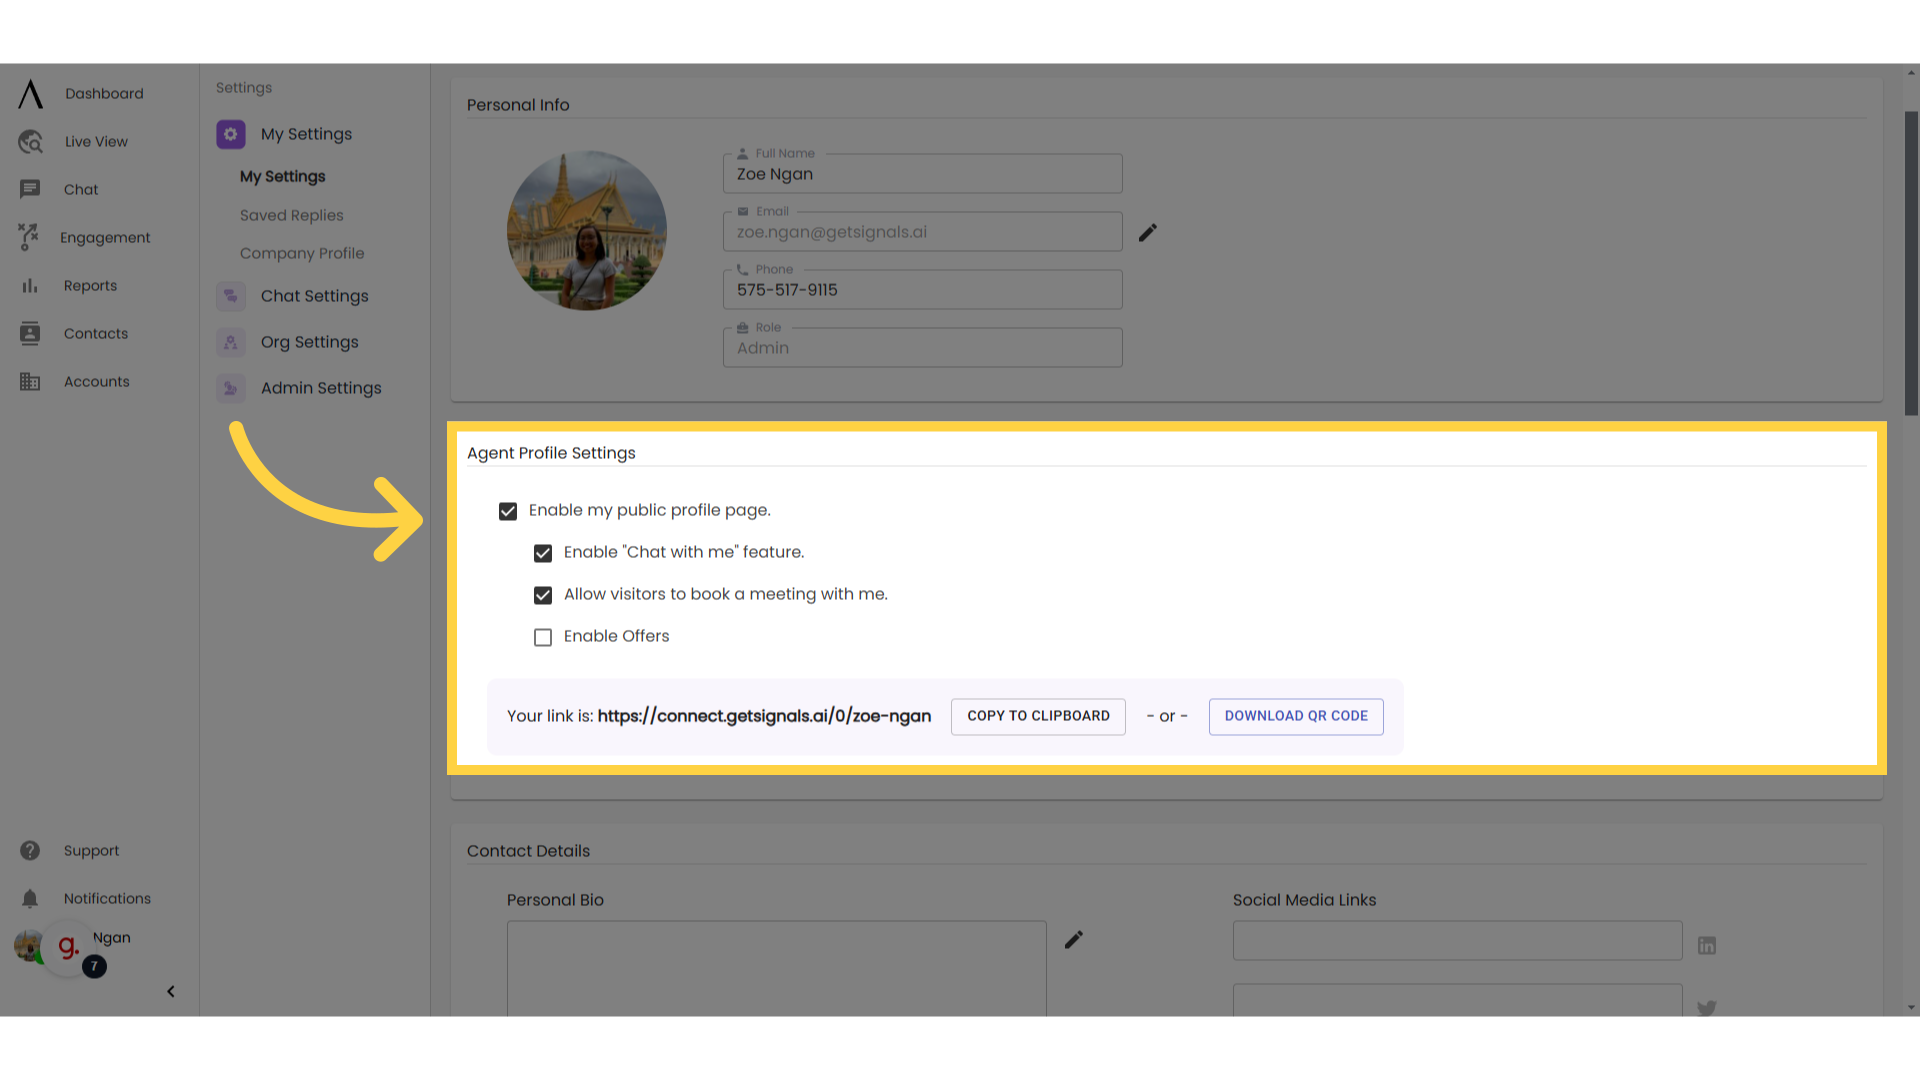
5. Click "Enable my public profile page"
Your Public Profile allows visitors to chat with your directly, schedule a meeting, view your contact info, as well as provide a general company overview. You can use this link in email signatures so your clients can get in touch with you or schedule a time on your calendar.
To enable your public profile link, Click the "Enable my public profile page" checkbox.
6. Public profile link
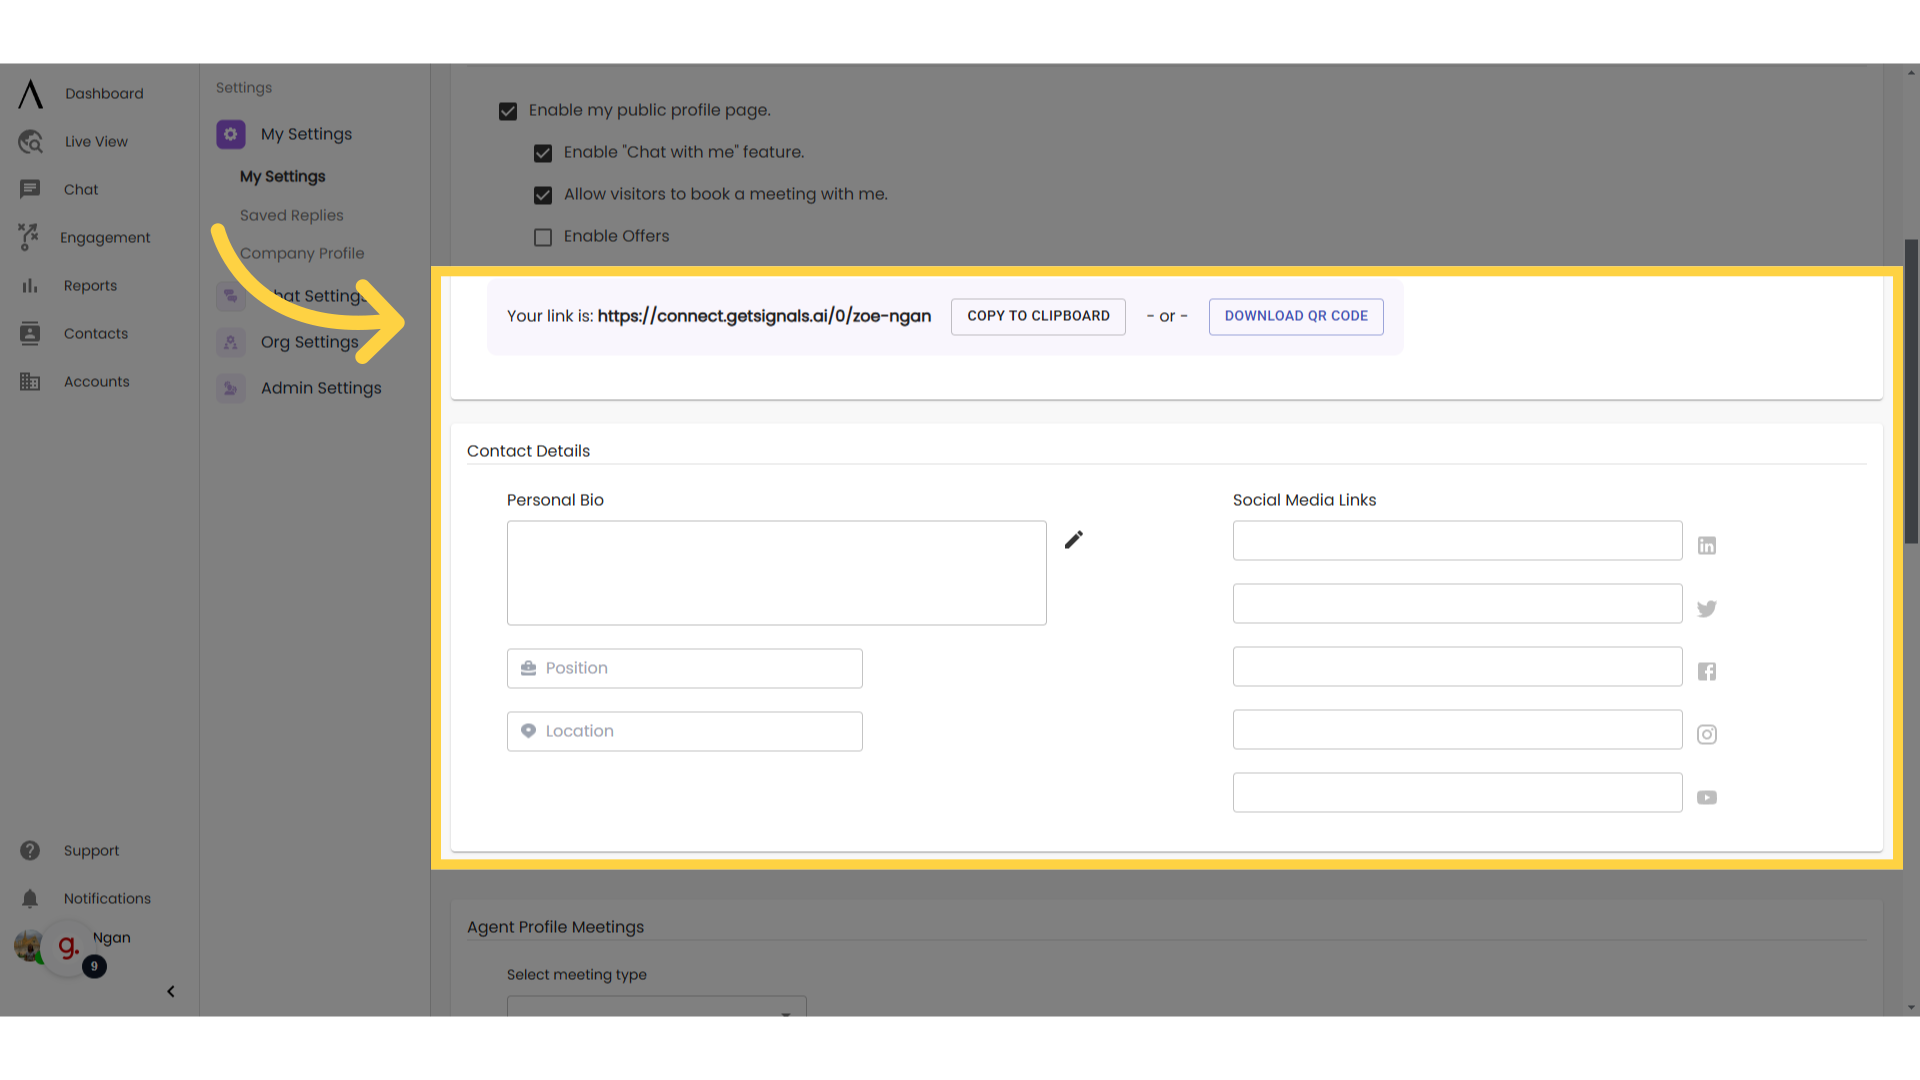
Once you enable your public profile link, you'll see your public profile link below. You can then use "Copy to clipboard" button to get a copy of your public profile link, or download a QR code.
Fill out your Contact Details, which will show up on your public profile link.
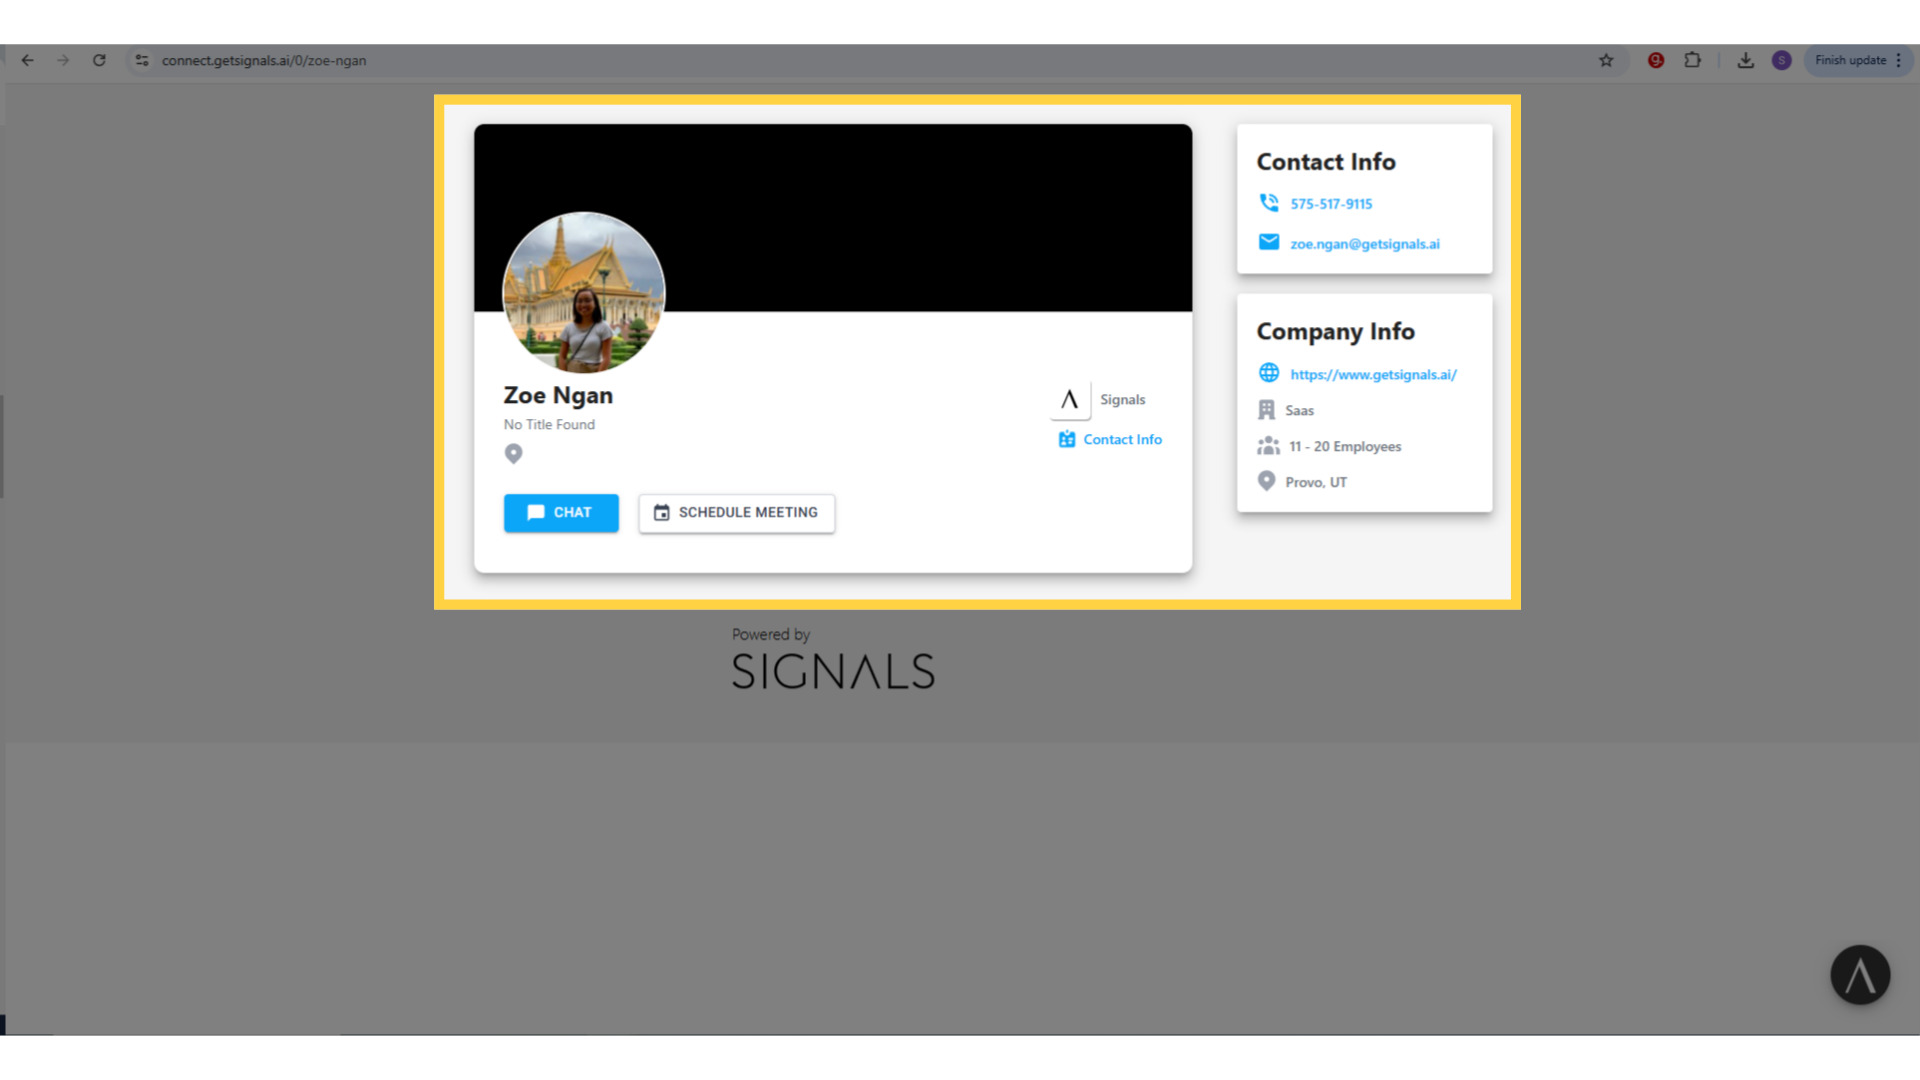
7. Public Profile Page
This is what your public profile page will look like.
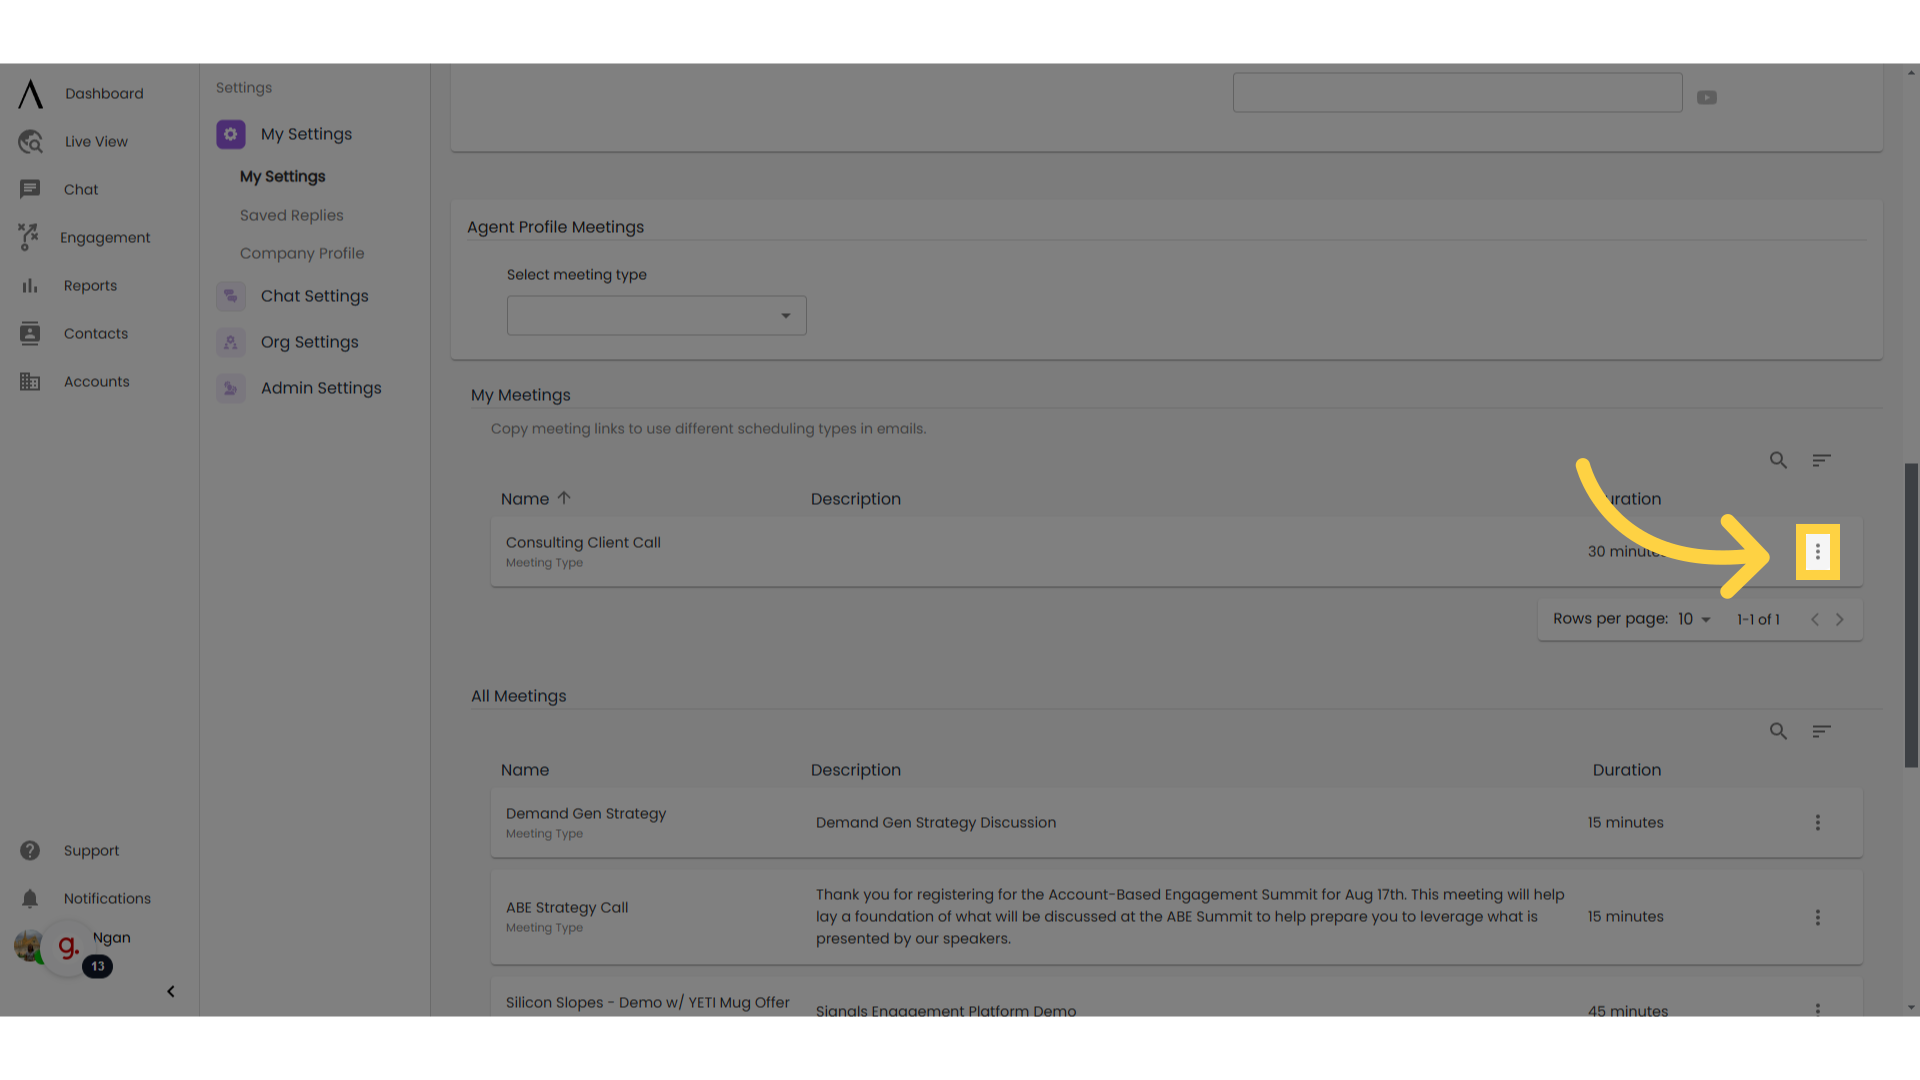
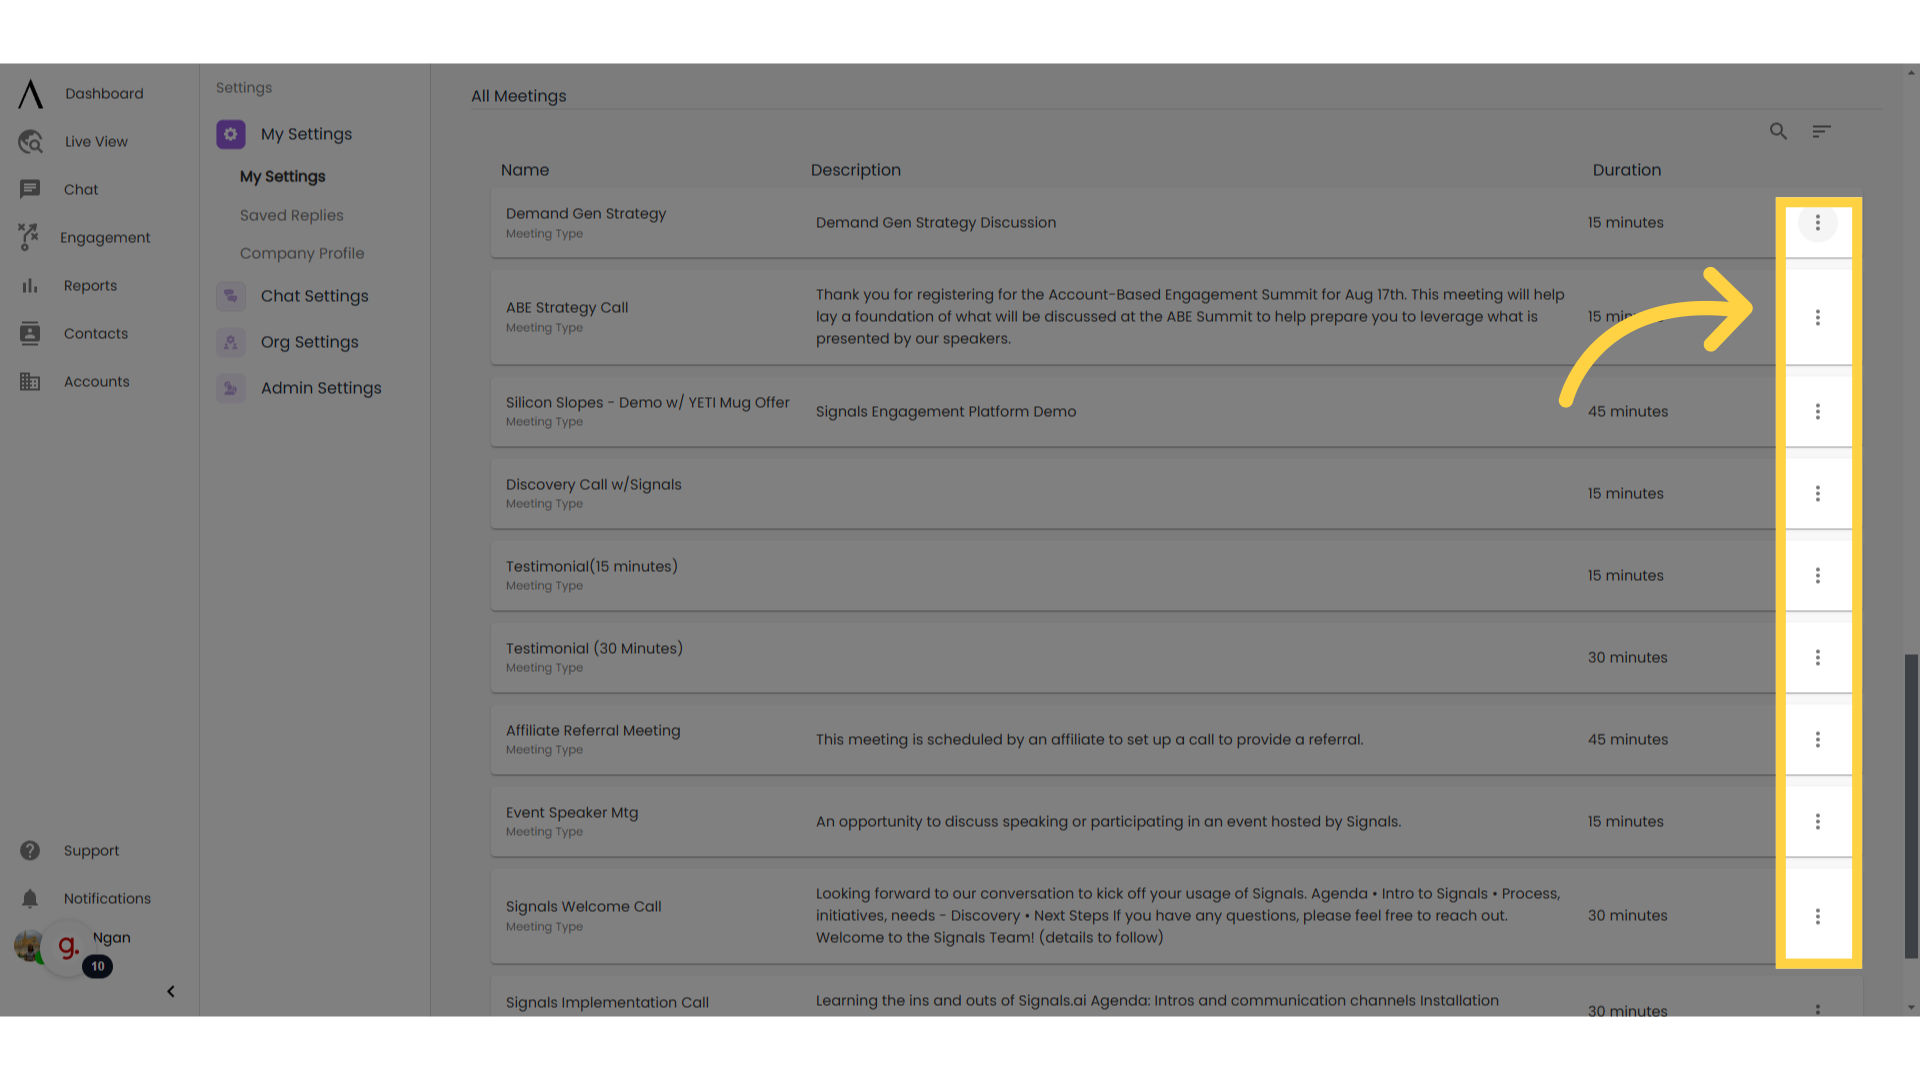
8. Add a meeting type
Your administrator can create Meeting Types, which determine how long a scheduled meeting with the visitor is and what messaging the meeting invitation contains.
If you check mark the option to 'Allow visitors to book a meeting with me" in your Agent Profile Settings, you'll need to add at least one meeting type to your public profile. To do this, select the hamburger menu to the far right of each meeting type, then select "Add to My Agent Page." This will then add the meeting type to "My Meetings" section and to your public profile page.
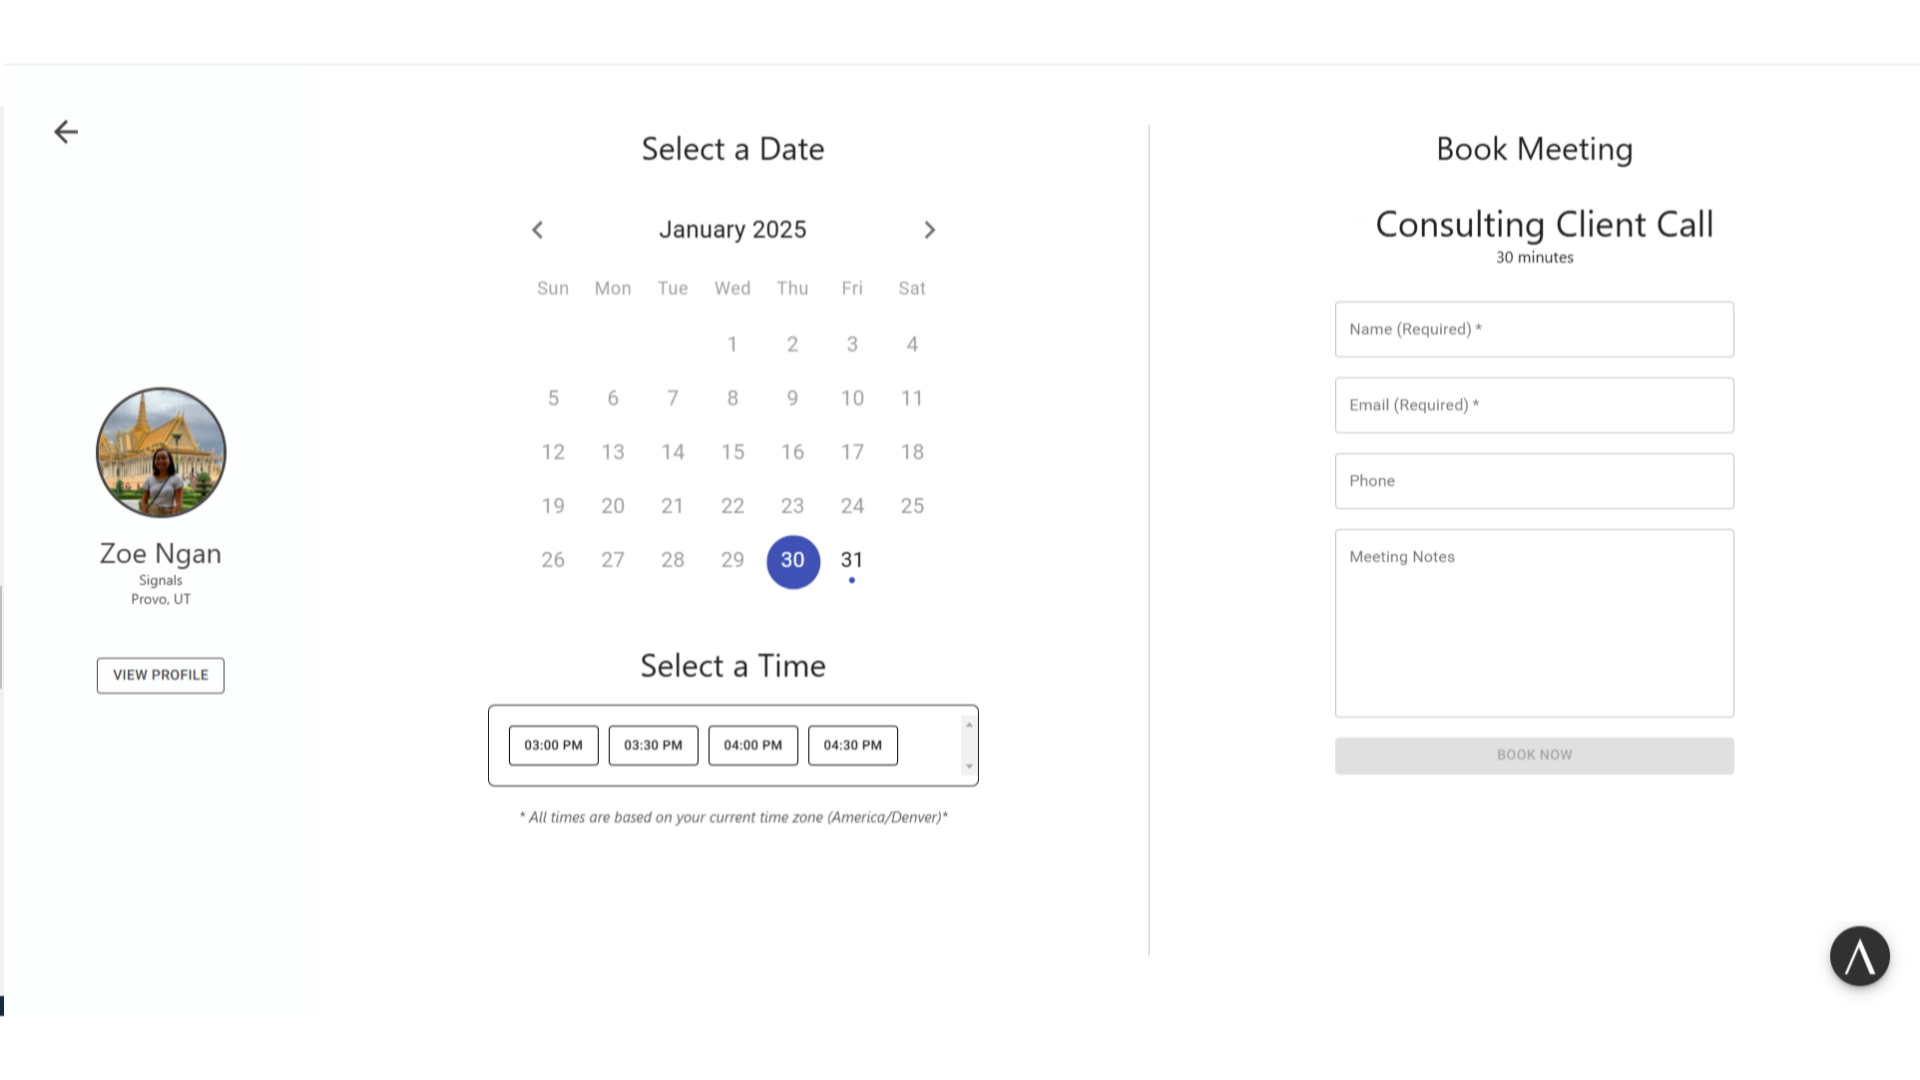
9. Scheduling Meetings
When a web visitor selects to schedule a meeting on your public profile page, they will be able to select which type of meeting then want to schedule with you.
If you have only added one Meeting Type to your public profile page, this Meeting Type will automatically be selected when the web visitor selects to schedule a meeting with you, as is the case here.
10. Click here
You also have the option to give visitors a link that will directly lead them to schedule specific Meeting Type. Select the hamburger menu associated with the Meeting Type that you have added to your public profile. Click on "Copy Link."
If you provide this link to visitors, when visitors access this link, they'll be taken directly to the menu to schedule a meeting from this Meeting Type.
Note: Visitors who access this link specific to a Meeting Type can still click the "View Profile" option to access your default public profile link and schedule different meetings.