Live View
Live View
Explore the functionalities of Live View in Signals with this guide. The live view feature allows users to view and initiate chat with visitors who are currently on the site.
Go to app.getsignals.ai
1. Introduction
First, log in to your Signals account.
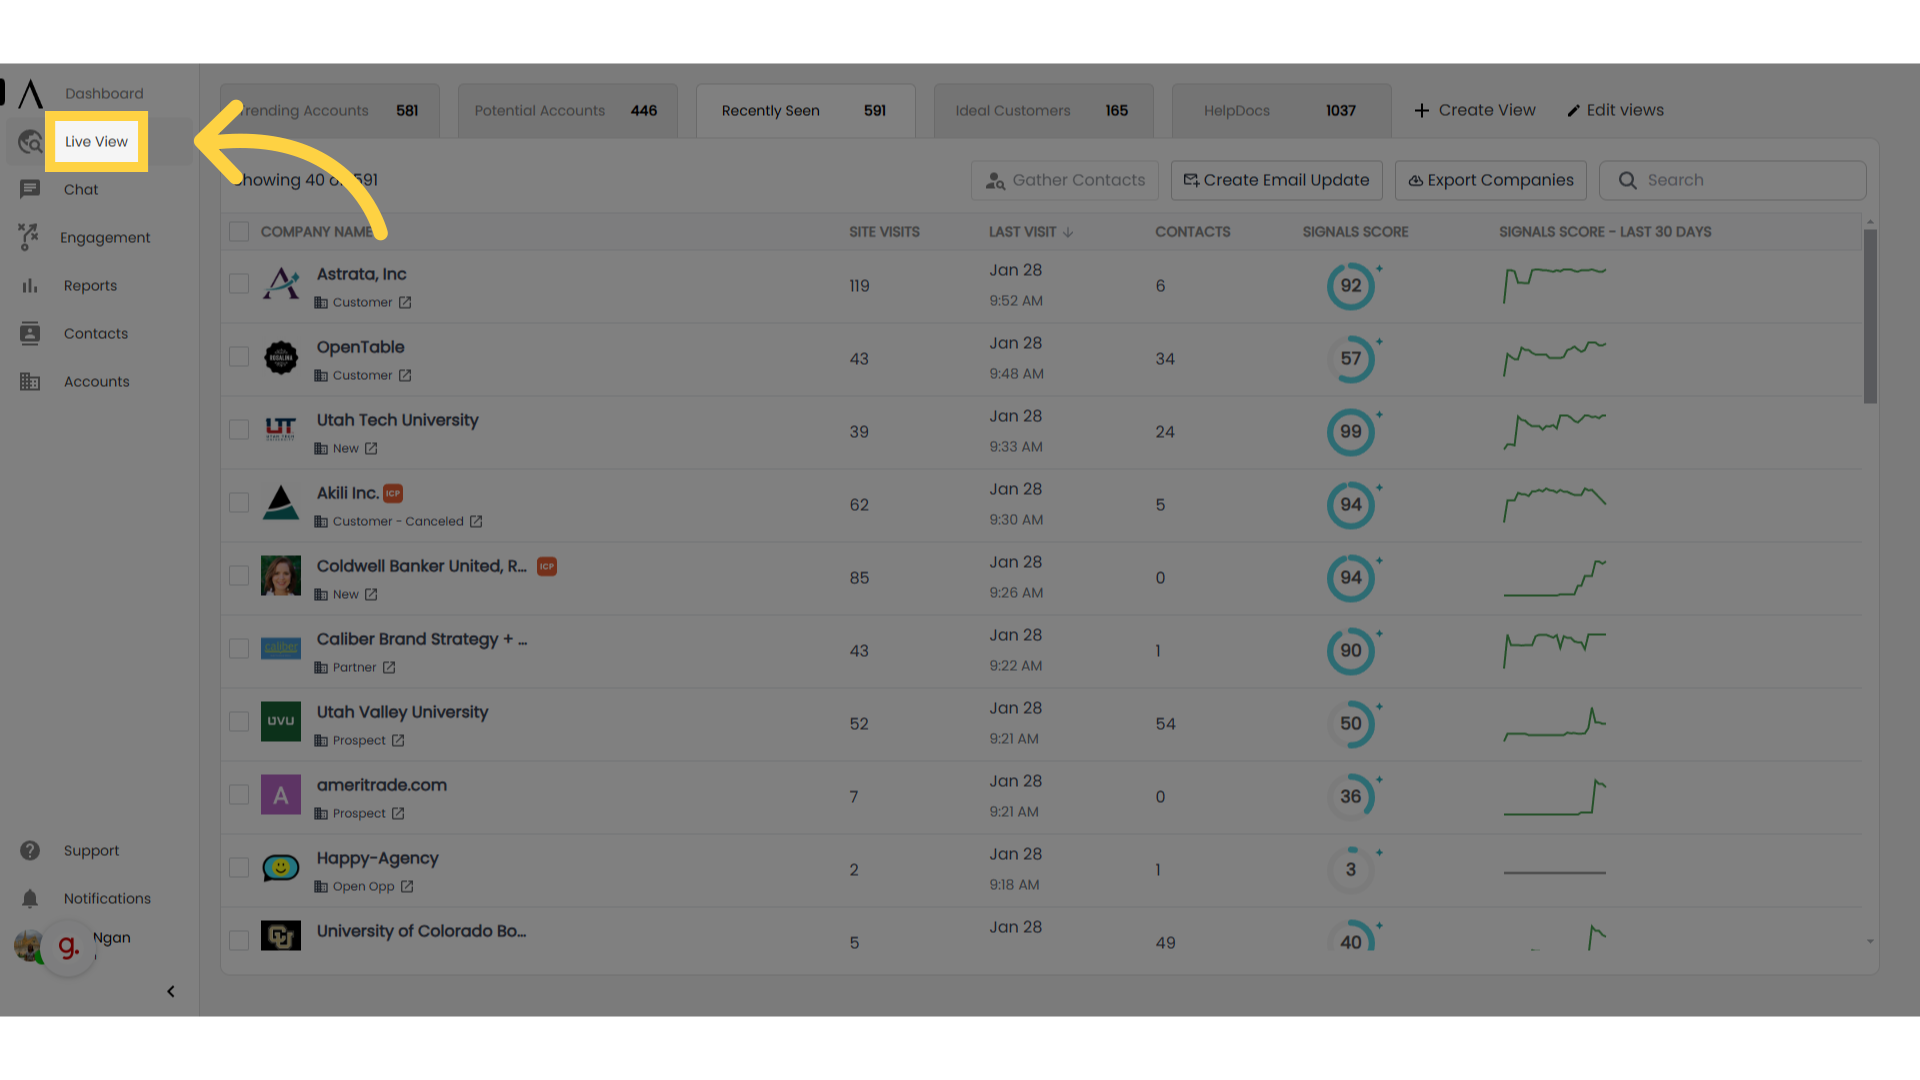
2. Navigate to "Live View"
Navigate to the "Live View" tab in top of the left sidebar.
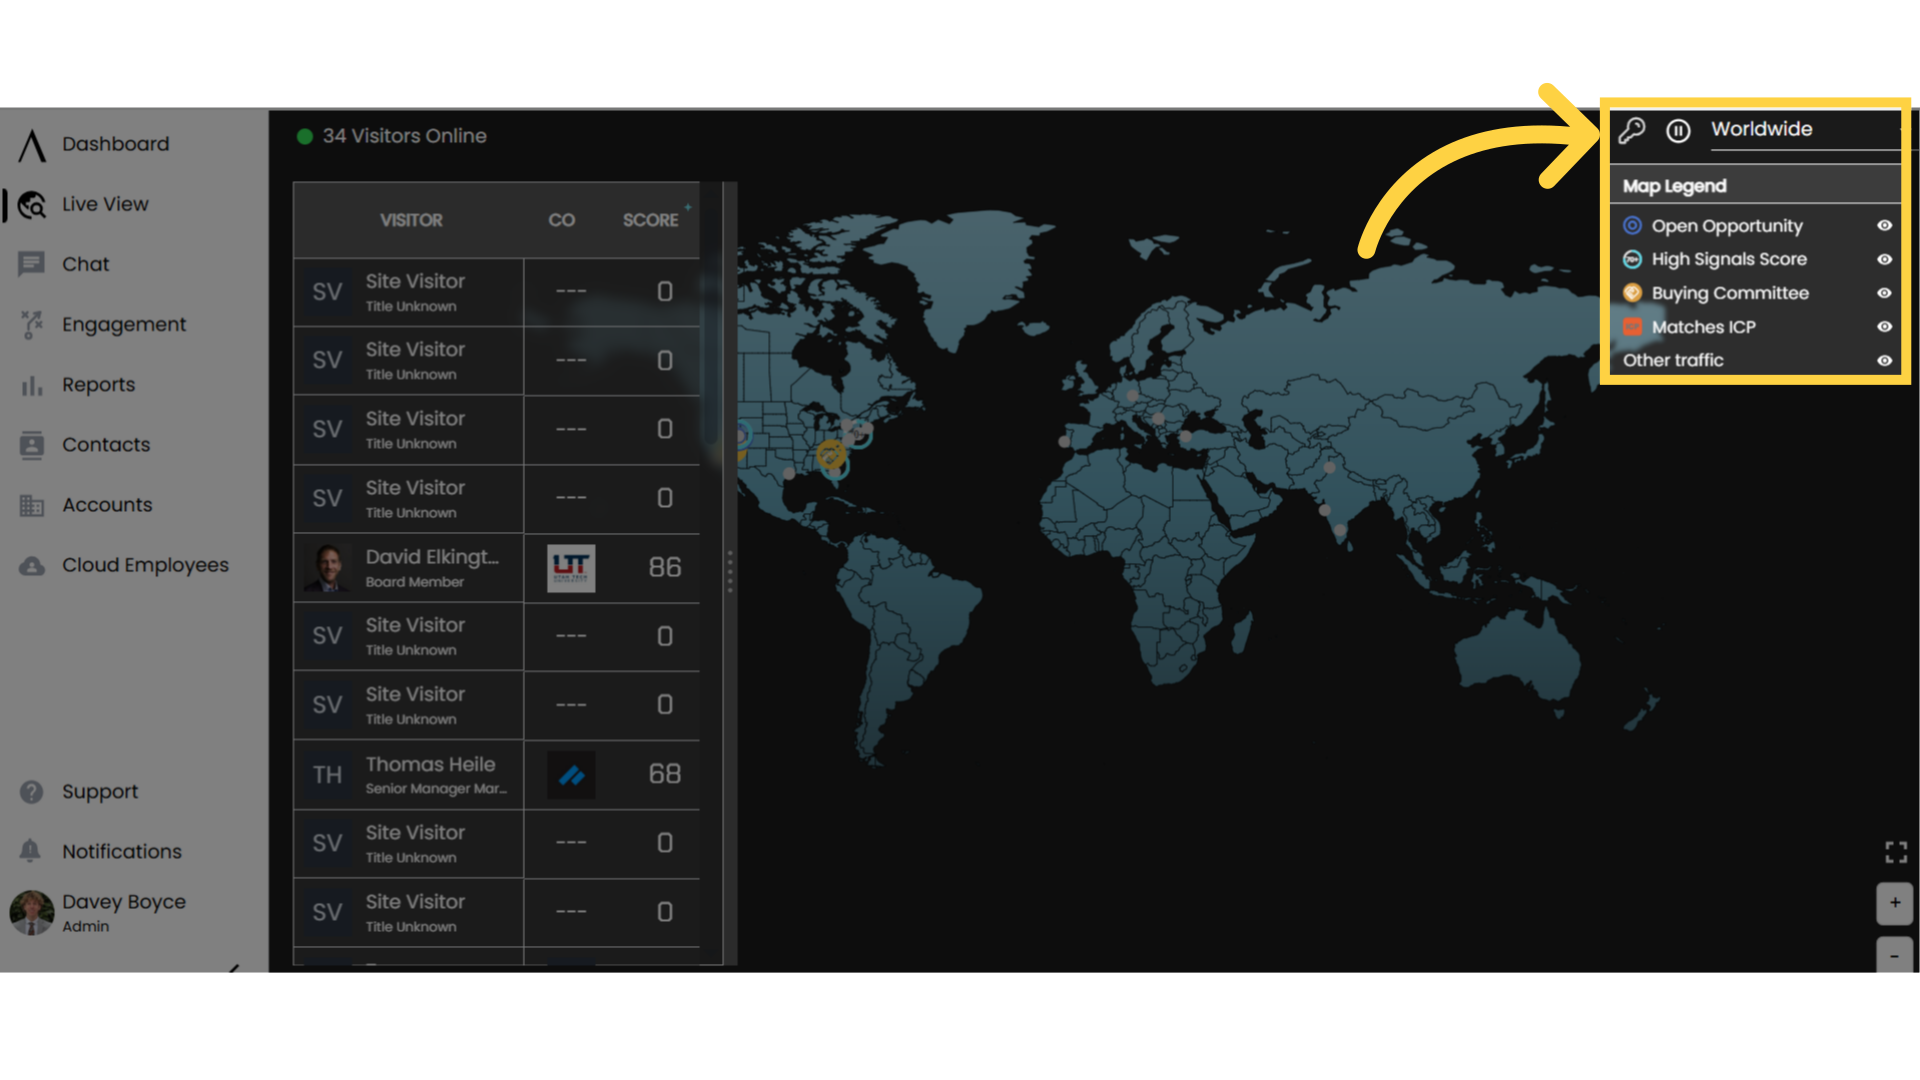
3. Map Legend
Visitors are segmented by the following criteria: open opps, those with a high Signals score, buying committee, ICP, or other traffic.
We have HelpDocs on Signals score, buying committee, and ICP if you'd like to learn more.
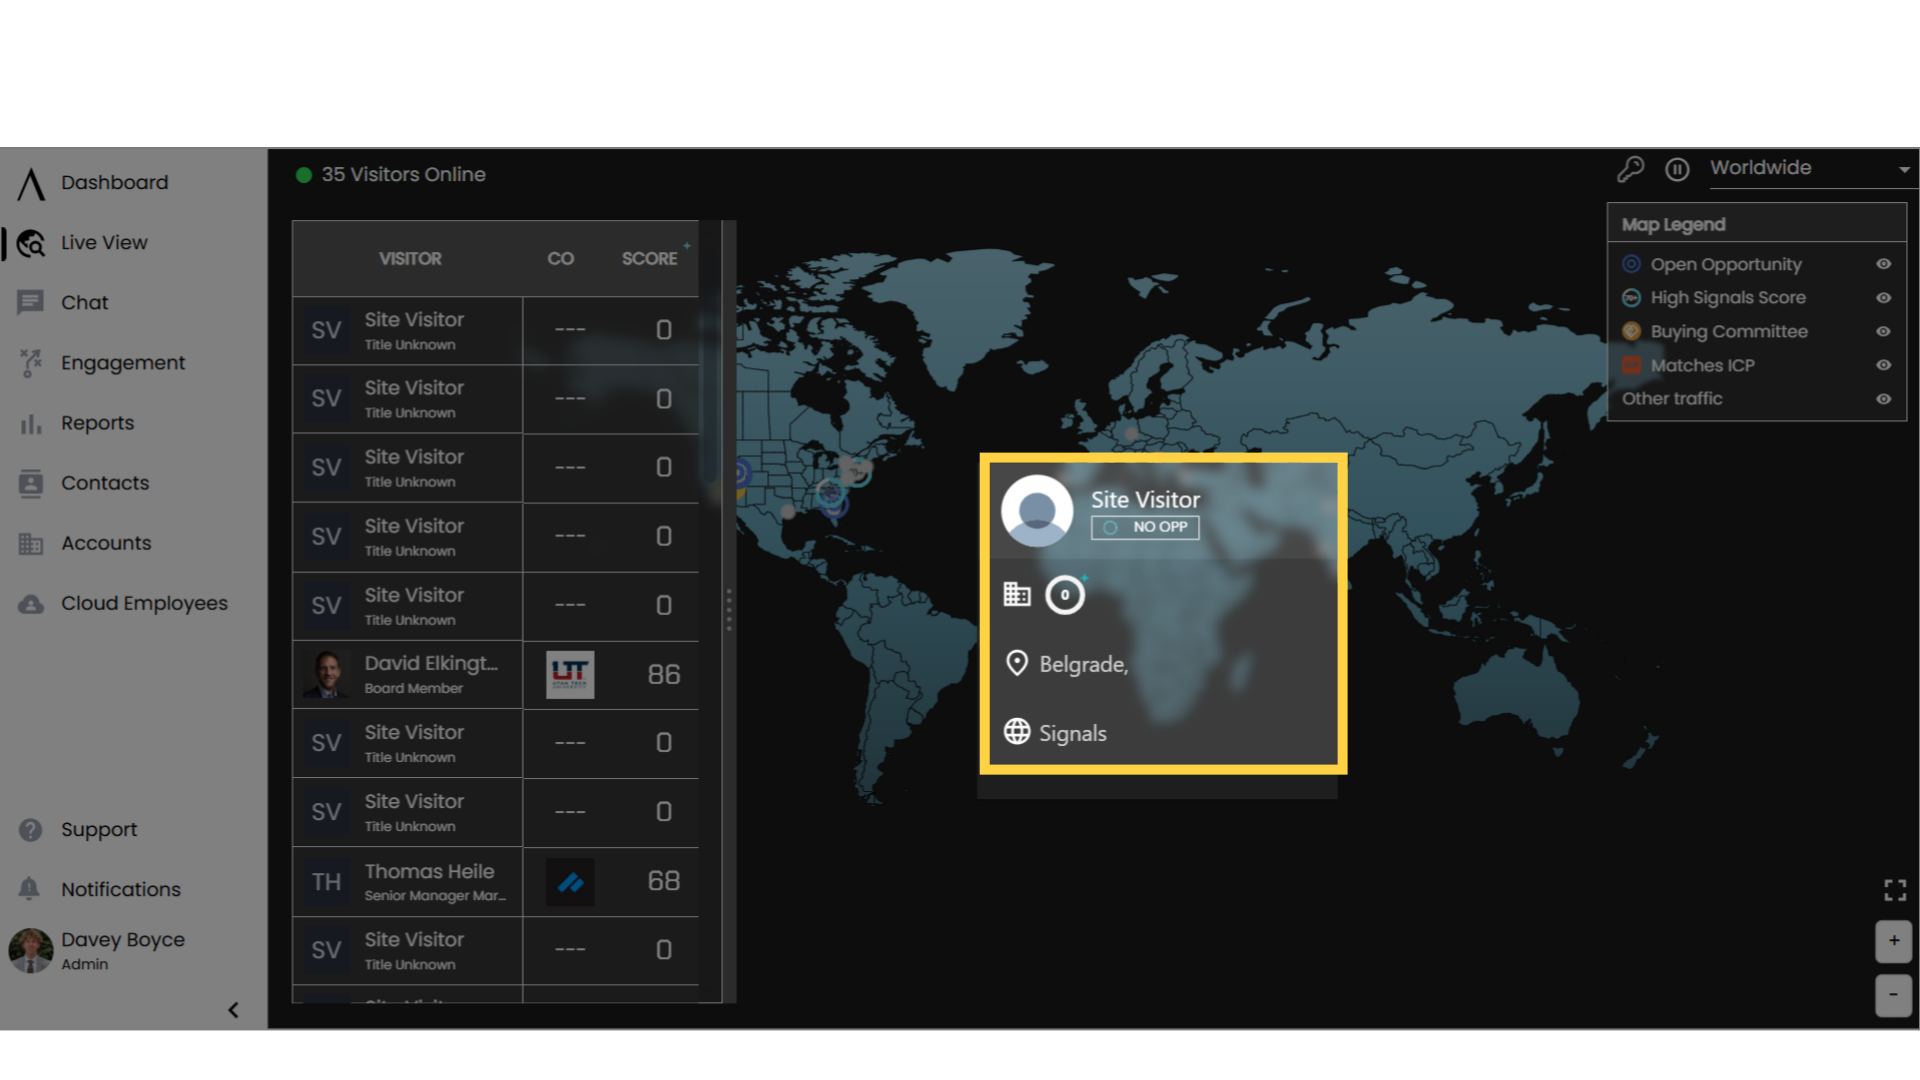
4. Visitor information
Hover over any visitor to view a short summary.
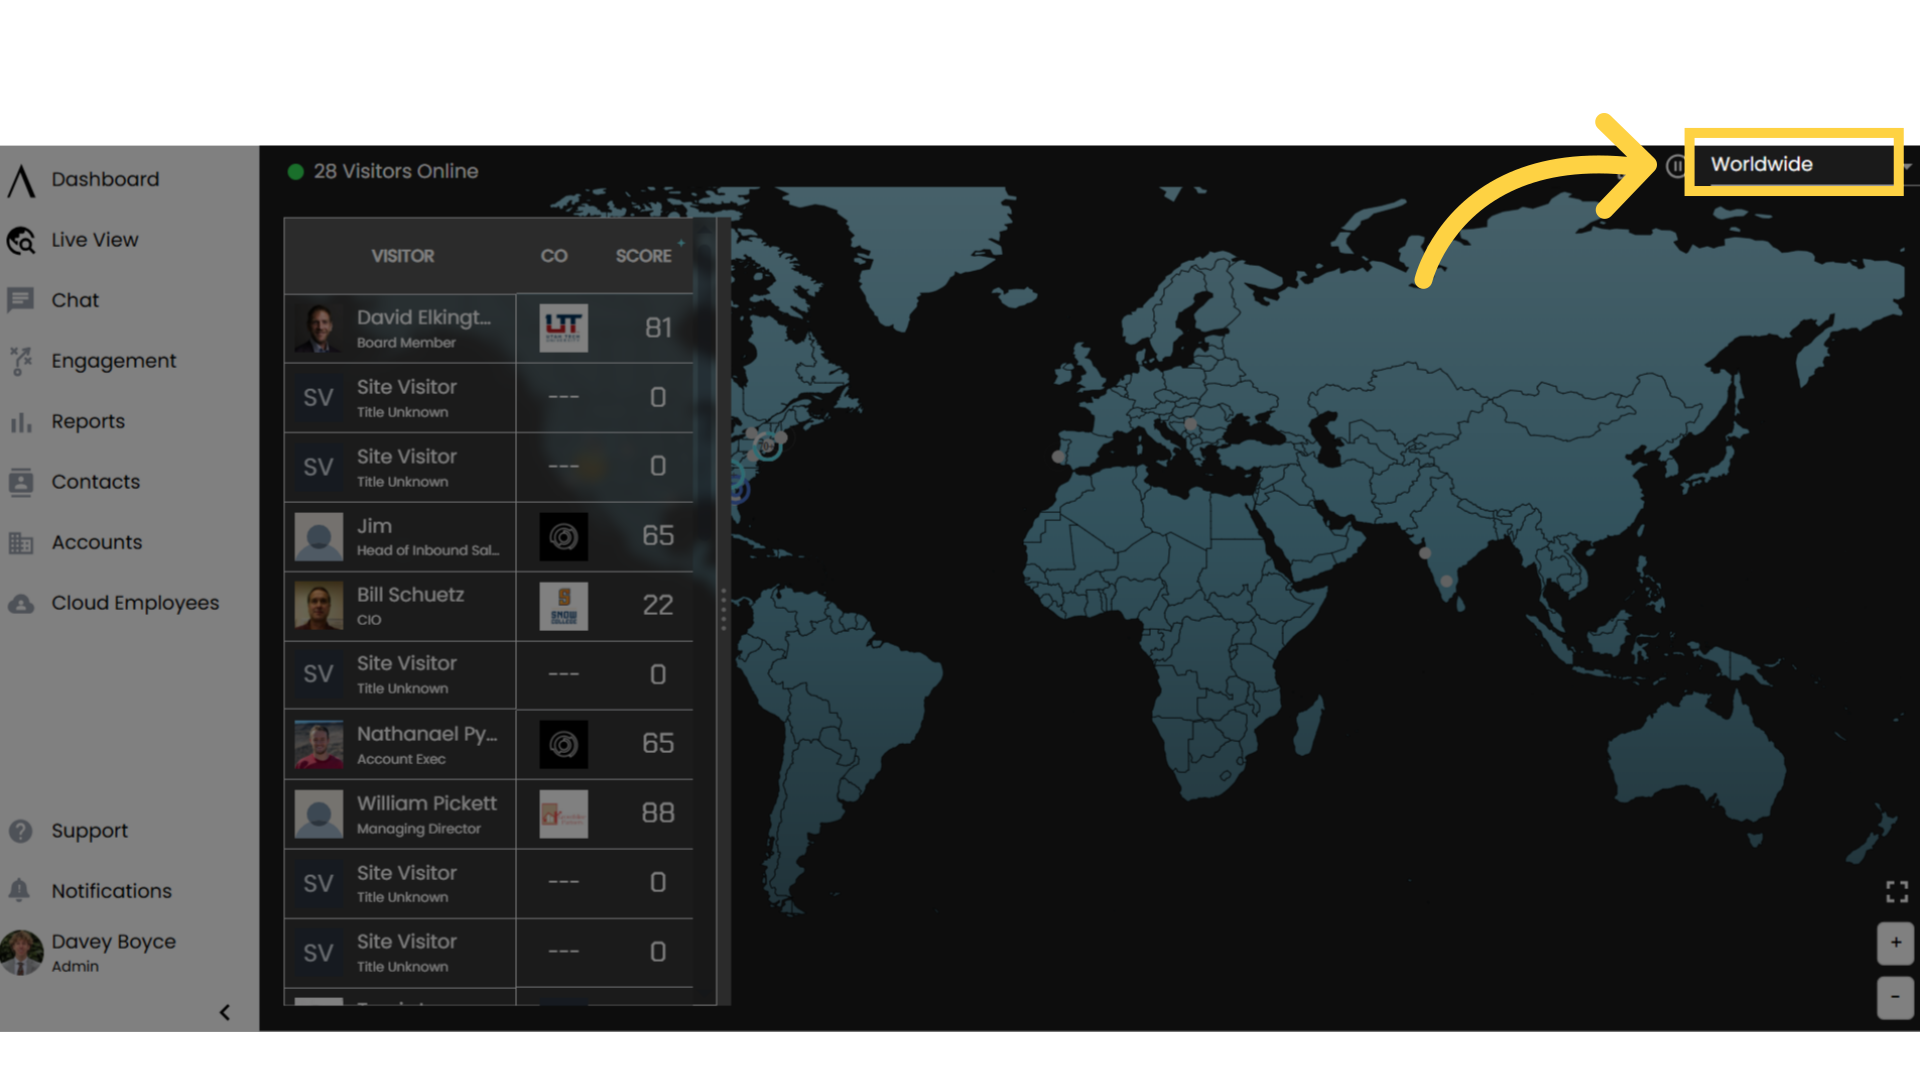
5. Filter by region here
Use this drop-down menu to filter by geographical region.
6. Access via Chat
Live view can also be accessed via chat, in the upper right-corner of the chat screen.

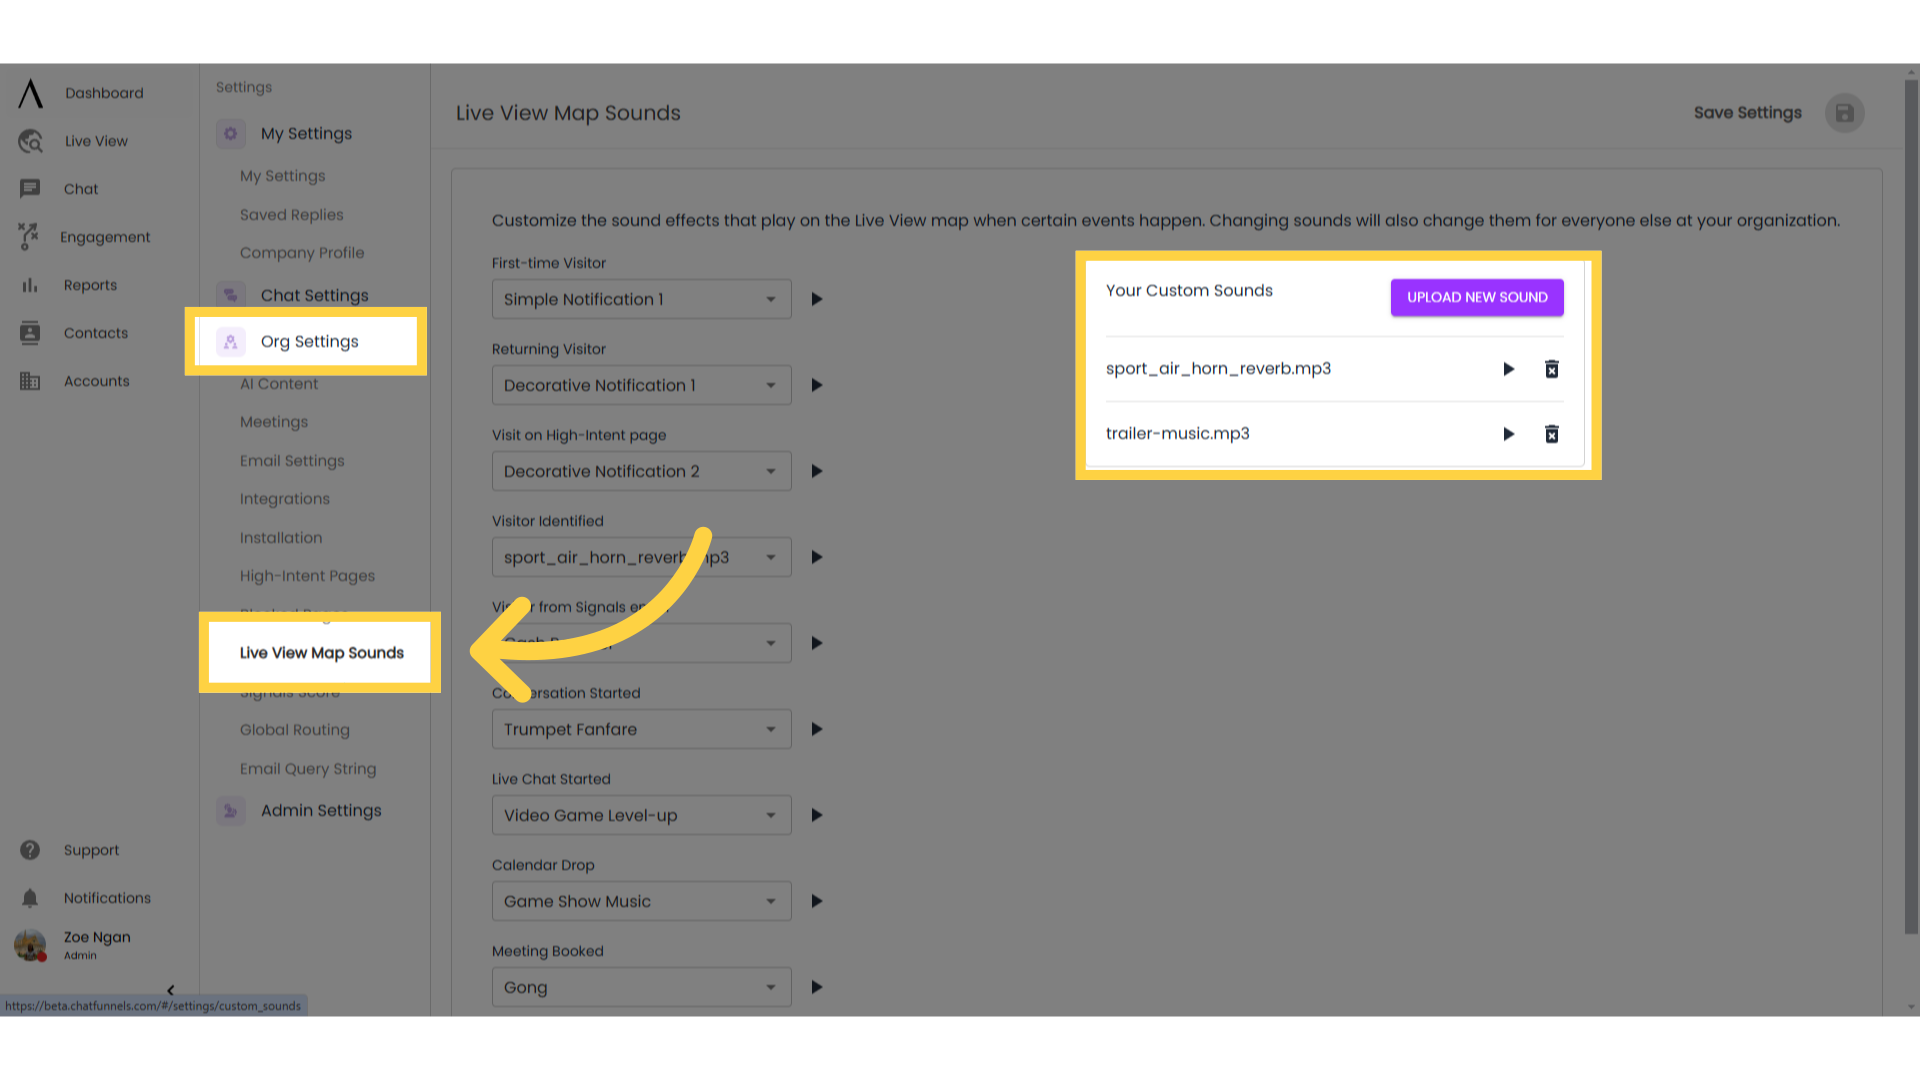
7. Configure Live View map sounds
Additionally, you also have the option to customise the sound effects that play on the Live View map when certain events happen. Click on your profile in the bottom, left-hand corner, click on settings in the task bar that appears, and then go to Org Settings in the second, left sidebar. Then click on "Live View Map Sounds." Here, you can choose which sounds will play for each events, or upload a custom sound.