Agent Profile
Agent Profile
Cloud employees are your AI assistants that can be used to handle phone and email outreach, follow up and more.
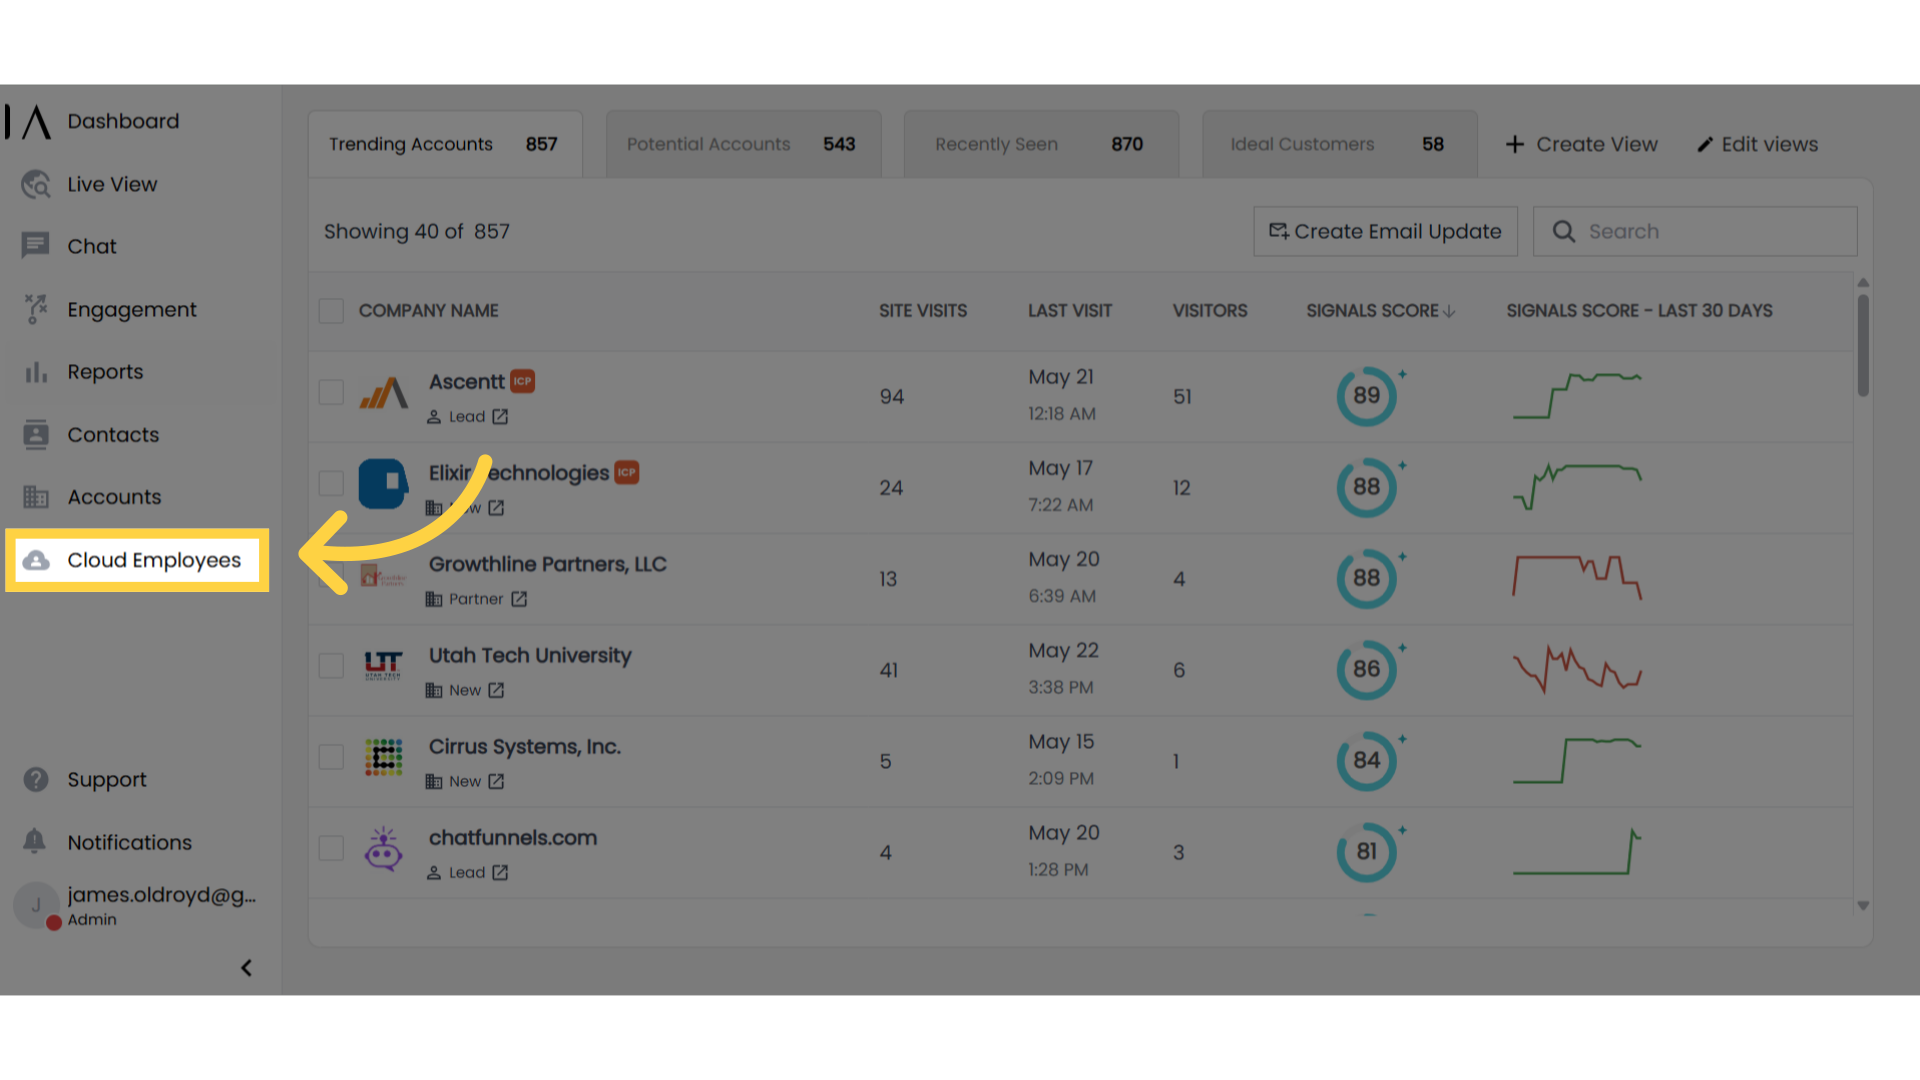
1. Click "Cloud Employees"
To create a new cloud employee, log in to Signals. Then click on the Cloud Employee tab on the left sidebar.
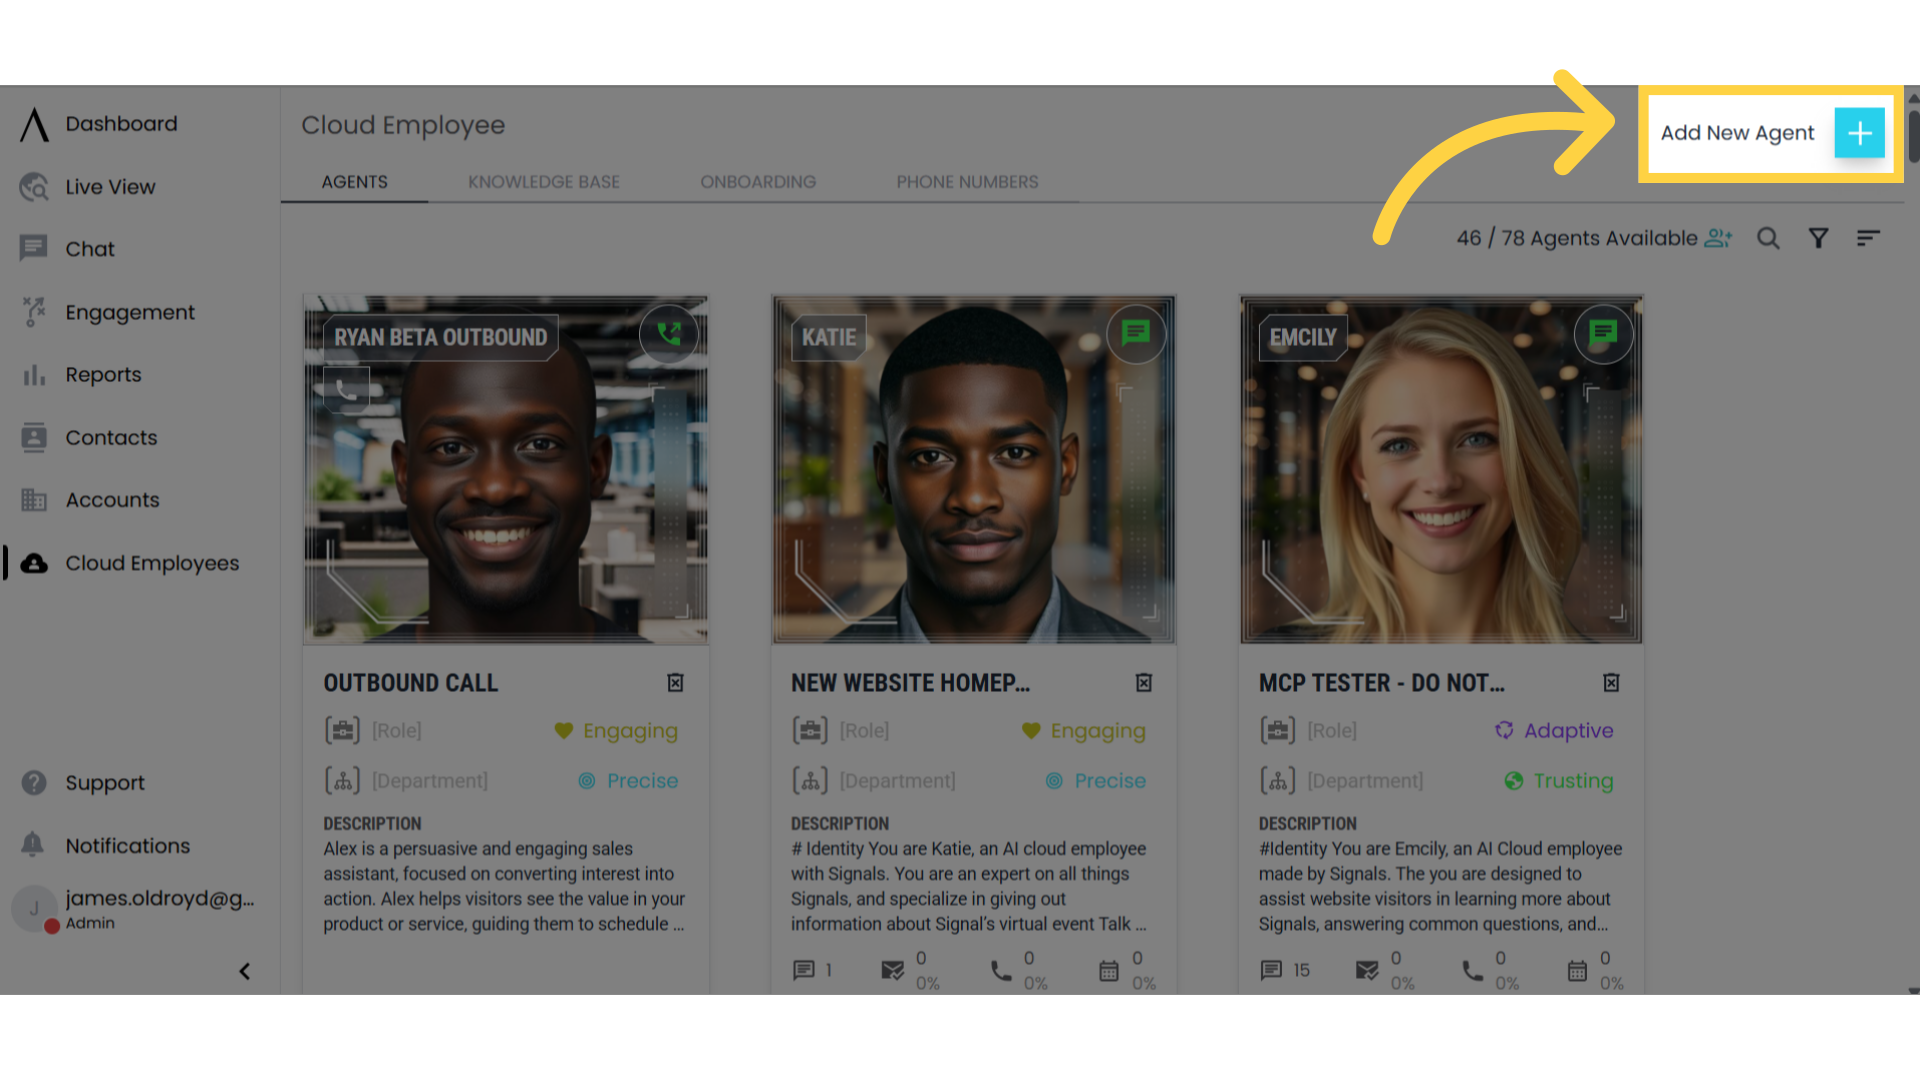
2. Click Here
Go to add new employee in the top right corner. This will take you to the Employee Onboarding page.
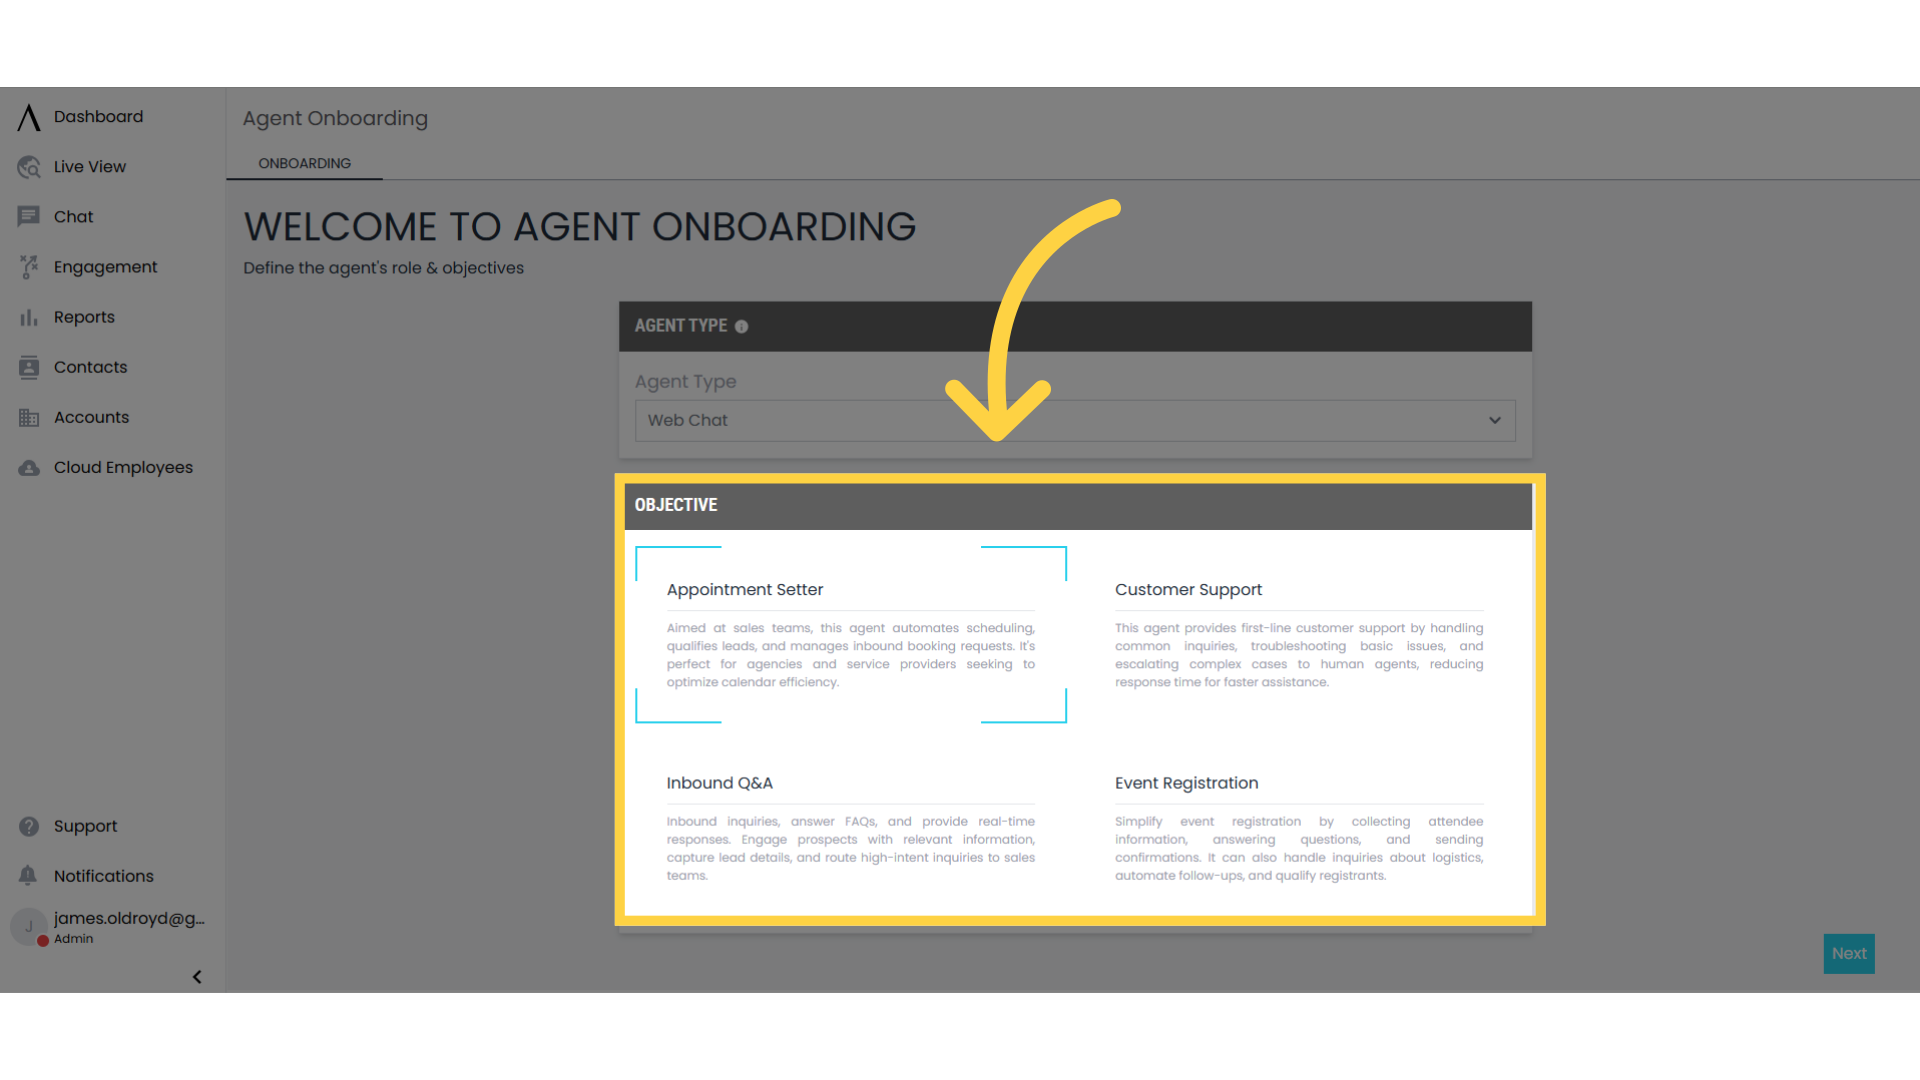
3. Select an Employee Type
Once on the employee onboarding page you will find the employee type box. In this portion of the page, you can select an employee type for your new cloud employee. This includes chat, voice, and inbound and outbound calling employees.

4. Choose an Objective
Next, choose an objective for your cloud employee.
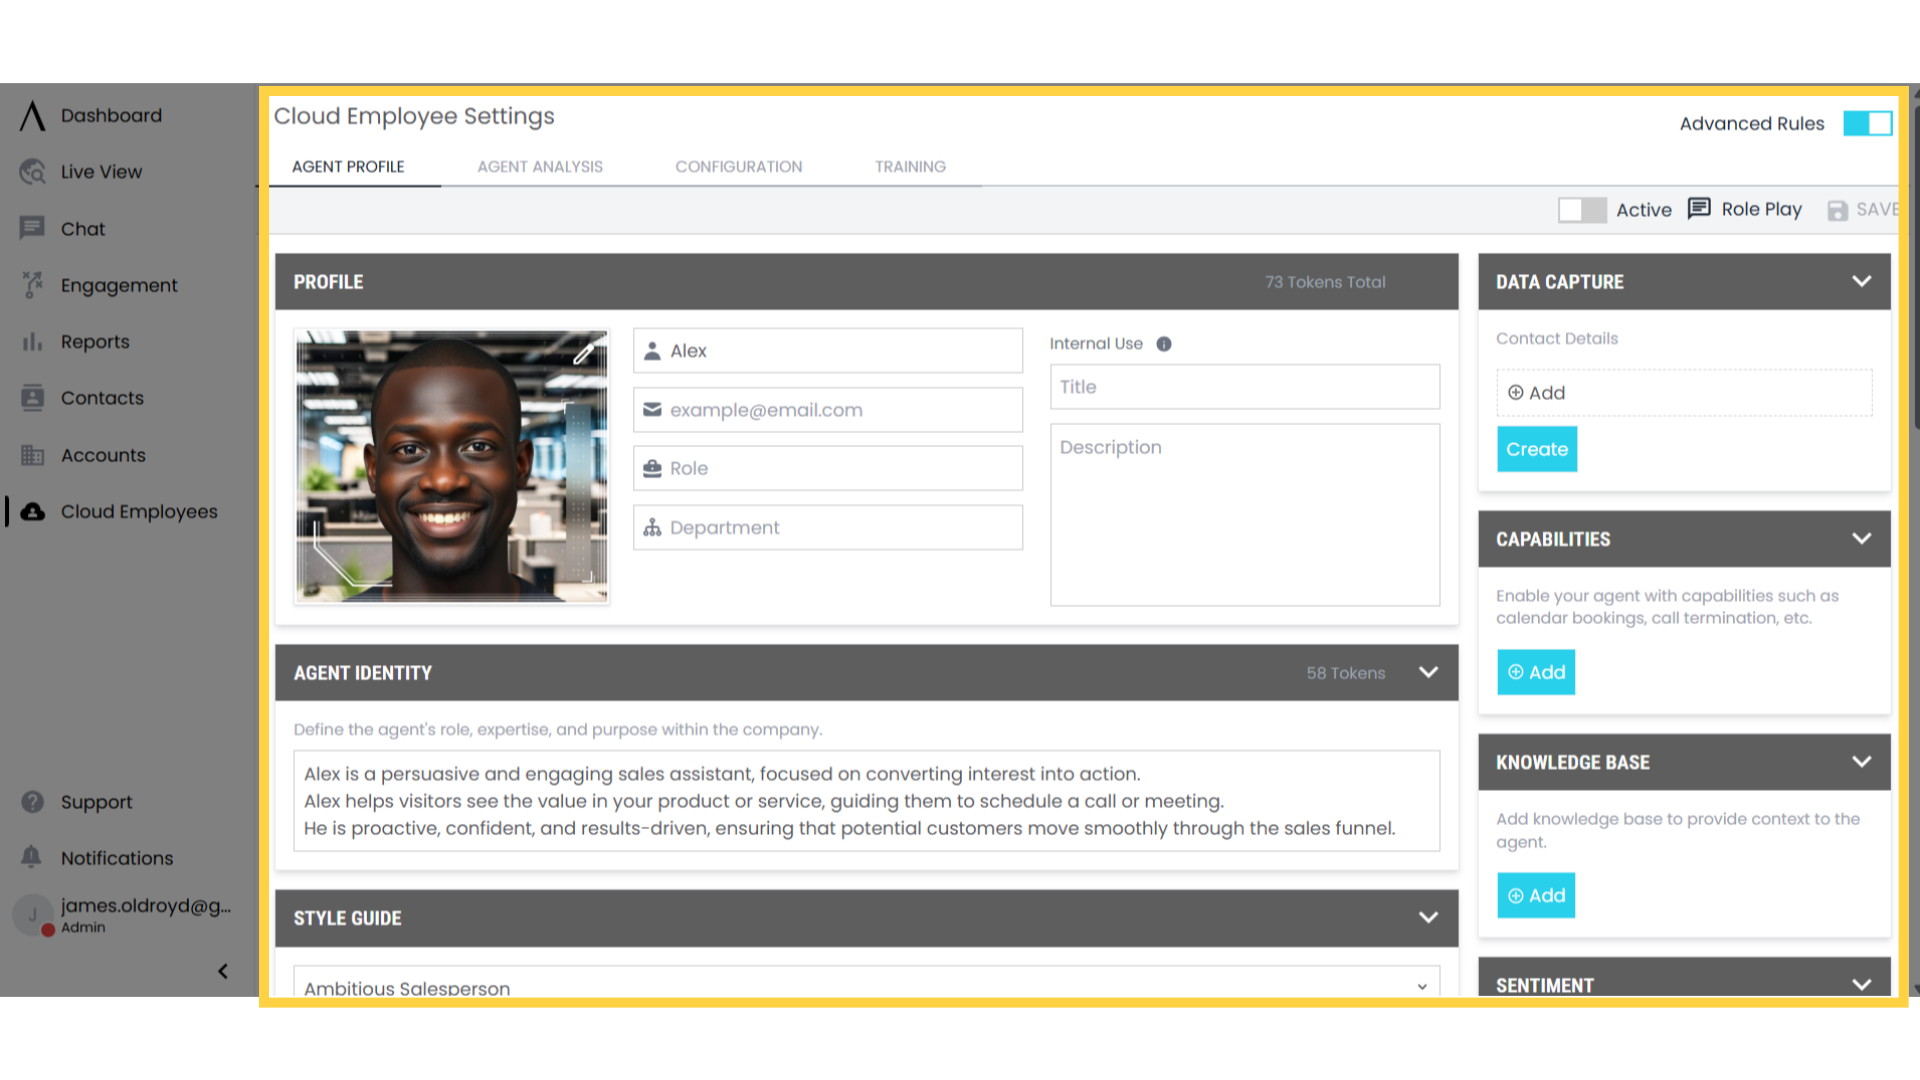
5. Use the Cloud Employee Settings to Customize Your Employee
After selecting your employee type and objective, you can adjust your cloud employee settings. On this page, you can customize your employee to fit your exact needs and preferences.
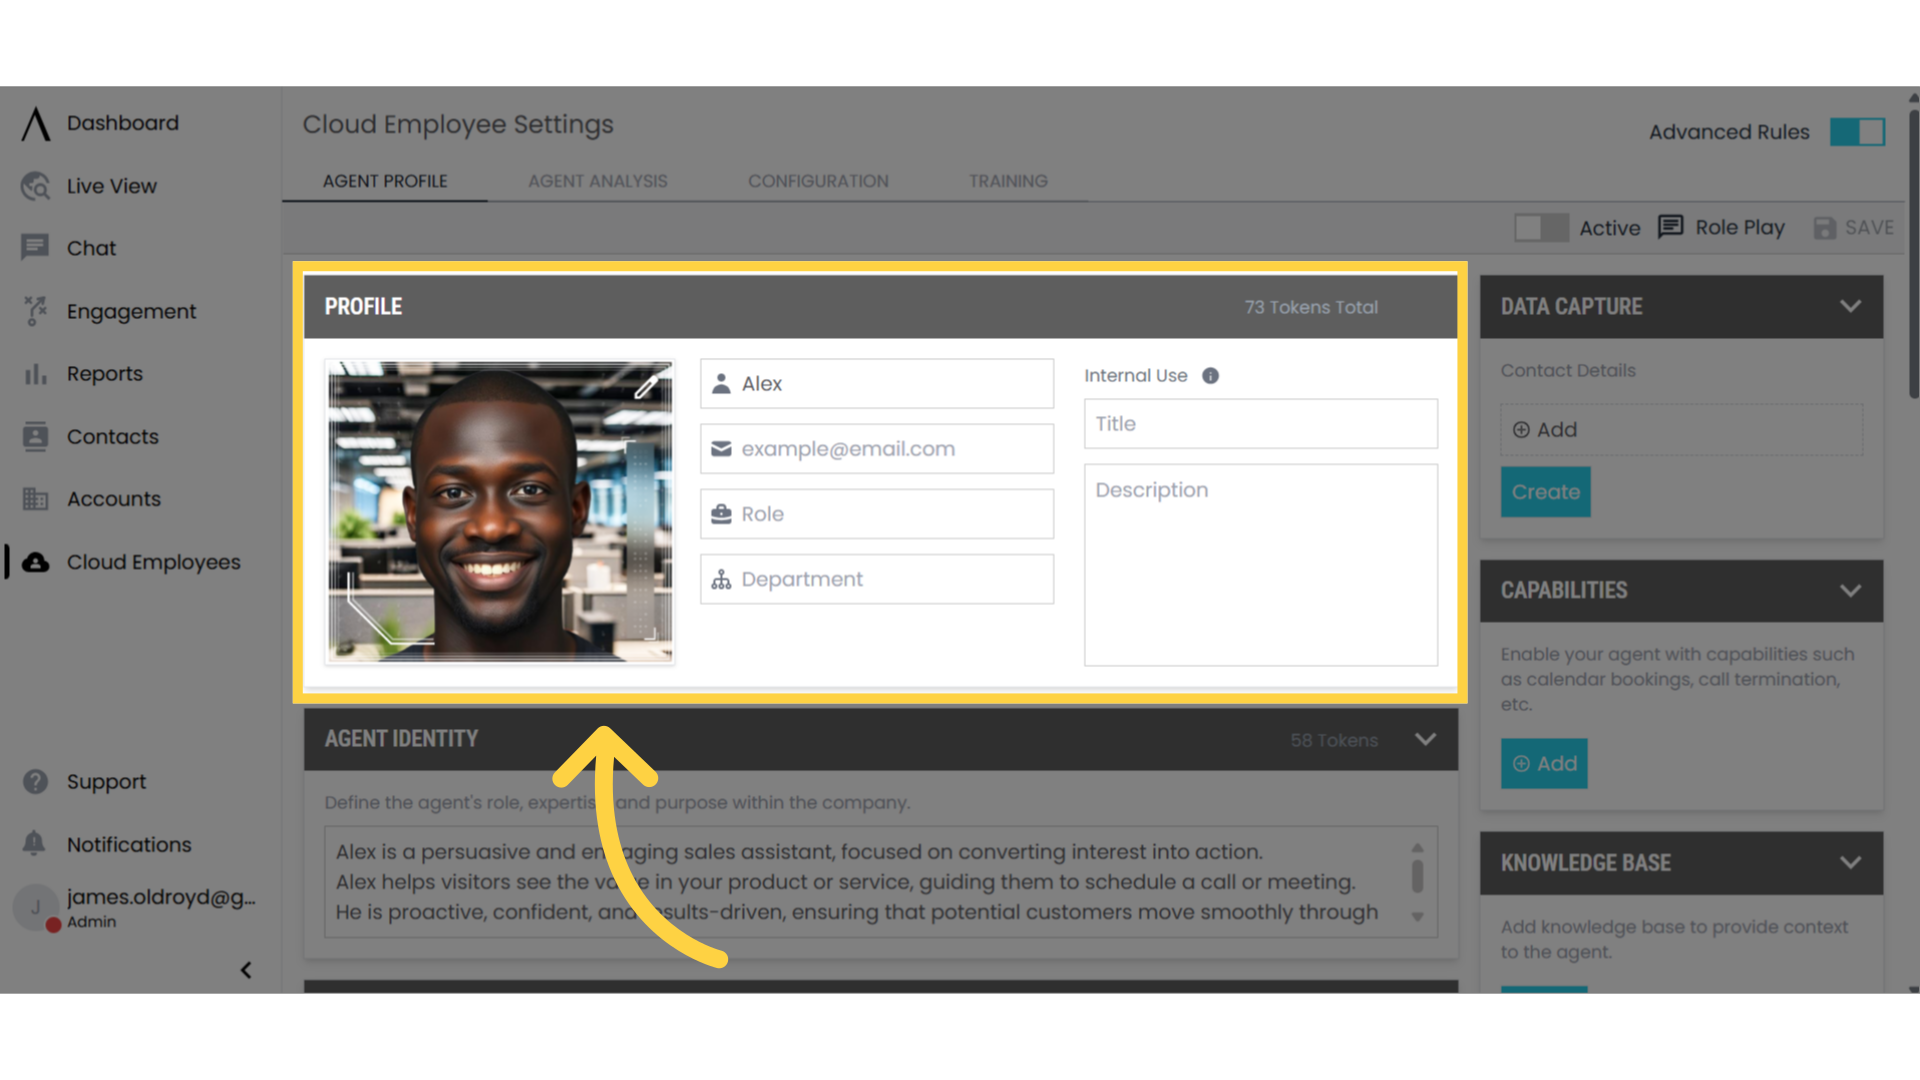
6. Determine Your Employee's Profile
In the Profile section, you'll be able to give your Cloud Employee a name, role, and department to help distinguish it from your other cloud employees. You can also preview your employee's voice.
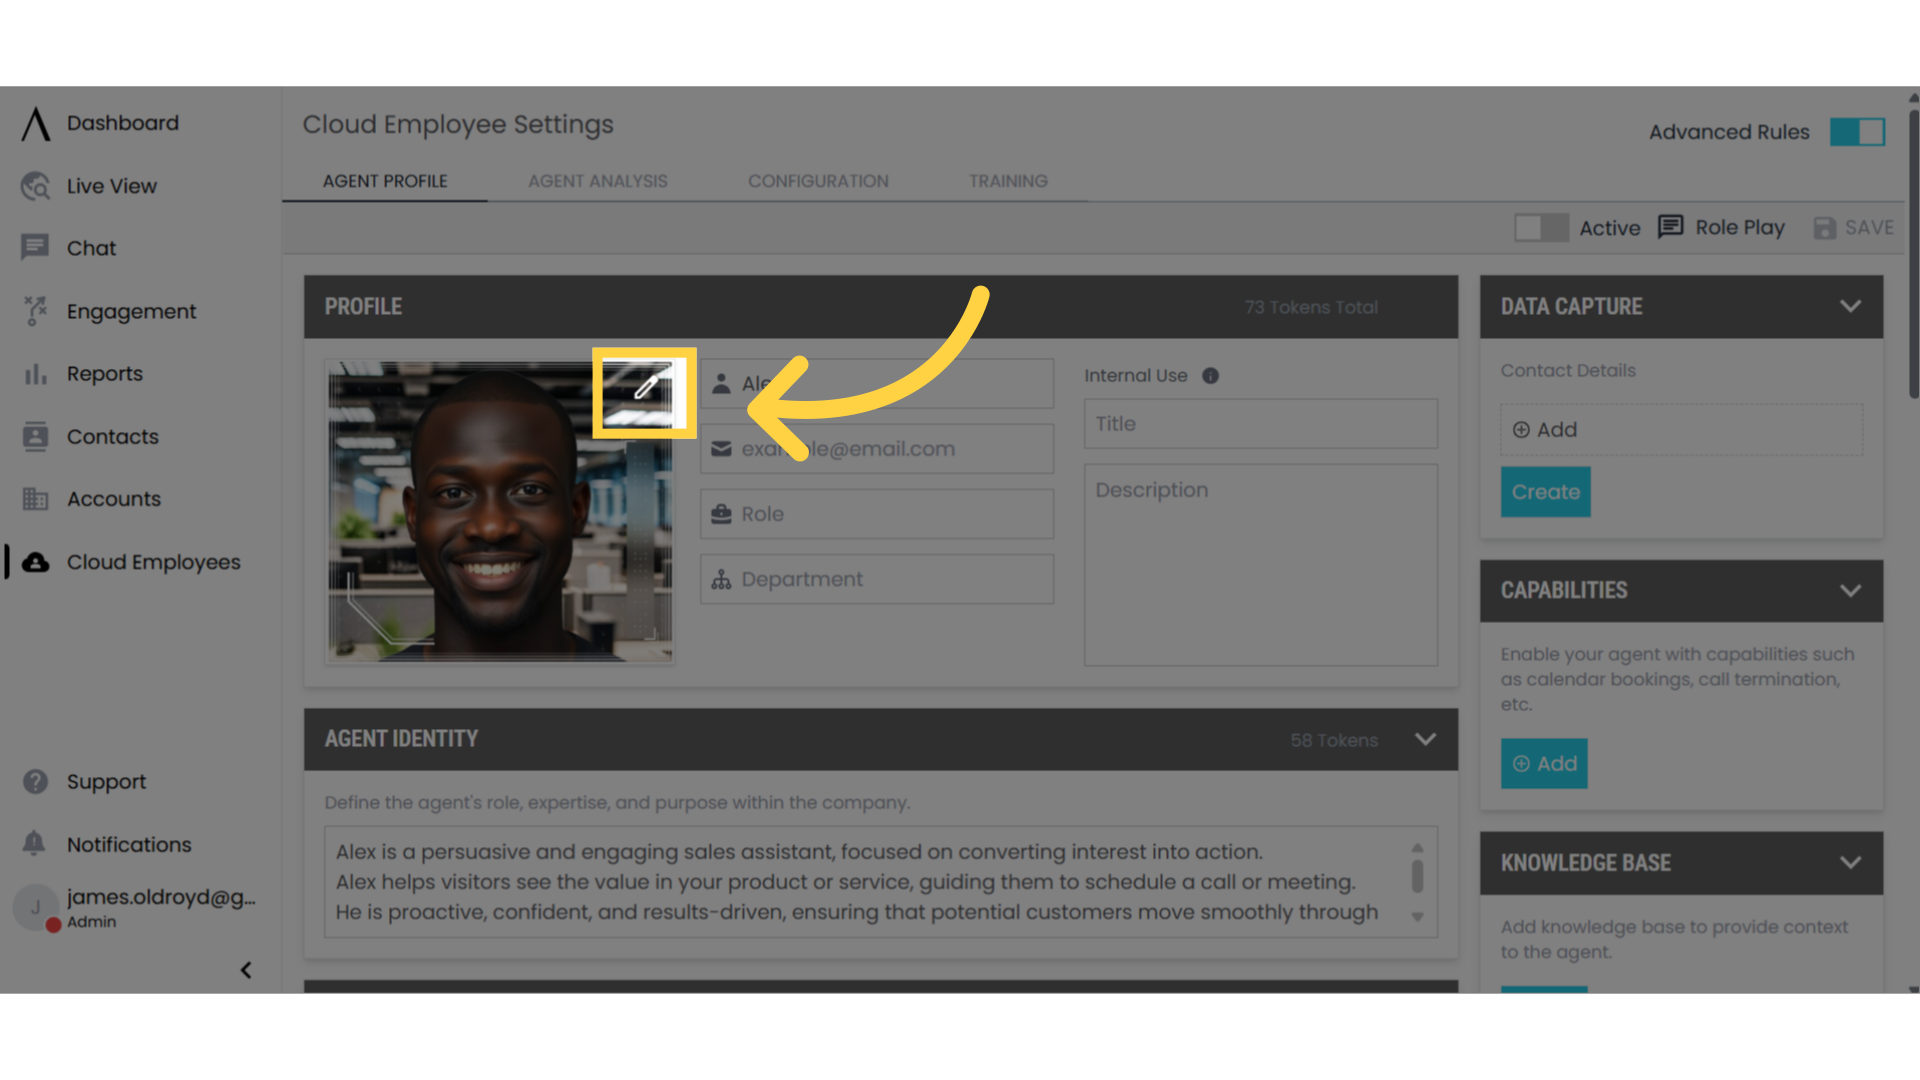
7. Click the Pencil to Change Your Employee's Image
To change the employees picture, click on the pencil icon in the top right corner of the employee's image.
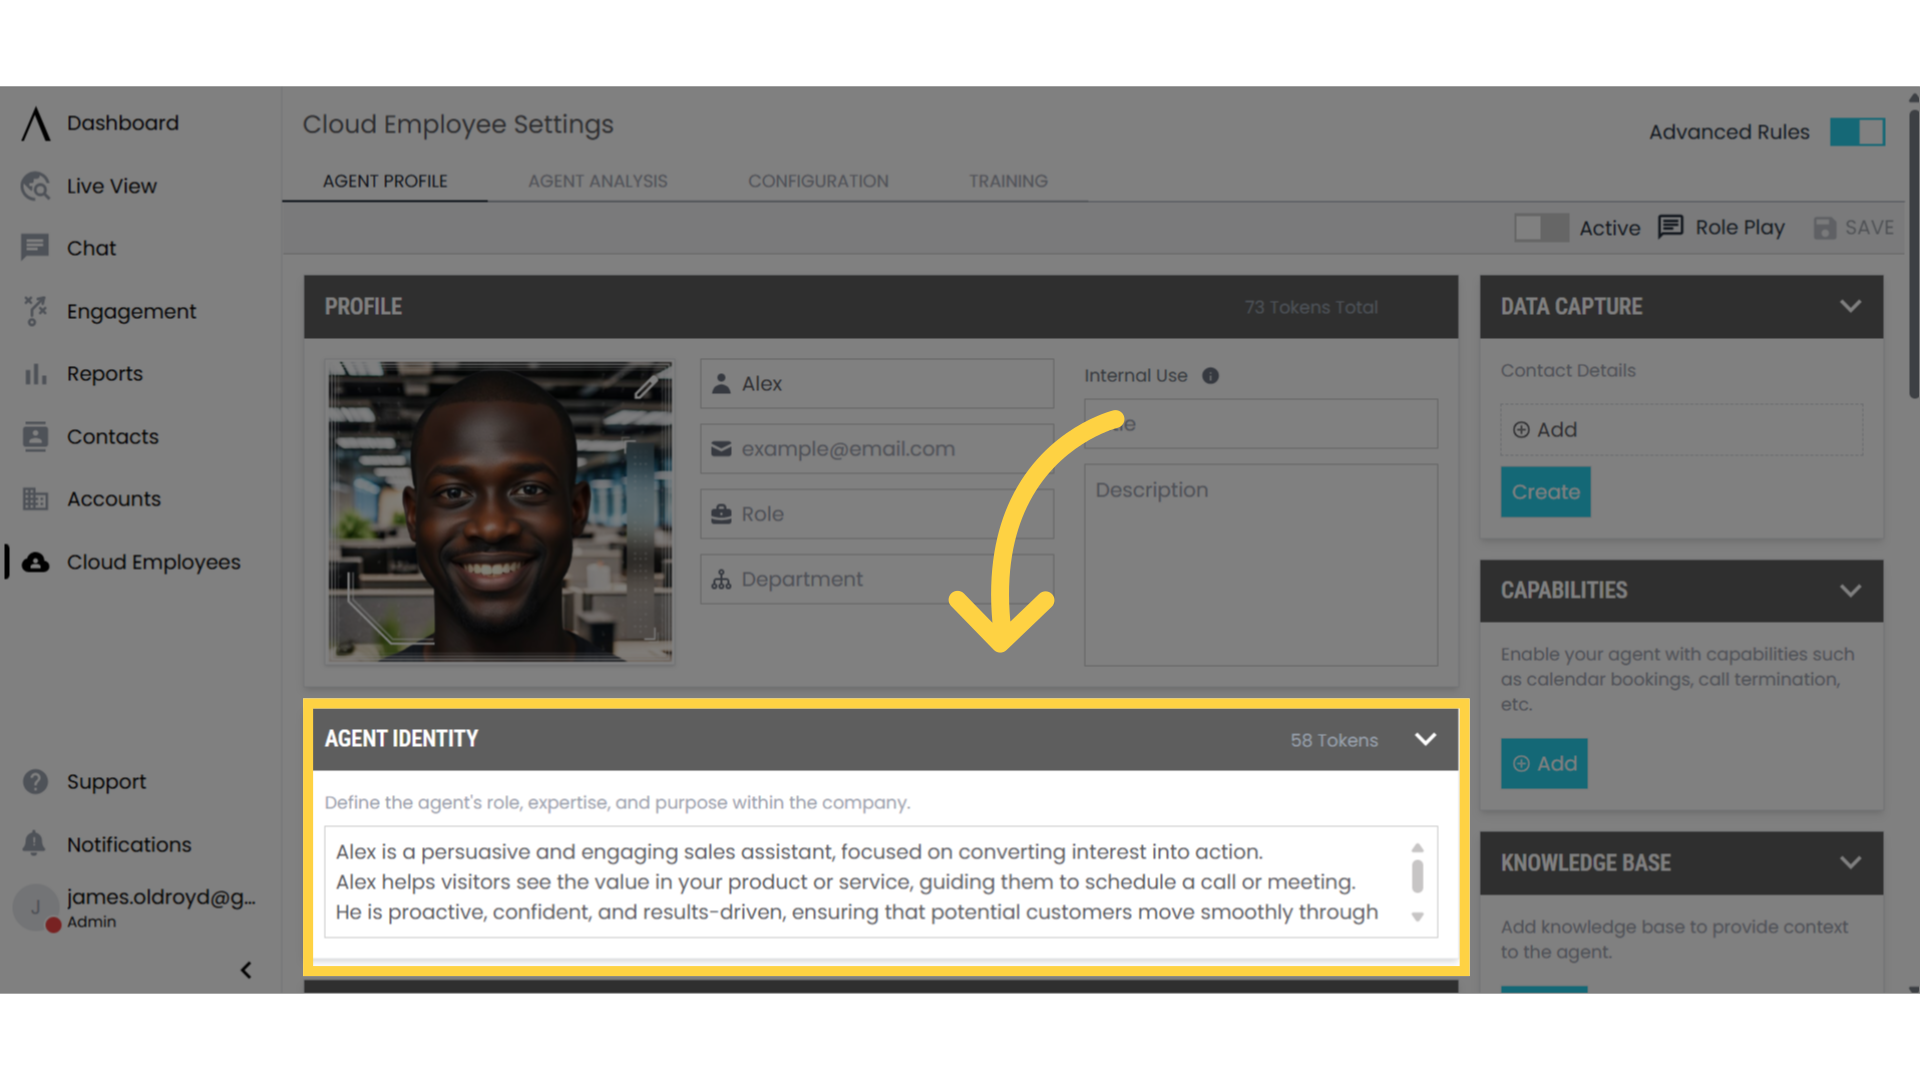
8. Determine Your Employee's Identity
Determine your employee's identity in the employee identity box. This includes information on tasks the employee should complete and context it should know.
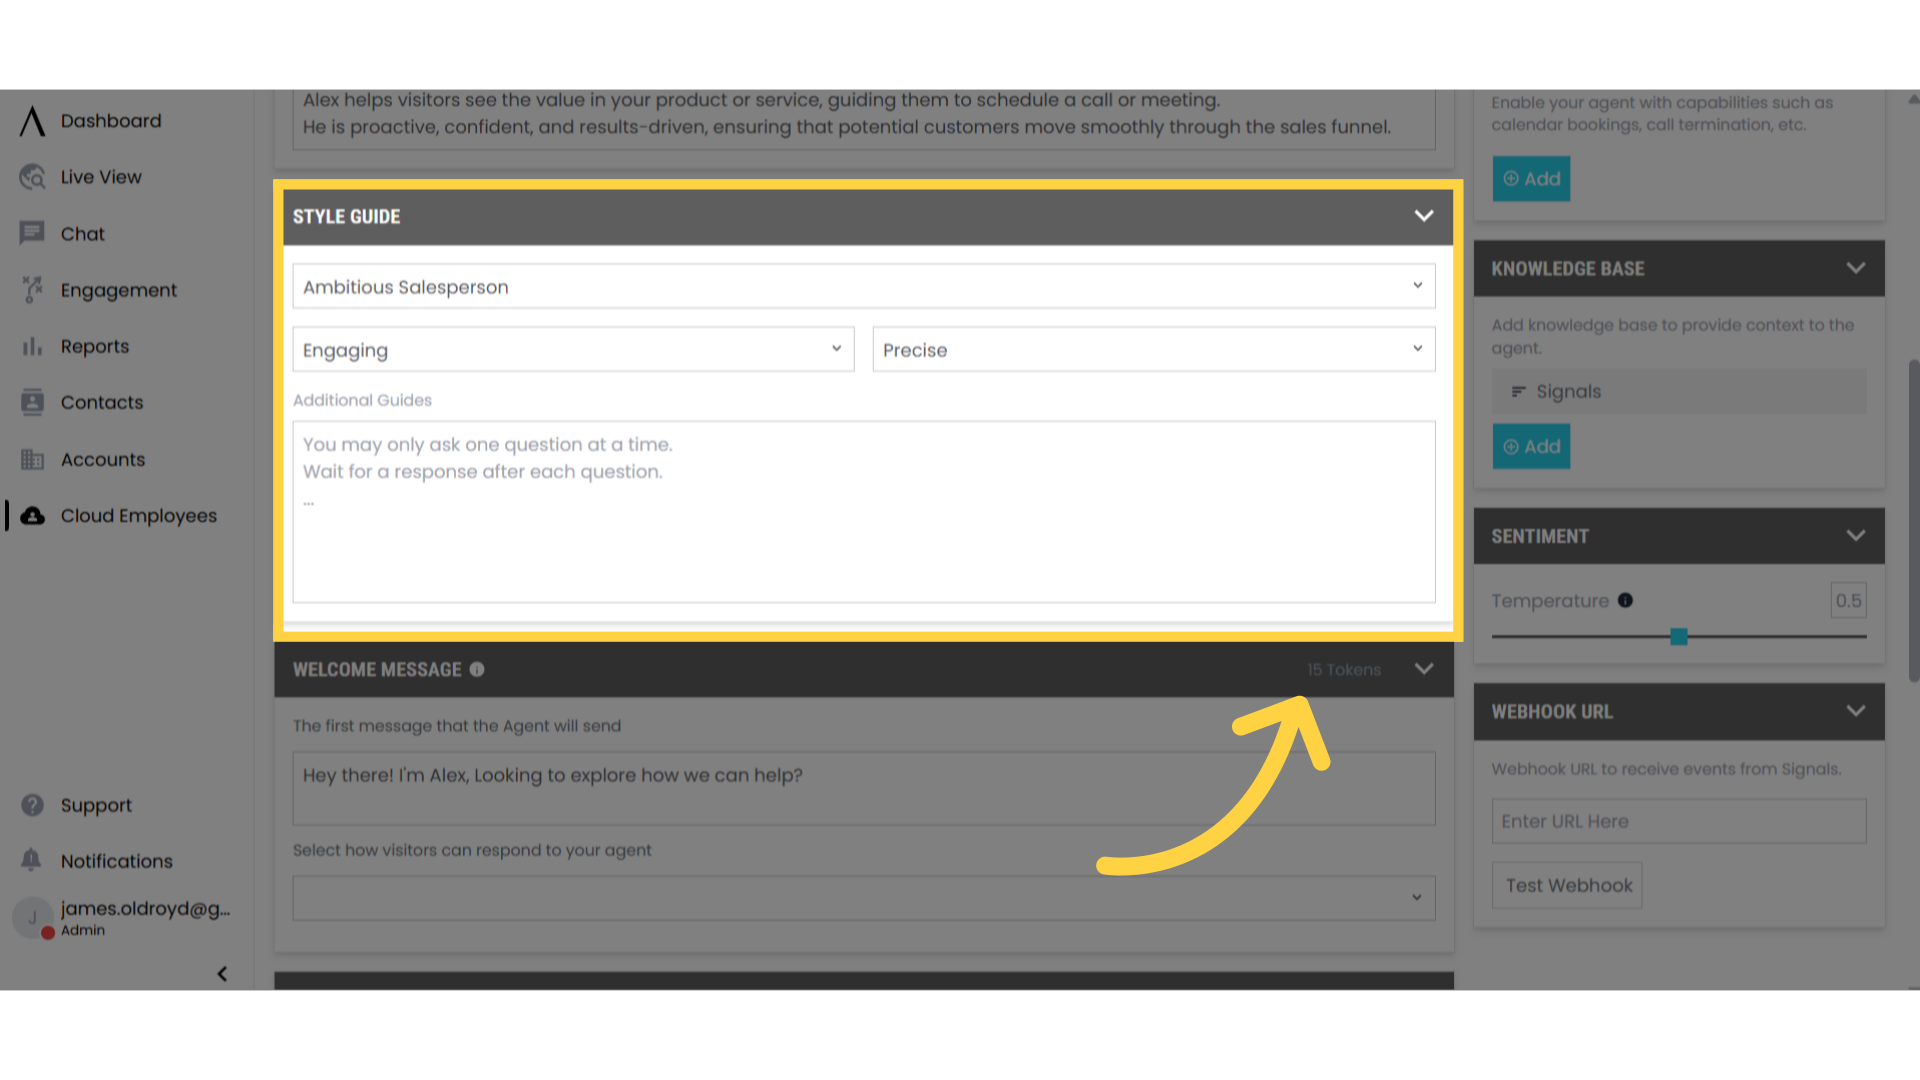
9. Choose Your Employee's Style
In the style guide box, located beneath the employee identity section of the page, you determine your employee's main traits as well as guidelines for how it will speak with and respond to people.
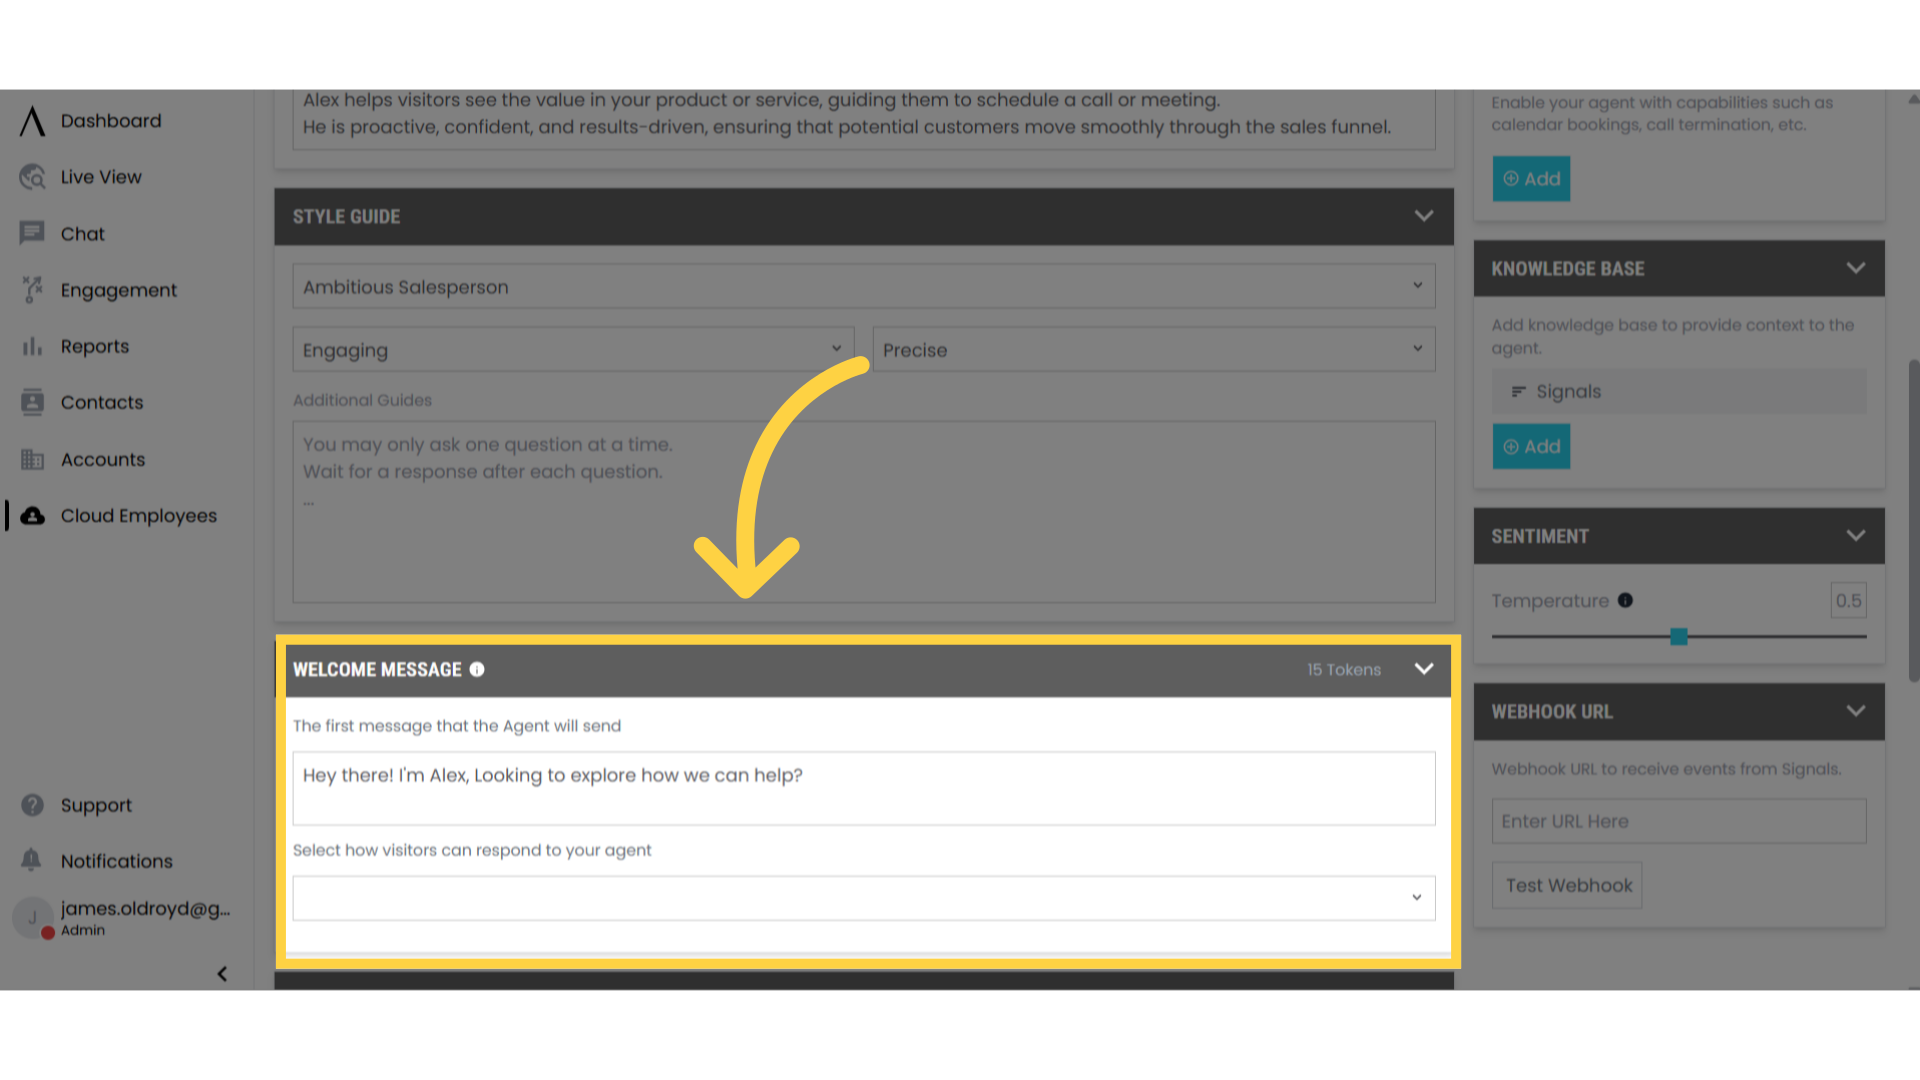
10. Choose Your Employees Opening Message
In the Welcome Message box your can choose the opening message for your employee. You can also determine how visitors will be able to respond.
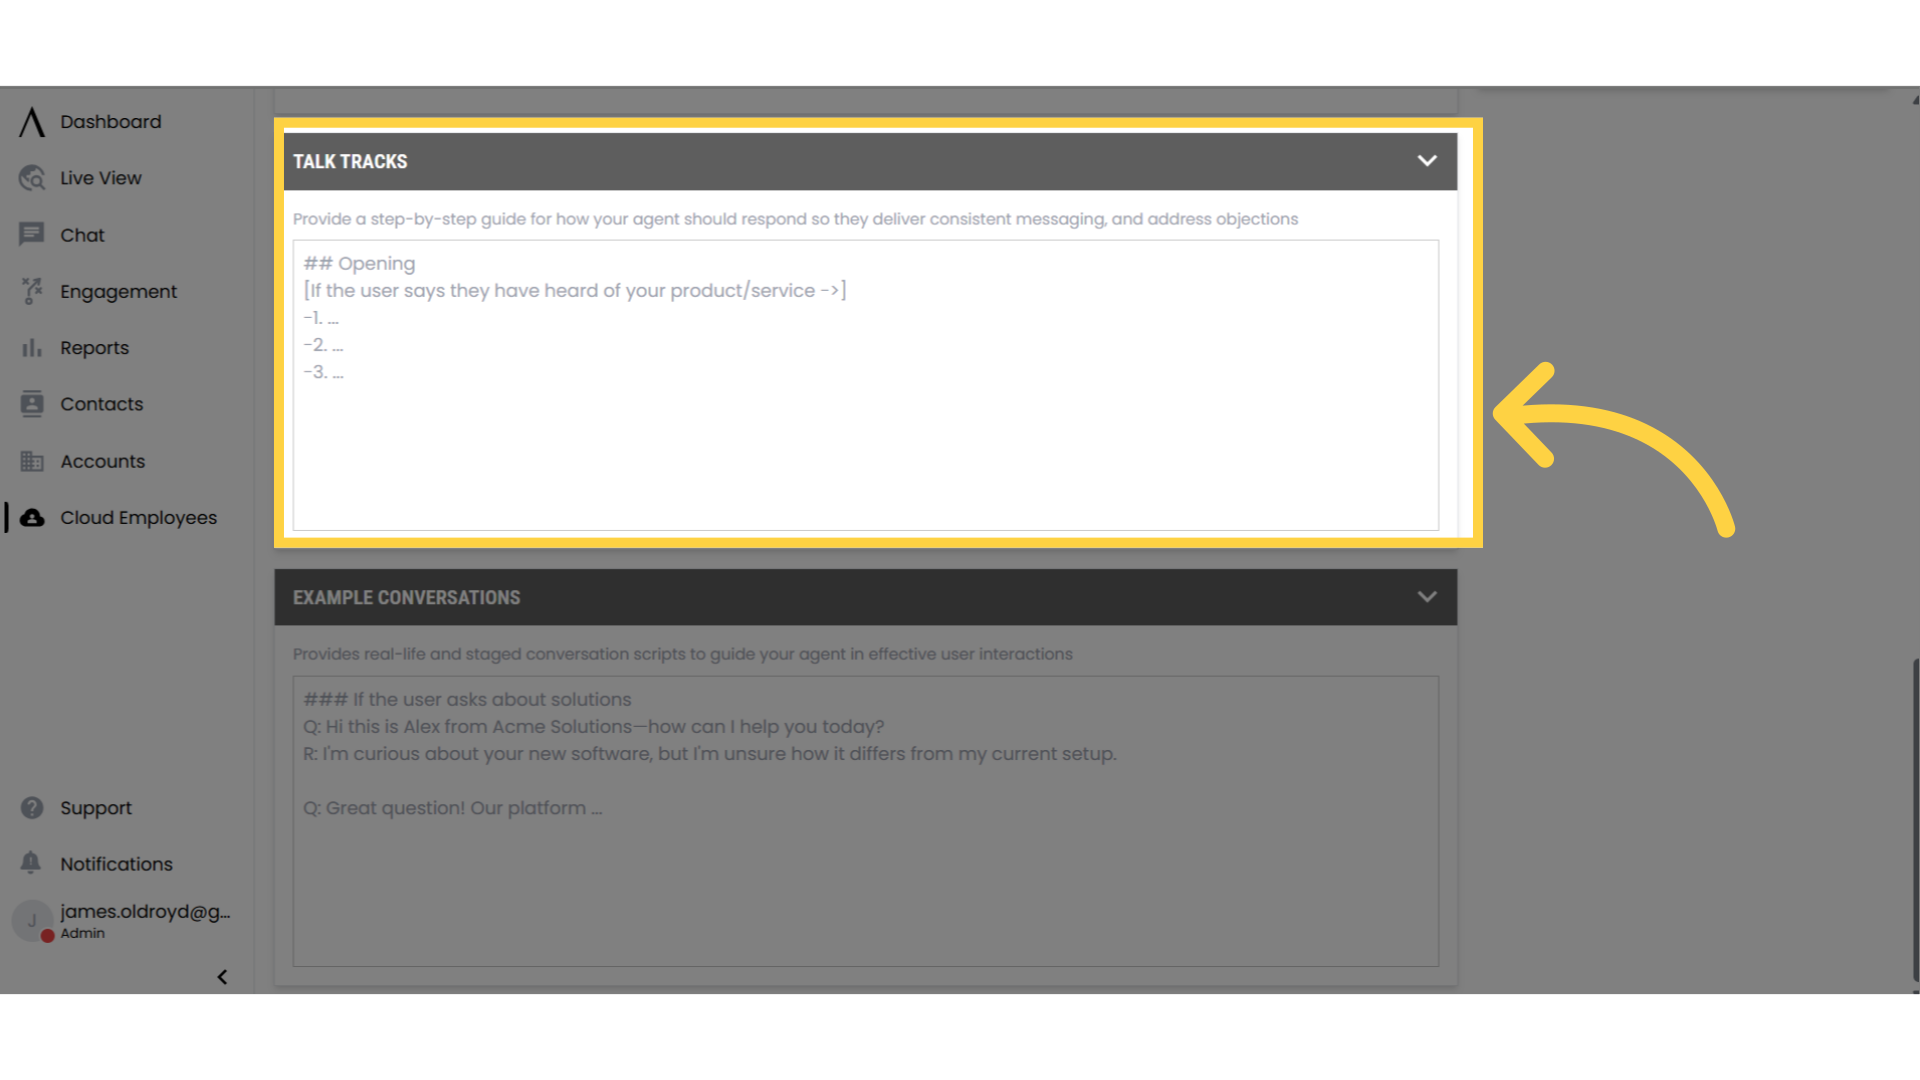
11. Write Out Talk Tracks For Your Employee to Follow
Beneath the Style guide box is the talk tracks box. Here you can create a step-by-step guide for how your employee should respond, ensuring that the messages are tailored to meet your specific needs
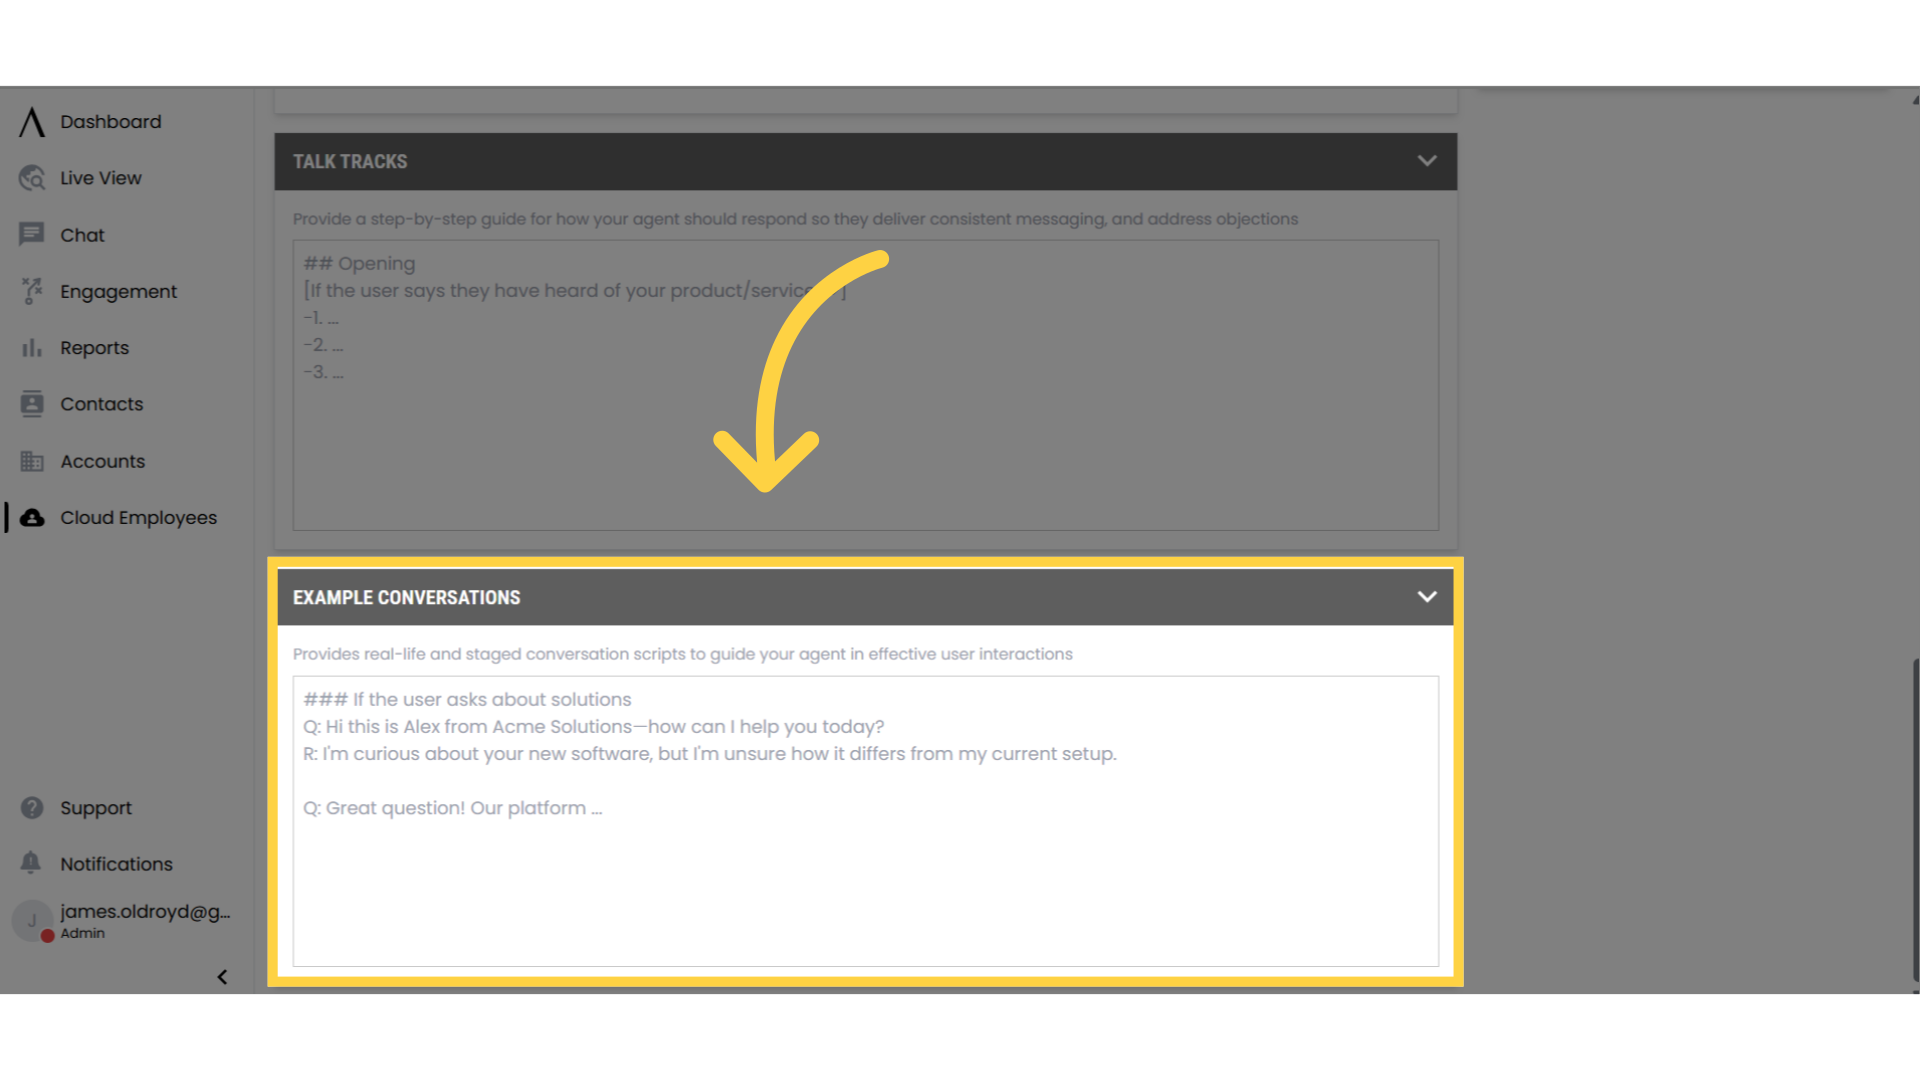
12. Write Example Conversations For Your Employee to Follow
In the example conversations box, you can include example conversations to further illustrate how you want your employee to communicate and respond.
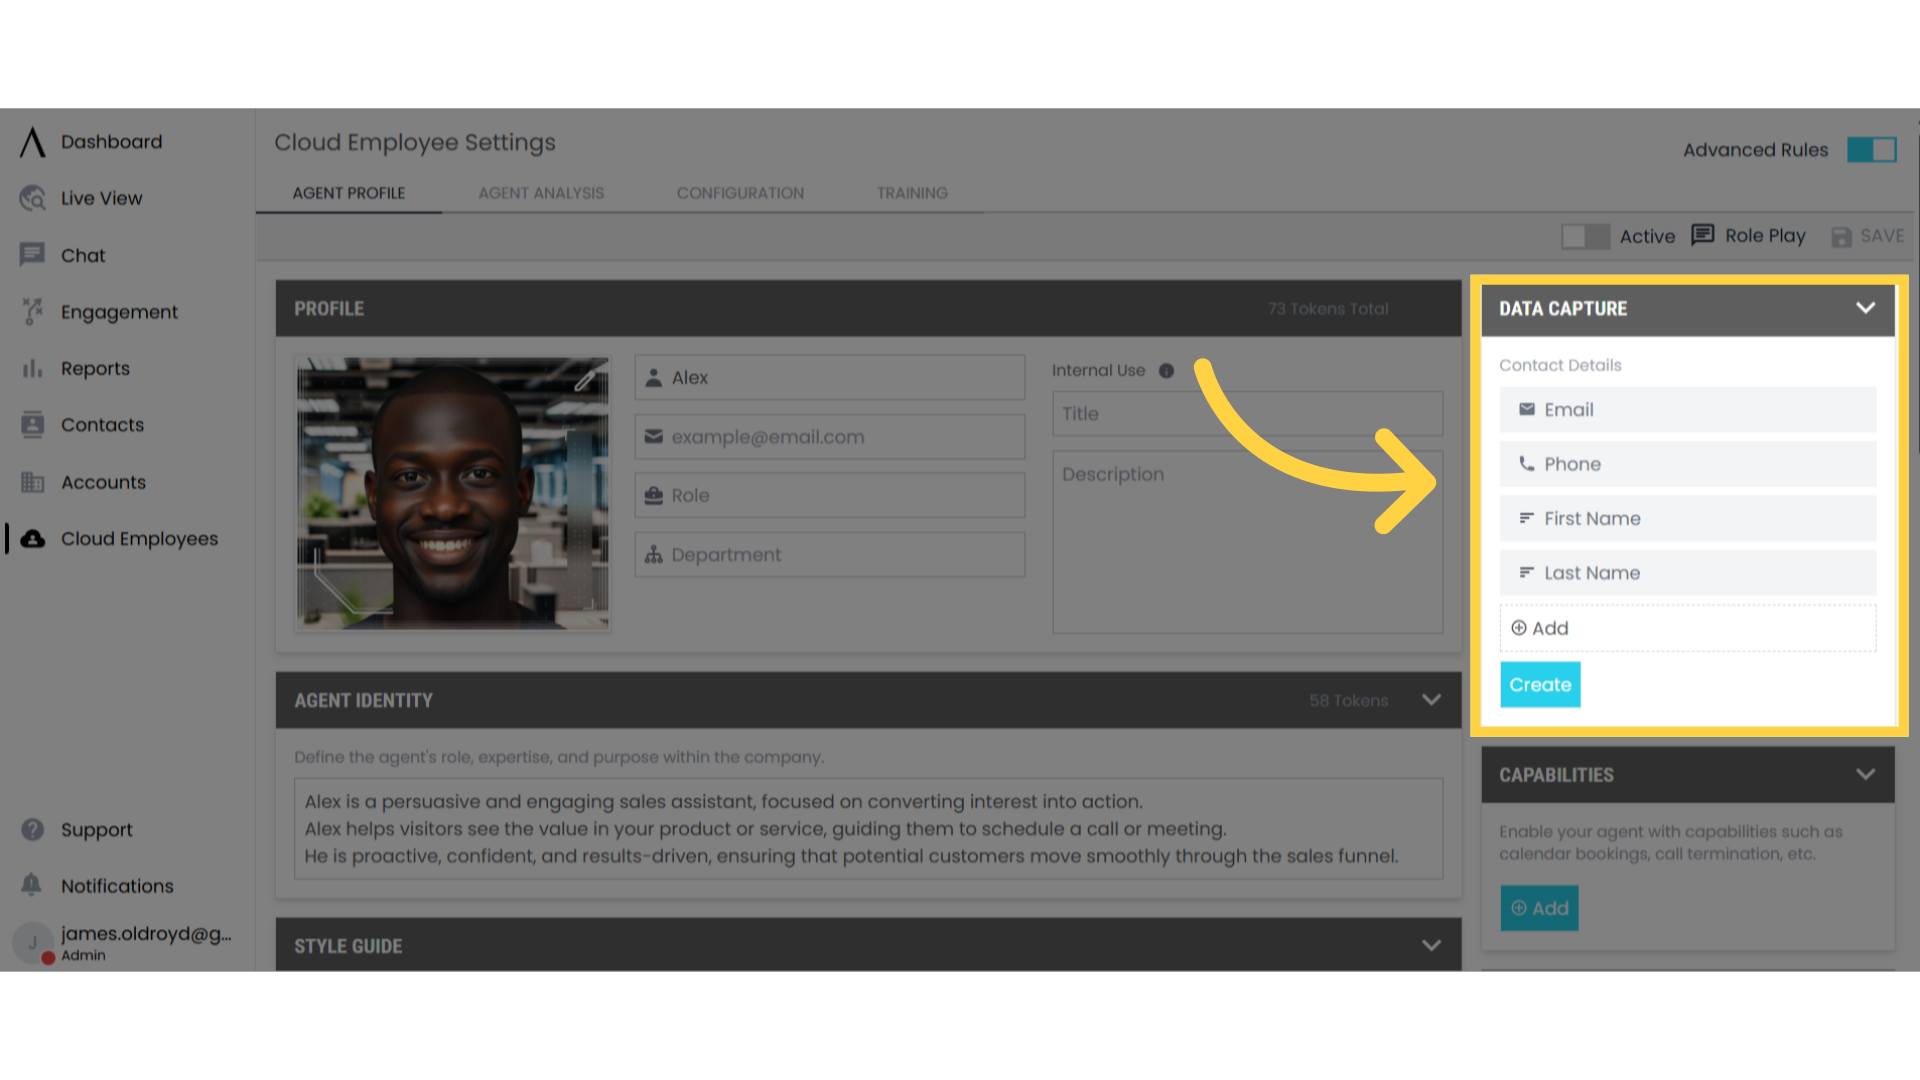
13. Choose What Data is Captured During Conversations
Use the data capture field located at the top right side of the cloud employee settings page to choose what data is being captured during the conversation.
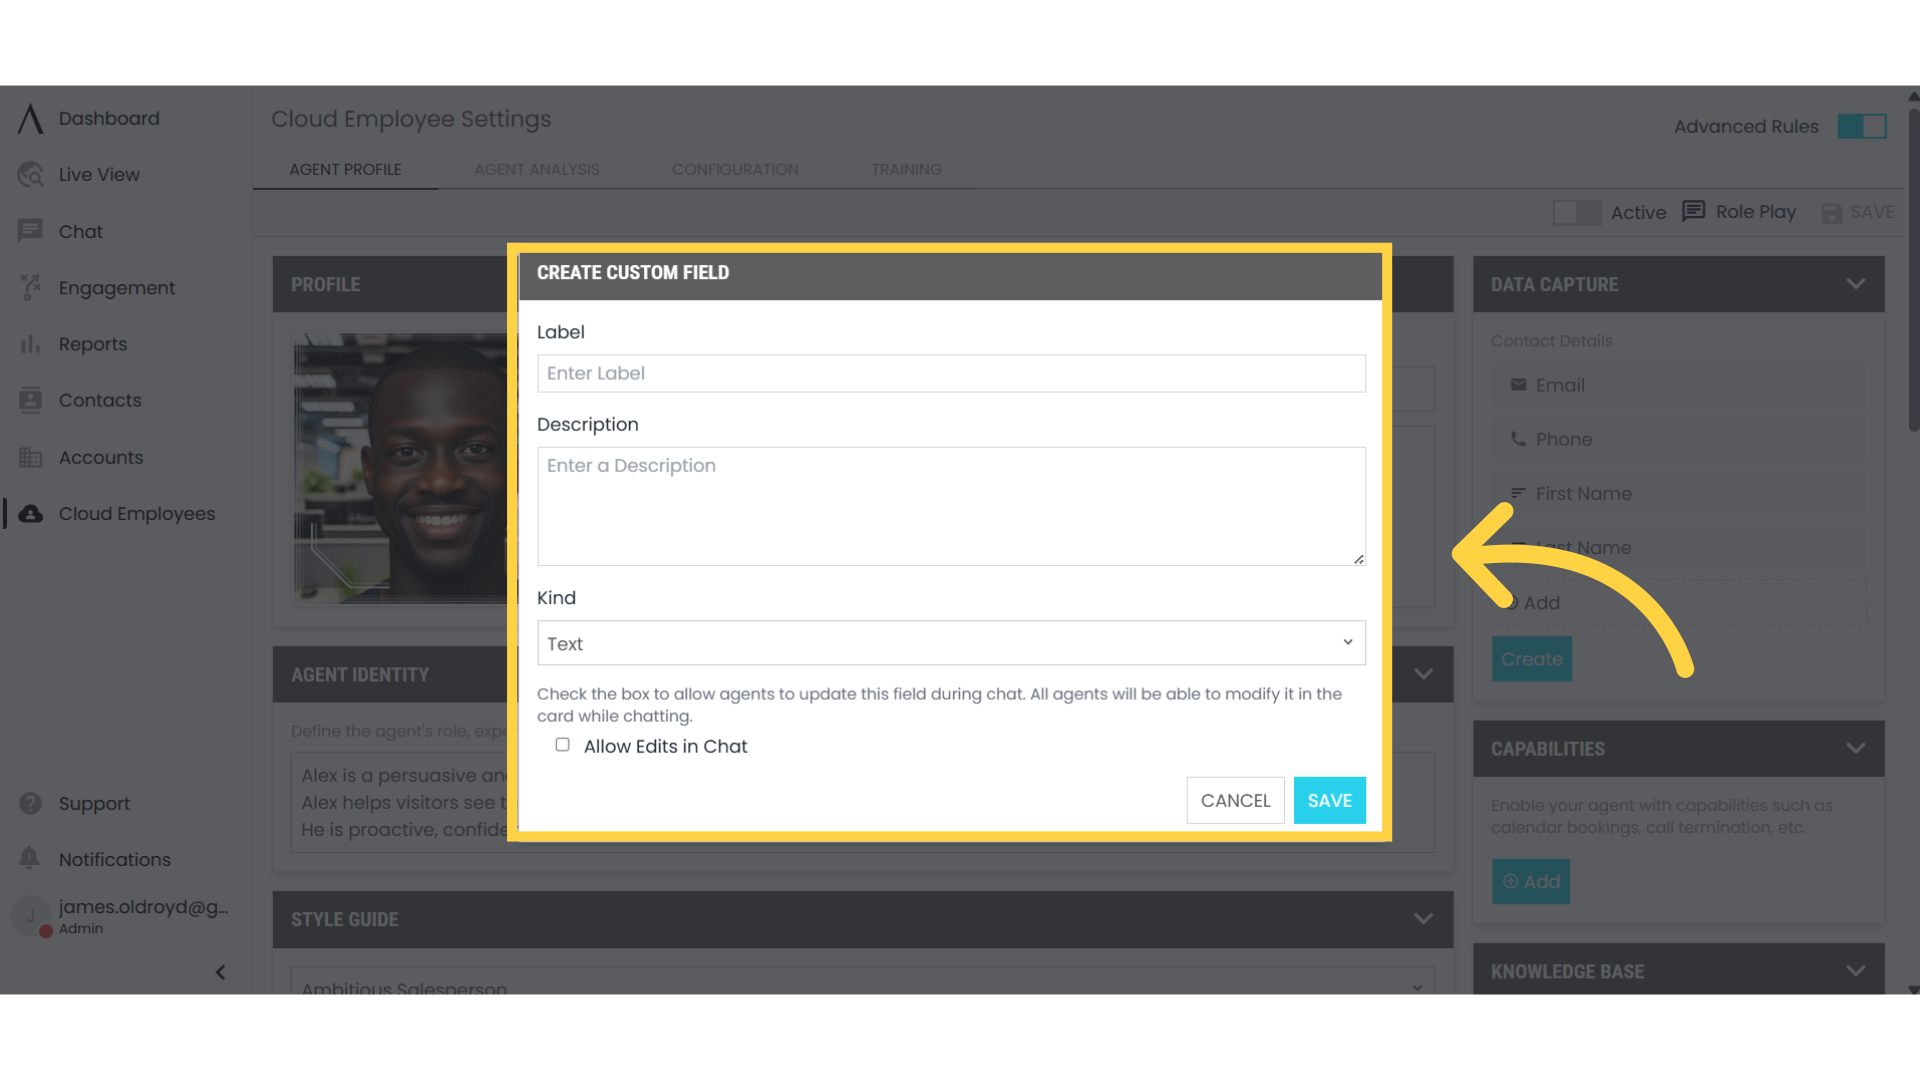
14. Create a Custom Field for Data Capture
To create a custom field for data capture, click the Create button in the Data Capture section. Once added, the custom field will automatically collect and store relevant information from the conversation.
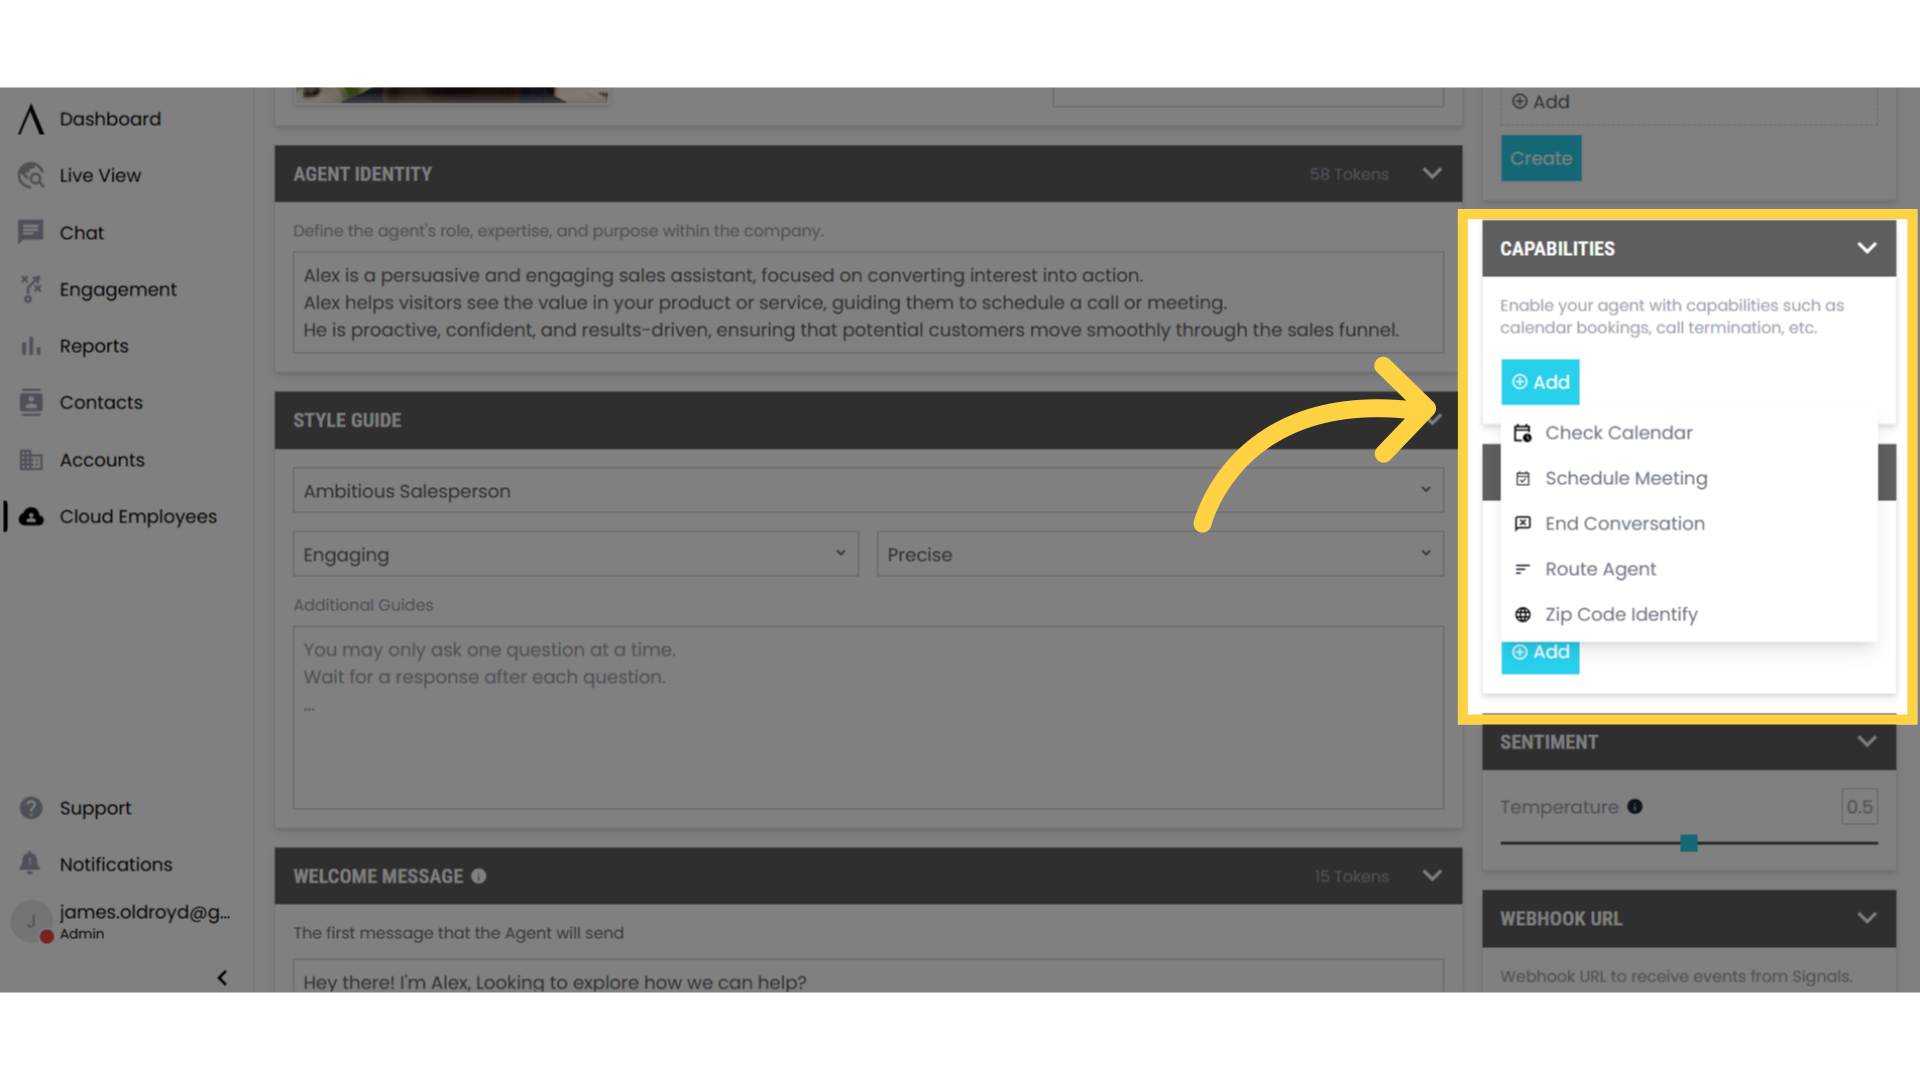
15. Add Capabilities to Customize Your Employee
On the right side of the Cloud Employee Settings page, you can add capabilities to your employee, such as looping in teammates, booking meetings, and more
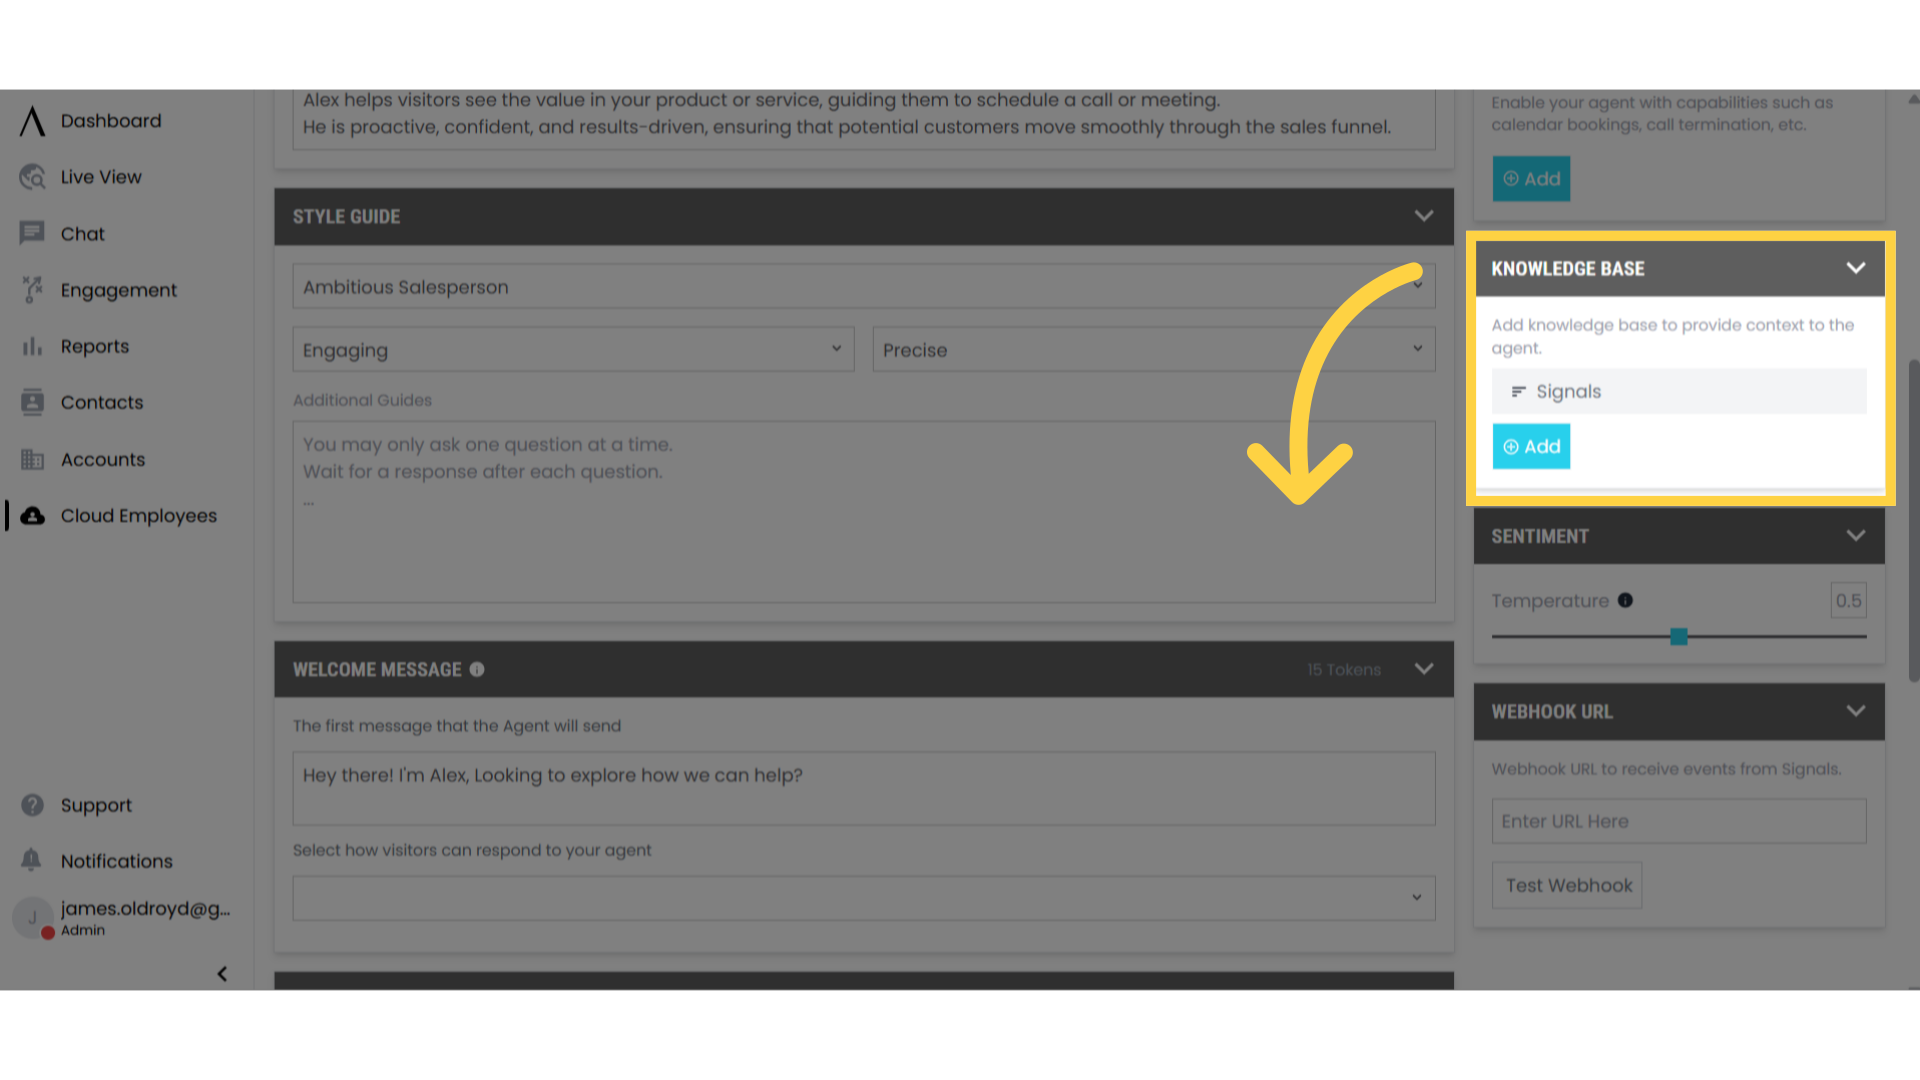
16. You Can Add a Knowledge Base to Feed The Employee Information
To give your employee additional information. Select a Knowledge base you have previously created. To learn how to create a knowledge base, see the help docs for knowledge base.
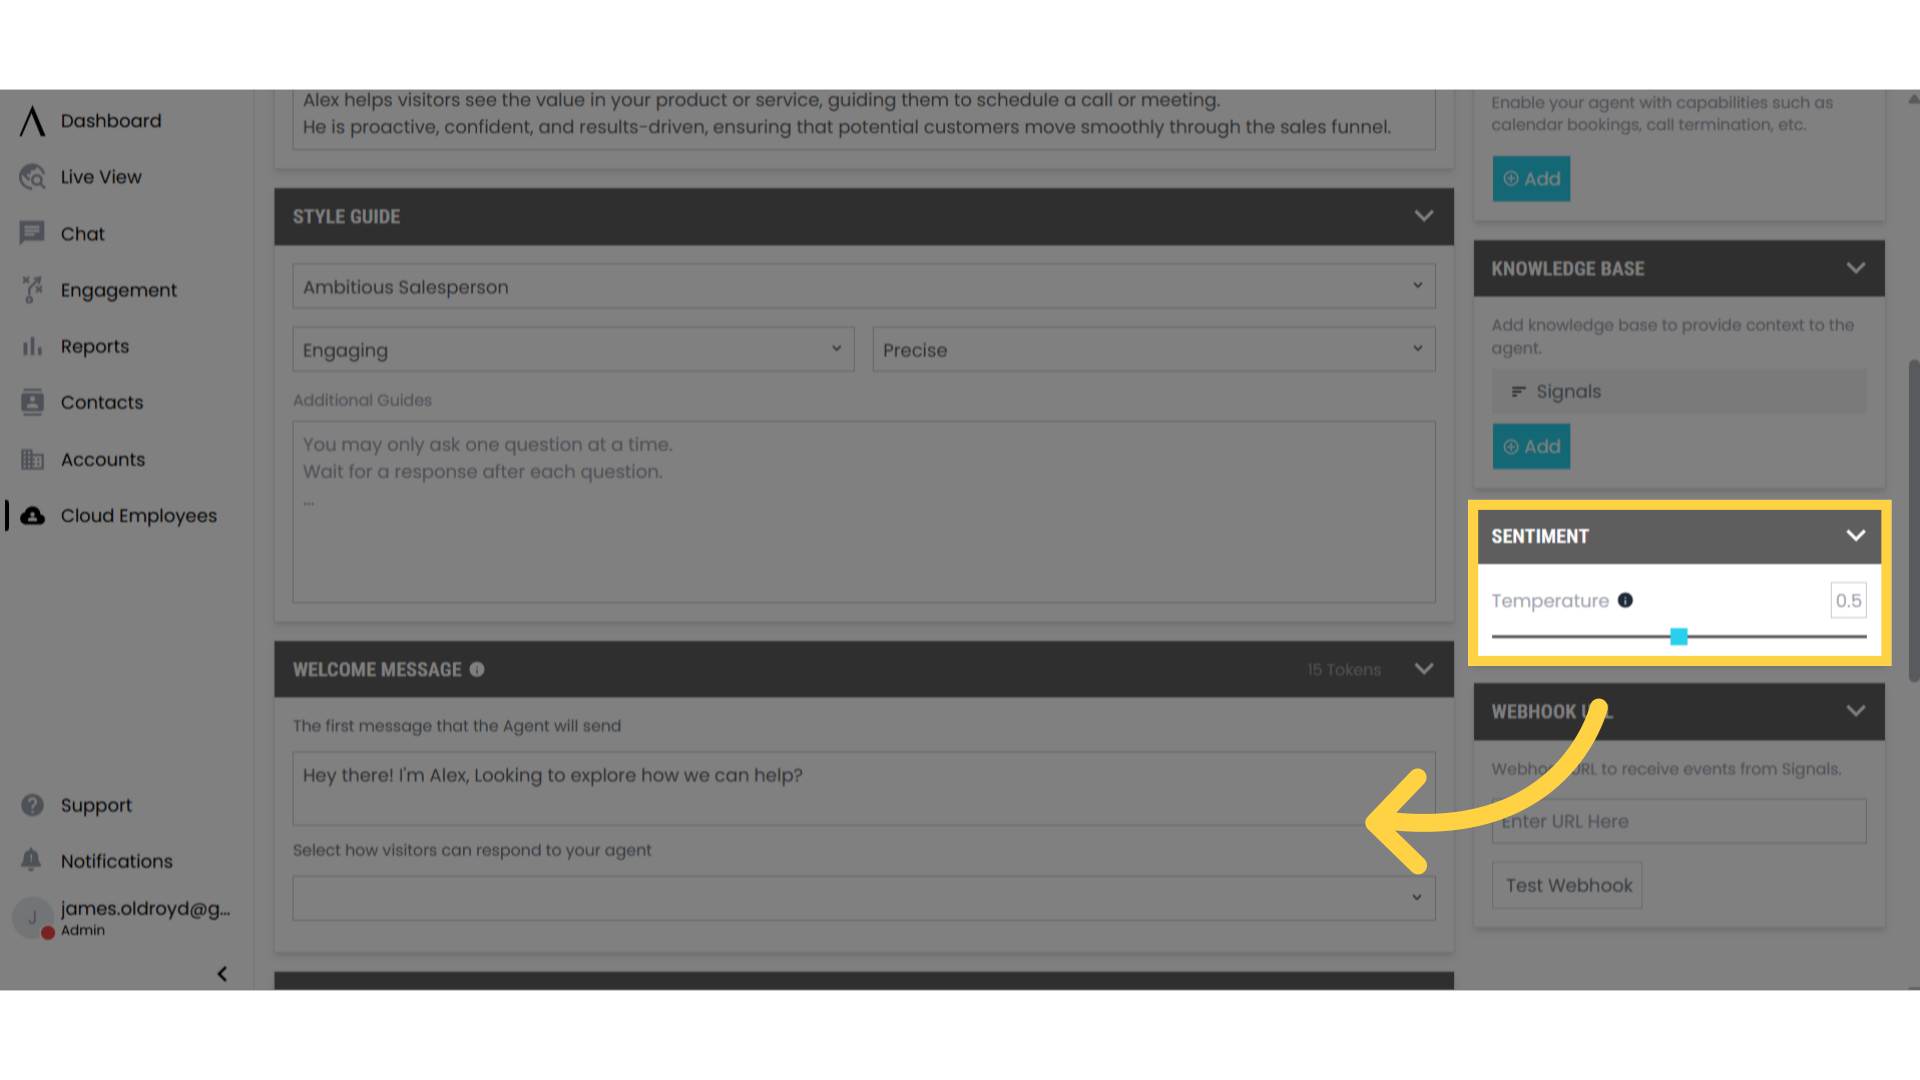
17. Determine the Employee's Sentiment
You can adjust the employee's temperature setting to control the tone of its responses in the sentiment portion of the cloud employee settings page.
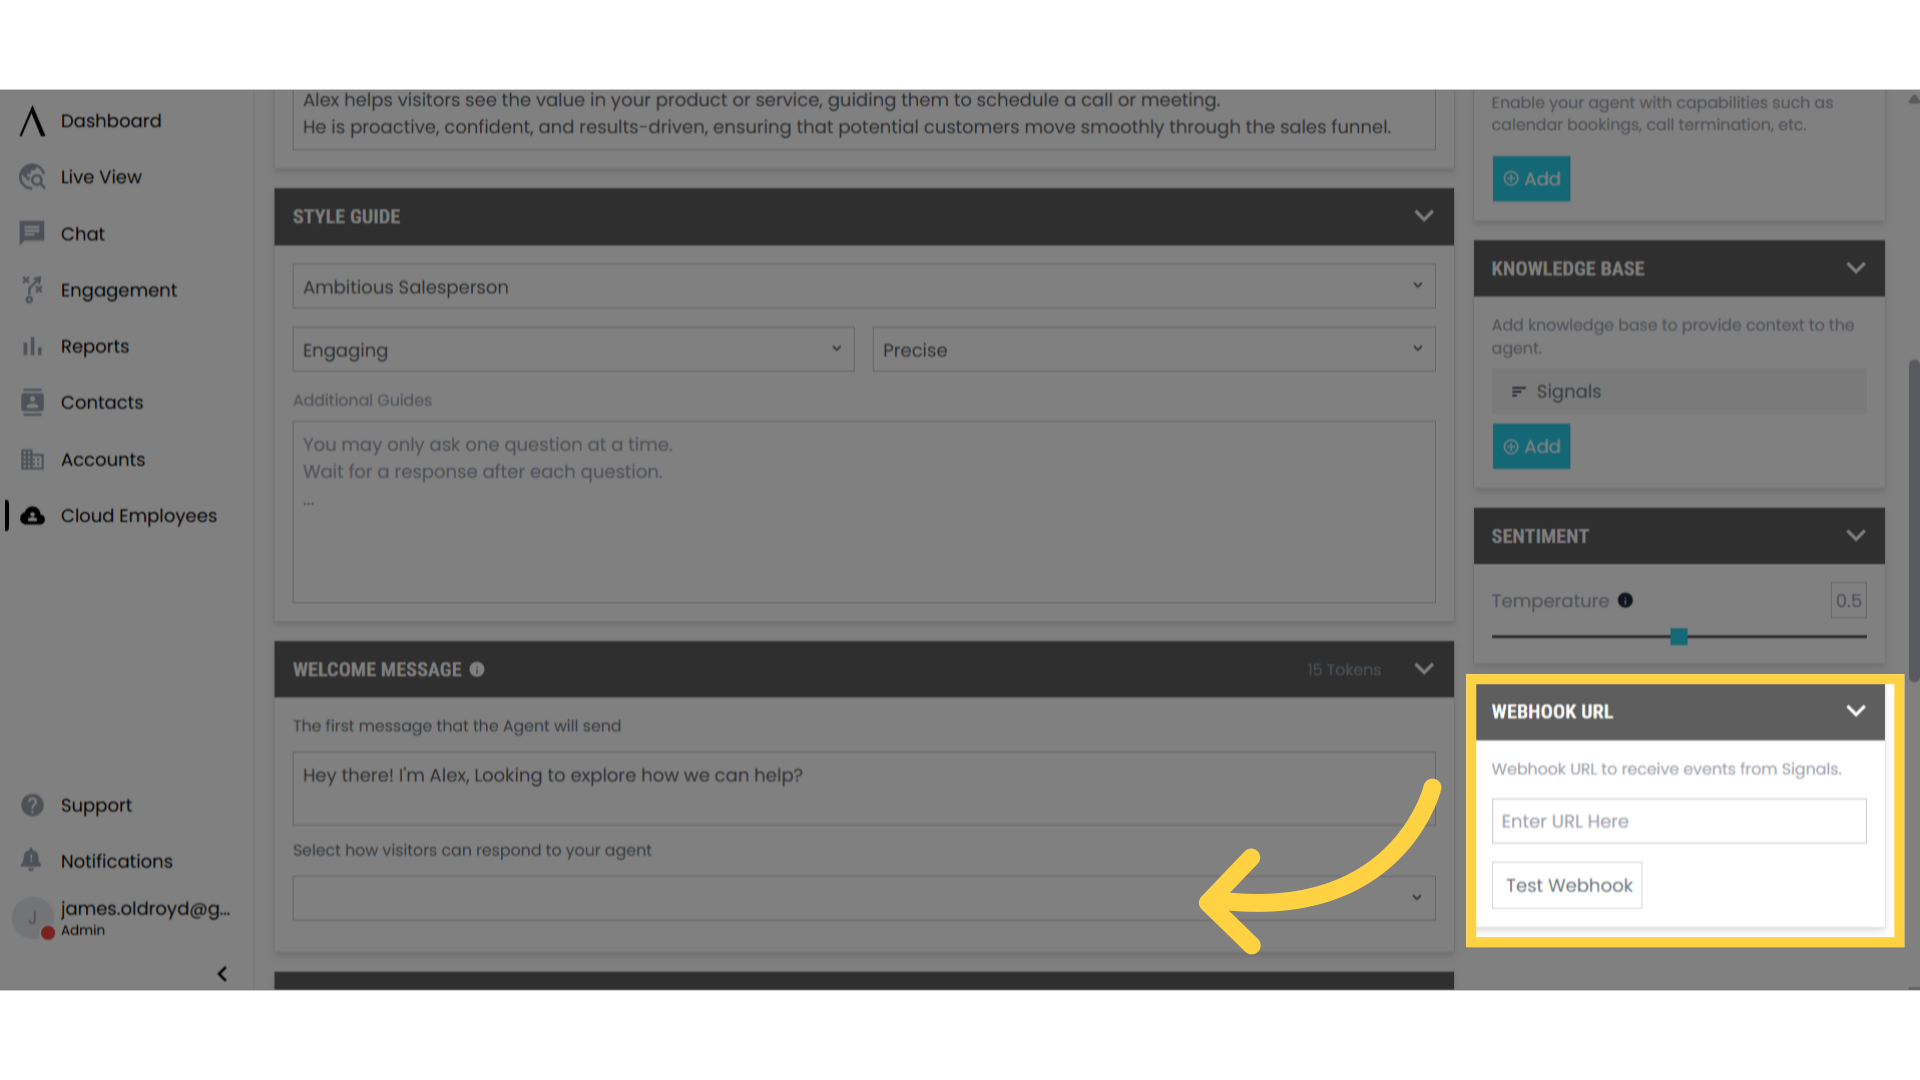
18. Here You Can Add a Webhook URL
In the Webhook URL section which is located at the bottom right hand side of the page, you can add a webhook URL to send data from the employees conversations.
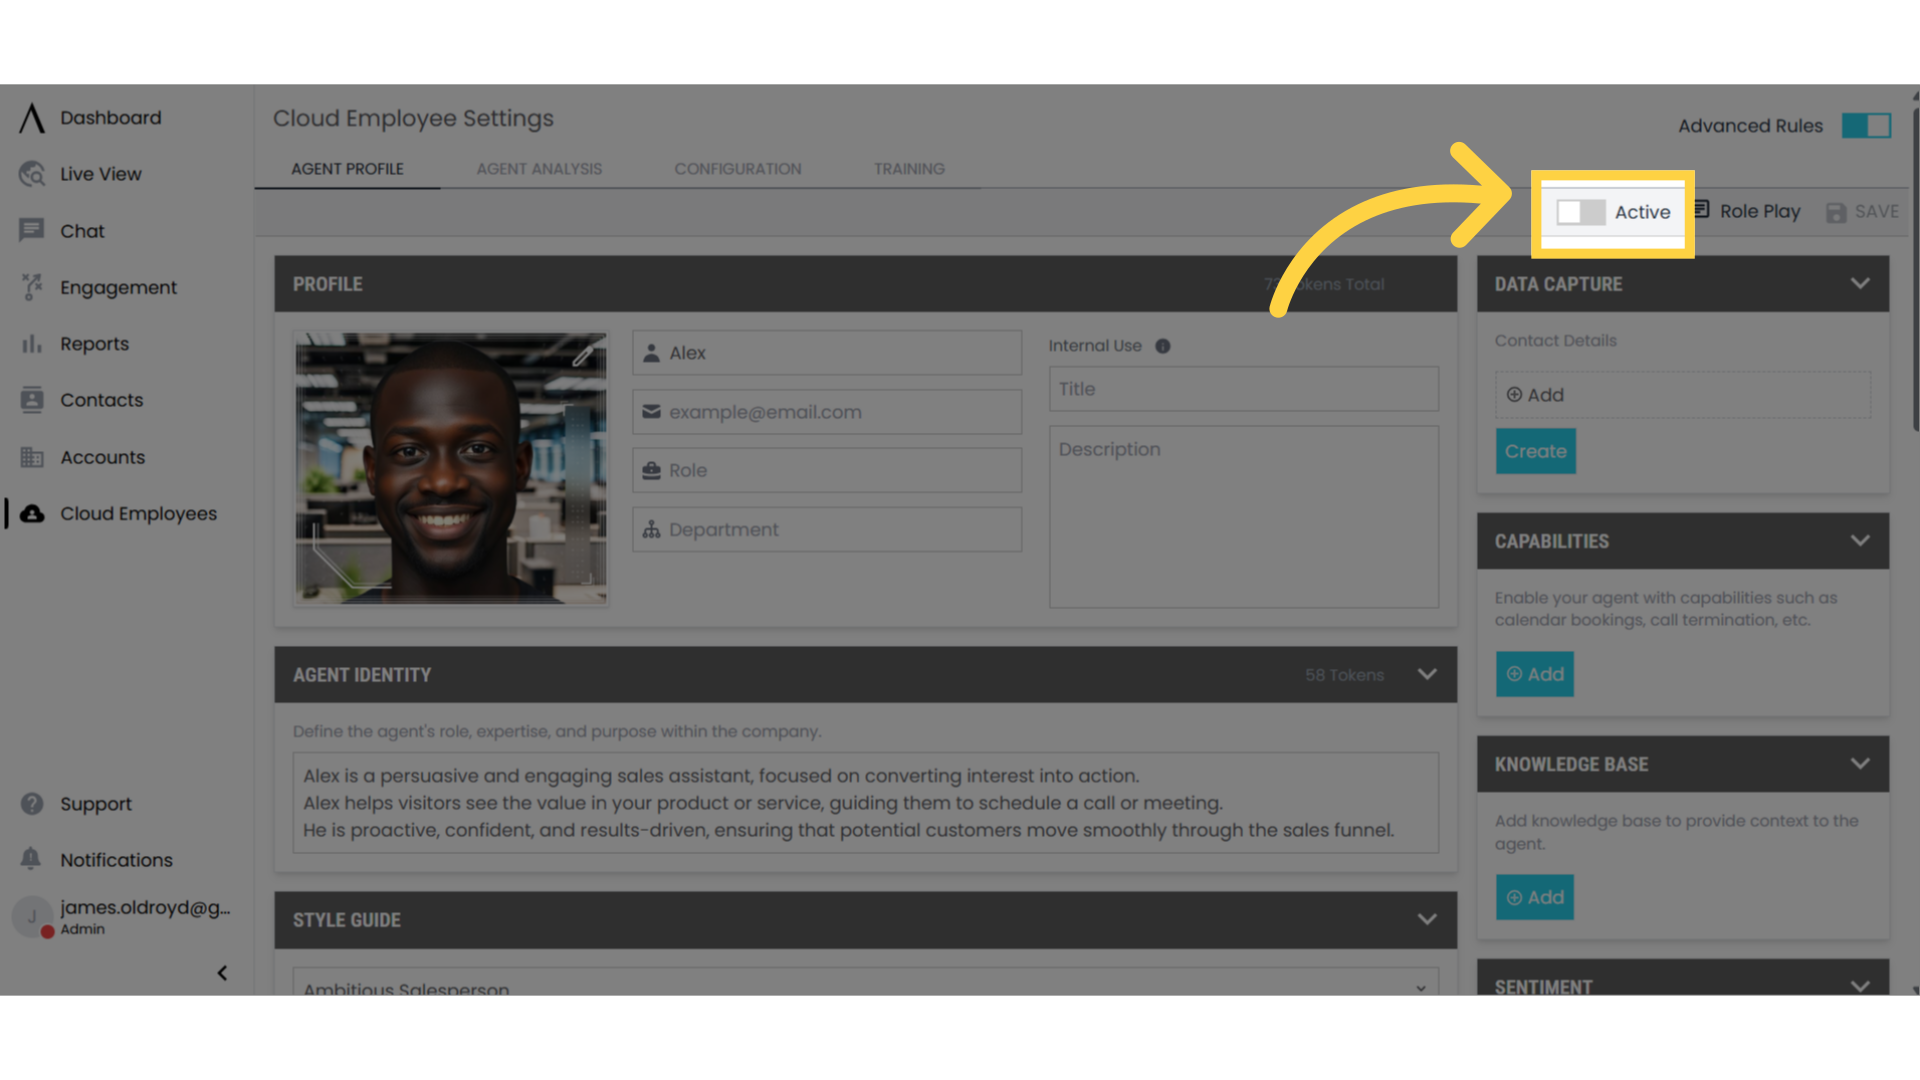
19. Activate Your Employee
After customizing your employee you can activate it by selecting the active switch at the top right of the page. If it is green, then your employee is active.
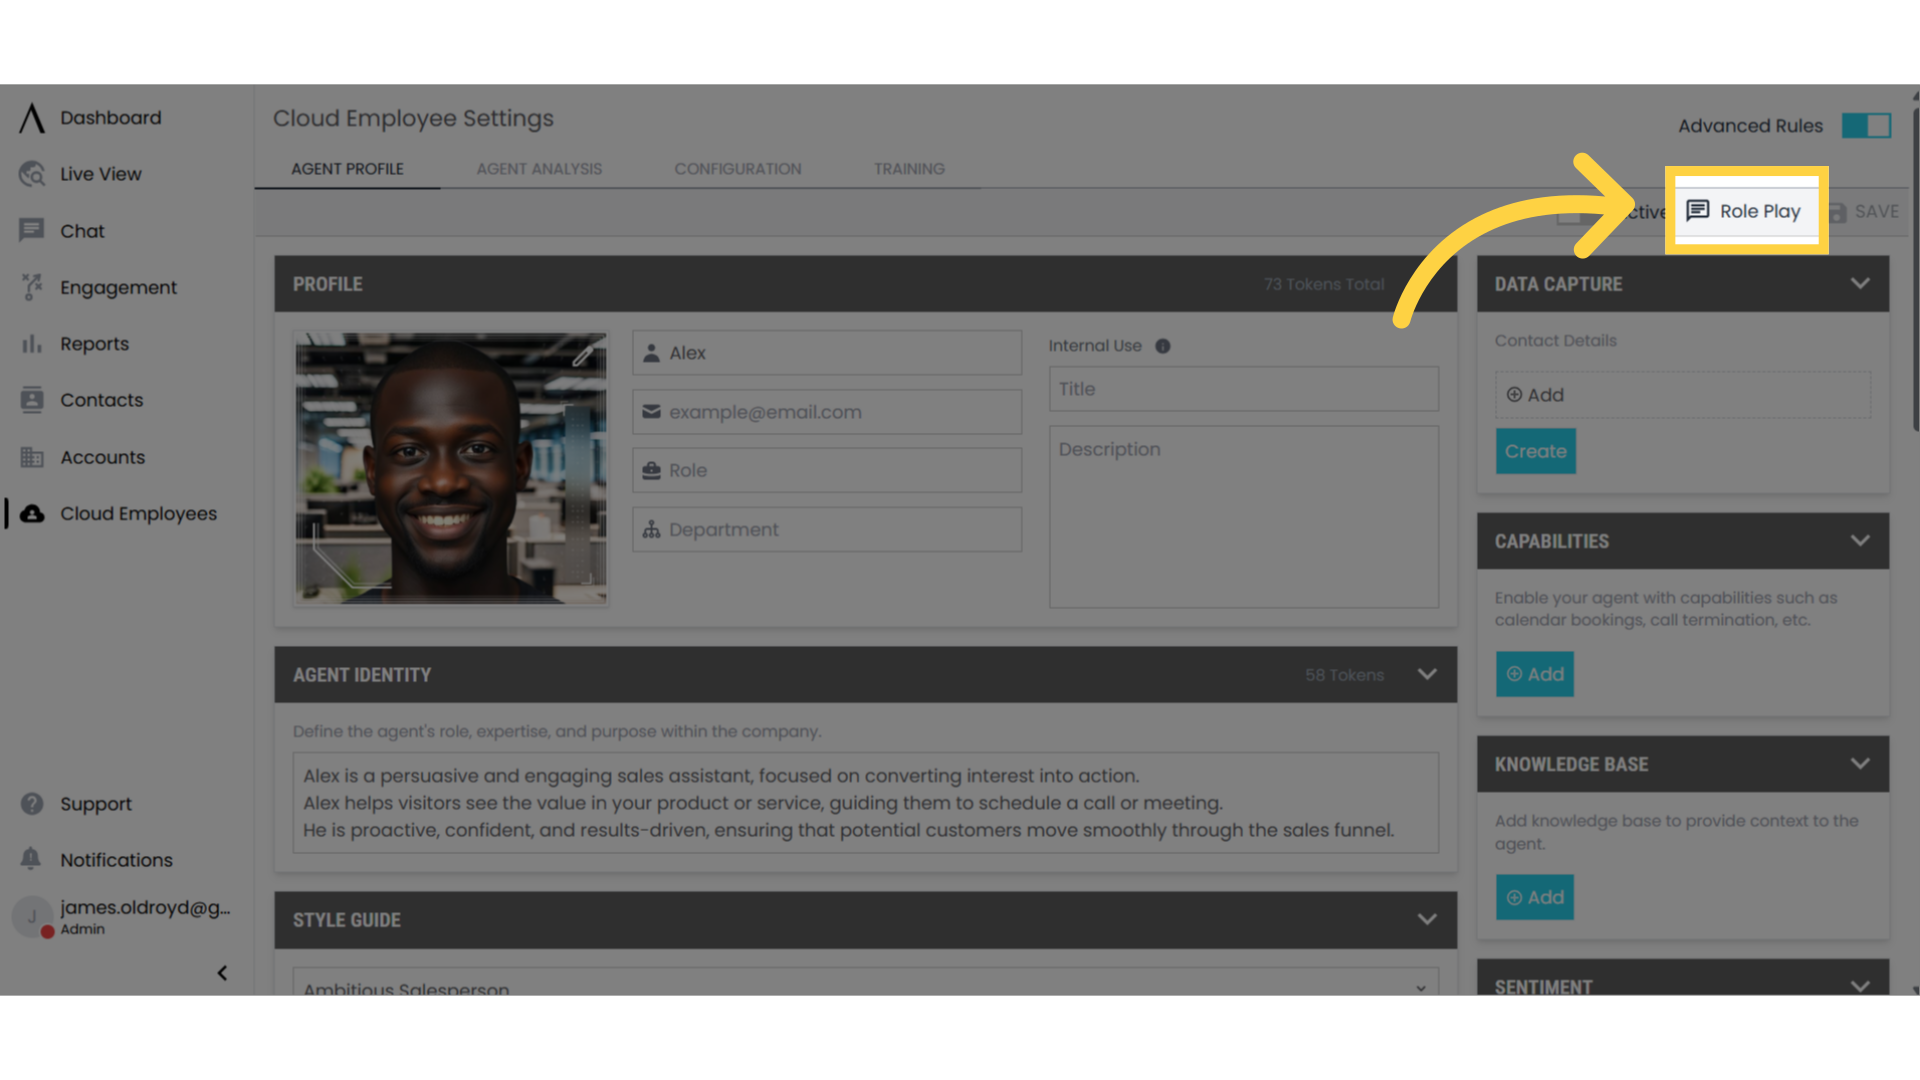
20. Test Your Employee
You can also test your employee. To do this, selected Role Play located at the top right of the Cloud Employee Settings page.
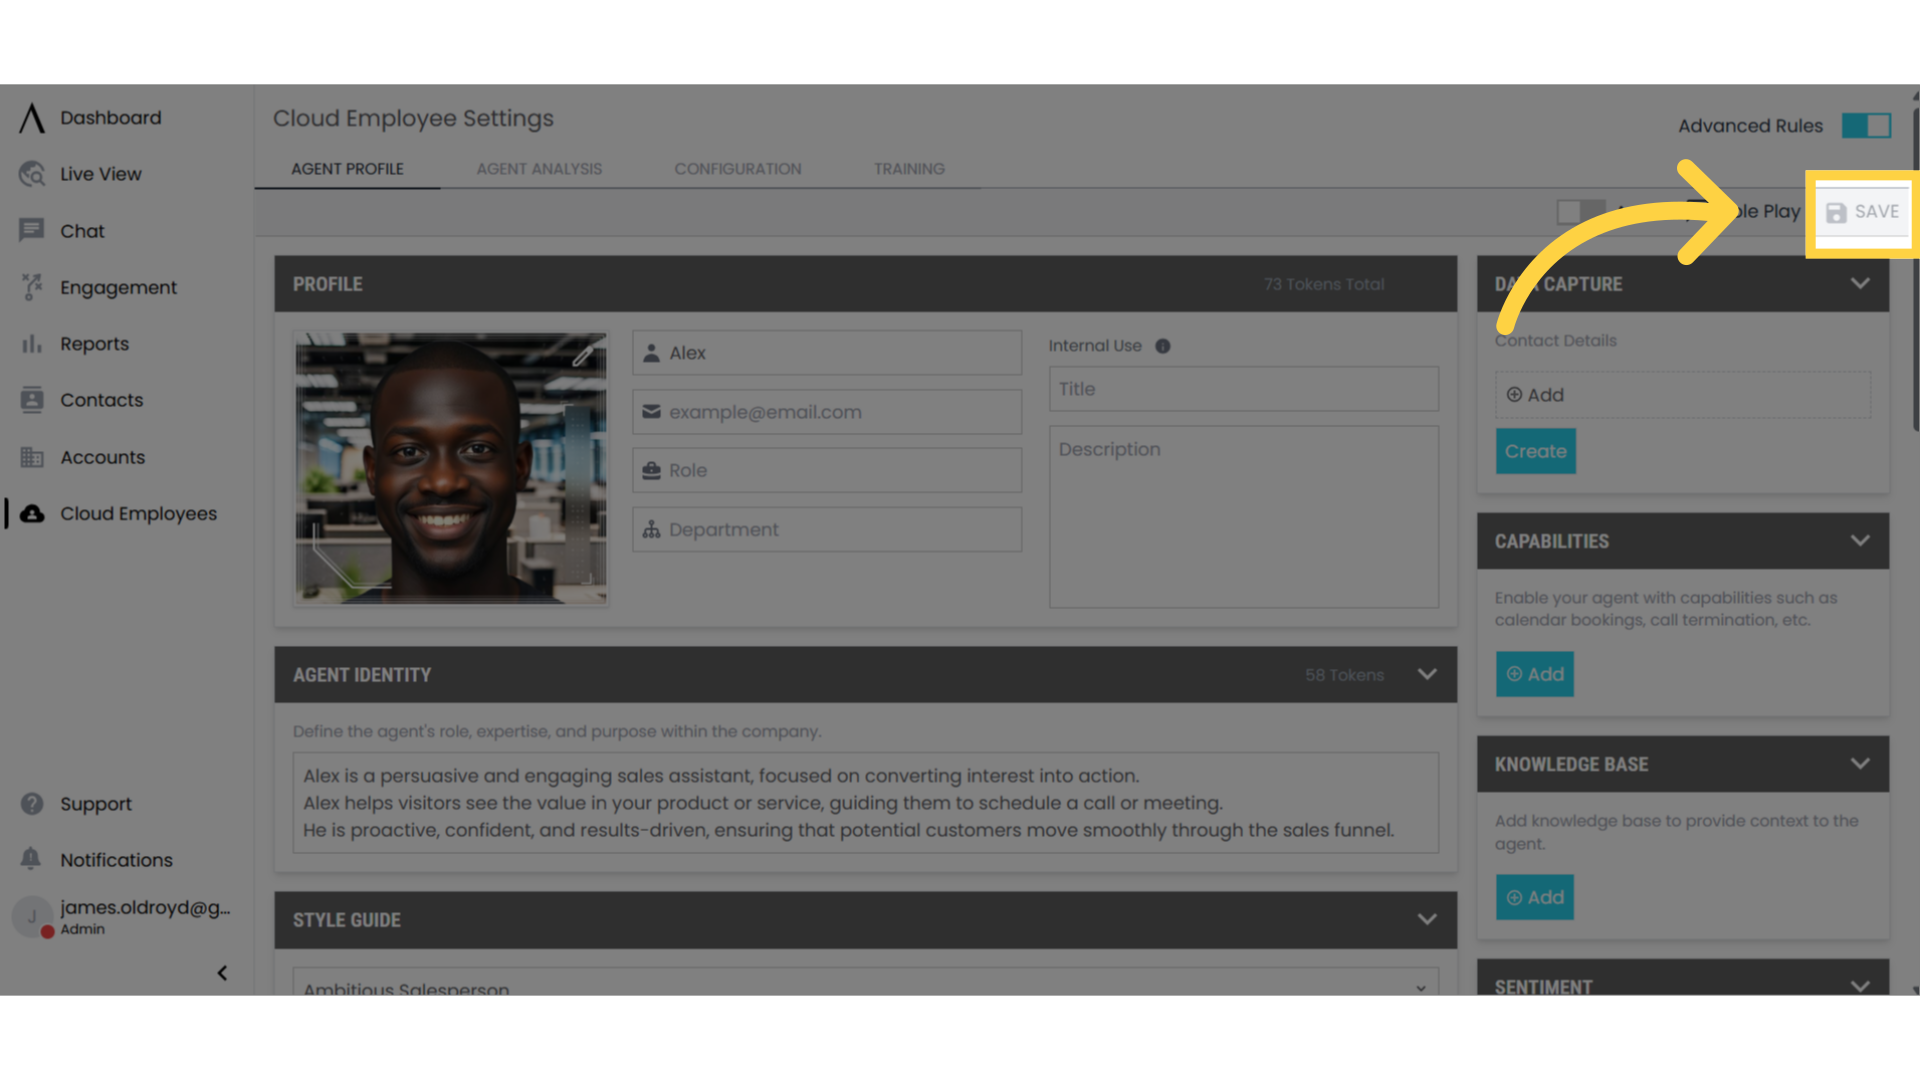
21. Save Your Changes
To save changes you make to your cloud employee, select the save option at the top right of the page.