Zapier Integration
 Updated
by
Jenny Young
Updated
by
Jenny Young
Overview
The Zapier integration allows you to add Signals as one of the trigger events in Zapier. You can then use Zapier to configure an automation with numerous software based on when an event occurs in Signals.
Creating a Zap with the Signals Integration
To create a Zap triggered by Signals, you can follow these steps:
- Access your Zapier account
- In the top-left corner, select "Create" and then select "Zaps."

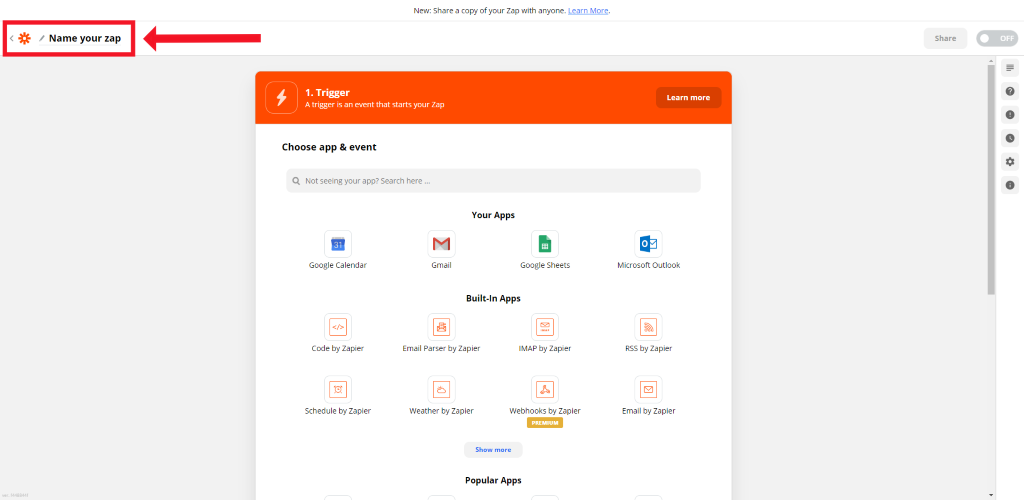
- At the top-center of the screen, click on the “Untitled Zap.” Then click "Rename" and name your zap. We recommend naming it "Signals/[App Name]"
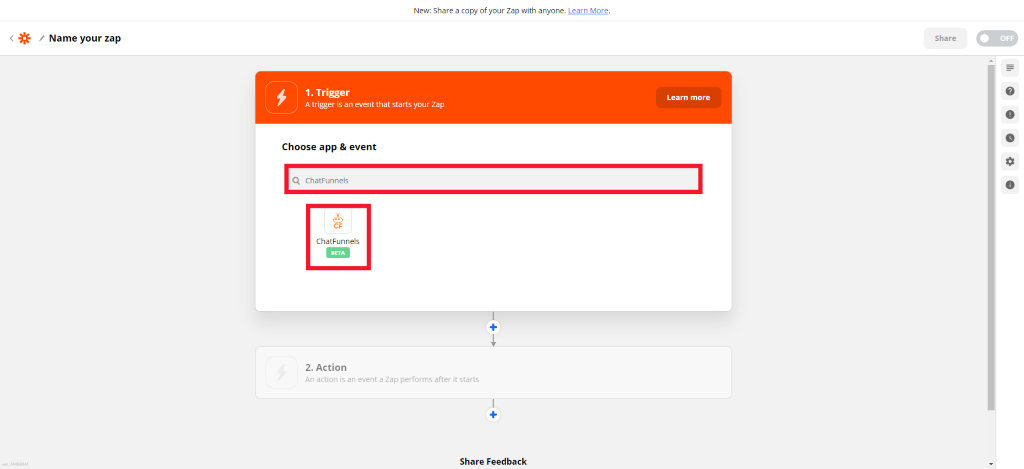
- In the center of the screen, click on "Trigger" and search "Signals."
- After selecting Signals, go to the right side of the screen and click "Choose an event."
- In the Trigger Event dropdown, select which event you want to trigger the Zap.
- Account Activity: Triggers when an account has recent activity.
- Closed Conversation: Triggers when a conversation is closed.
- New Account: Triggers when a new account is created.
- New Contact: Triggers when a new contact is created.
- Updated Contact: Triggers when a contact is updated in Signals.
Note: Selecting “Closed Conversation” will trigger any closed conversation, whether or not that conversation was manually closed by an agent or closed automatically in the Bot Flow.
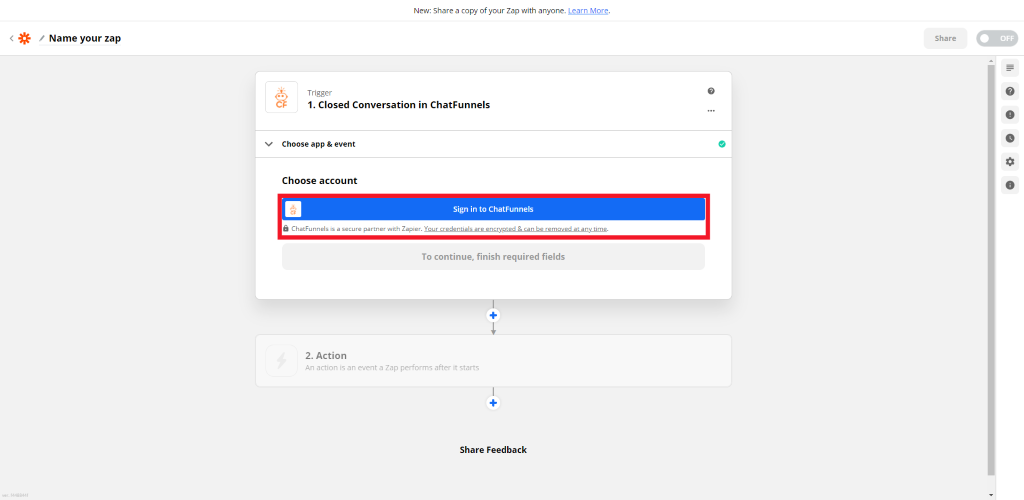
- Next, click "Sign In" in the account box and sign in with Signals credentials.
- Then, click on "continue" at the bottom to send a test contact through.
- If you are using Signals as the triggering event and you have not linked a Signals account with your Zapier account, you will have the option to connect your Signals account to your Zapier account. Click on the “Sign into Signals” option to link your accounts:
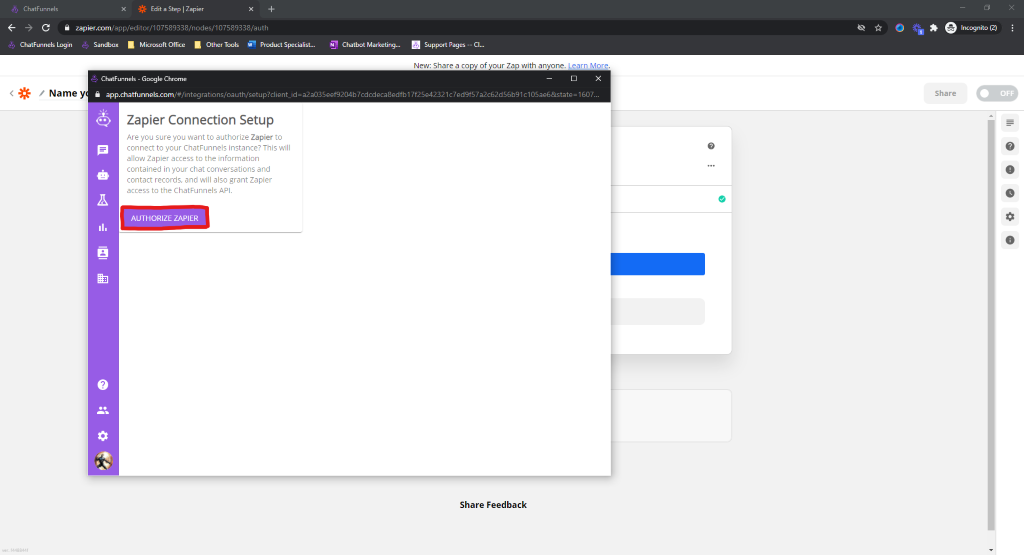
- If you have not already logged into Signals on your browser, the popup will provide you a login page. Once you have logged in, you will receive a popup giving you the option to authorize the connection between Zapier and Signals. Click on “Authorize” to enable the connection:
- Now you have the option to select which Signals account you want to link to your Zapier account. Select the desired Signals account from the dropdown and then select “Continue”:
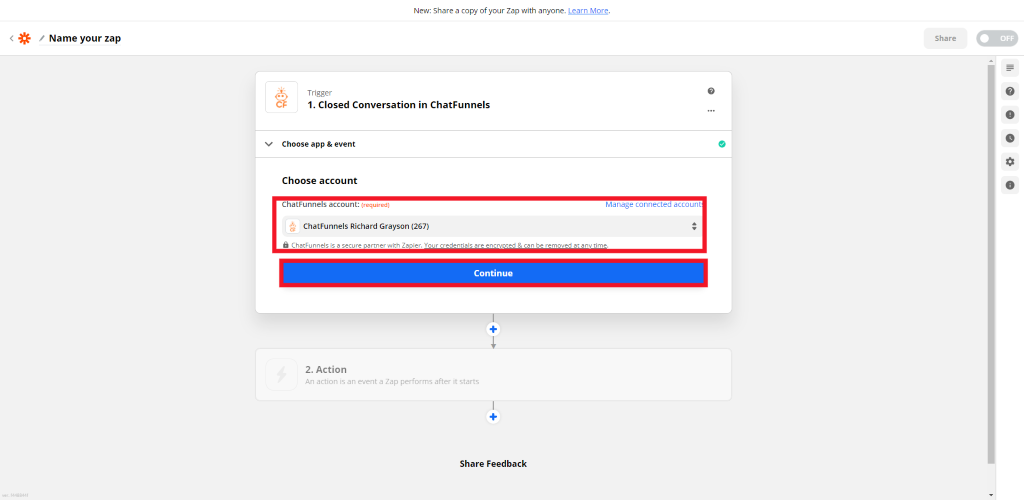
Note: Connecting a Signals account in the triggering event will not only trigger actions from the linked user but will trigger all actions from the license. For example, if you select “Closed Conversation” as the triggering event, the Zap will be triggered whenever a conversation is closed in your Signals license, not just conversations closed by the linked user.
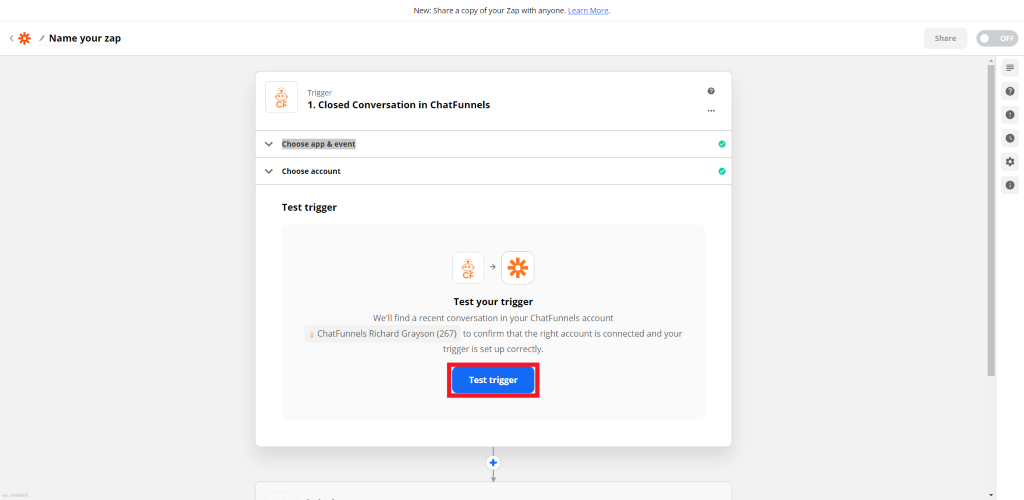
- If you are using Signals as the triggering event, the integration will then need to test a conversation within your connected account to make sure the connection was successful. To authorize this step and continue the integration, select “Test trigger”:
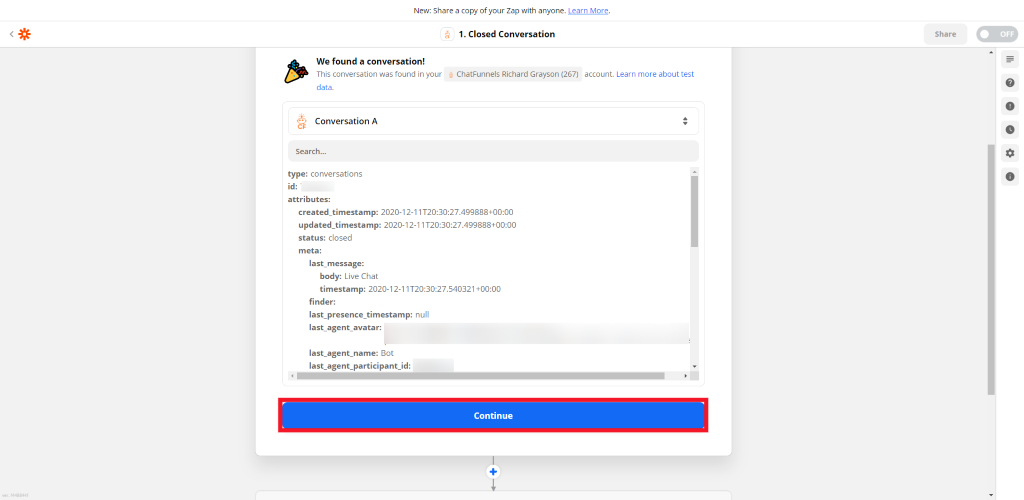
- If the test passes (which it should if you have conversations or contacts in your account), the integration will report on the successful test. You can click “Continue” to continue with the integration setup
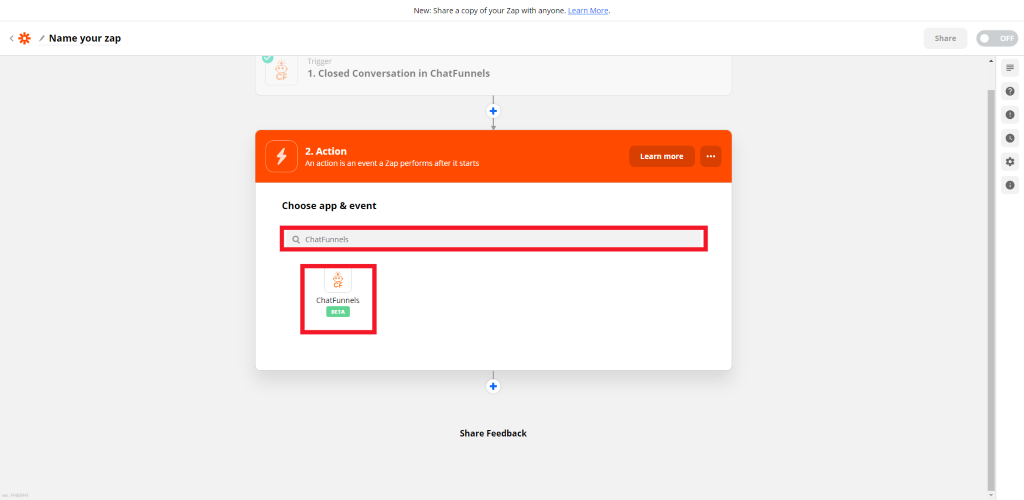
- Now you will be prompted to select which app will fire when the triggering app event occurs. If you want Signals to be the app that acts after the trigger event occurs, select the Signals app on this page. If you do not see the Signals app, search for it in the search bar
- Select the Action Event. If you are using the Signals app to select the Action Event, you have the following options:
- Update Contact: This will update a Signals contact when the triggering event runs
- Create Contact: This will create a Signals contact when the triggering event runs
- Find Contact: This will find a Signals contact; in the event that no contact is found, this will create a Signals contact
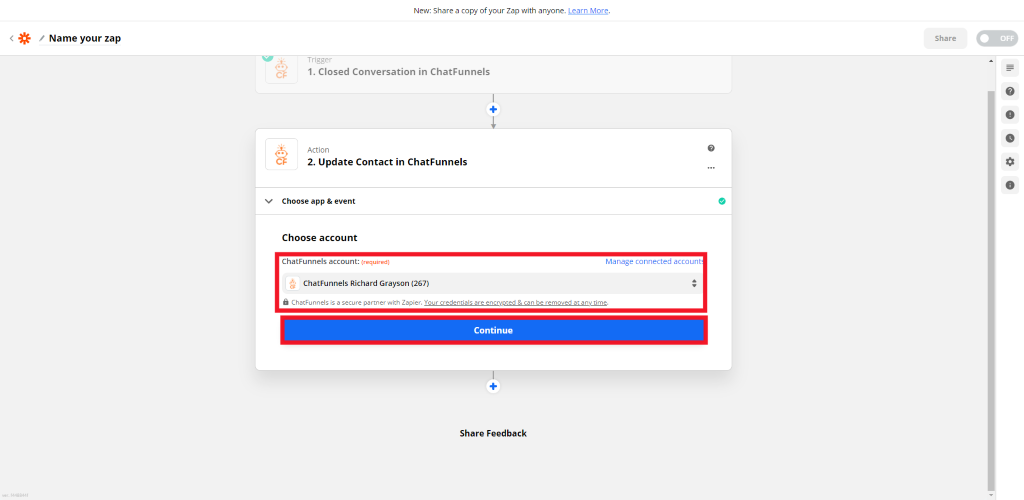
- If you are using the Signals app as the Action Event, you need to choose a linked Signals account where you want the Action Events to occur. If you do not have a Signals account linked, you will be prompted to link an account. If you have already linked an account, select the account from the dropdown menu and select “Continue”:
- Now complete the configuration for the Action Event
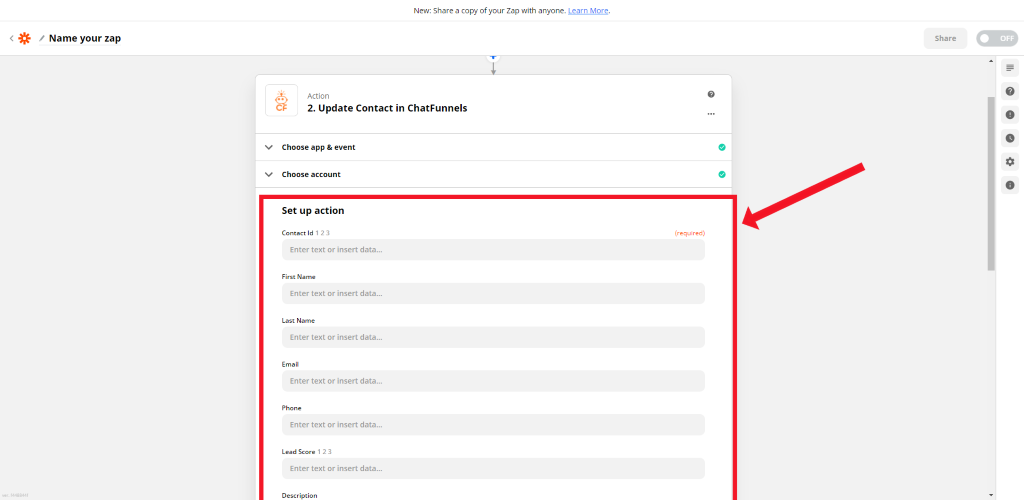
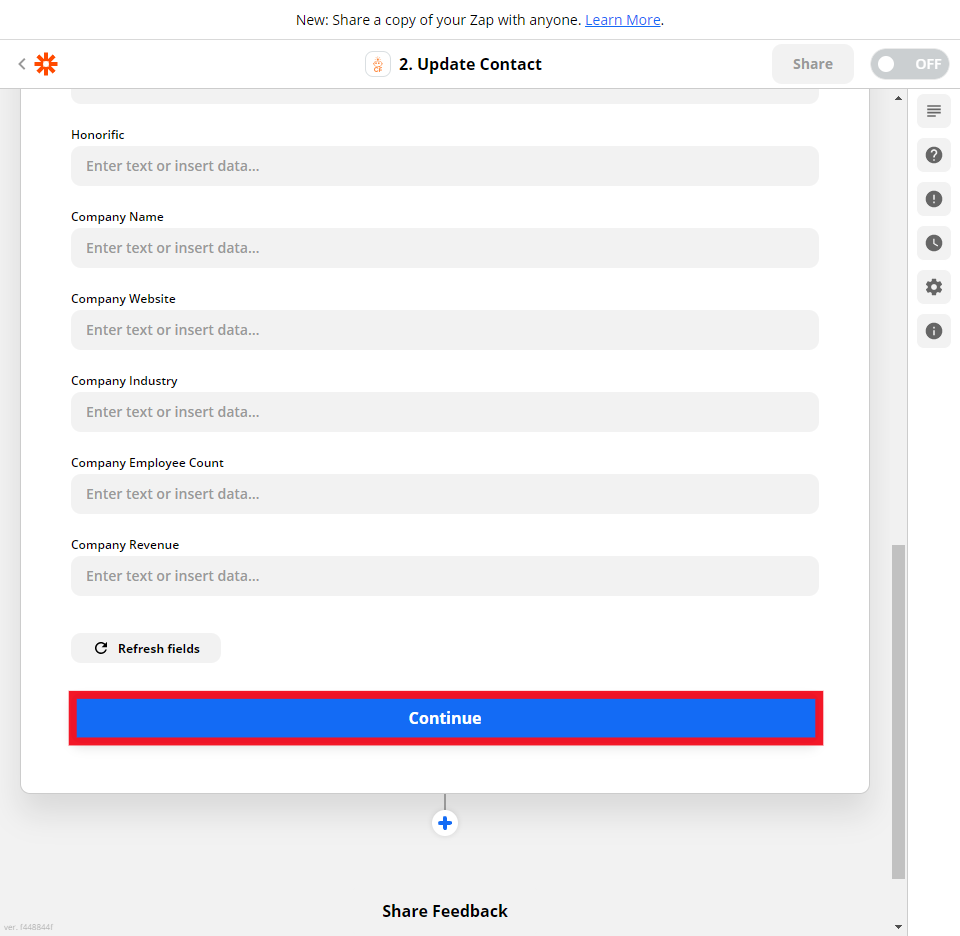
Note: You can bring fields in from the Triggering Event. So, if you are using the Signals app as the Action Event, you can bring in fields from the Triggering Event to specify information regarding the contact that you are updating, creating, or finding
- Select “Continue” to finish the Zap’s configuration
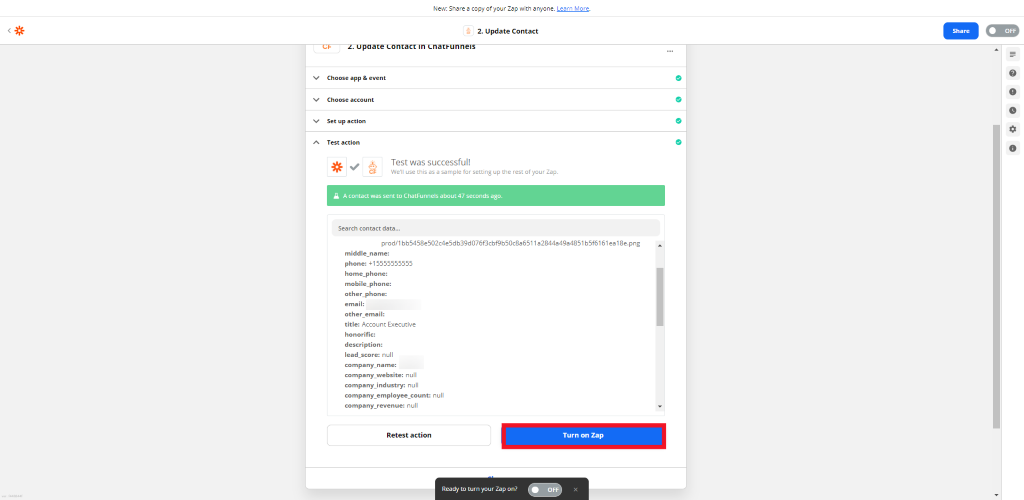
- If you are using the Signals app for the Action Event, you can test the integration to see if it works correctly. If you want to test the integration first, select “Test & Continue”. If you do not want to test the integration first, you can select “Skip test” at the top-right of this menu
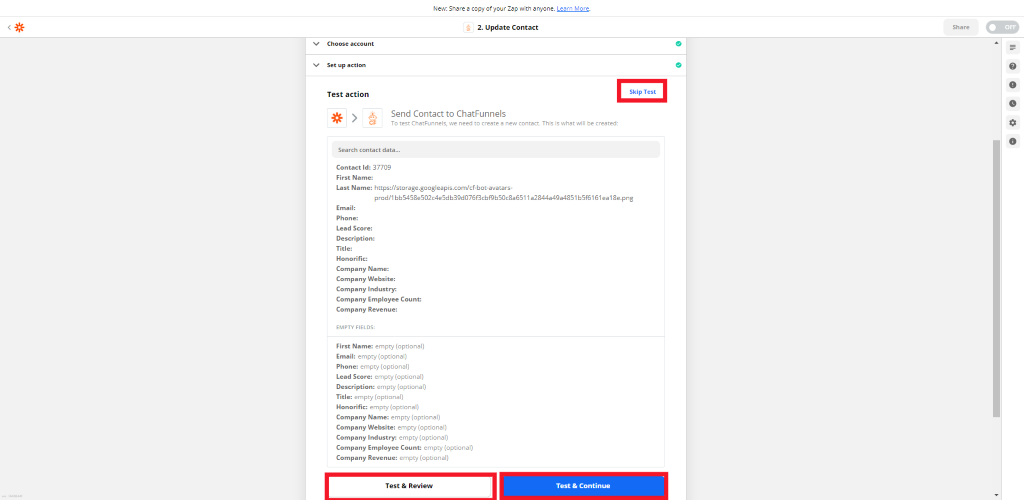
- Once the test has run, you can select to turn on the Zap
Editing a Zap
If you want to edit a Zap that has the Signals Zapier integration enabled, you can follow these steps:
- Access your Zapier account
- Toward the left of the page, select the Zaps tab
- On the page, find the Zap you want to edit
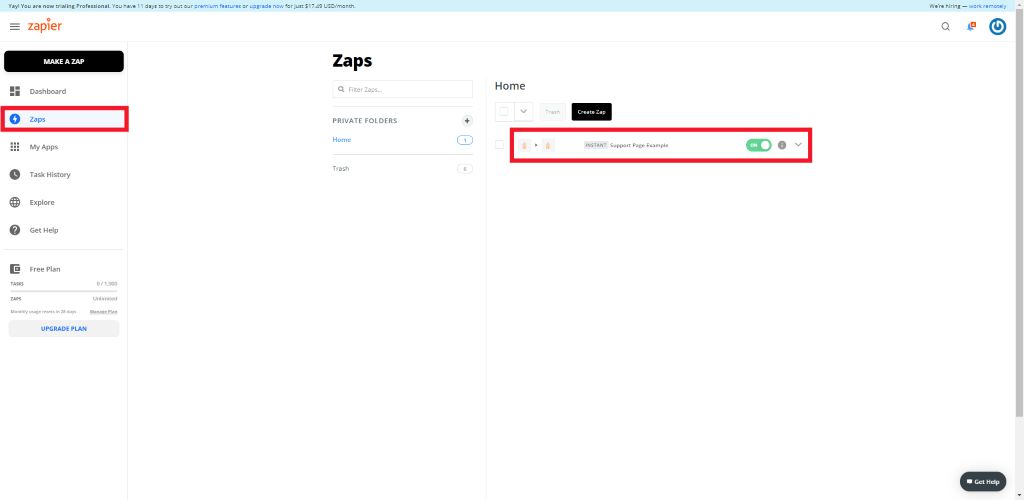
- If you want to turn off the Zap, you can select the “On” toggle so that it is toggled off

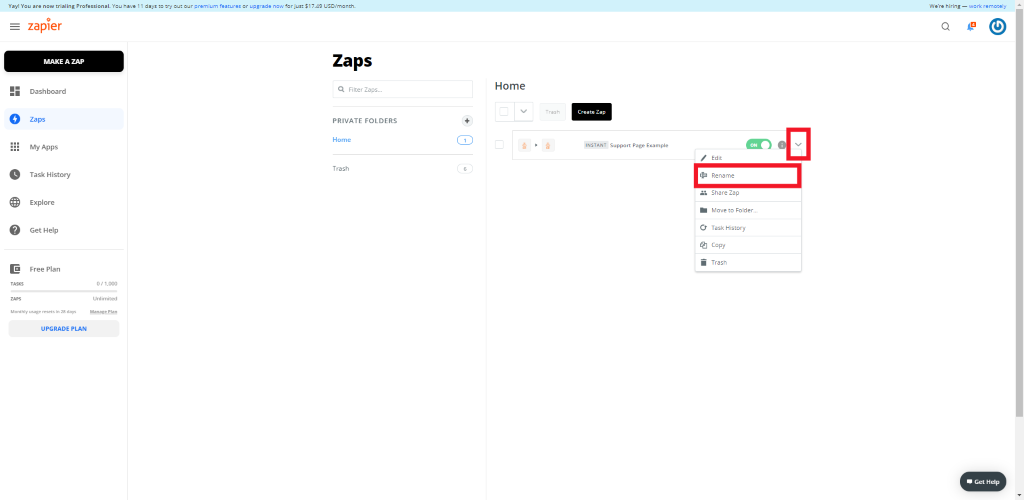
- If you want to rename the Zap, you can select the dropdown that is associated with the Zap and select “Rename”
- If you want to edit the Zap’s configuration, you can simply click on the name of the Zap
- Make any desired edits and then select “Turn on Zap” at the end of Zap’s settings to enable your changes
Note: Any changes to your Zap will save automatically; however, whenever you edit your Zap, Zapier automatically turns off the Zap. So, you need to select to turn on the Zap to enable your changes
Deleting a Zap
To delete a Zap, you can follow these steps:
- Access your Zapier account
- Toward the left of the page, select the Zaps tab
- On the page, find the Zap you want to edit
- Select the dropdown that is associated with the Zap and select “Trash”
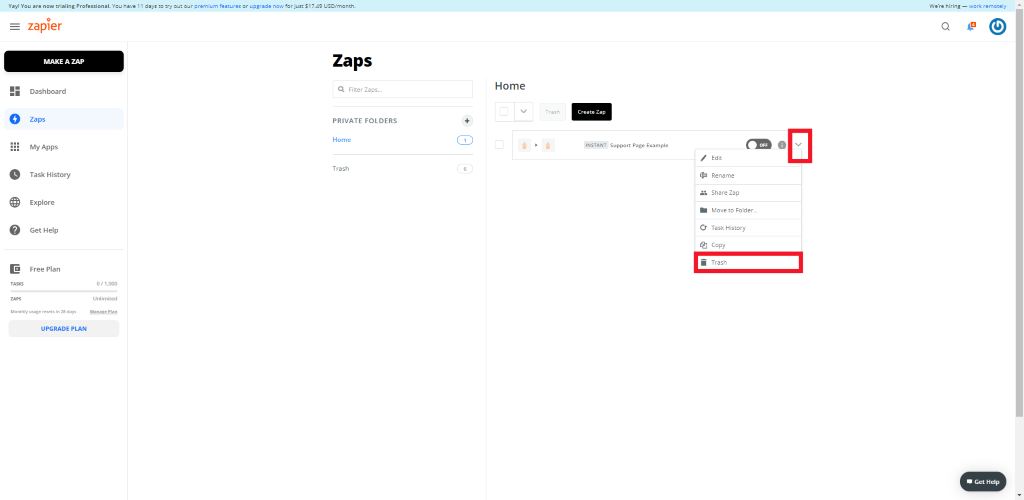
- Confirm that you really want to delete the Zap by selecting “Really move to trash?”