Organizing Chats
Organizing Chats
Welcome to this tutorial on how to organize chats in Signals.
Go to app.getsignals.ai
1. Introduction
First, log in to your Signals account and navigate to the "Chat" section in the left sidebar.
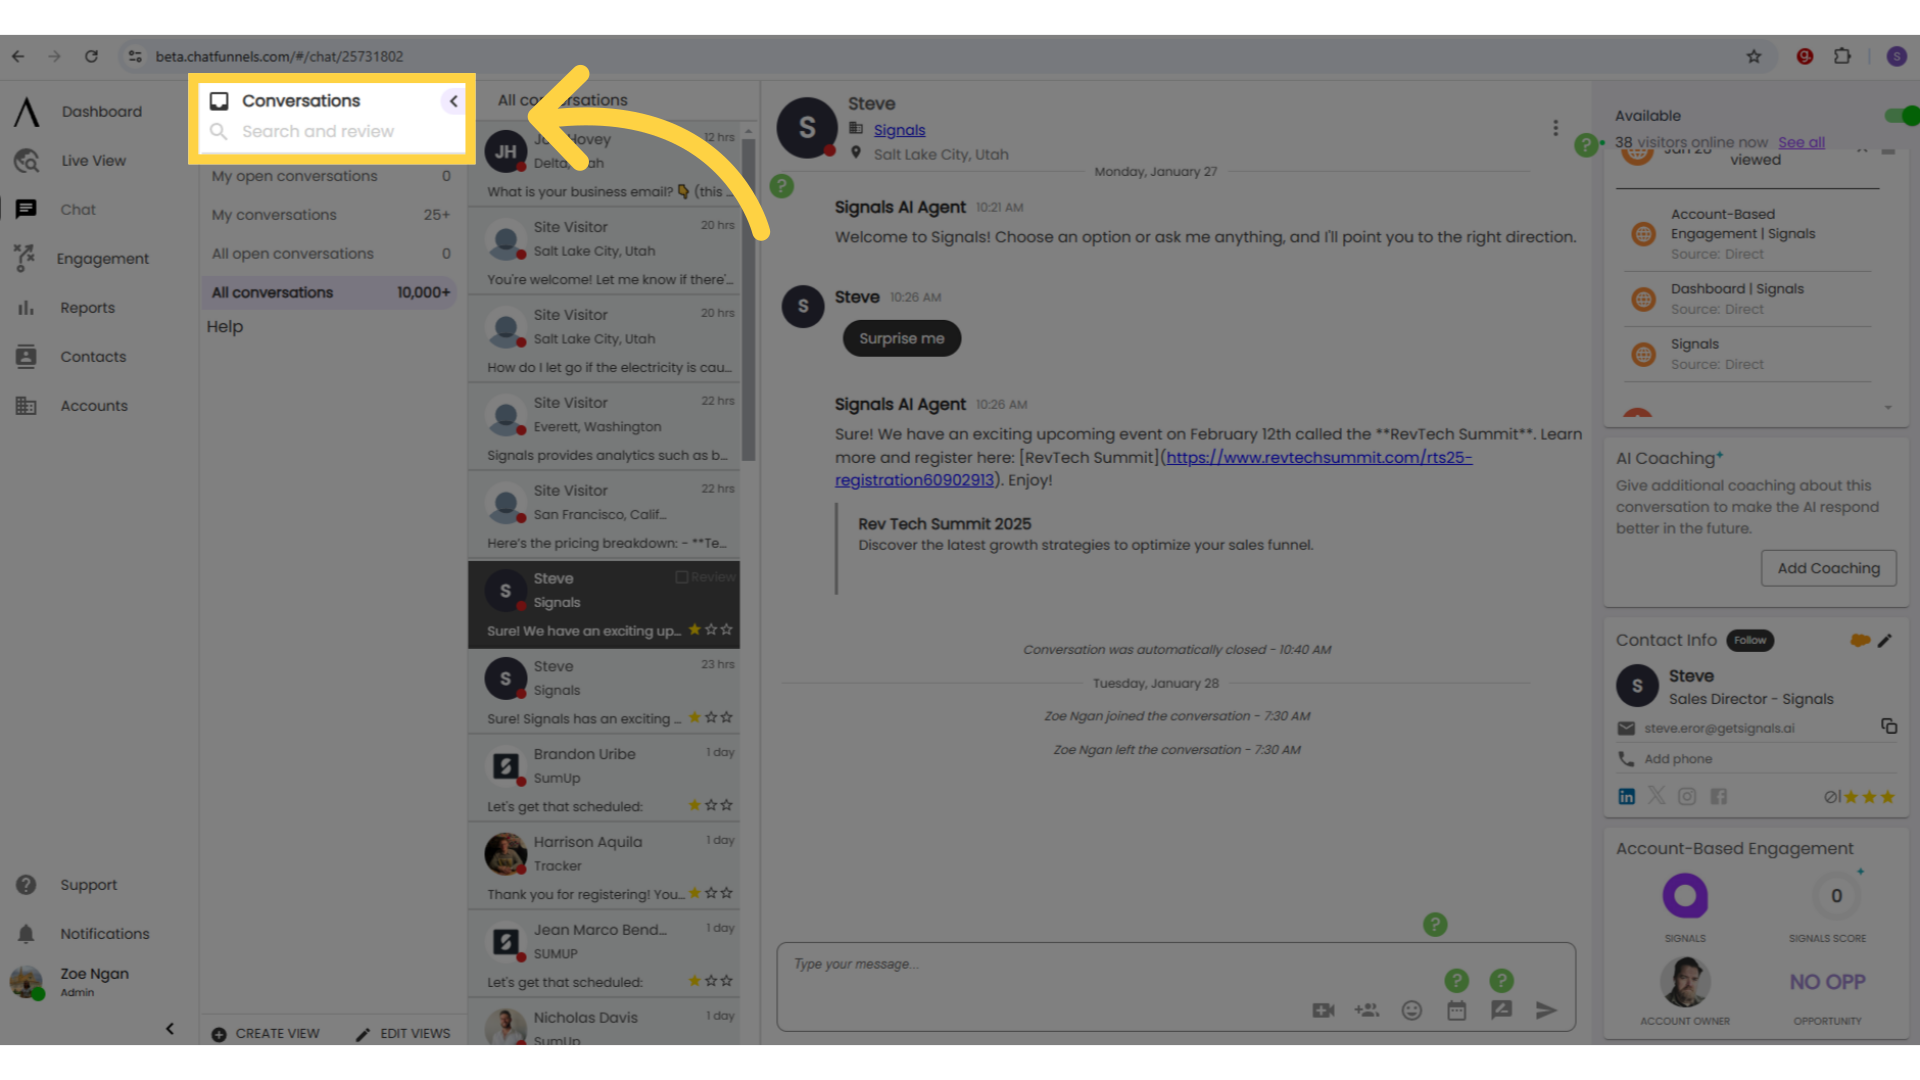
2. Click on "All Conversations"
Click on the arrow next to "All Conversations."
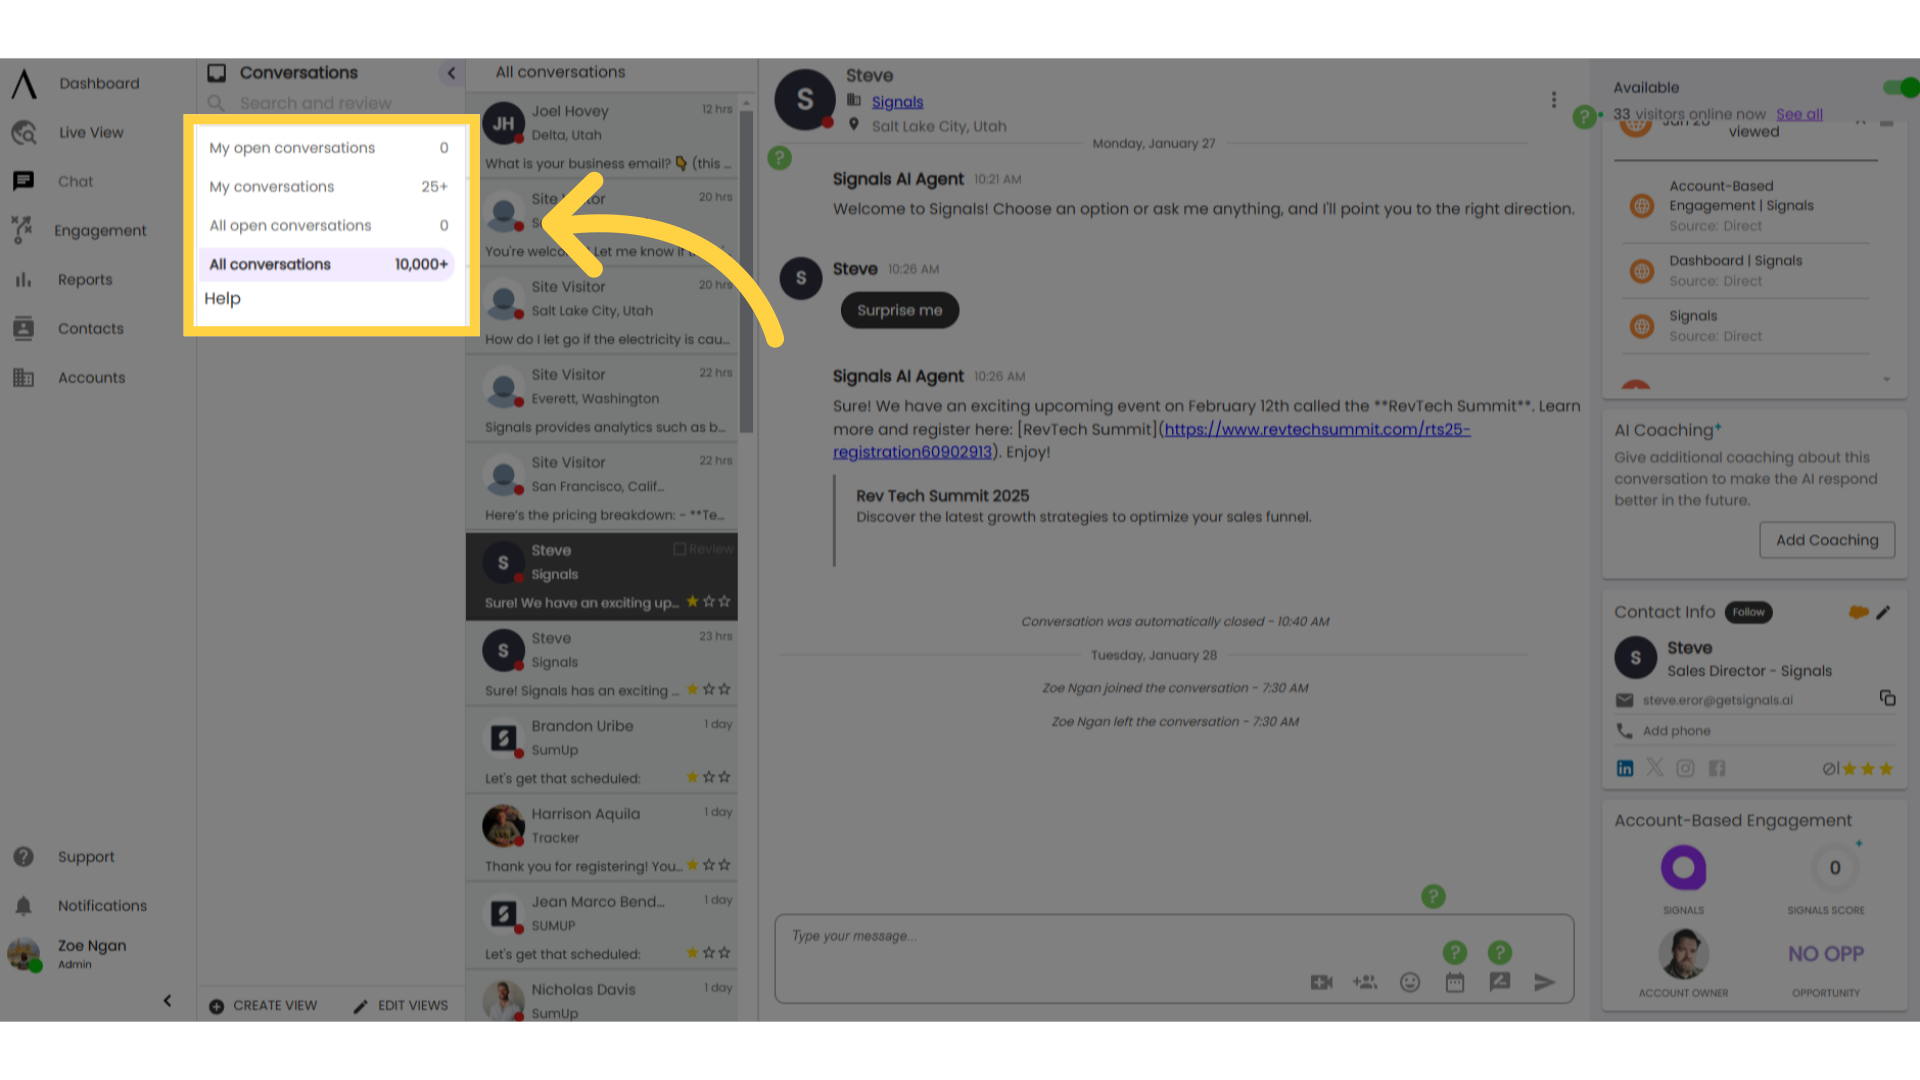
3. Default filter views:
The 4 default filter views are: my open conversations, my conversations, all open conversations, and all conversations. If you don't see all four of these default views in the agent chat section, you may need to talk to your admin about upgrading your role.
"My conversations" are any conversations that you have been routed to (either with an alert, live chat routing, or your calendar drop).
"Open conversations" are any conversations that haven't been closed yet. This doesn't always mean that the site visitor is still engaging in chat. Conversations auto-close after a specified time of inactivity. To edit you auto-close wait time, see our HelpDocs video on auto-closing conversations.
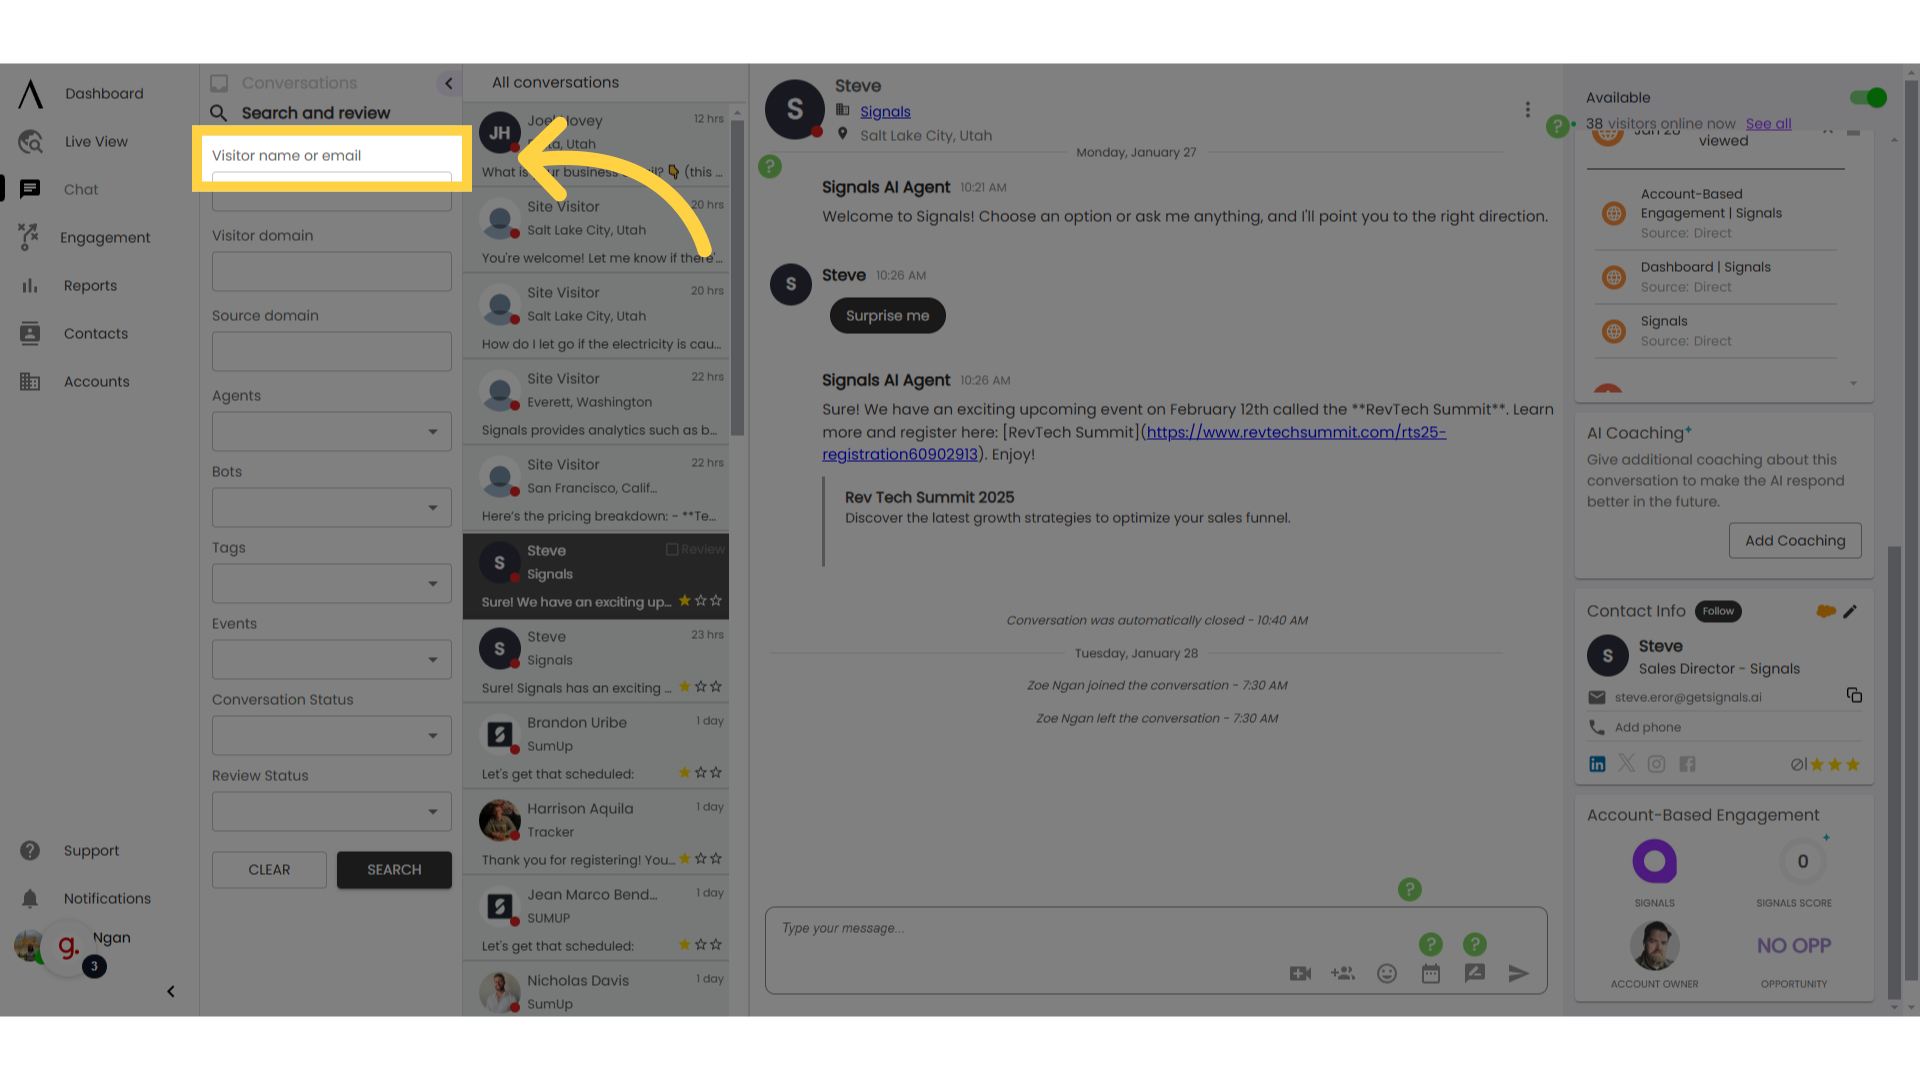
4. Click "Visitor name or email"
Select the Visitor name or email field.
5. Navigate to "Search and Review"
Navigate to "Search and Review" by clicking under "Conversations" at the top of the Conversation Views window.
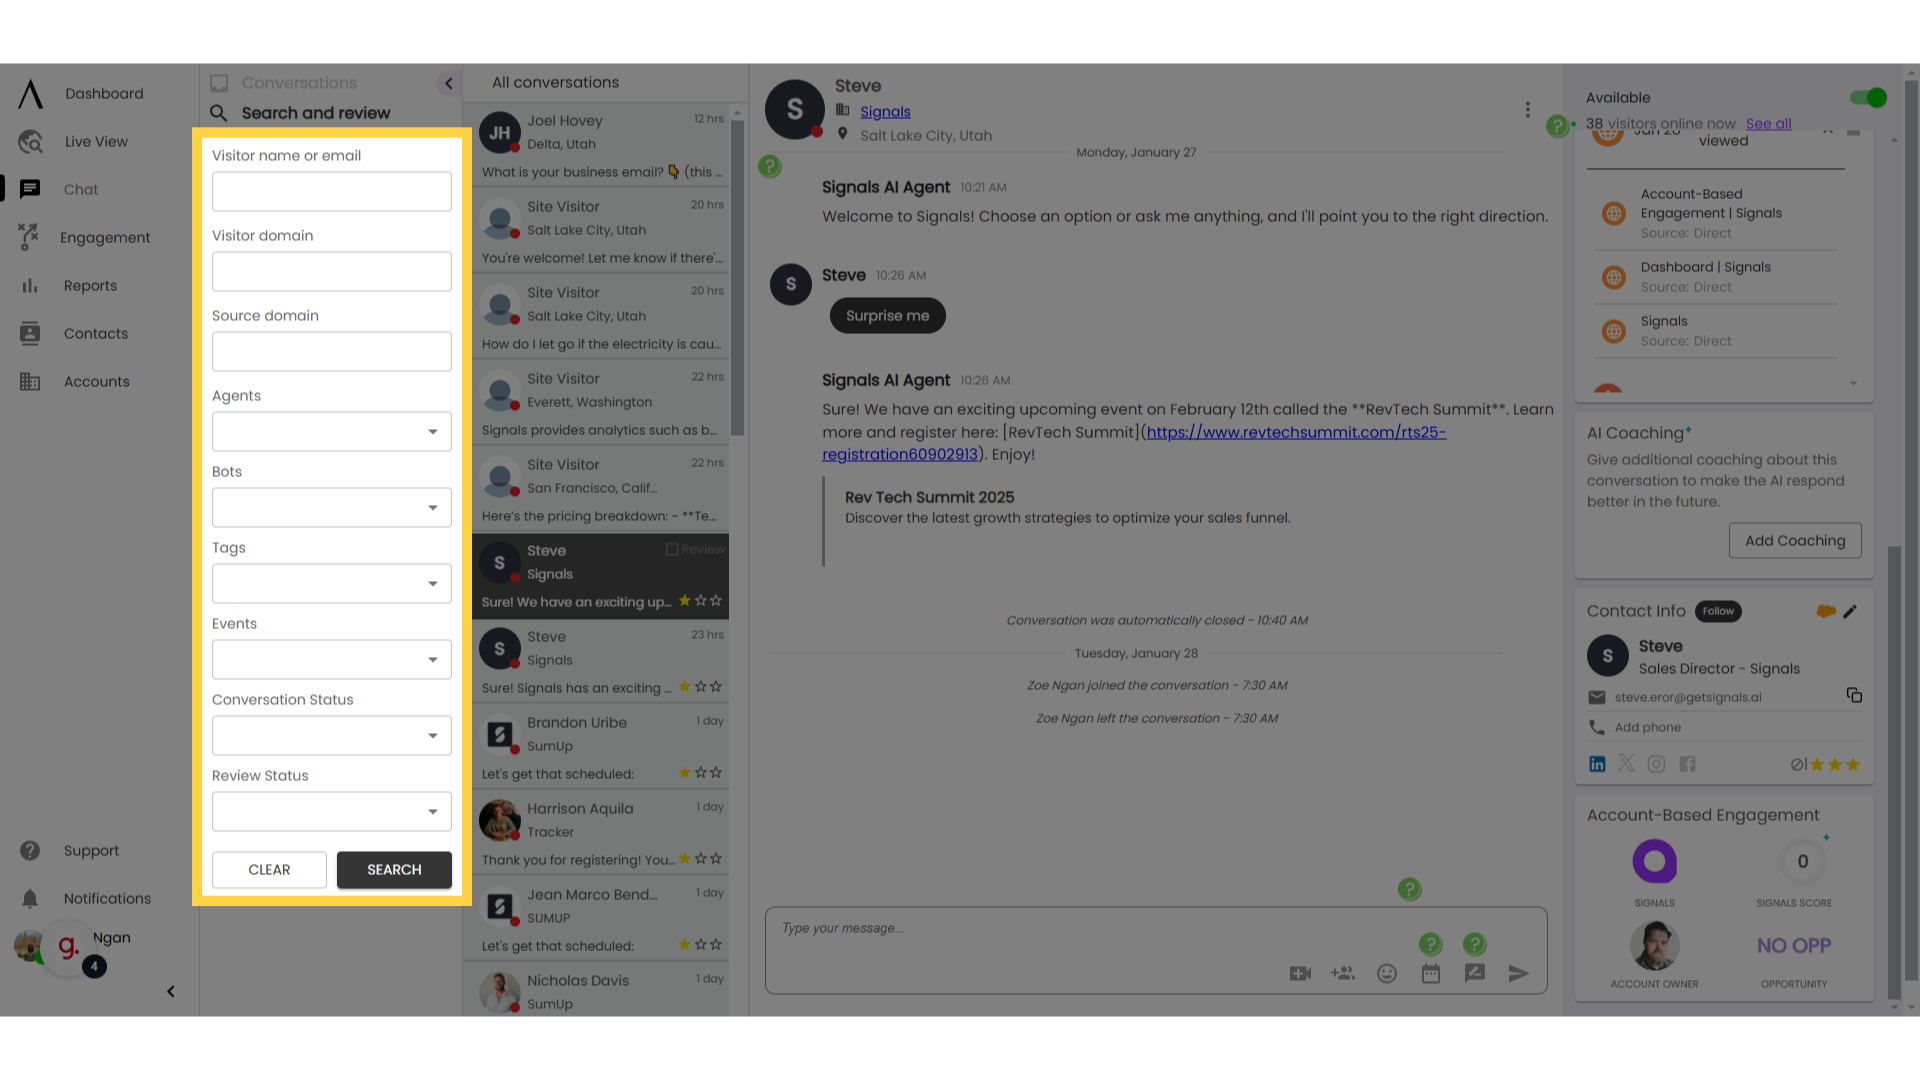
6. Search Criteria
Search based on the following criteria: visitor name, email & domain, chats by a specific agent (or group of agents) or with a specific bot (or bots), or chats with specific channel or tags.
You can also search for chats by event (i.e. calendar dropped, meeting booked, or email captured), open/closed conversations (conversation status), or to include only reviewed/not reviewed conversations. Once you've set your search criteria, scroll down to click the "Search" button at the bottom right.
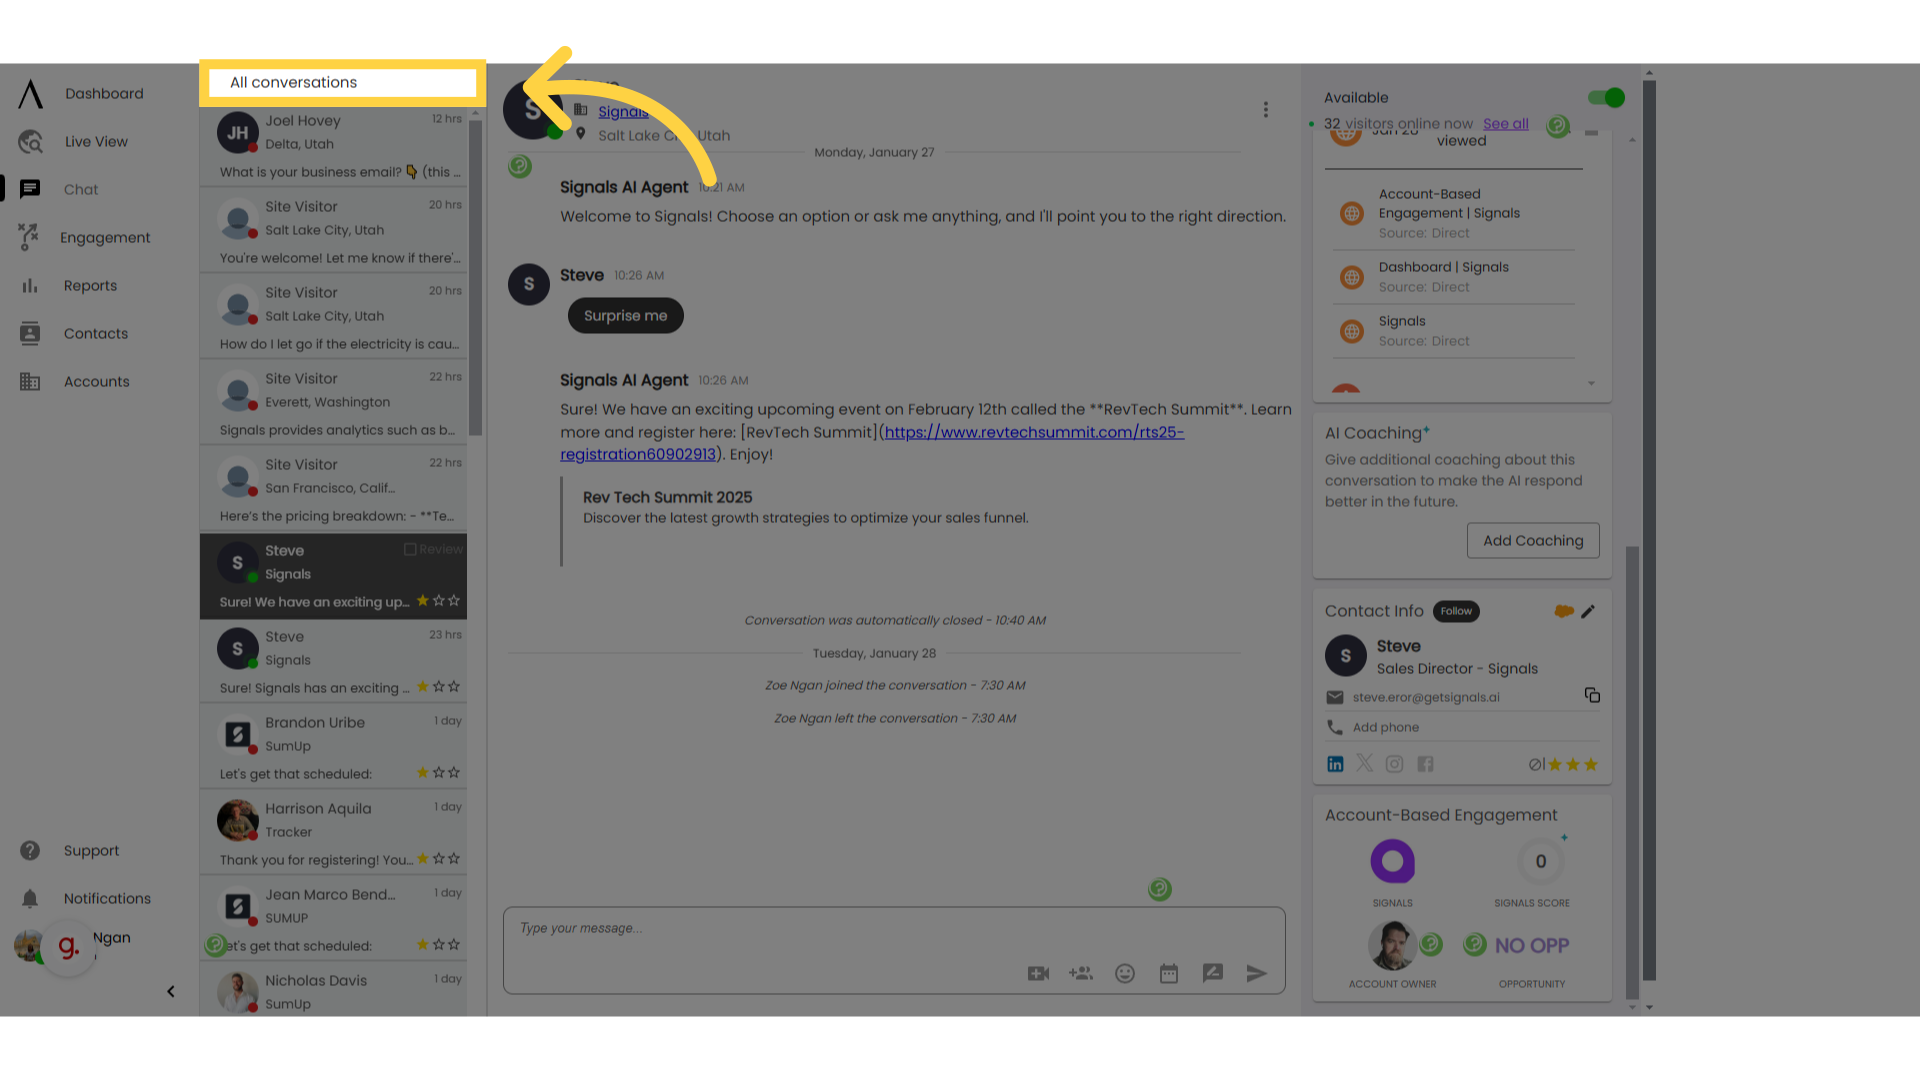
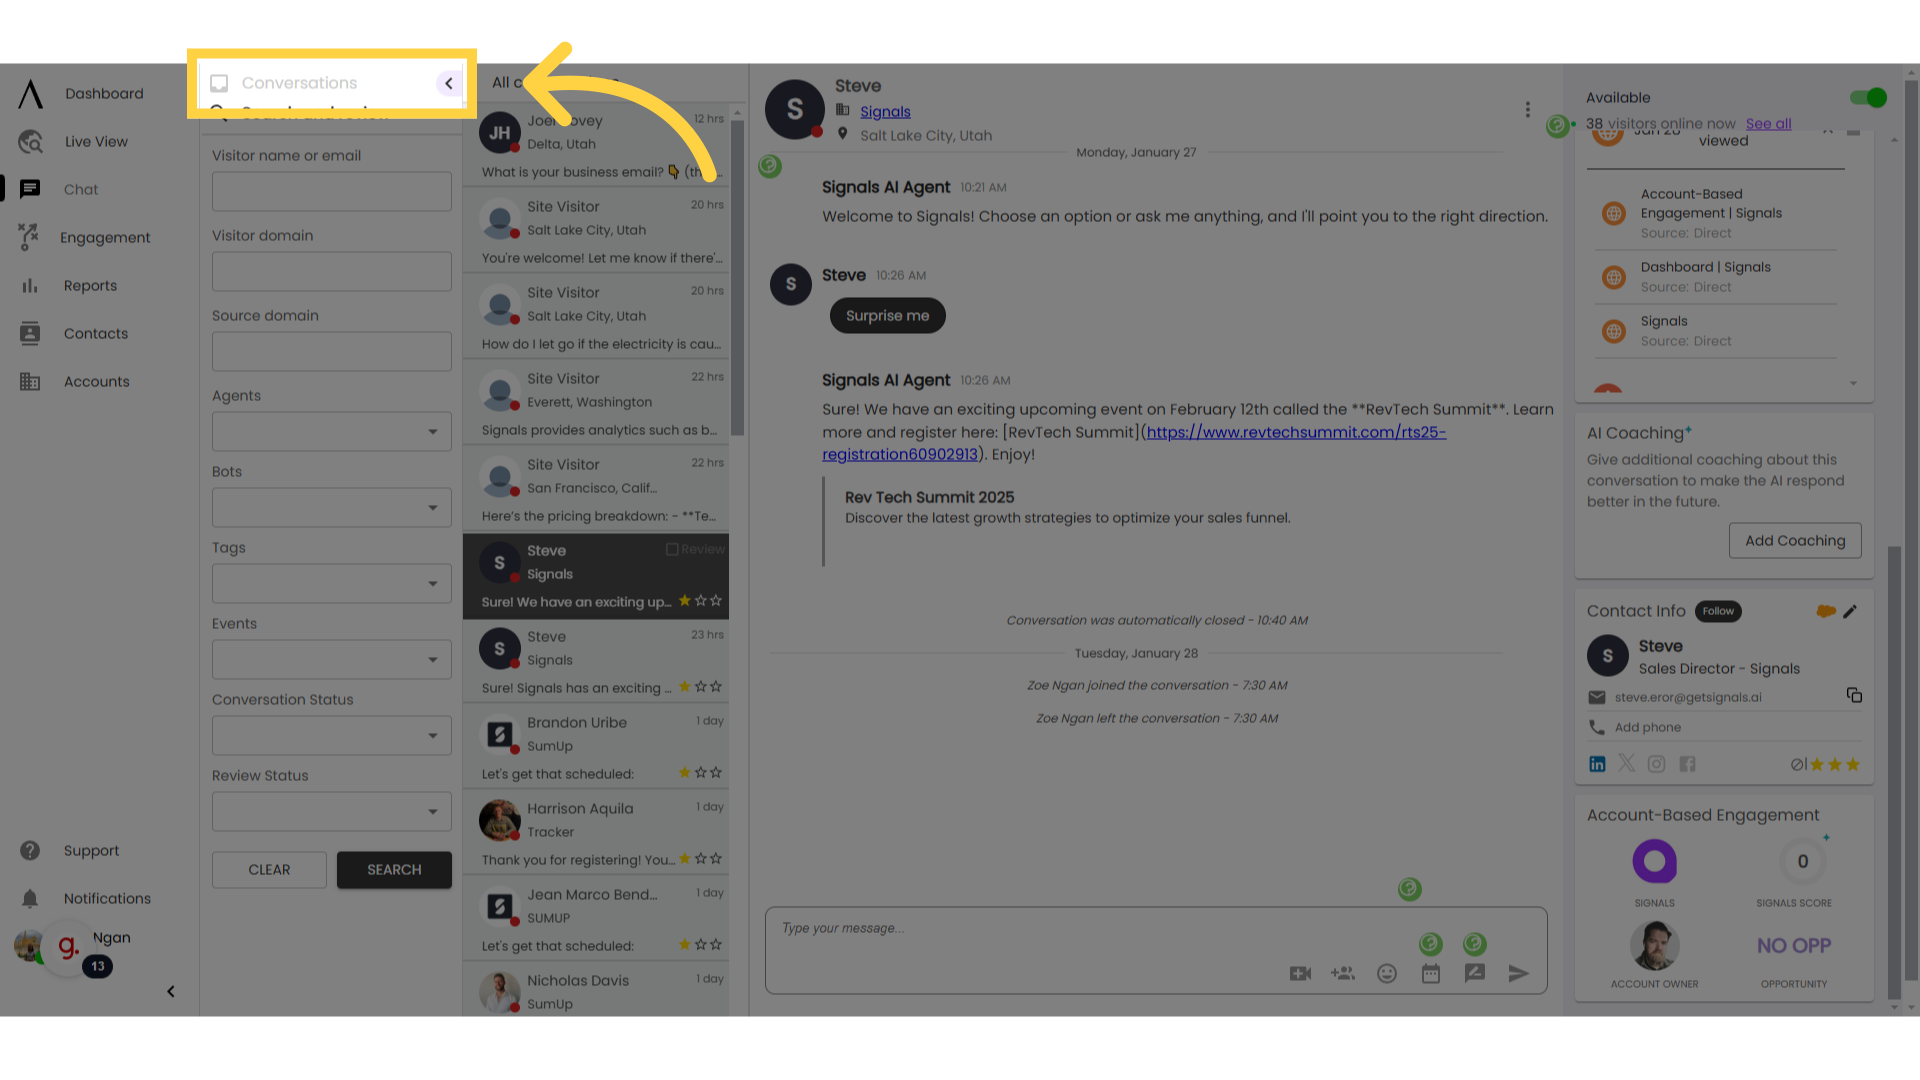
7. Click "Conversations"
To return to Conversation Views, click the arrow next to "Conversations" above "Search and Review" at the top of the Conversation Views window.
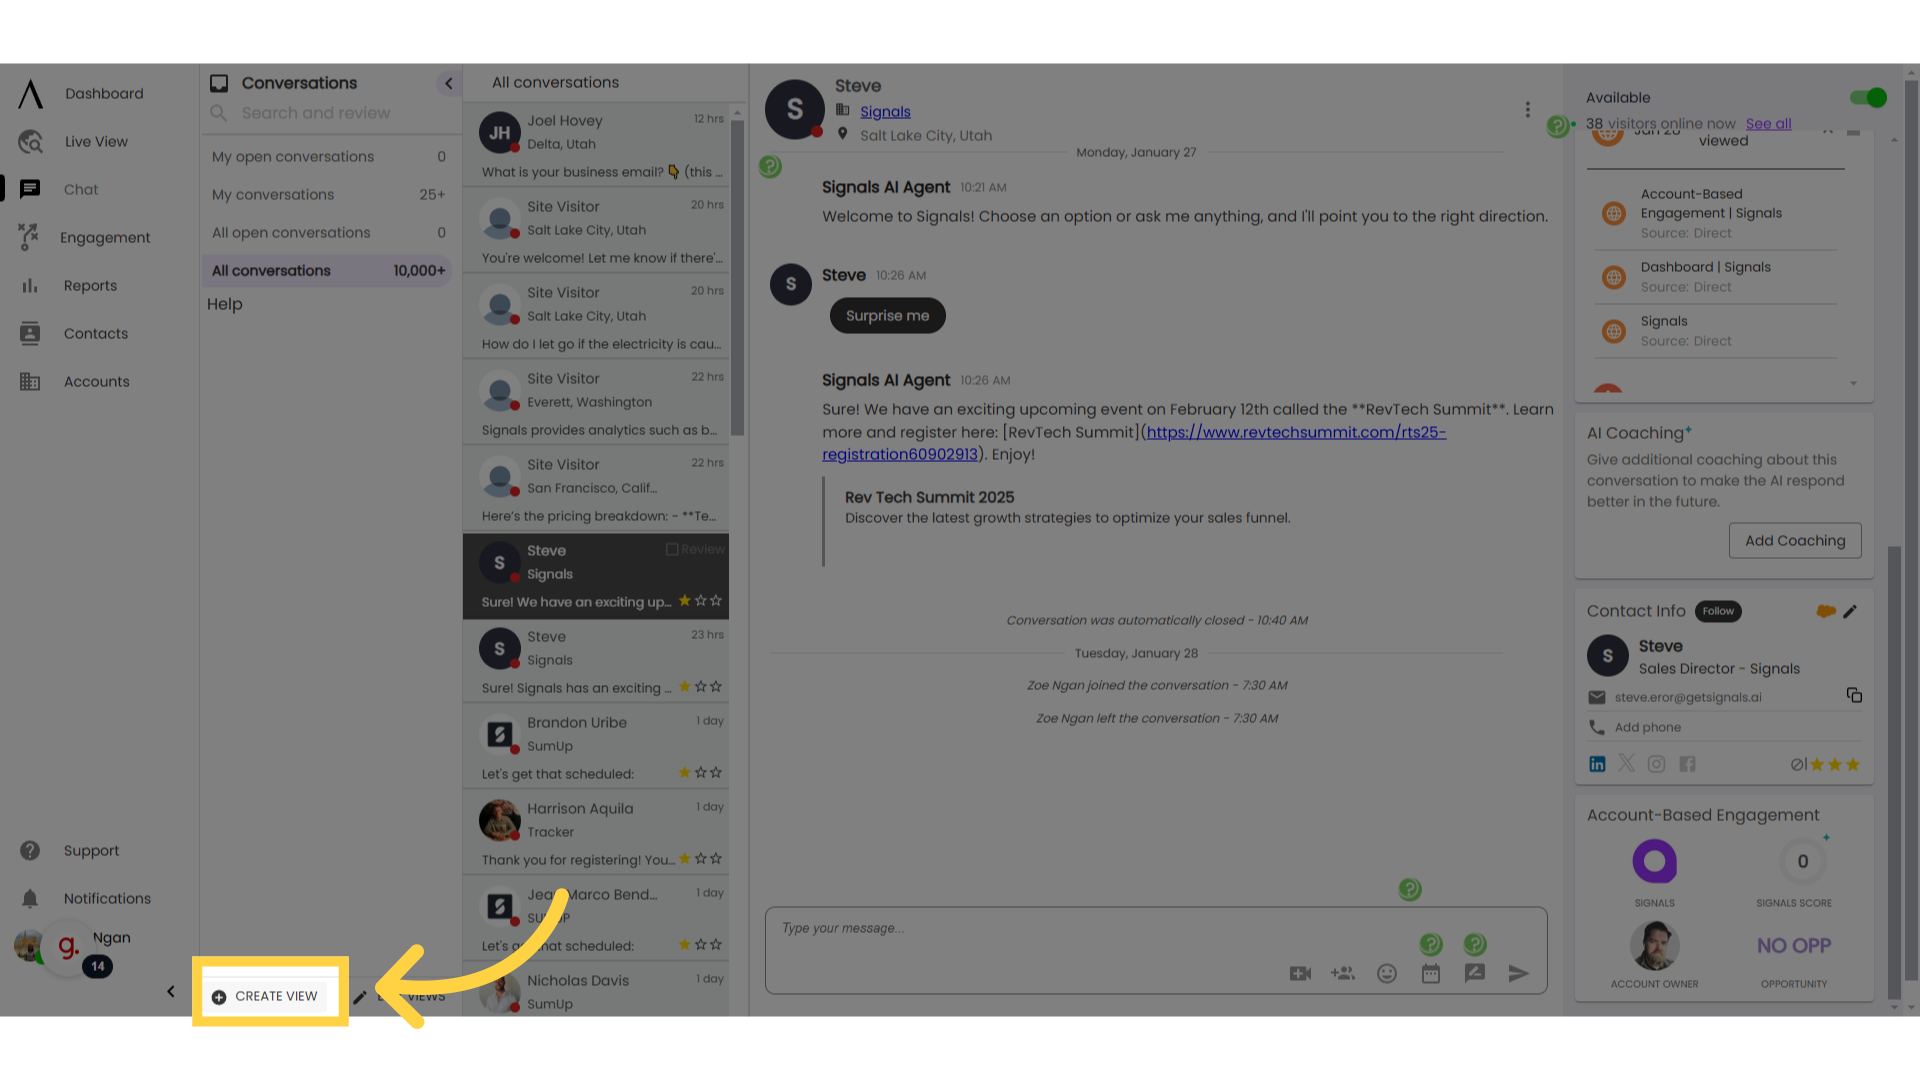
8. Go to "Create View"
To customize conversation views, click "Create View" at the bottom left corner of the Conversation Views window.
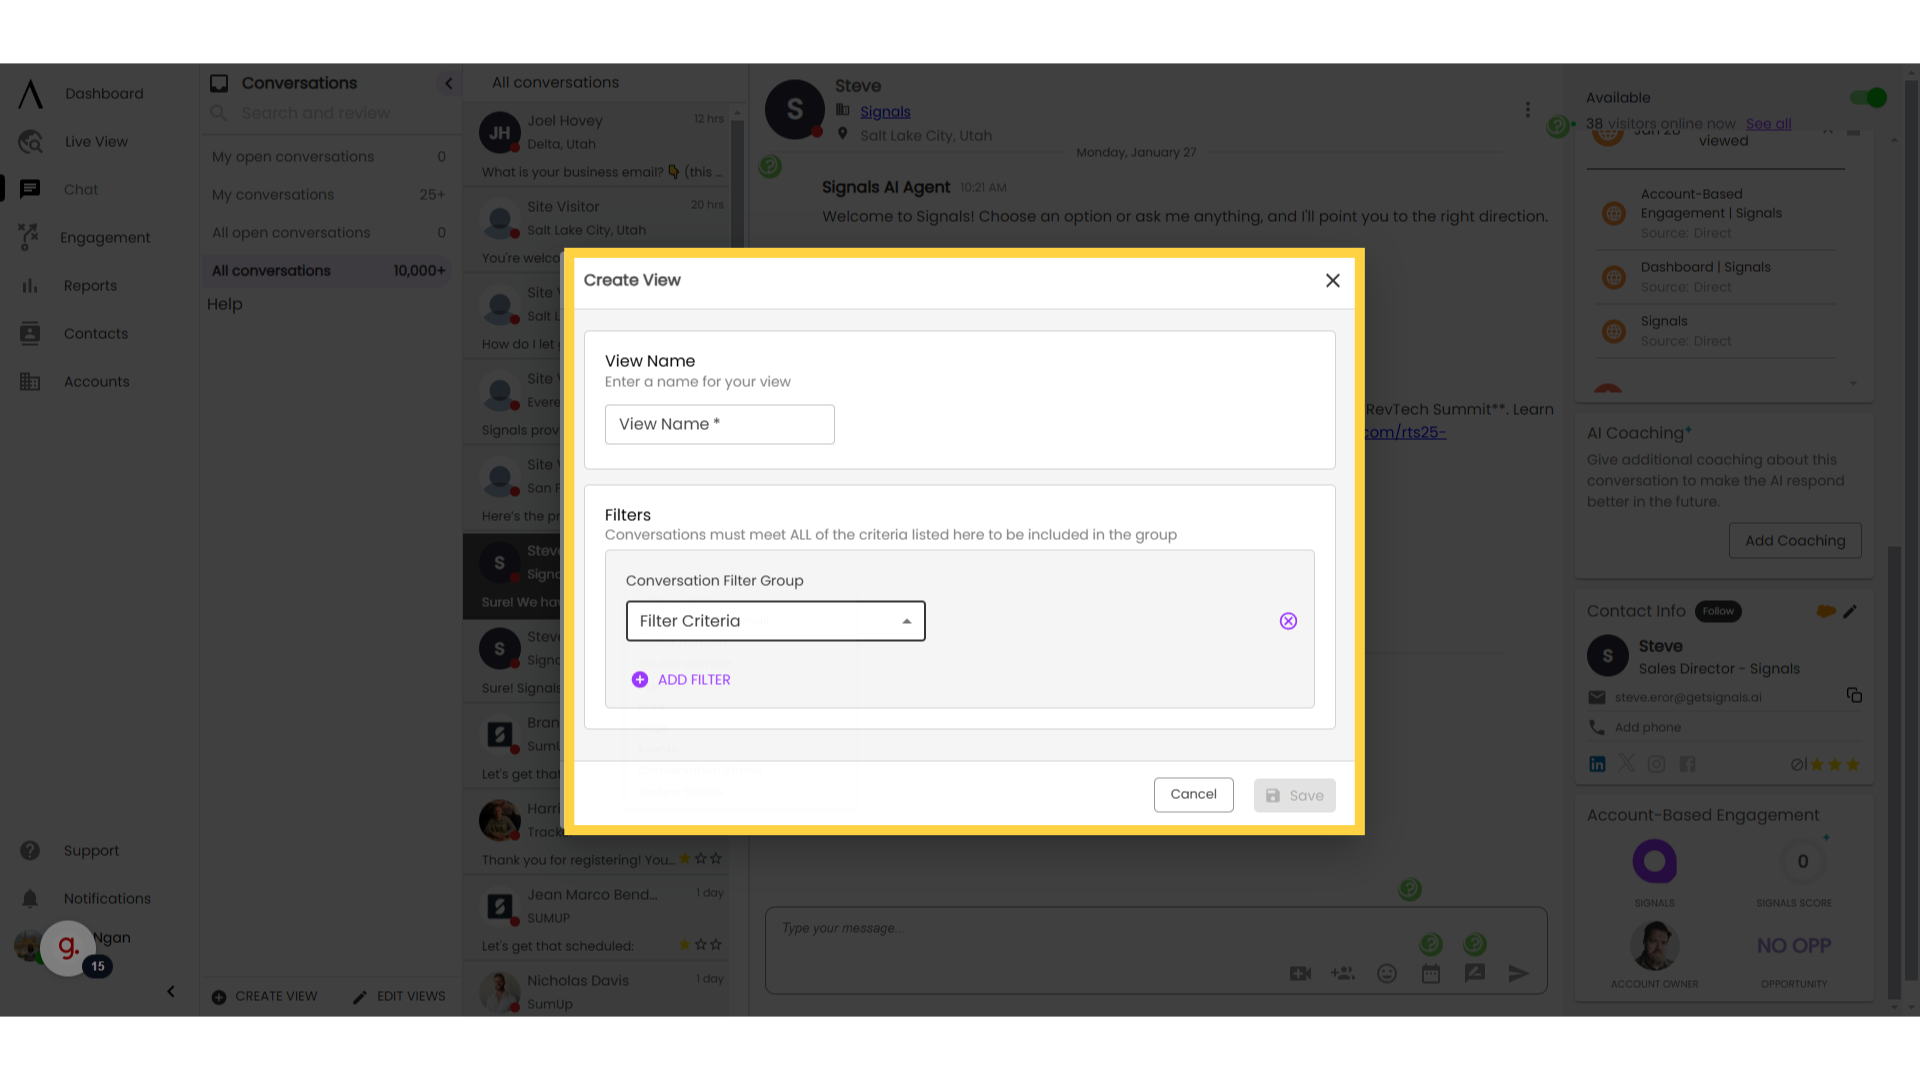
9. Set up your view
In the modal, give your view a name, and define the filter criteria. Conversations must meet ALL of the criteria listed here to be included in the group. When finished click "Save" in the bottom right corner.
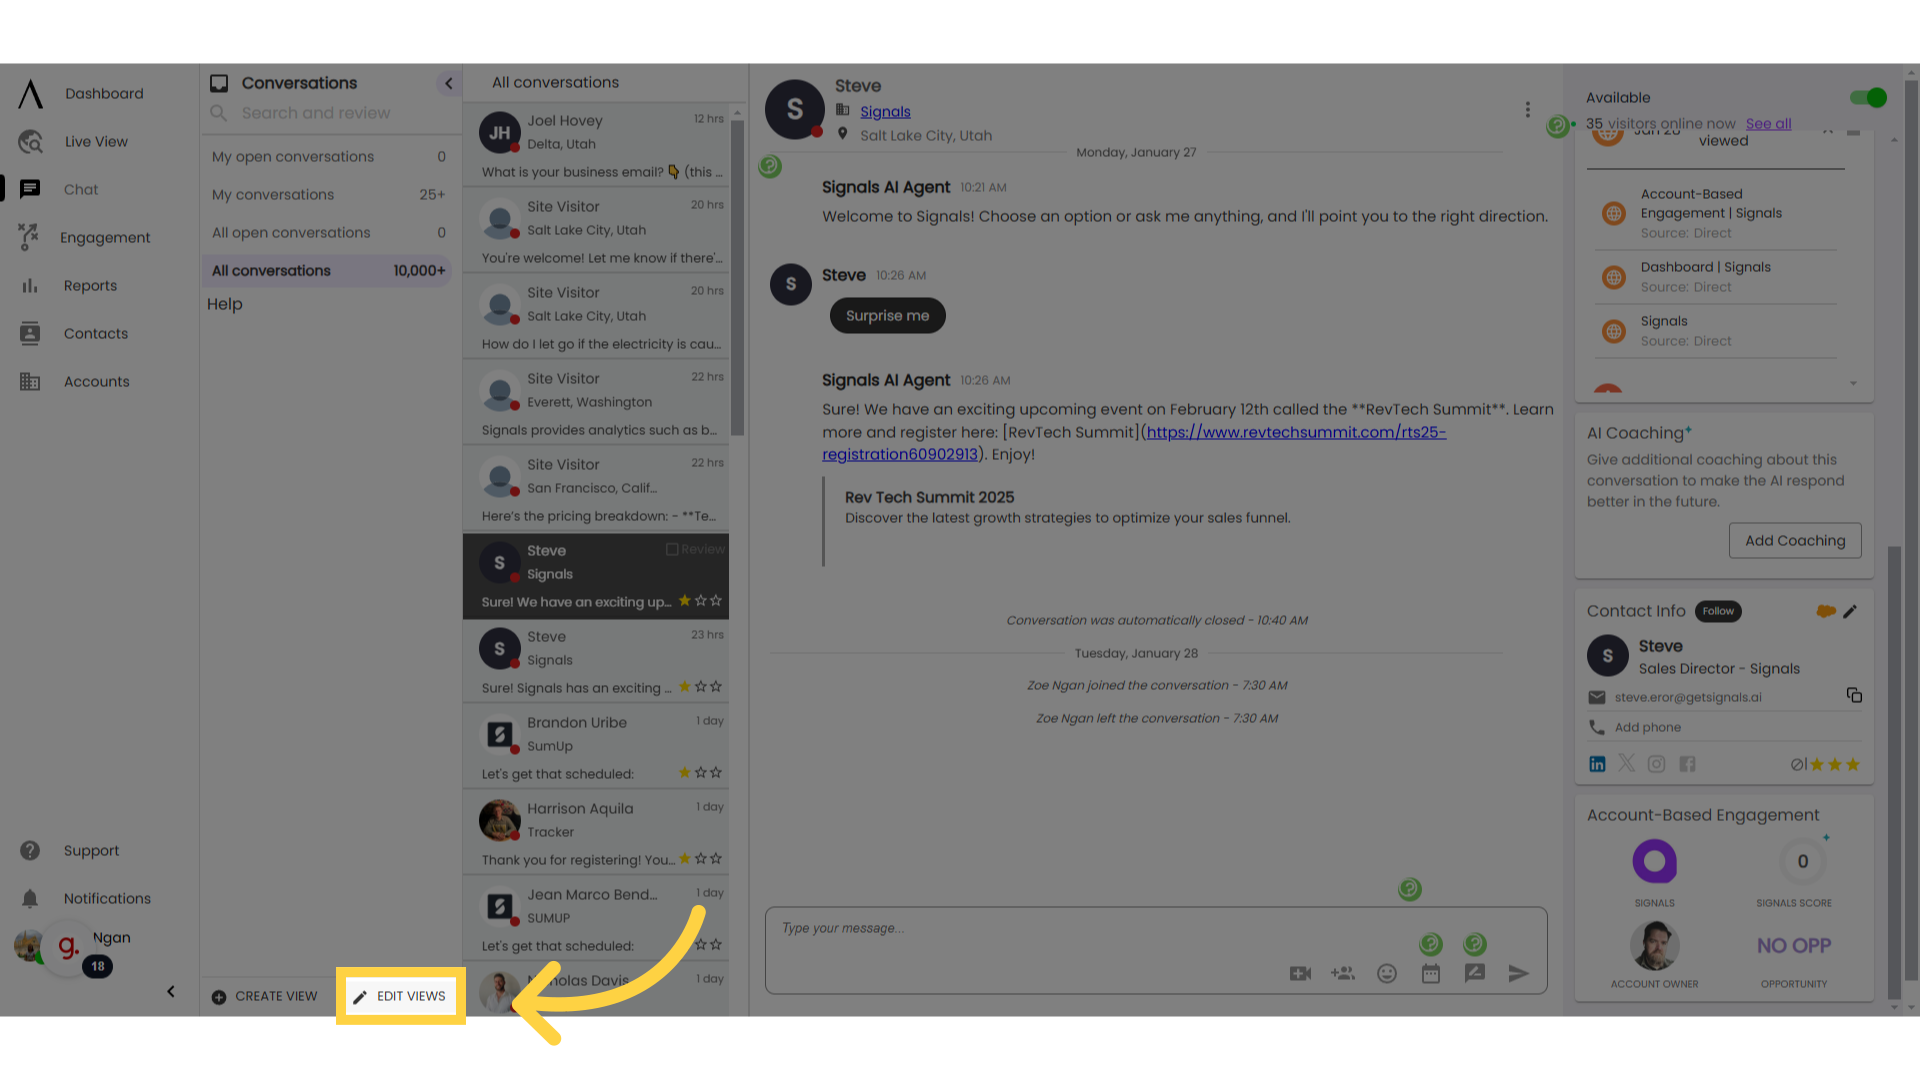
10. Click "Edit Views"
To delete or edit views, click ""Edit Views" in the bottom left corner of the Conversation Views window. All custom views will now appear with pencil icon to edit, and a red "x" to delete.
Click the pencil icon to open the conversation view editing modal, where you can change the name and filter criteria for this view. Click the red "x" to delete. An additional modal will pop up to confirm that you wish to delete.