Creating and Using Alerts
Account Alerts
This guide provides a walk-through for managing alerts for accounts.
Go to app.getsignals.ai
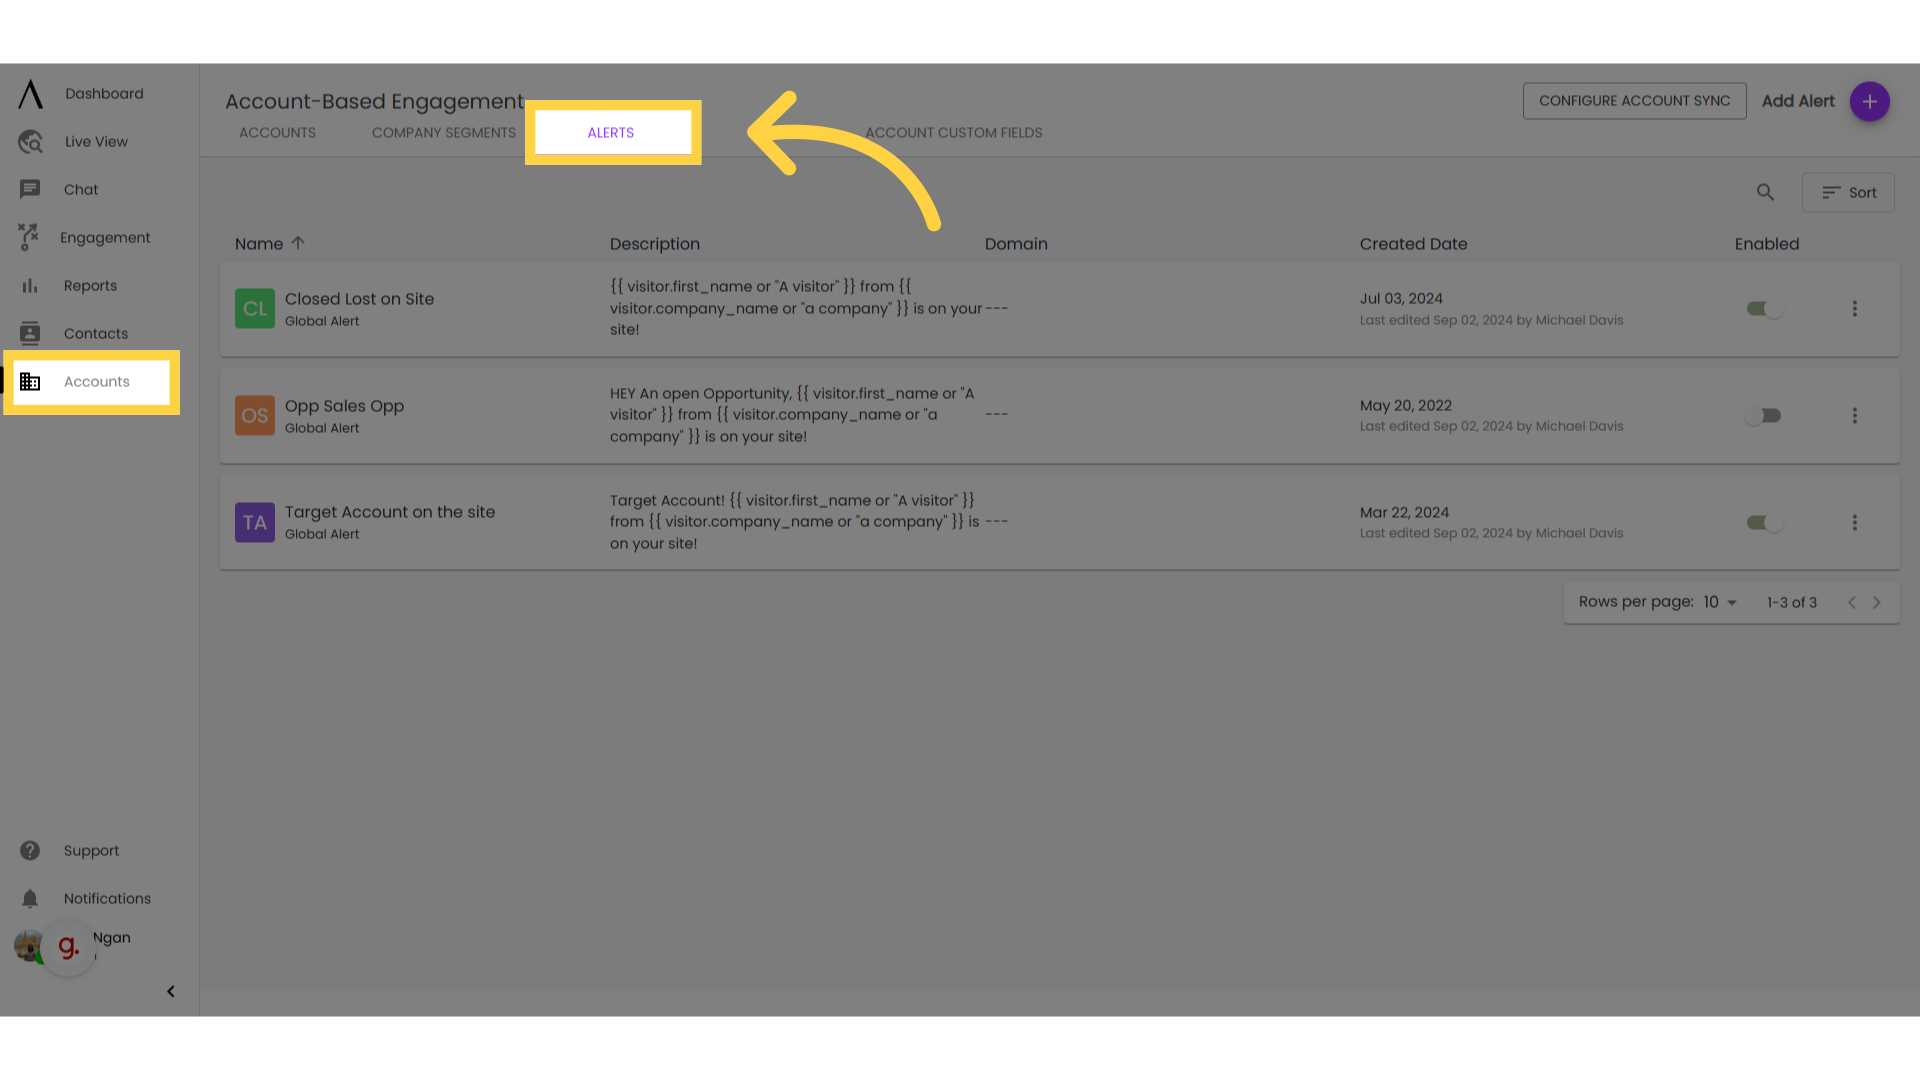
1. Click "Alerts"
To begin, go to "Accounts" on the left sidebar, then click on the "Alerts" tab.
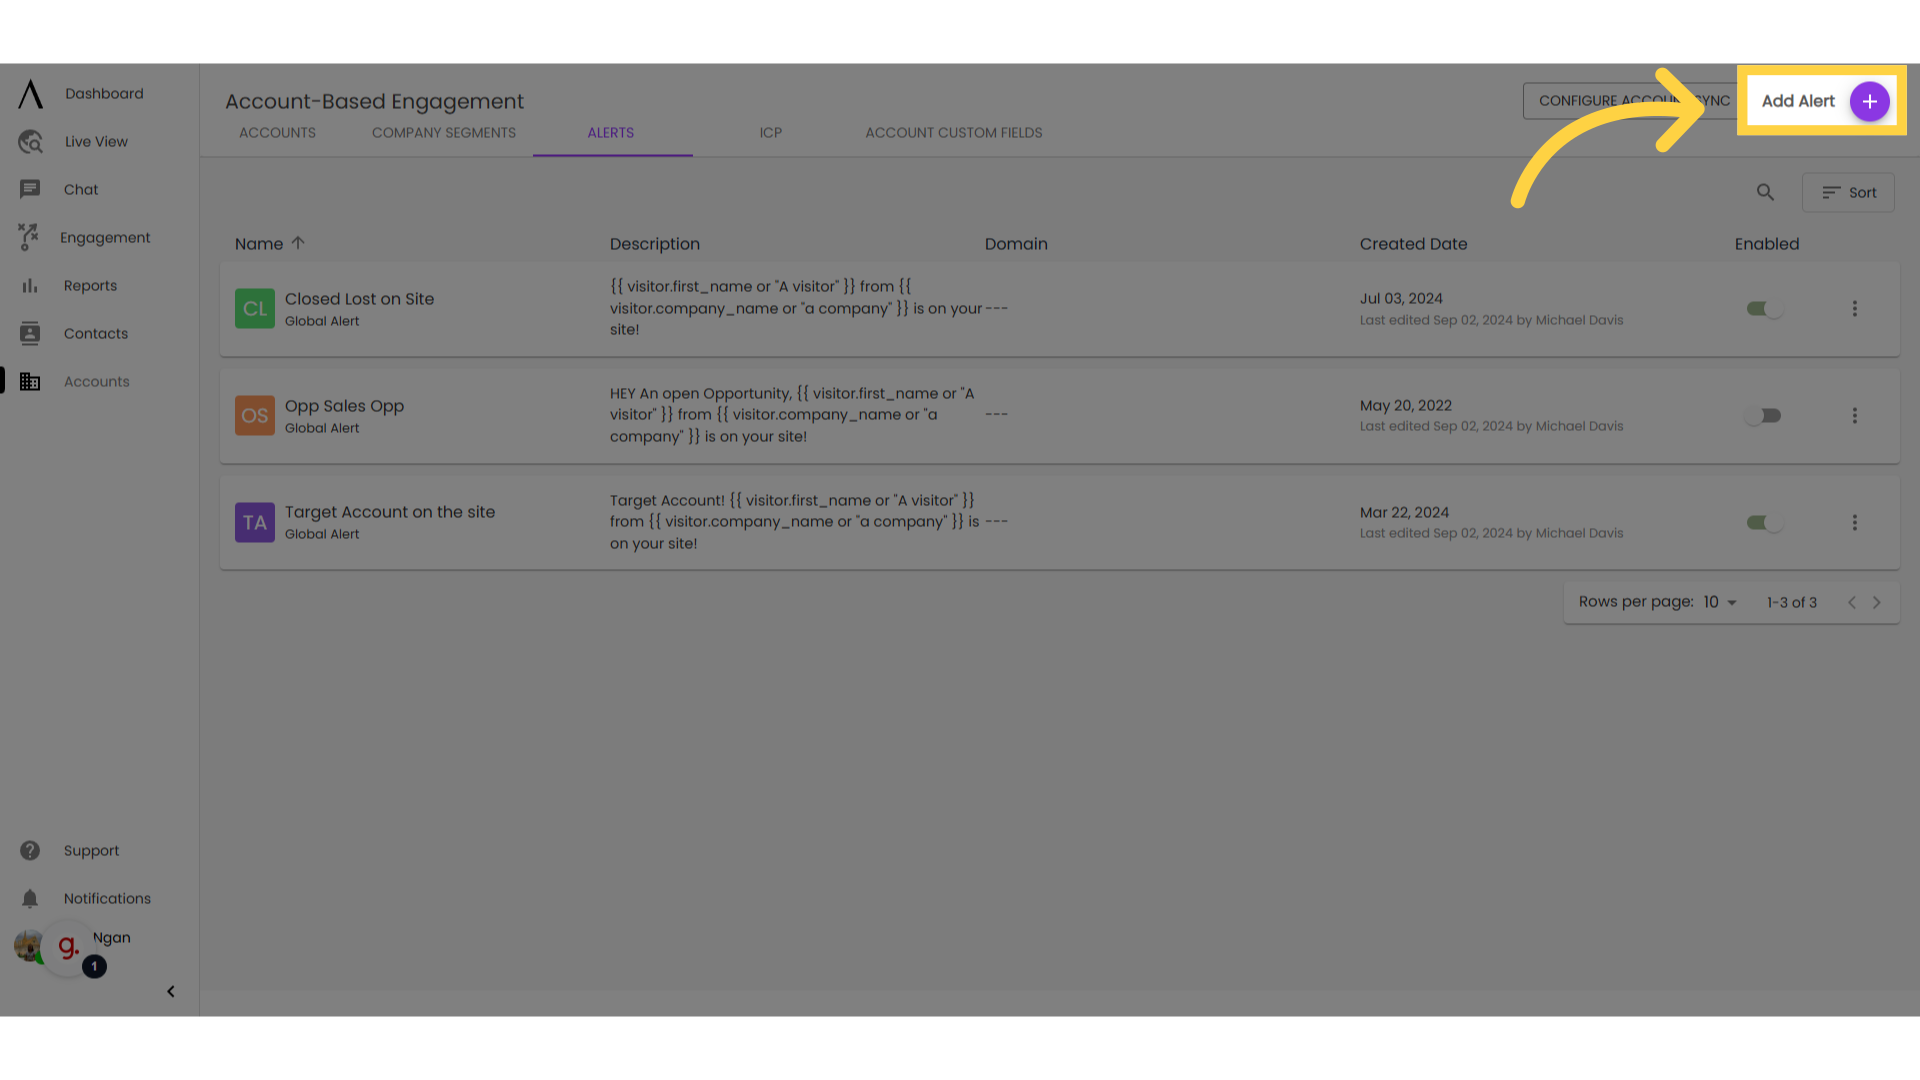
2. Go to "Add Alert"
To create a new alert, go to "Add Alert" in the top right corner.
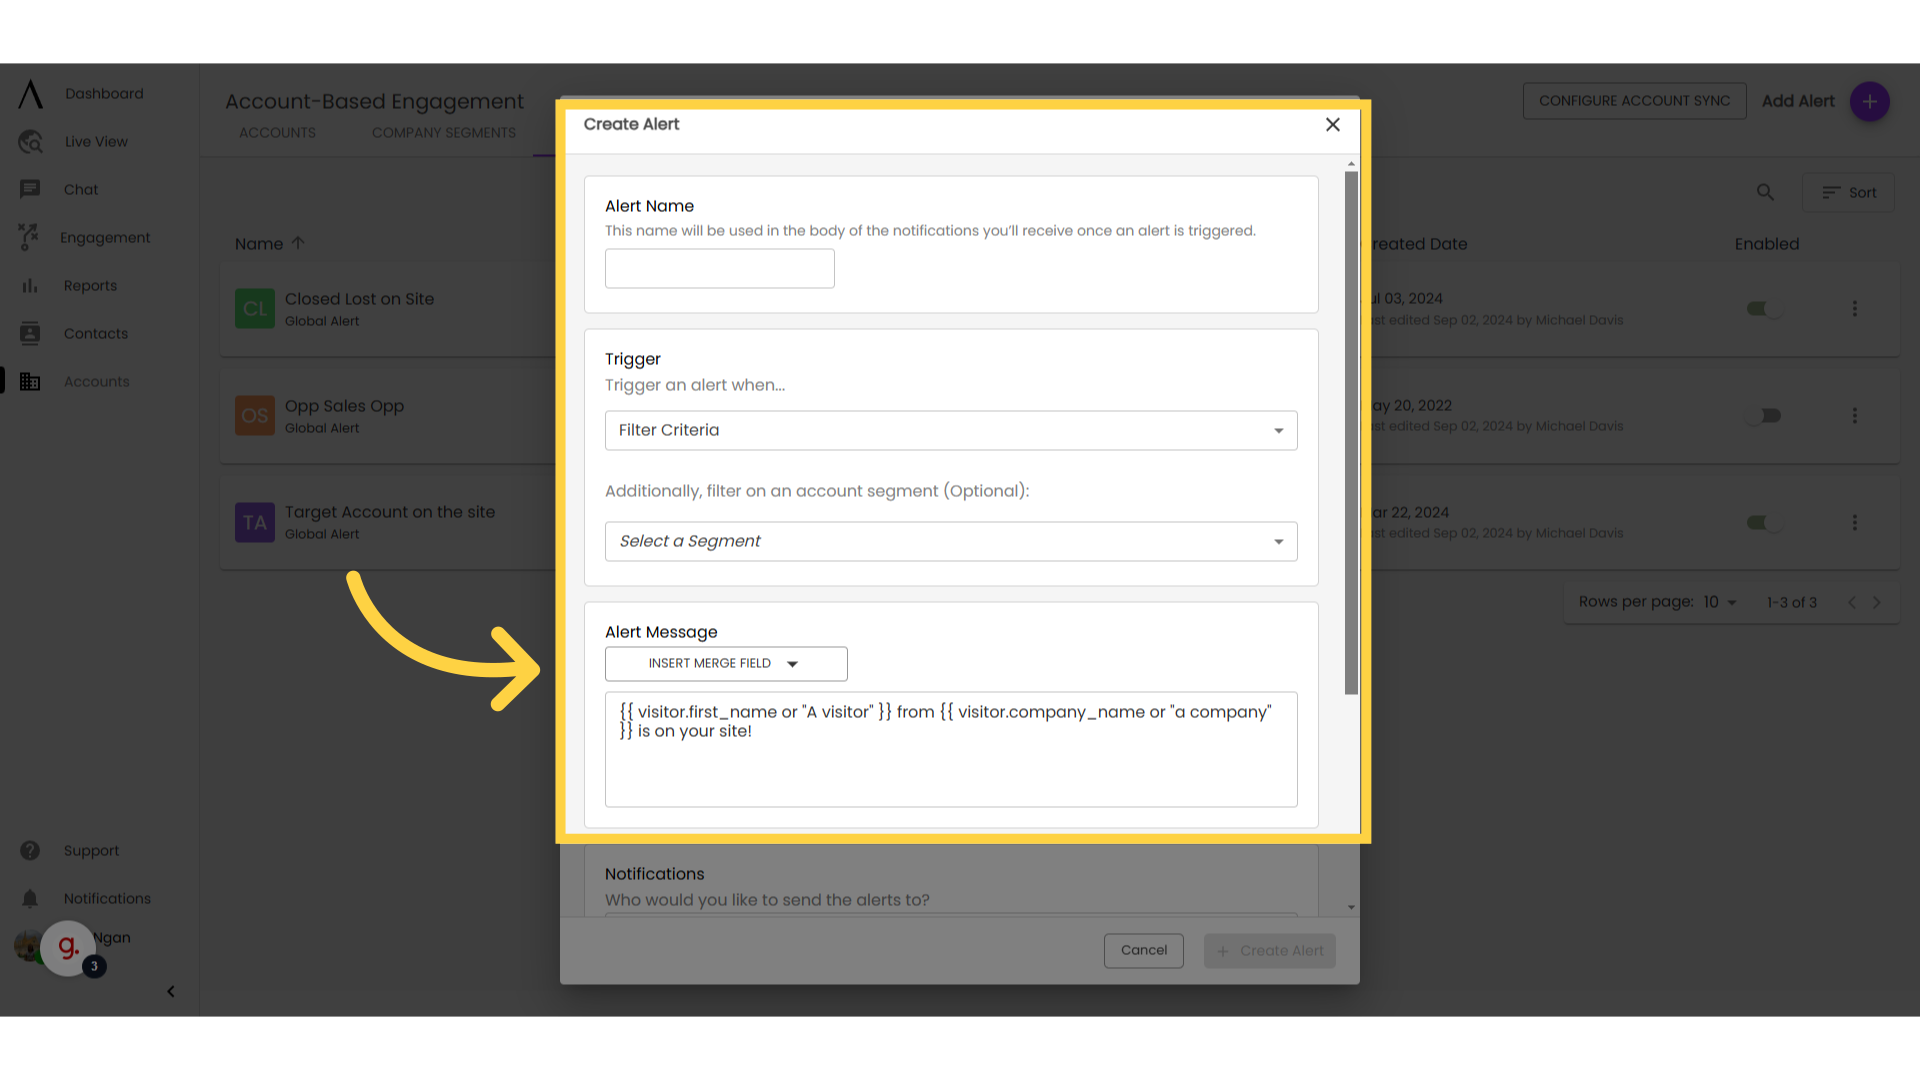
3. Configure alert details
Give your alert a name - this will be used in the body of the notifications you'll receive once an alert is triggered. Determine triggers for the alert (such as website visits and total page views), then select a company segment to apply this alert to (if no segment is selected, this alert will apply to all site visitors).
Then, write the alert message. This is the text that will appear on in-app notifications for agents who receive this alert. All contact attributes (including custom contact attributes) are available in the dropdown list of merge fields. These will only populate if the information is known at the time that the alert is triggered.
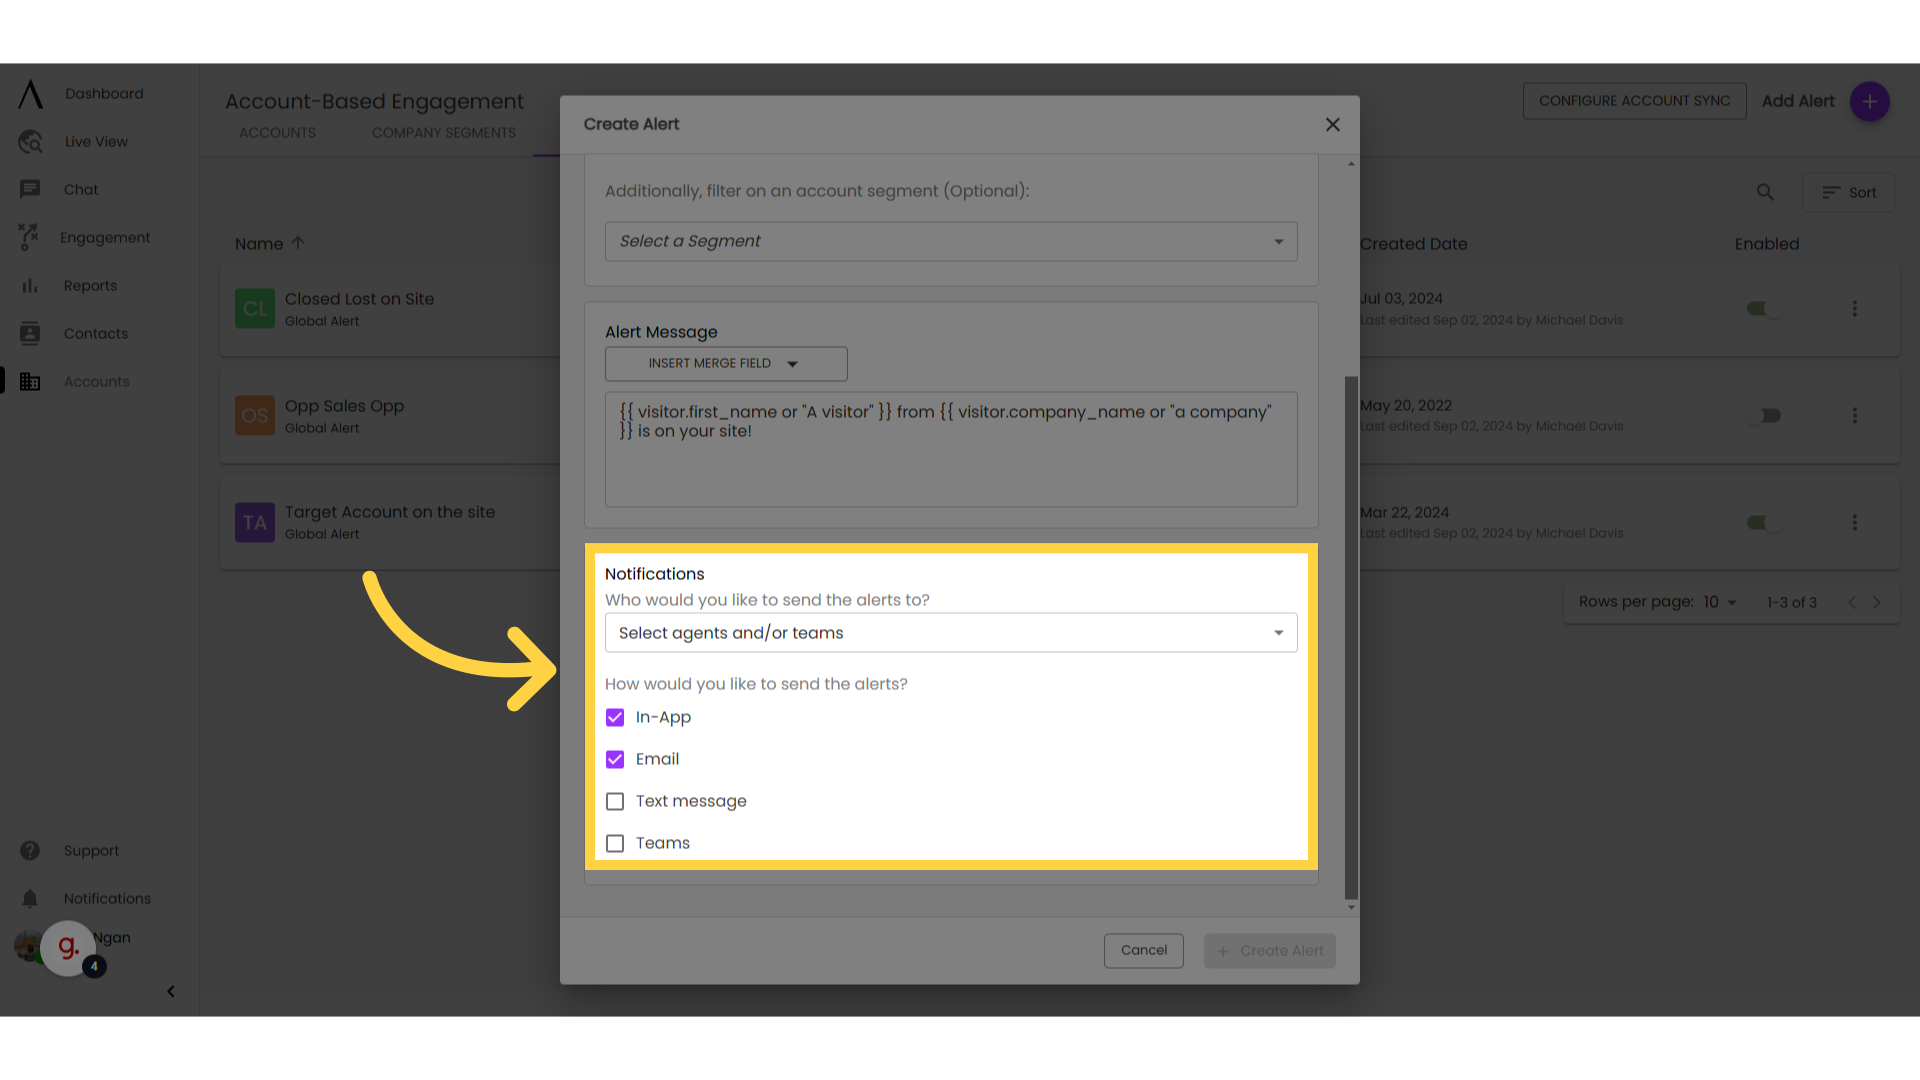
4. Set up notifications
Select Agents and Teams to receive this alert, and choose the notification types desired. Then, create your alert.
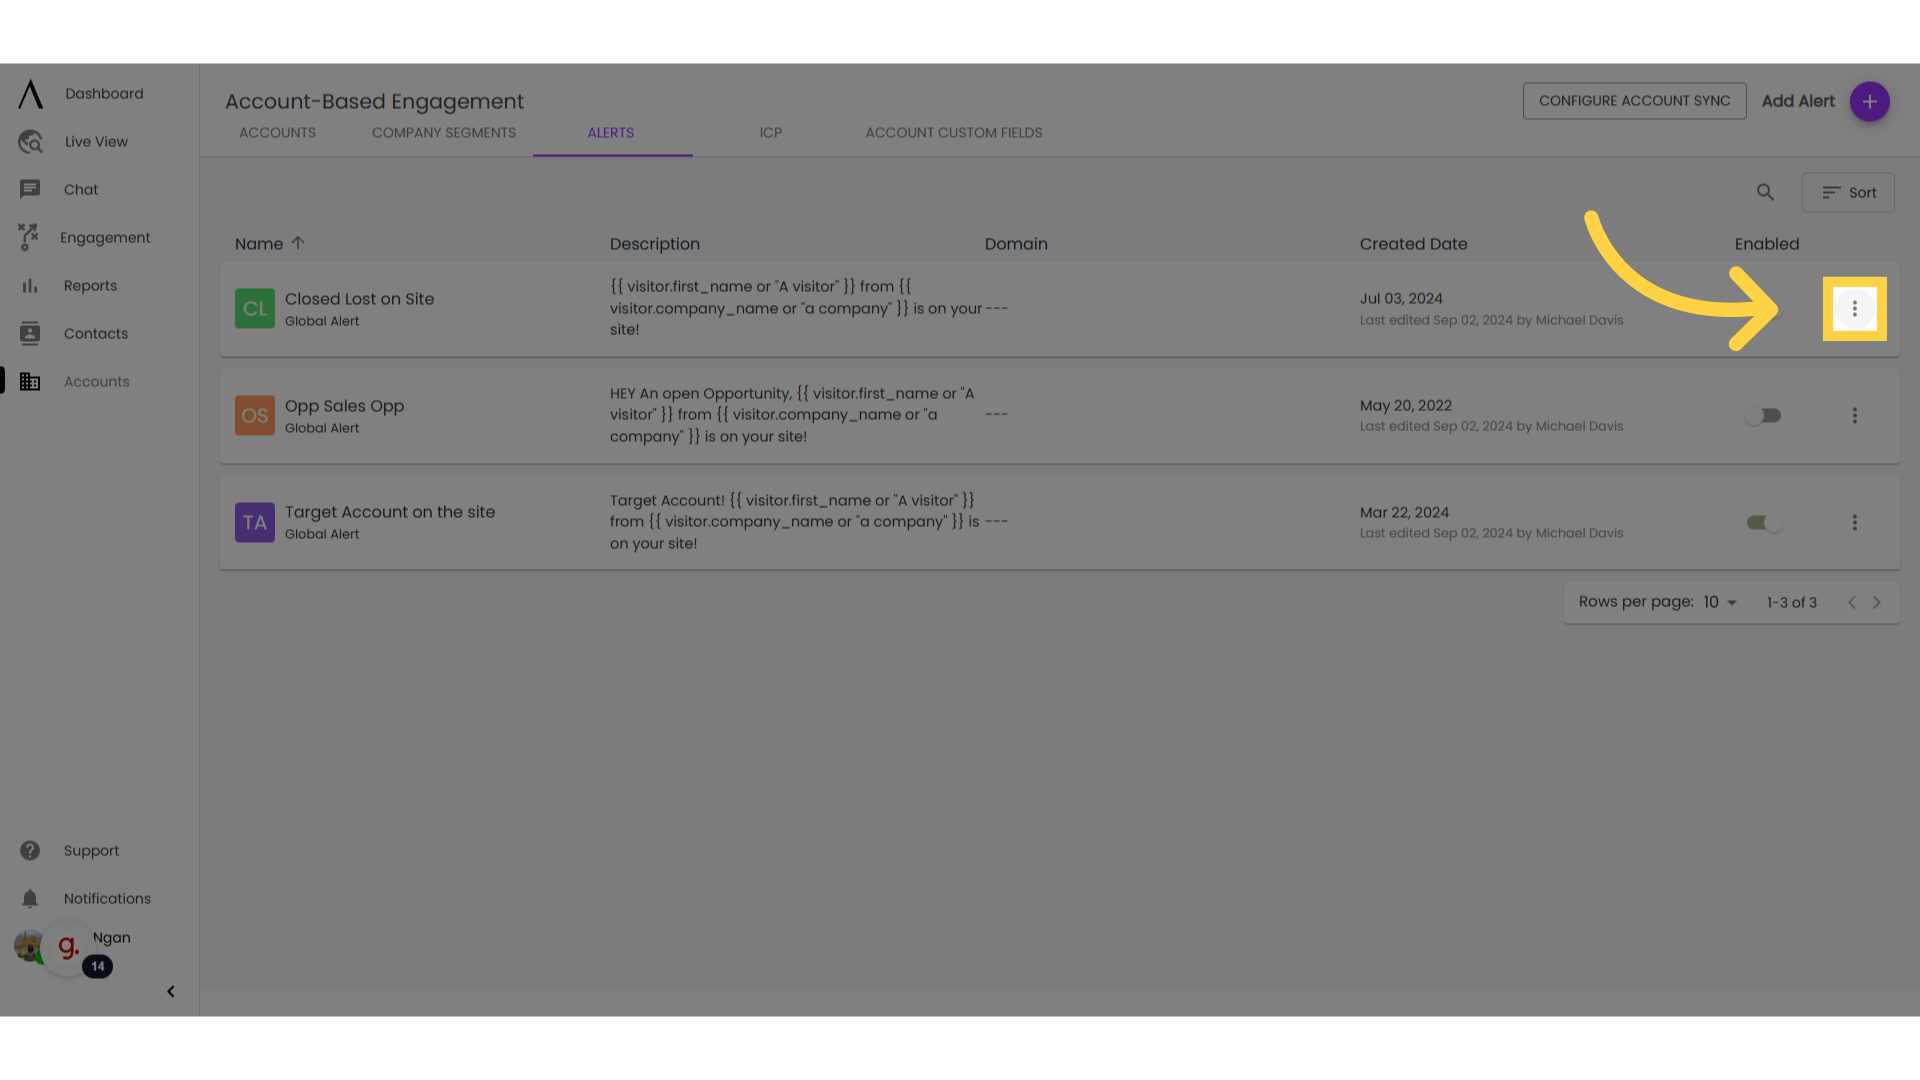
5. Delete alerts here
To delete your alert, click on the hamburger menu on the right of each alert. This will also give you an option to edit your alert. Alternatively, to edit, double-click on the alert.
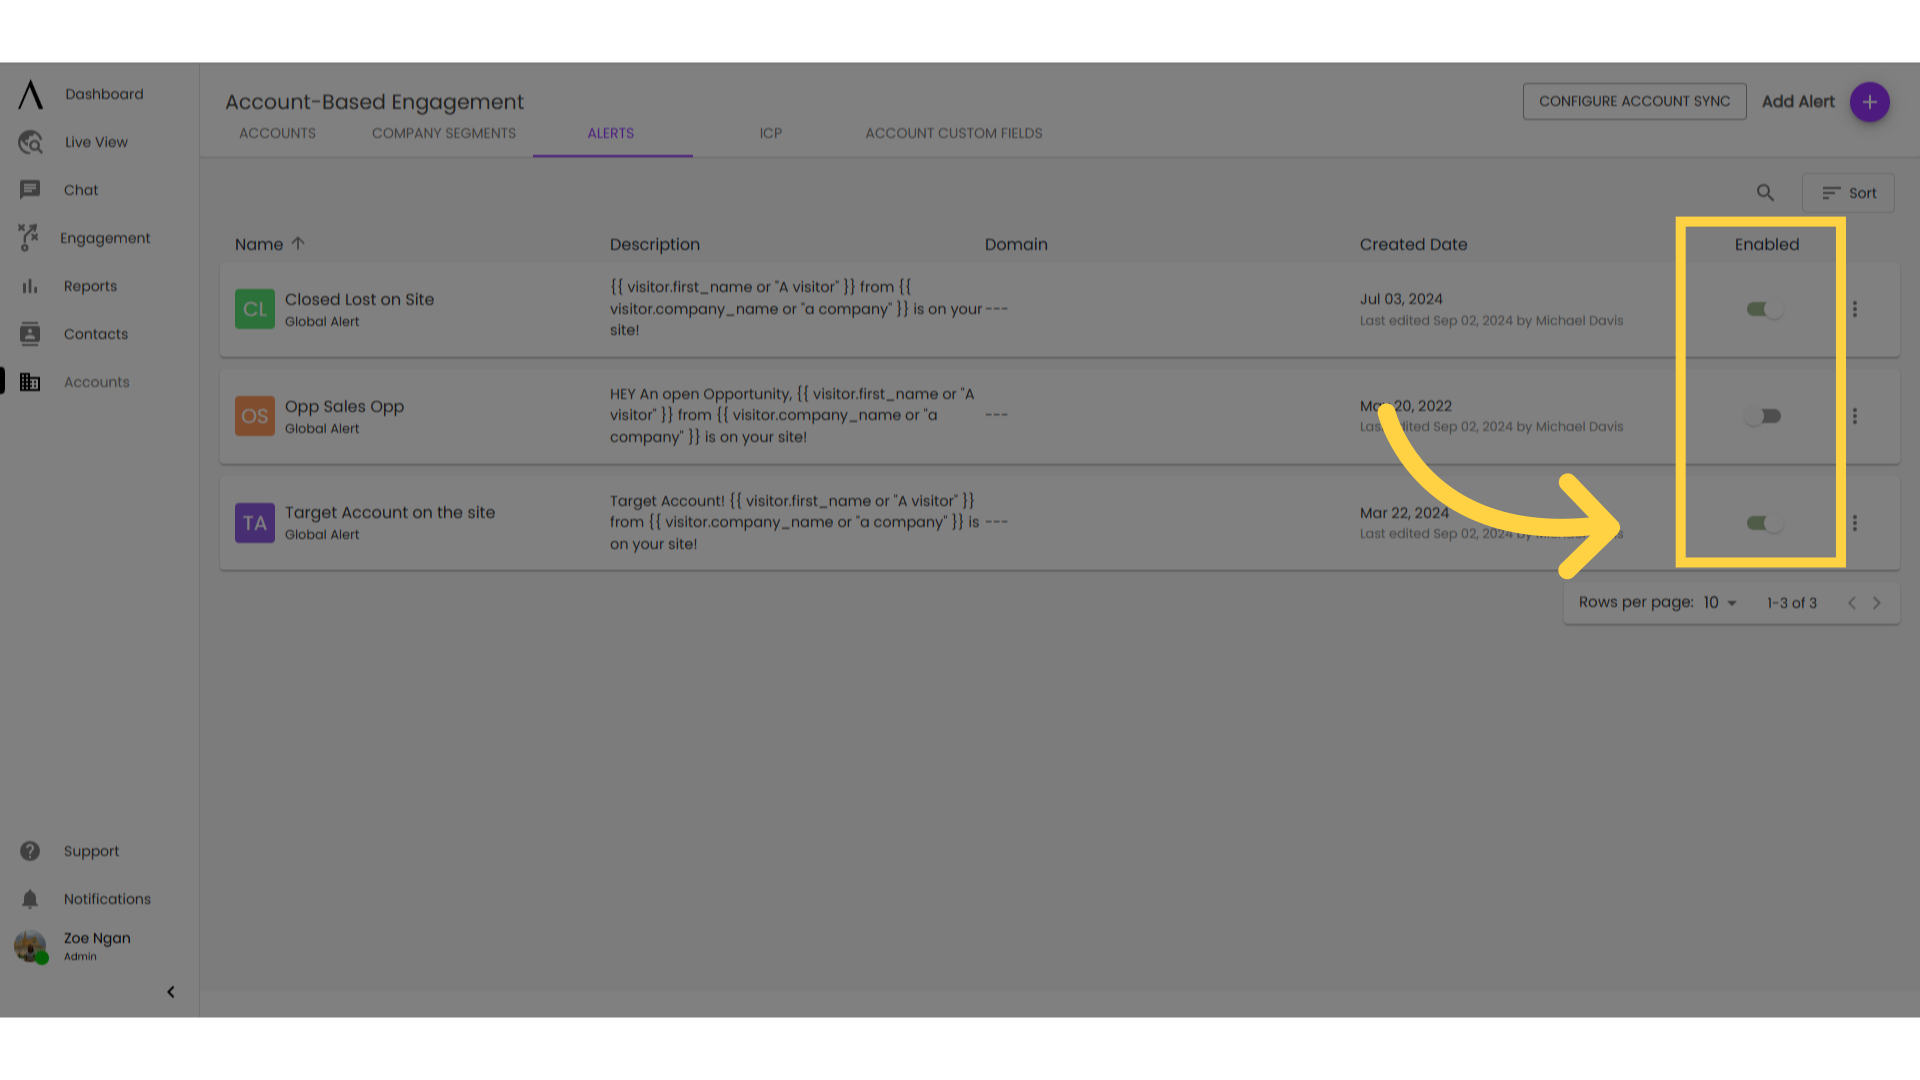
6. Enable/Disable alerts
Alerts can be enabled or disabled using the toggle to the far right of the alert list. The toggle for enabled alerts is green, for disabled alerts, it will be gray.