Admin Security and Data Privacy
Admin Security and Data Privacy
This video will show you how to manage the security and data privacy requirements for your organization.
Go to app.getsignals.ai
1. Click "Settings"
First, click on your Profile in the bottom left corner, then click Settings.
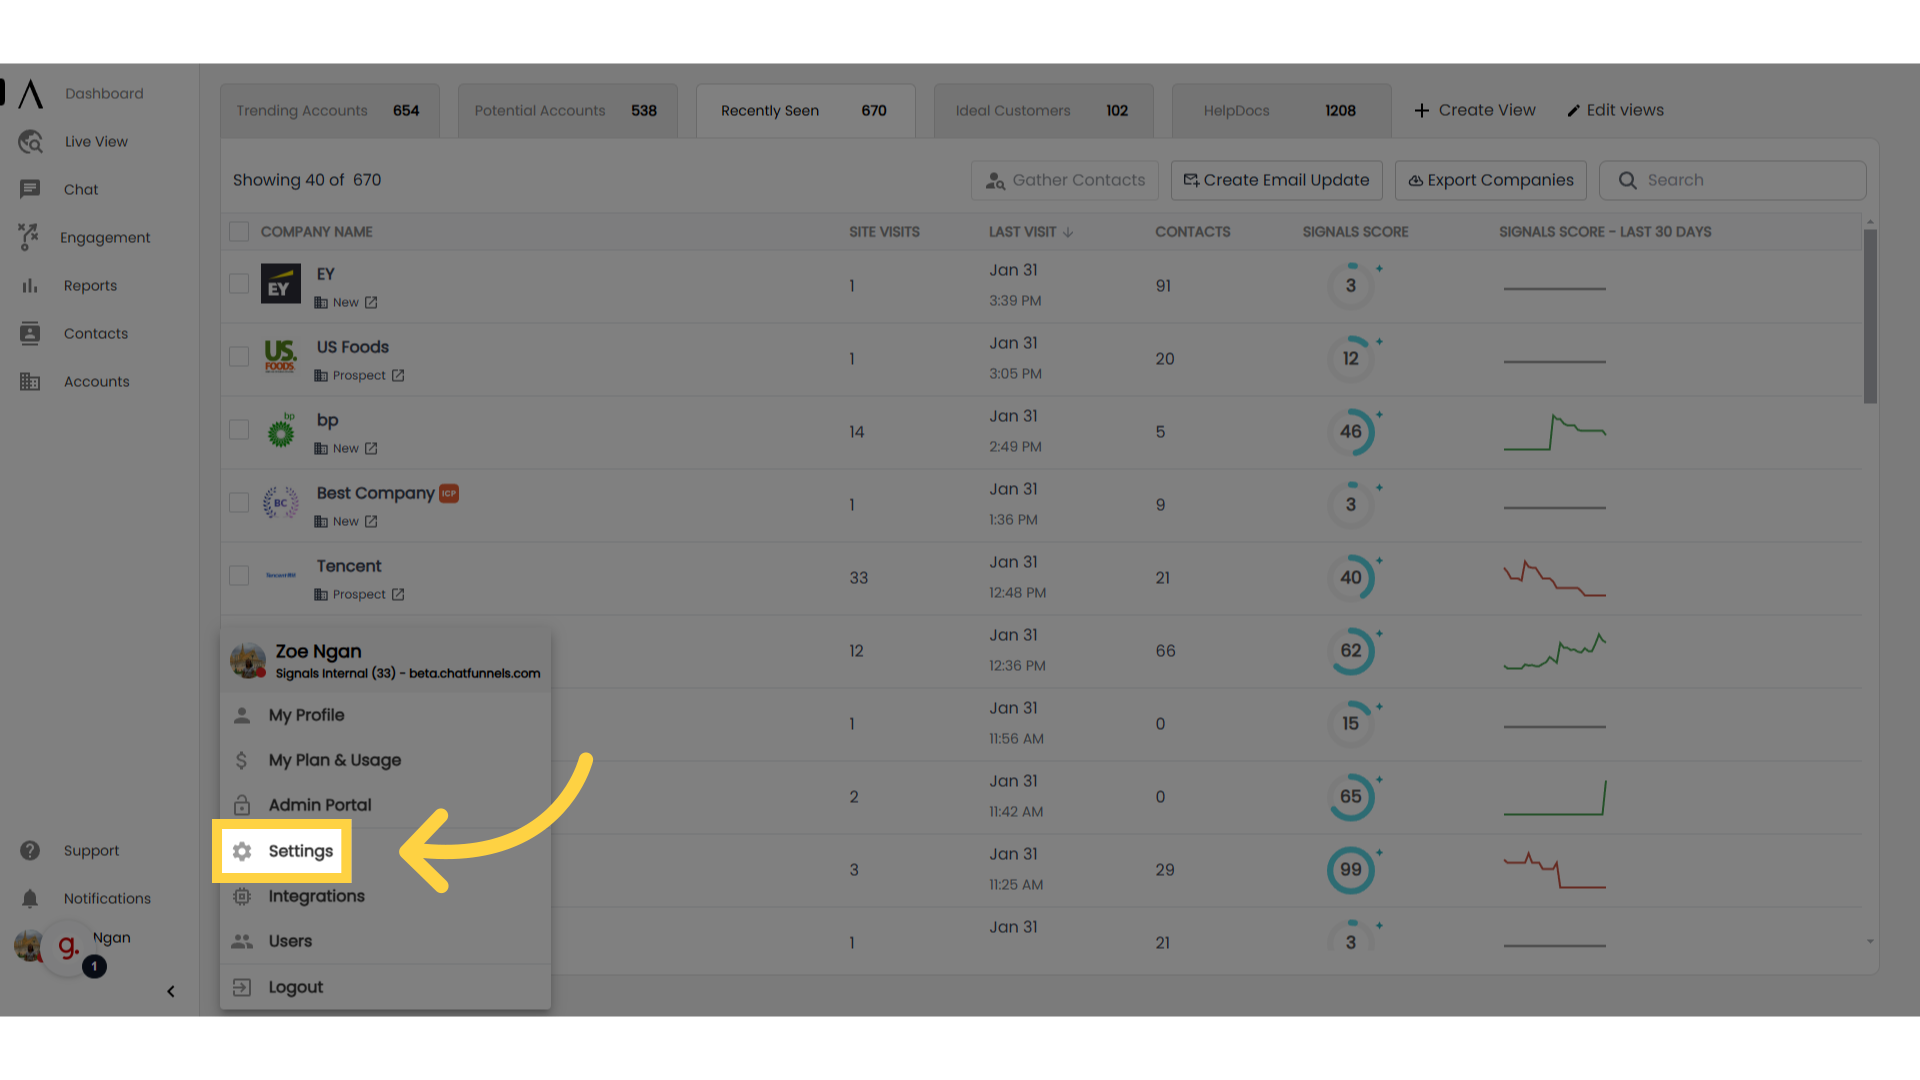
2. Go to "Security"
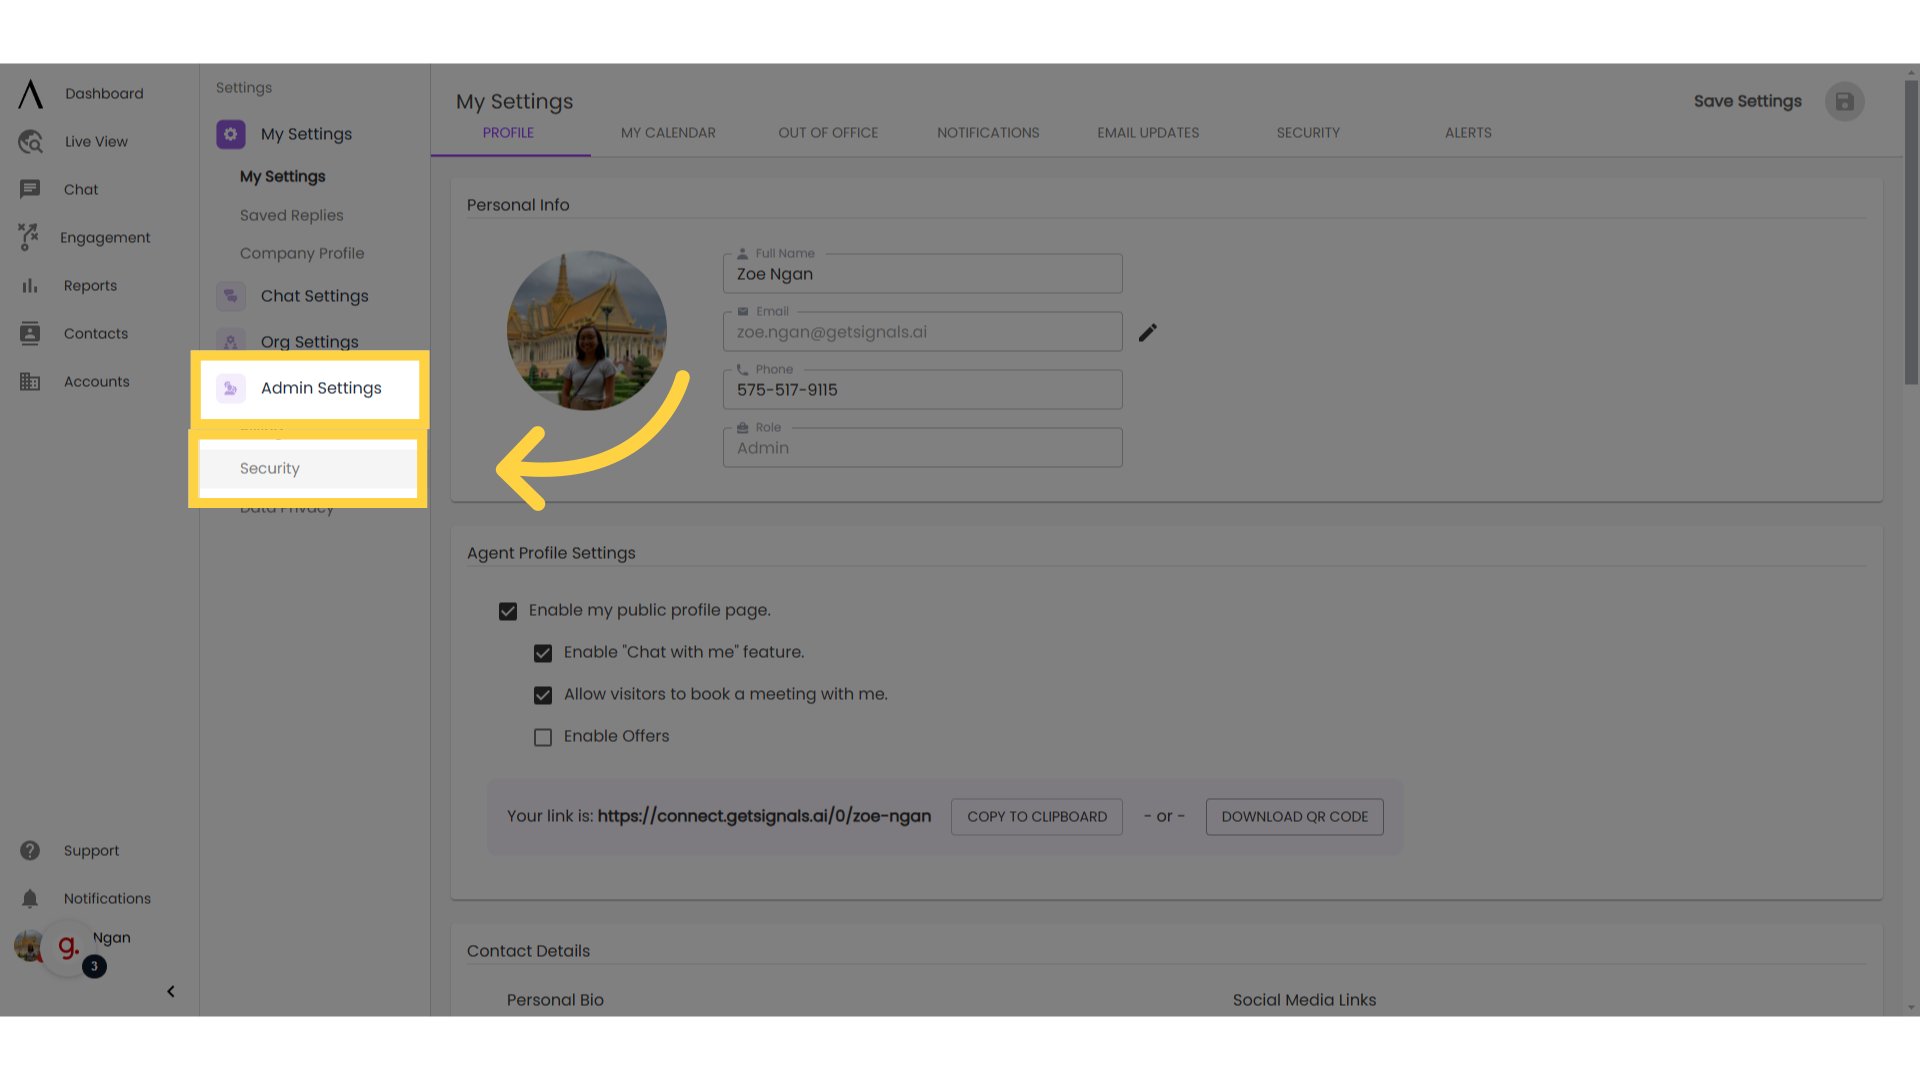
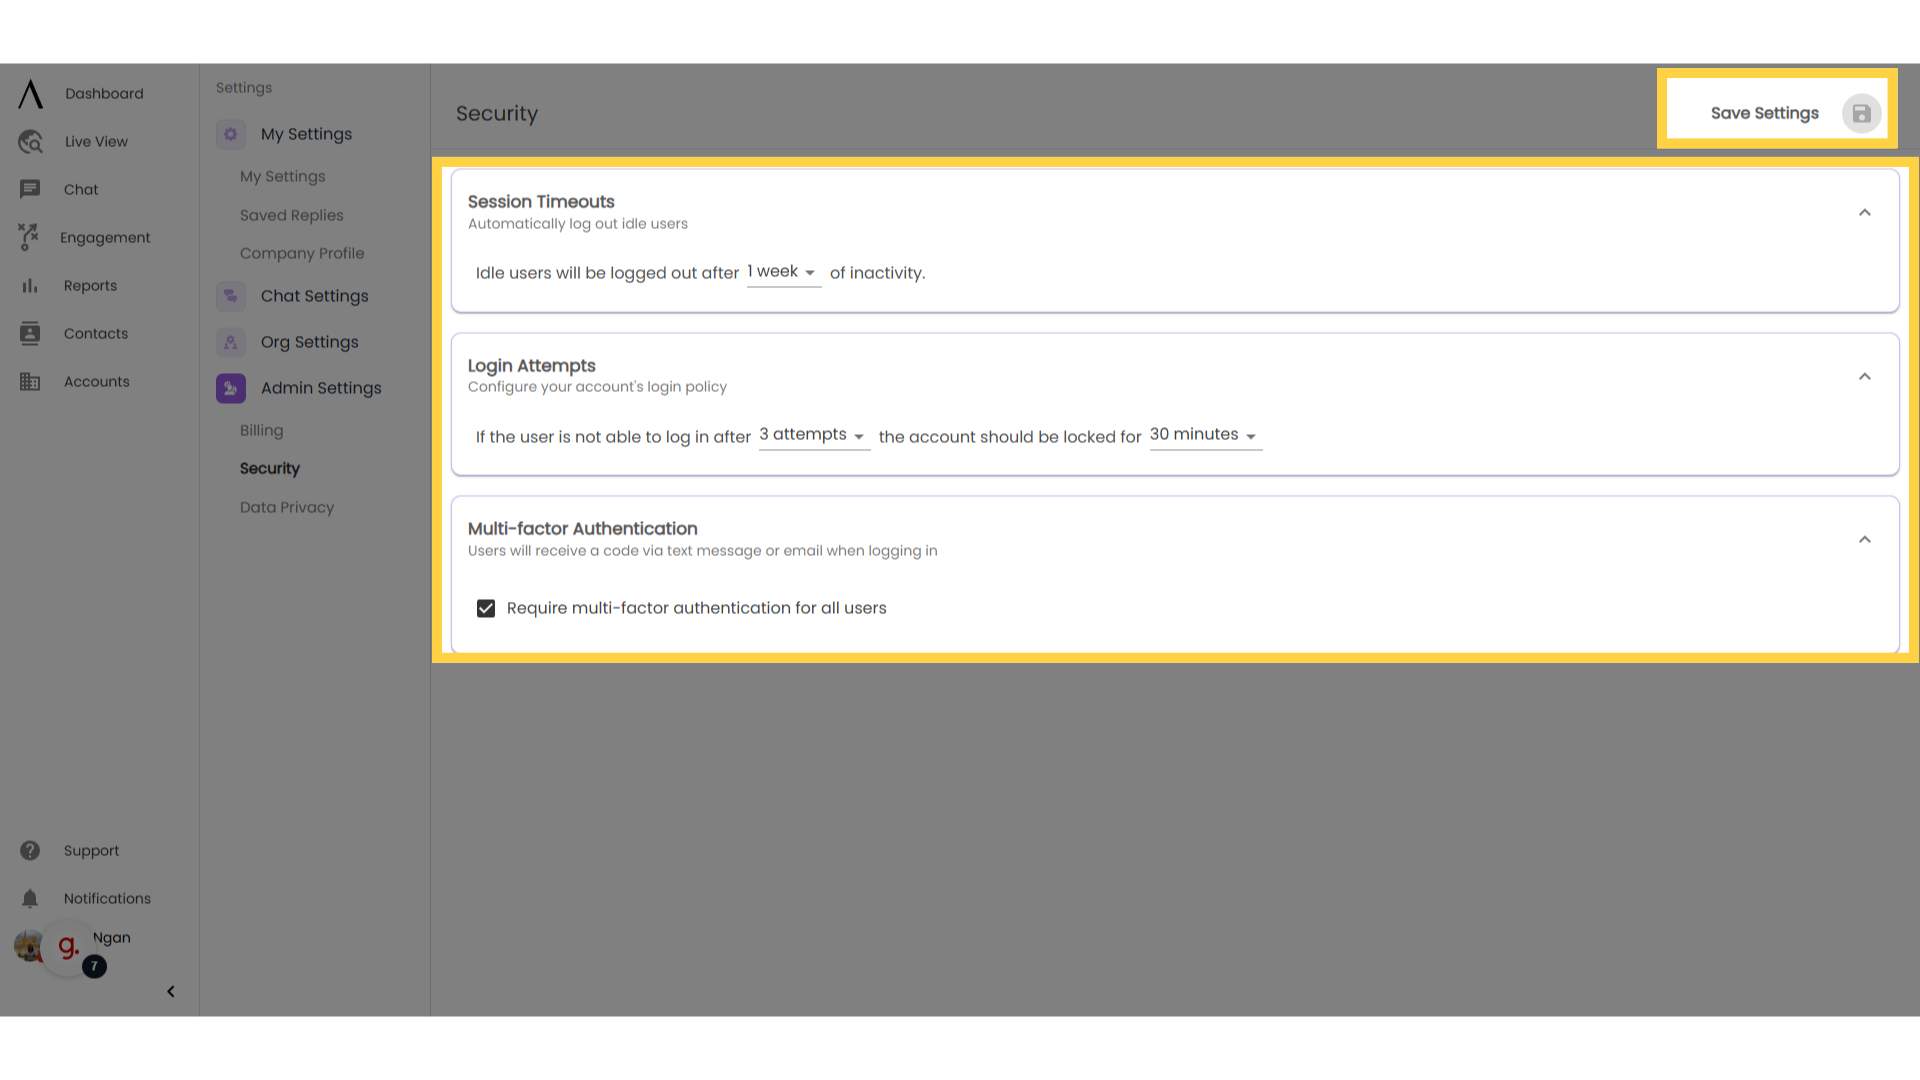
3. Security Settings
Sessions timeout determines when a chat agent will be automatically logged out after inactivity. Being inactive means that the chat agent has logged in but has not performed any activity in the system.
You can also update the number of failed attempts the system will accept before locking a user out. Define the length of the lockout in the second dropdown.
Lastly, and optionally, you can require multi-factor authentication. Click "Save Settings" on the upper right corner of the screen when you're ready.
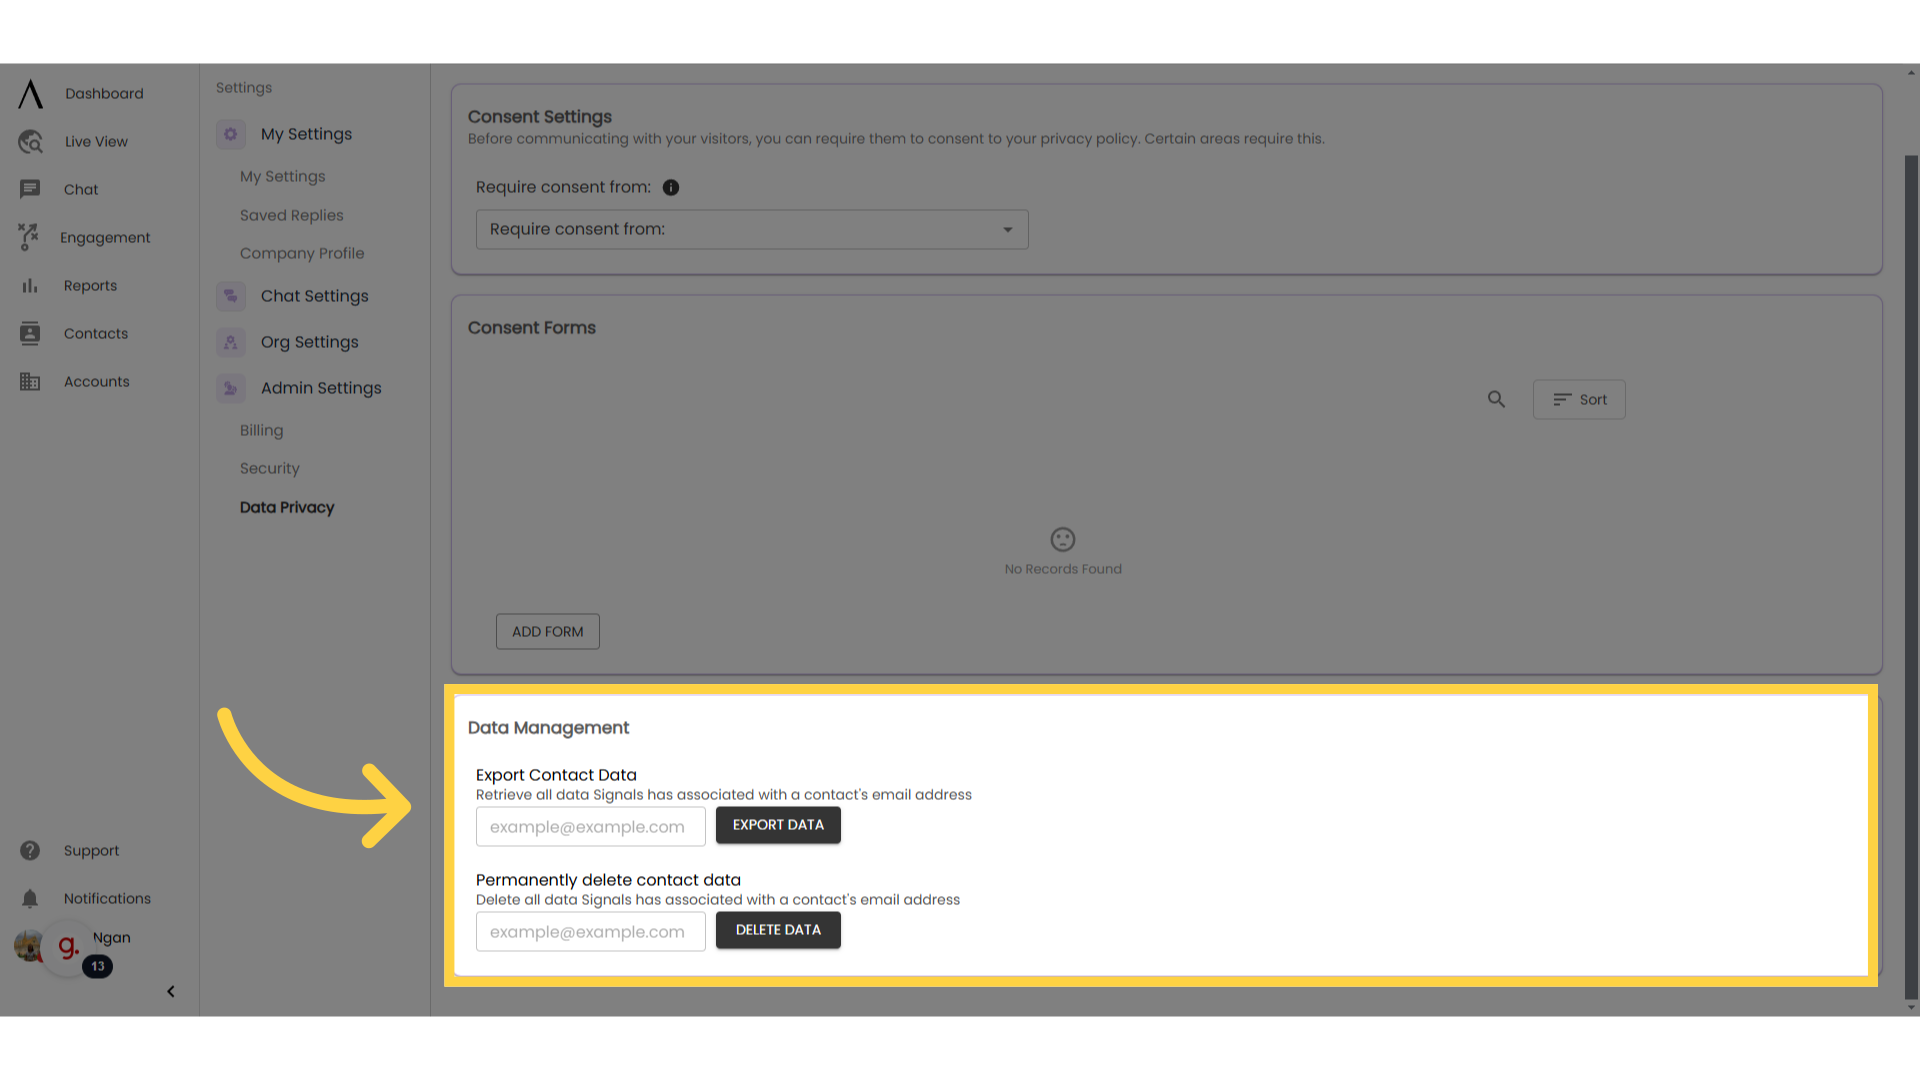
4. Click "Data Privacy"
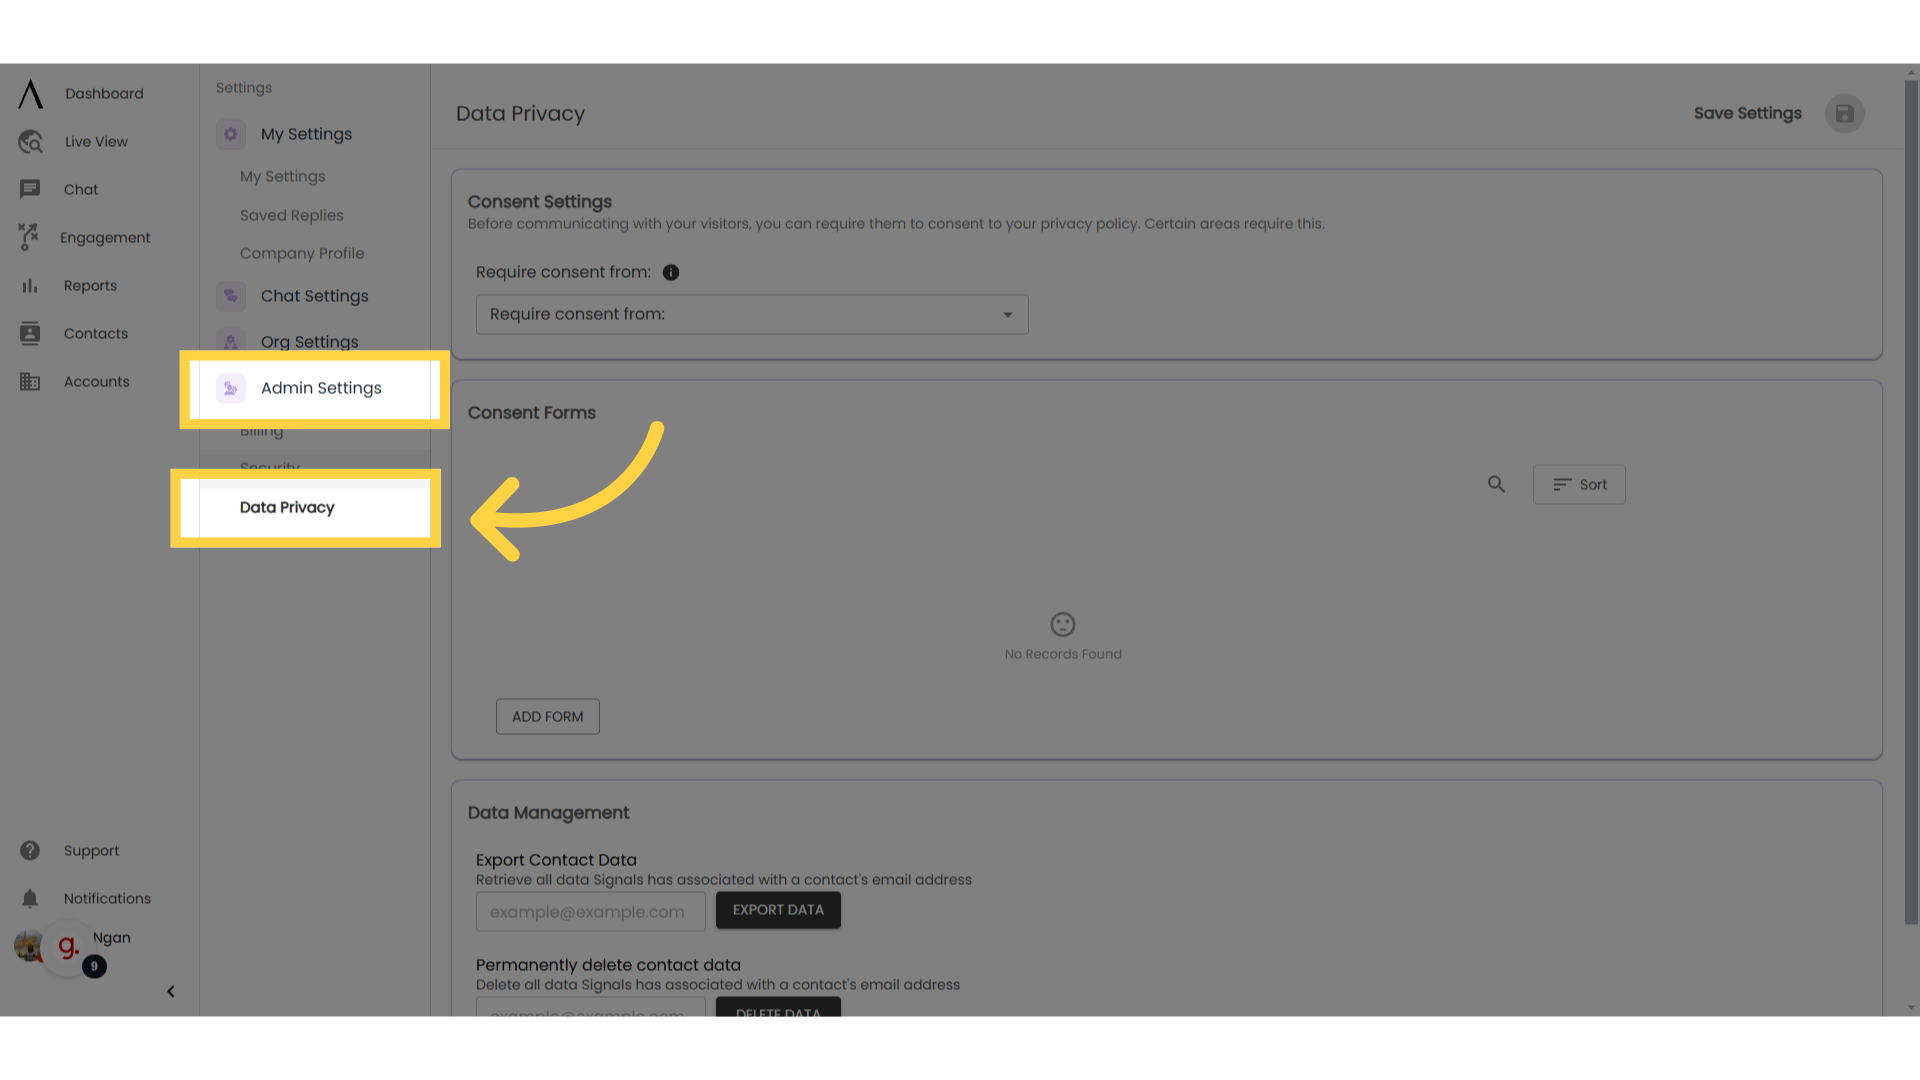
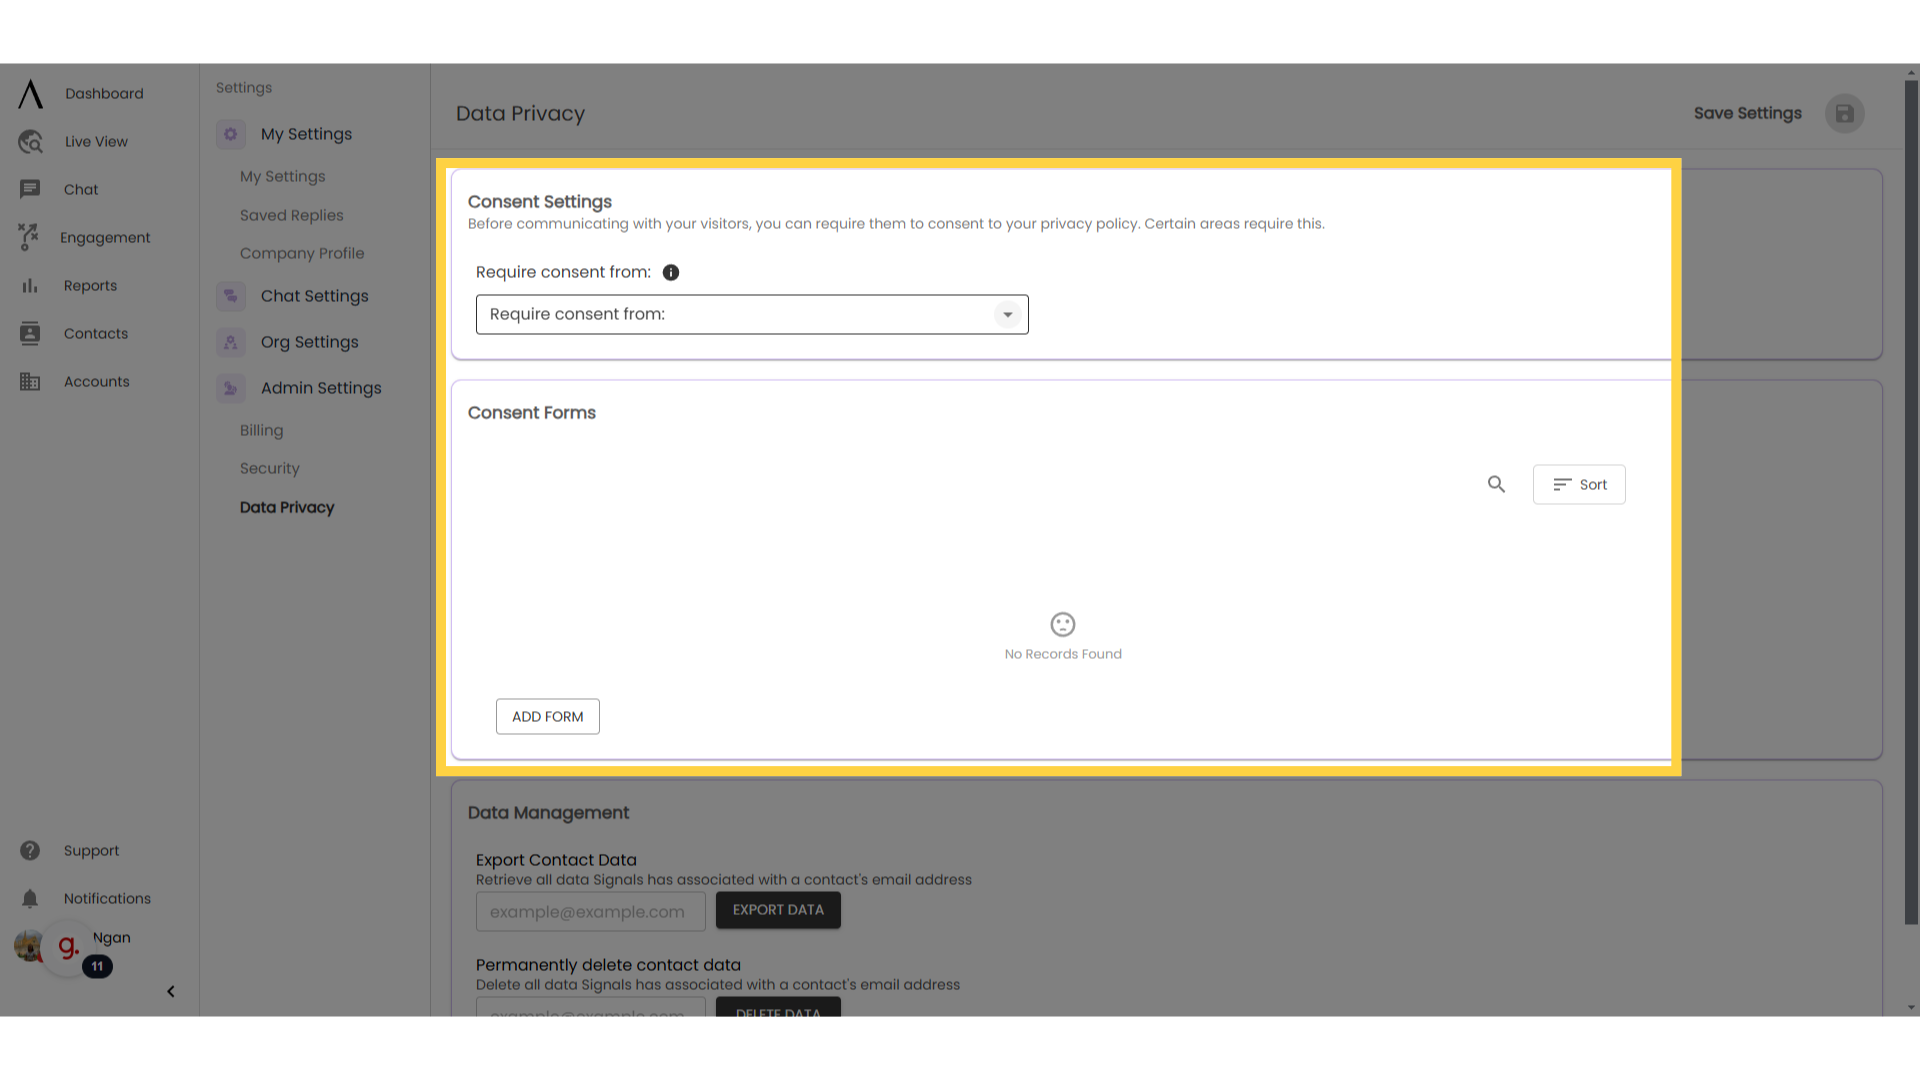
5. Determine Consent Settings
In the first two cards on this page, select regions where you want to require consent from site visitors before engaging with them.
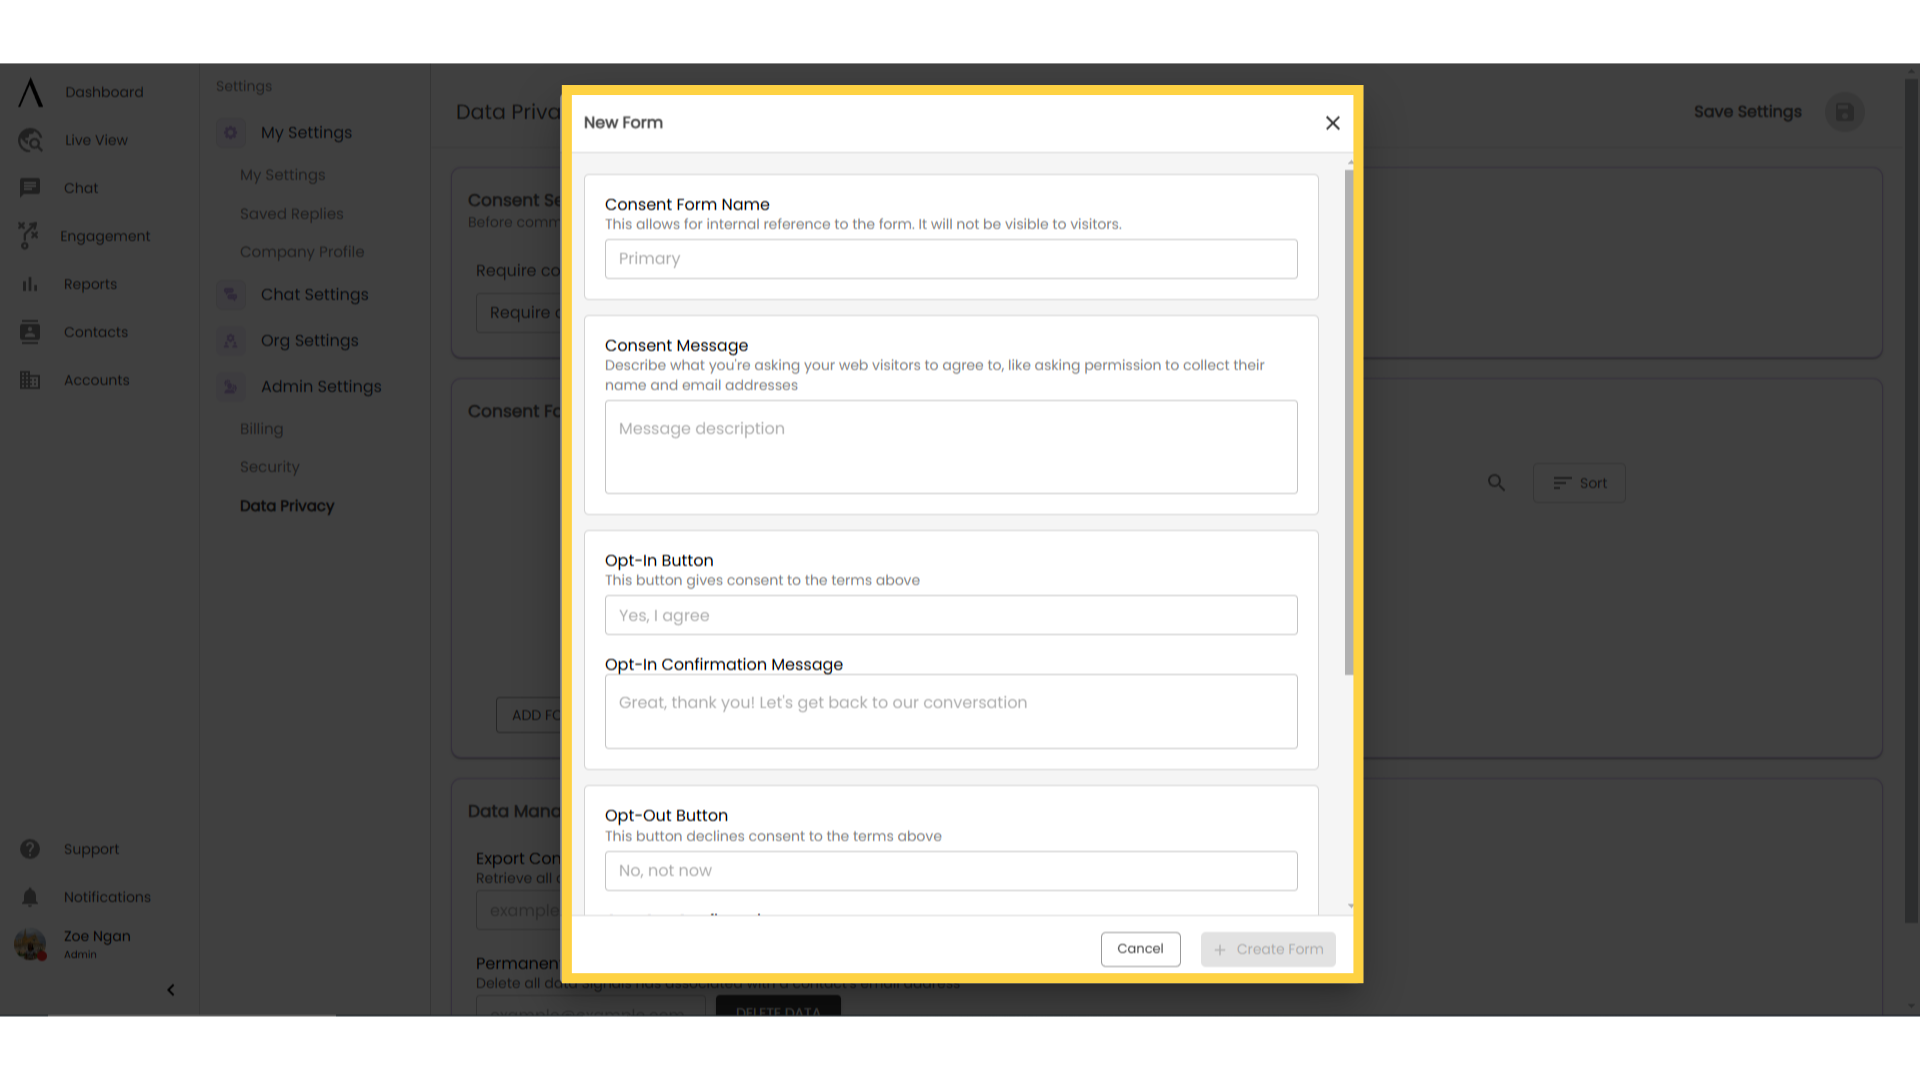
Create also the consent form you wish to send through the bot allowing visitors to either opt in or opt out of data capture.
6. Create form
7. Data Management