Domo Integration
Overview
The Domo integration allows you to use Domo’s product to analyze and visualize data from Signals. This page explains Domo’s software briefly, and how to enable the integration.
Domo Overview
Domo provides an overview of their services on this site. However, to provide a brief overview, Domo allows you to connect with numerous data sources; once connected to your data, Domo allows you to create visualizations of your data, analyze your data and share your data analysis and visualizations with others.
The Signals integration with Domo allows you to send Signals data to Domo and thereby use Domo’s versatile product to analyze your Signals data.
Enabling the Domo Integration
To connect your data to Domo, you can follow these steps:
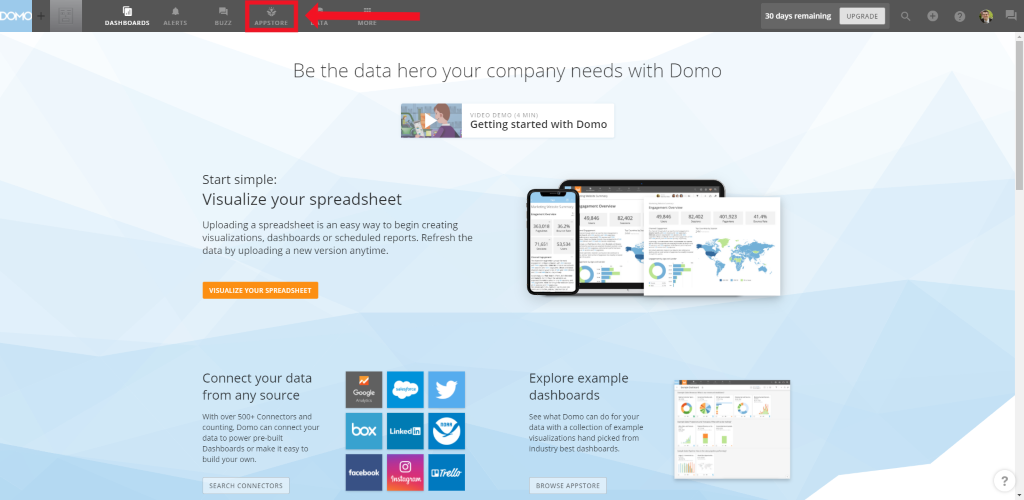
- Access your Domo account
- Toward the top of your screen, select to go to the Domo Appstore
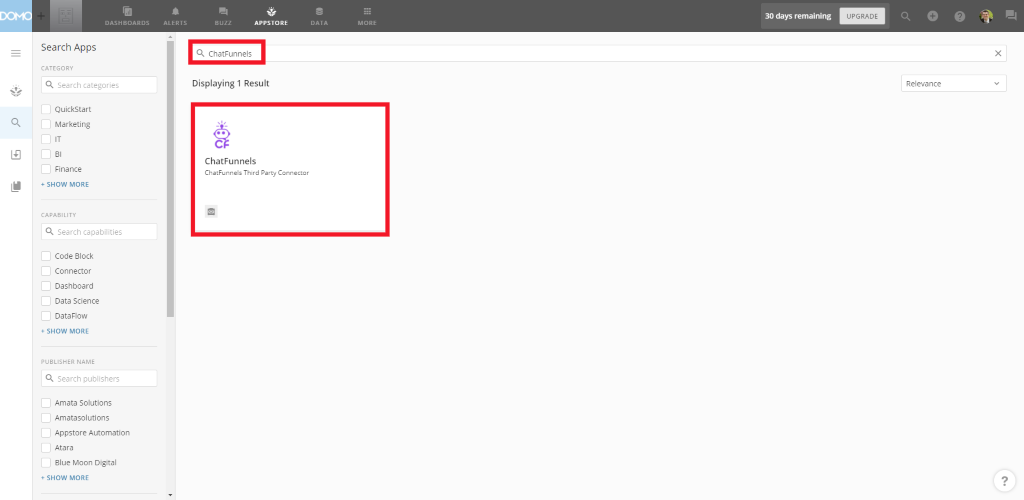
- In the search bar, search “Signals”
- Select the Signals App within Domo that appears as the search result
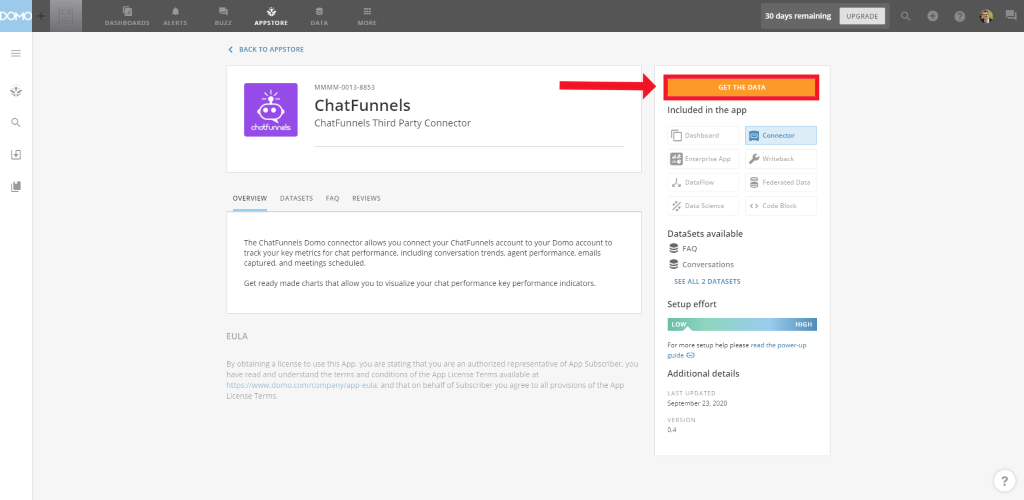
- Select “Get the Data” on the page describing the Signals App within Domo
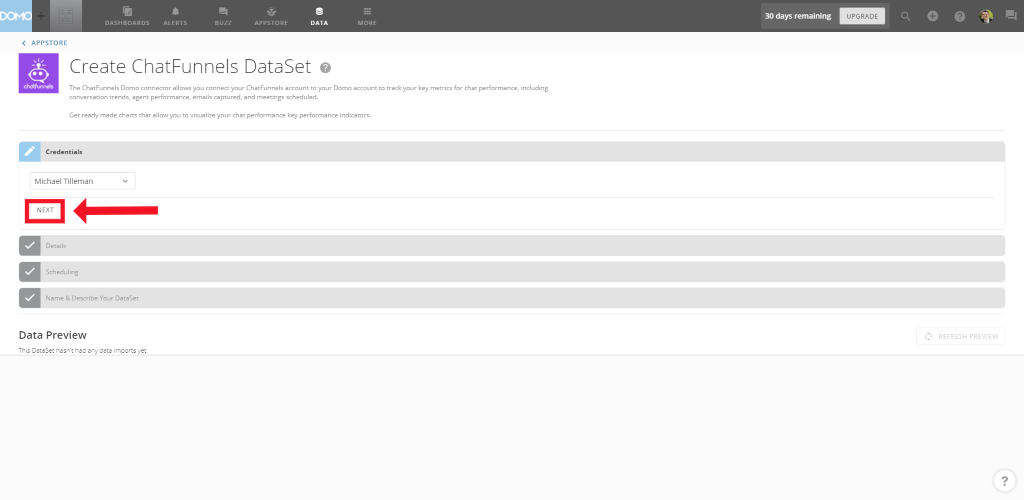
- Underneath the “Credentials” menu, select to connect your account (alternatively, you can assign one of your Domo teammates to connect instead)
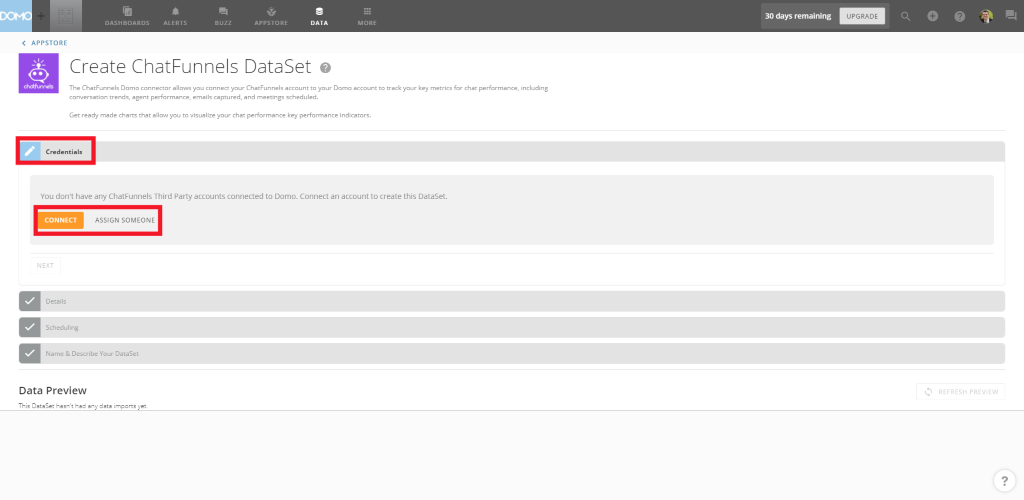
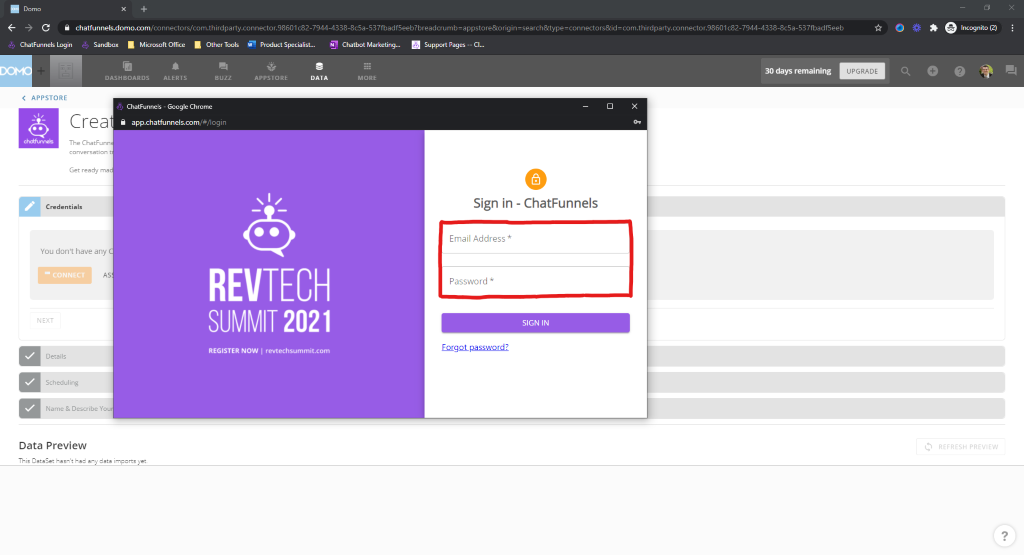
- If you have not yet logged into Signals, it will trigger a pop-up window of the login screen. Enter your Signals credentials in this screen and select “Sign in”
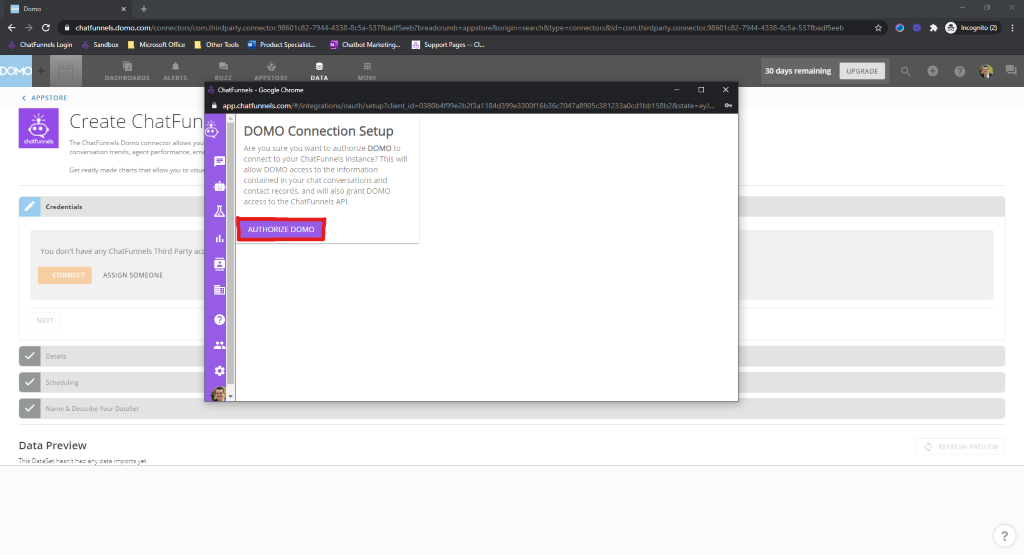
- In this popup window, you will be prompted to authorize the connection between Signals and Domo. Select “Authorize Domo” if you want to send your Signals data over to Domo
- Select “Next” under the Credentials menu to finalize creating your Signals dataset within Domo
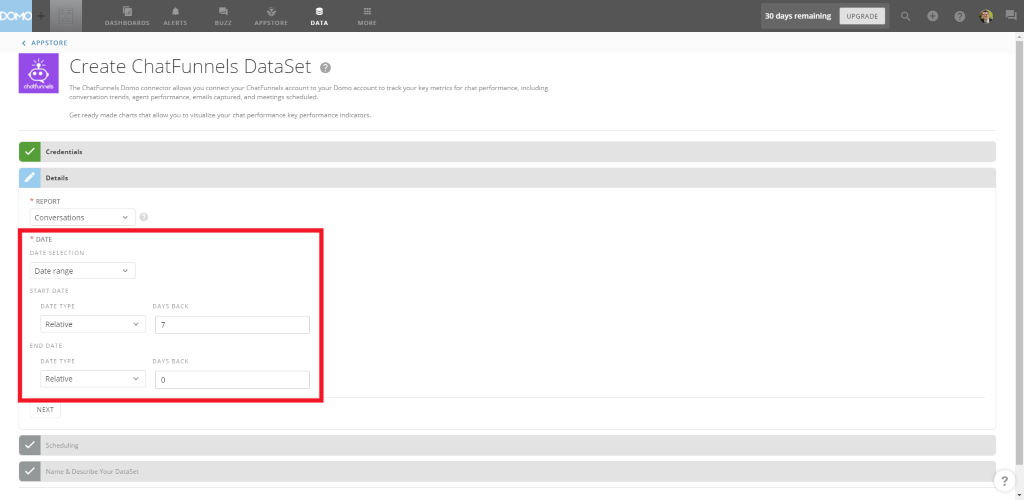
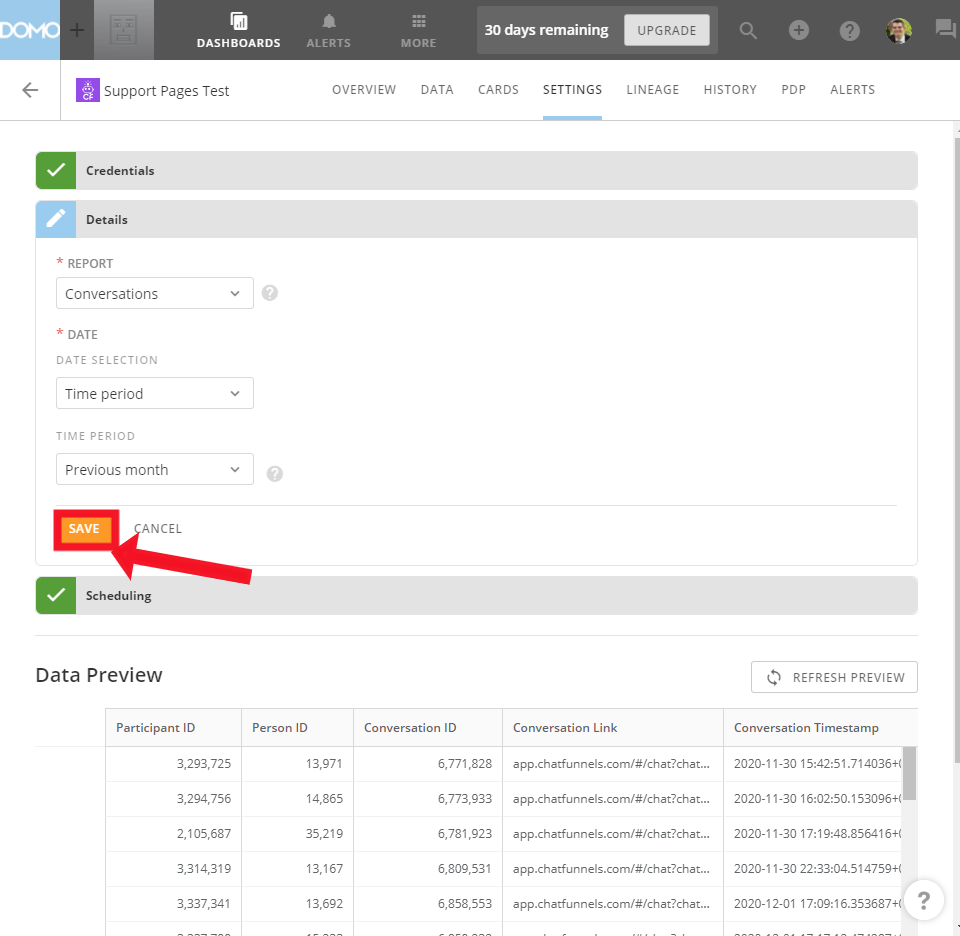
- Select which data you want to bring from Signals. You can bring in the data available from your license’s FAQs or Conversations
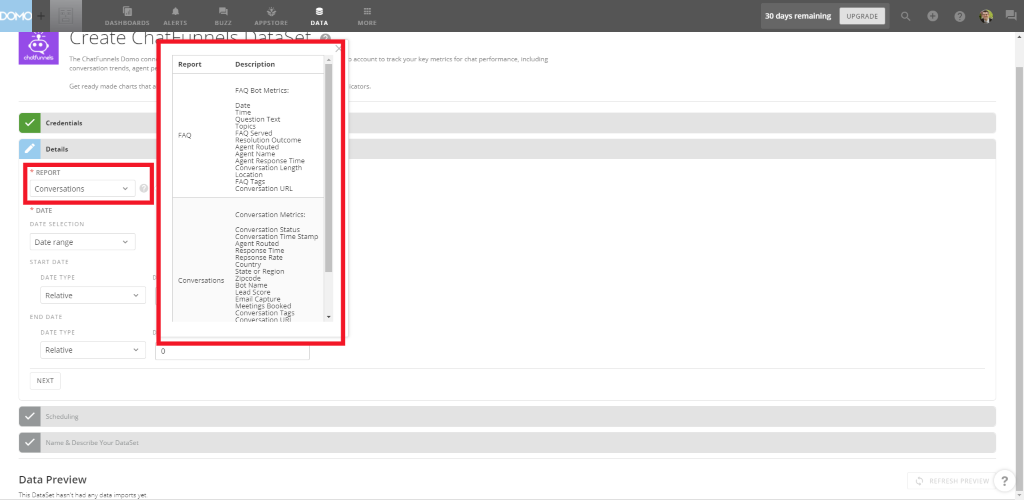
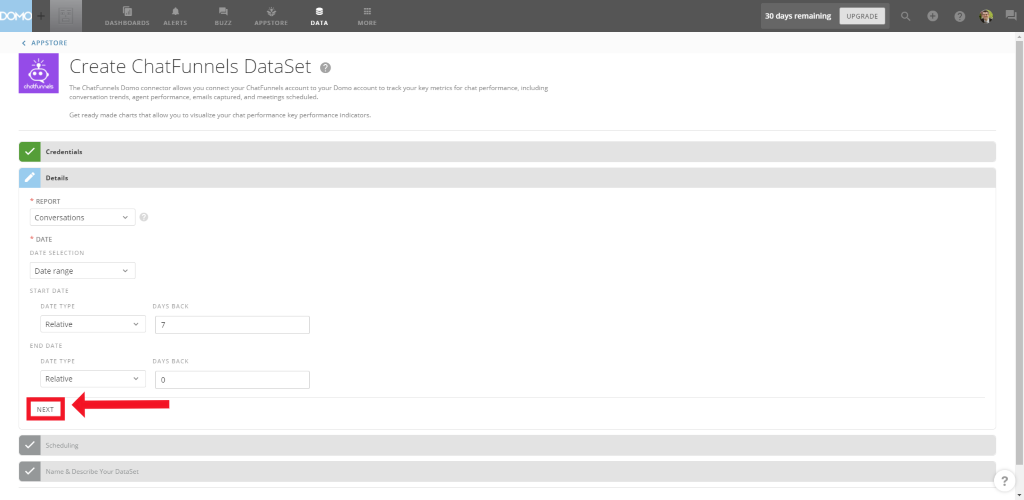
- Select the Date settings. In the first dropdown, select the which type of date range you will pull into your dataset (Single date, date range or time period). Then select the days where you will pull the data from
- Select “Next” to configure the Scheduling Settings
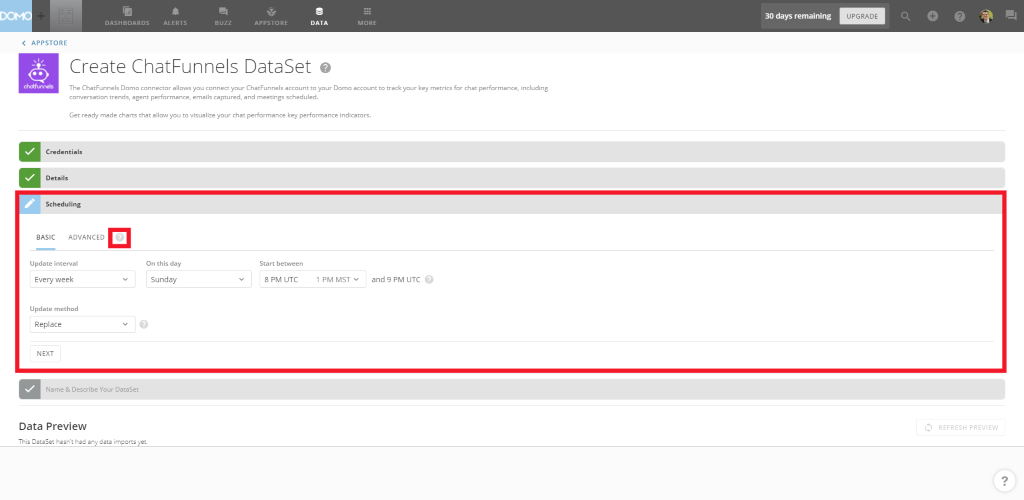
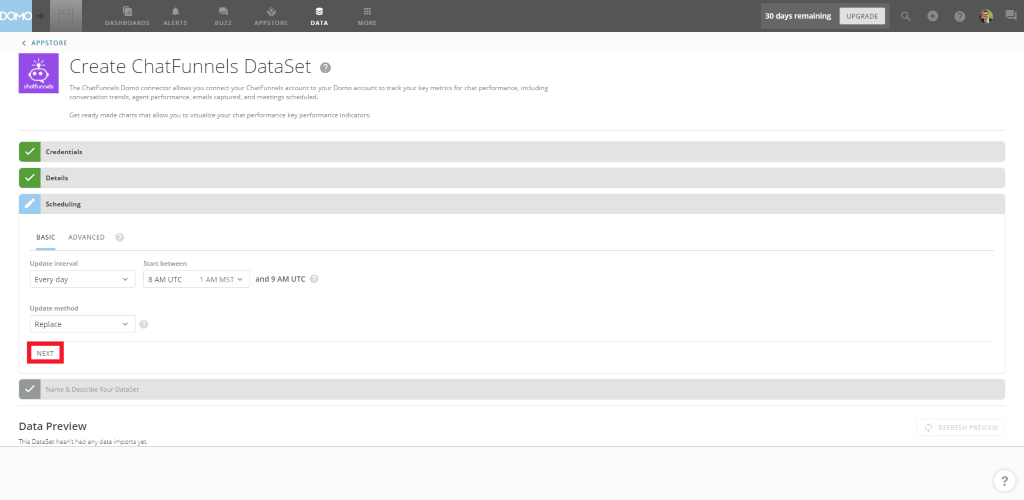
- In the Scheduling Settings, select how often your Signals data will pull into Domo and if the new data will replace the previous data or append it. For more information on the Scheduling menu, you can hover over the support tooltip in this section:
- Select “Next” to move to the last section of the configuration
- In the first text entry box, provide a name for this data set. (Optional) Provide a description that will appear near the name of the dataset to help Domo users understand what the dataset is
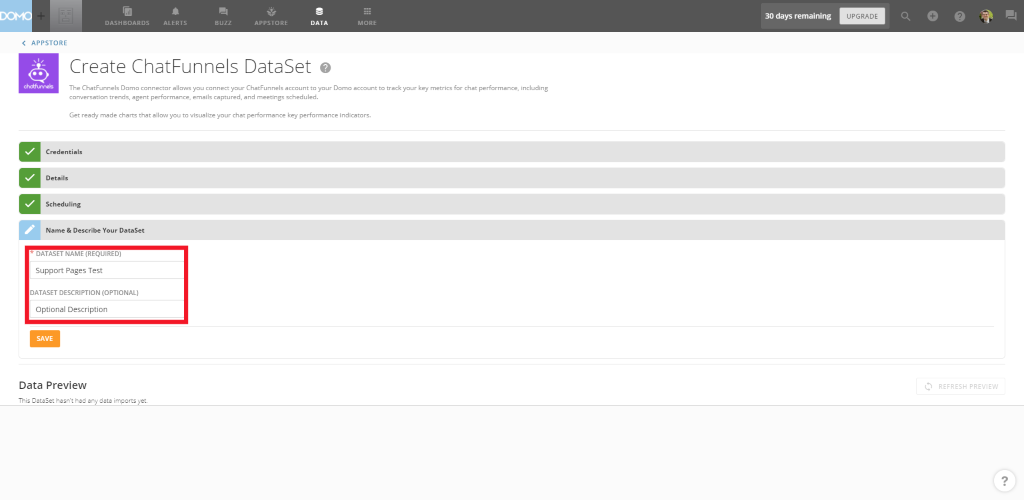
- Select Save to save this Signals dataset in Domo
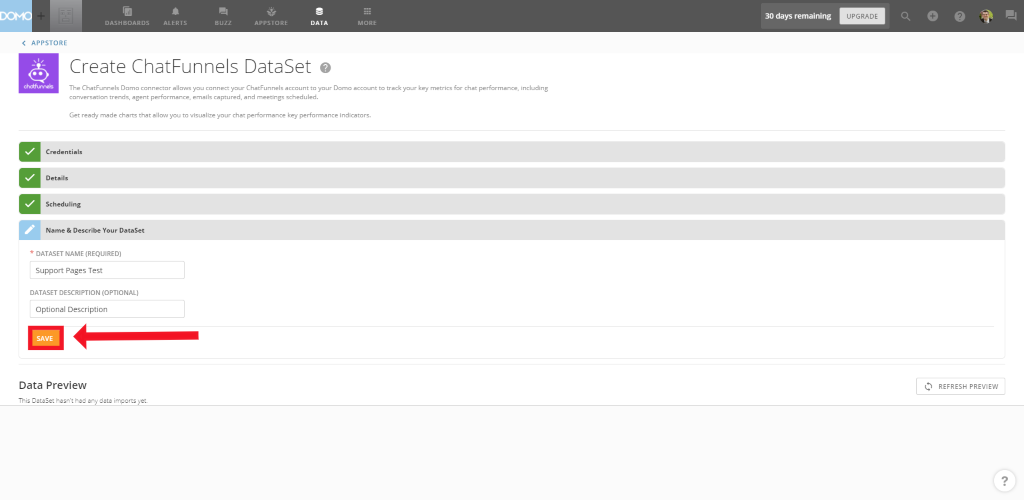
Once you complete these steps, this will create a Dataset within Domo. You can use this dataset like your other datasets within Domo, including as the source for dashboards, creating visualizations, sharing the dataset, creating alerts based on this dataset, etc. :
Creating a Second Signals Dataset in Domo
You can create as many Signals datasets in Domo as you’d like. To create a new Signals dataset in Domo, you can simply repeat the steps found in the section above. The steps to create a new Signals dataset are the same as creating your first Signals dataset in Domo!
Editing an Existing Signals Dataset in Domo
If you need to edit how Domo pulls in your Signals data into your Signals dataset in Domo, you can follow these simple steps:
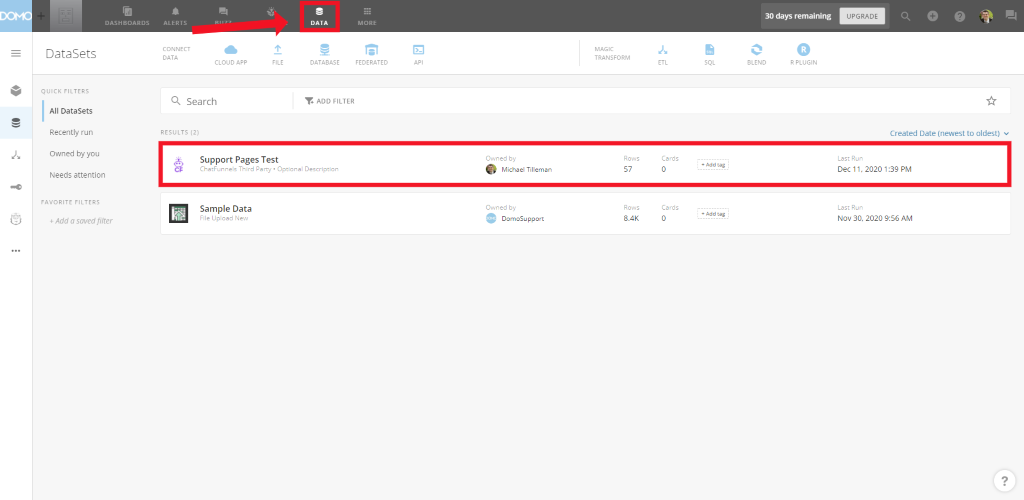
- In your Domo account, access the Data tab
- Click on the Signals dataset you want to edit

- At the top of the page, select the “Settings” icon
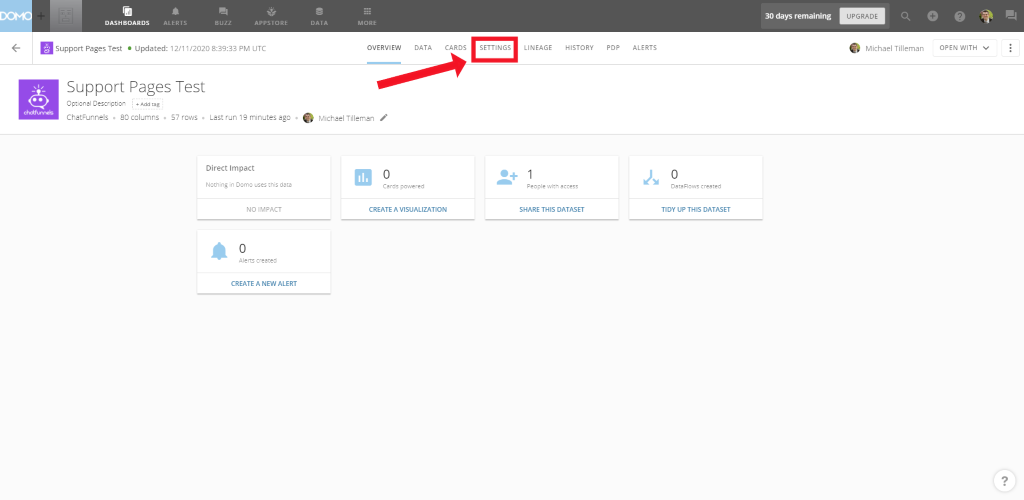
This will then bring the same Credentials, Details and Scheduling menus you saw when creating the dataset. Simply make any changes you want to any of the sections and select the “Save” icon in the menu to save your changes
Edit the Name or Description of an Existing Signals Dataset in Domo
If you want to edit the name and/or description of an existing Signals dataset in Domo, you can follow these steps:
- In your Domo account, access the Data tab
- Click on the Signals dataset you want to edit
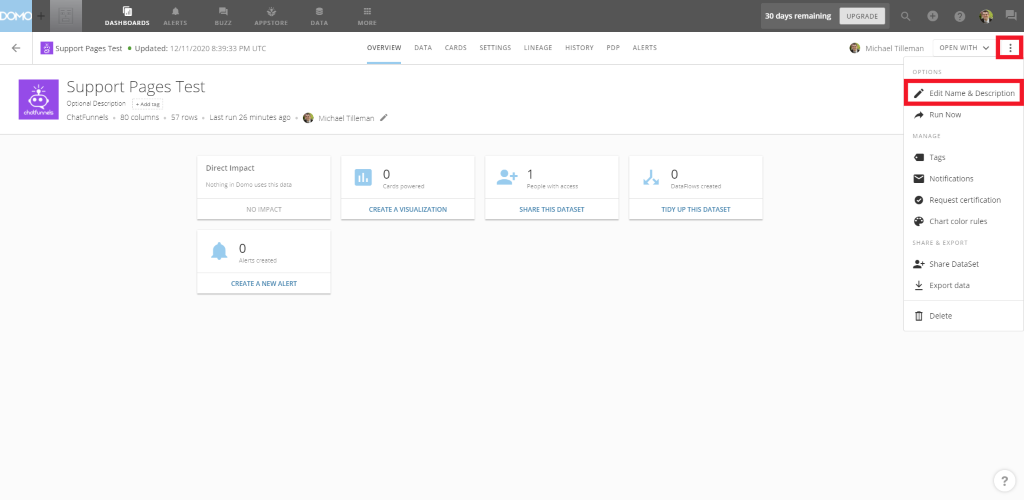
- At the top right portion of the page, select the menu icon (i.e., the three dots)
- Select “Edit Name & Description”
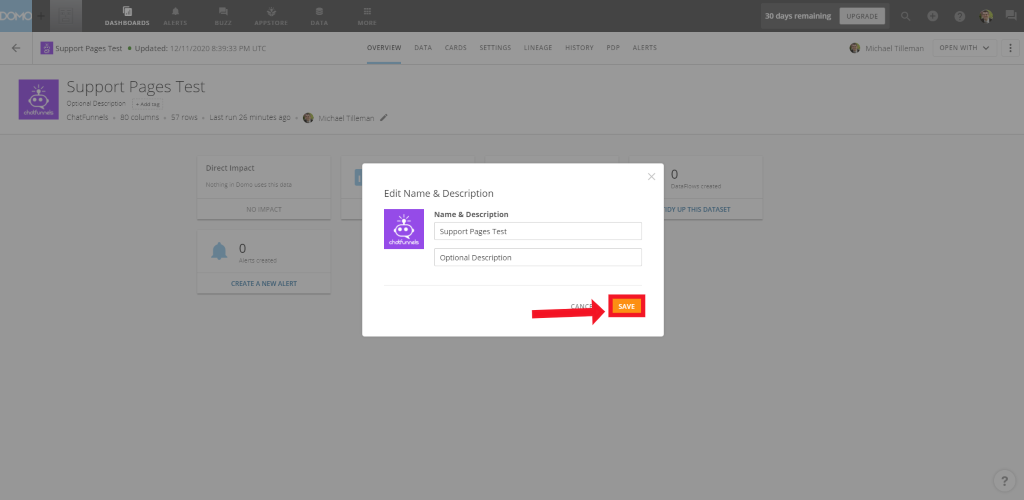
- Make any desired changes and select “Save” to save your changes
API Fields
We have two endpoints you can connect to Domo, Conversations & Accounts. The conversation end point will give you details around conversations and the people involved in Signals. The Account endpoint give you firmagraphic and intent information about accounts visiting your website.
We have a "Conversations" endpoint currently, and that has the following fields:
- "Participant ID"
- "Person ID"
- "Conversation ID"
- "Conversation Link"
- "Conversation Timestamp"
- "Conversation Status"
- "Closed Timestamp"
- "Agent Routed Timestamp"
- "Routed Agent Name"
- "First Responding Agent"
- "First Agent Response Time (seconds)"
- "GeoIP Latitude"
- "GeoIP Longitude"
- "GeoIP Country"
- "GeoIP State or Region"
- "GeoIP City"
- "GeoIP Zip Code"
- "Bot ID"
- "Bot Name"
- "Lead Score"
- "Contact Email"
- "Email Captured"
- "Email Captured By"
- "Meeting Booked Timestamp"
- "Meeting Booked"
- "Meeting With Agent"
- "Meeting Scheduled For"
- "Scheduled Meeting Length"
- "Meeting Held"
- "Conversation Tags"
- "Conversation Start URL"
- "Conversation Origin"
- "Number of Interactions"
- "Primary Goal Reached"
- "Secondary Goal Reached"
- "Bot Participation"
- "Conversation Rating"
- "Feedback Prompt"
- "Feedback"
- "First Name"
- "Last Name"
- "Email Address"
- "Phone"
- "Company Name"
- "Company Website"
- "Company Industry"
- "Company Employee Count"
- "Company Revenue"
- "UTM Source"
- "UTM Medium"
- "UTM Campaign"
- "UTM Term"
- "UTM content"
- "Google Click ID (gclid)"
- "Google Ad Source (gclsrc)"
- "Display Click ID (dclid)"
- "Facebook Click ID (fbclid)"
- "Zanox Click ID (zanpid)"
- "Last Activity Timestamp"
- "First Visitor Chat Timestamp"
The "Accounts" endpoint to the connector includes the following fields:
- "Web Domain"
- "Site Visits"
- "Last Visit"
- "Page Views"
- "Pages Visited"
- "Traffic Source"
- "Signals Score"
- "Conversations"
- "Meetings Booked"
- "Live Chats"