Installation
Quick Videos
The video below will guide you through installing Signals using WordPress.
The video below will guide you through installing Signals manually
WordPress
To access a video overview of the contents of this section, you can click on this link.
Many Signals customers use WordPress to host and create their websites. This section explains how to place your Signals chatbots on your website if your website is created through WordPress.
- Login to Signals
- At the bottom-left, select the “Settings” cog
- At the top-left of the page, select the “Installation” subsection of the “Chat Settings” section

- In a new browser tab, access your WordPress account
- Toward the bottom-left of the page, select the WordPress admin menu:

- On the toolbar toward the left-hand of the page, click on the “Plugins” menu.

- In the search bar, search for the Signals plugin:

- Select the Signals plugin and install it
- Once the Signals plugin is installed, activate this plugin
- Click on the Signals menu located on your settings menu
- Return to your Signals account
- Copy the code snippet on this page and paste it into the Signals plugin settings page:

- Save the settings
Manually
To access a video overview of the contents of this section, you can click on this link.
You may be in a situation where you manually have created and are hosting your website. This section explains how to install your Signals bots on your site.
In this situation, you will need to provide the manual Signals code to your web developers. To access your manual Signals code, follow these simple steps:
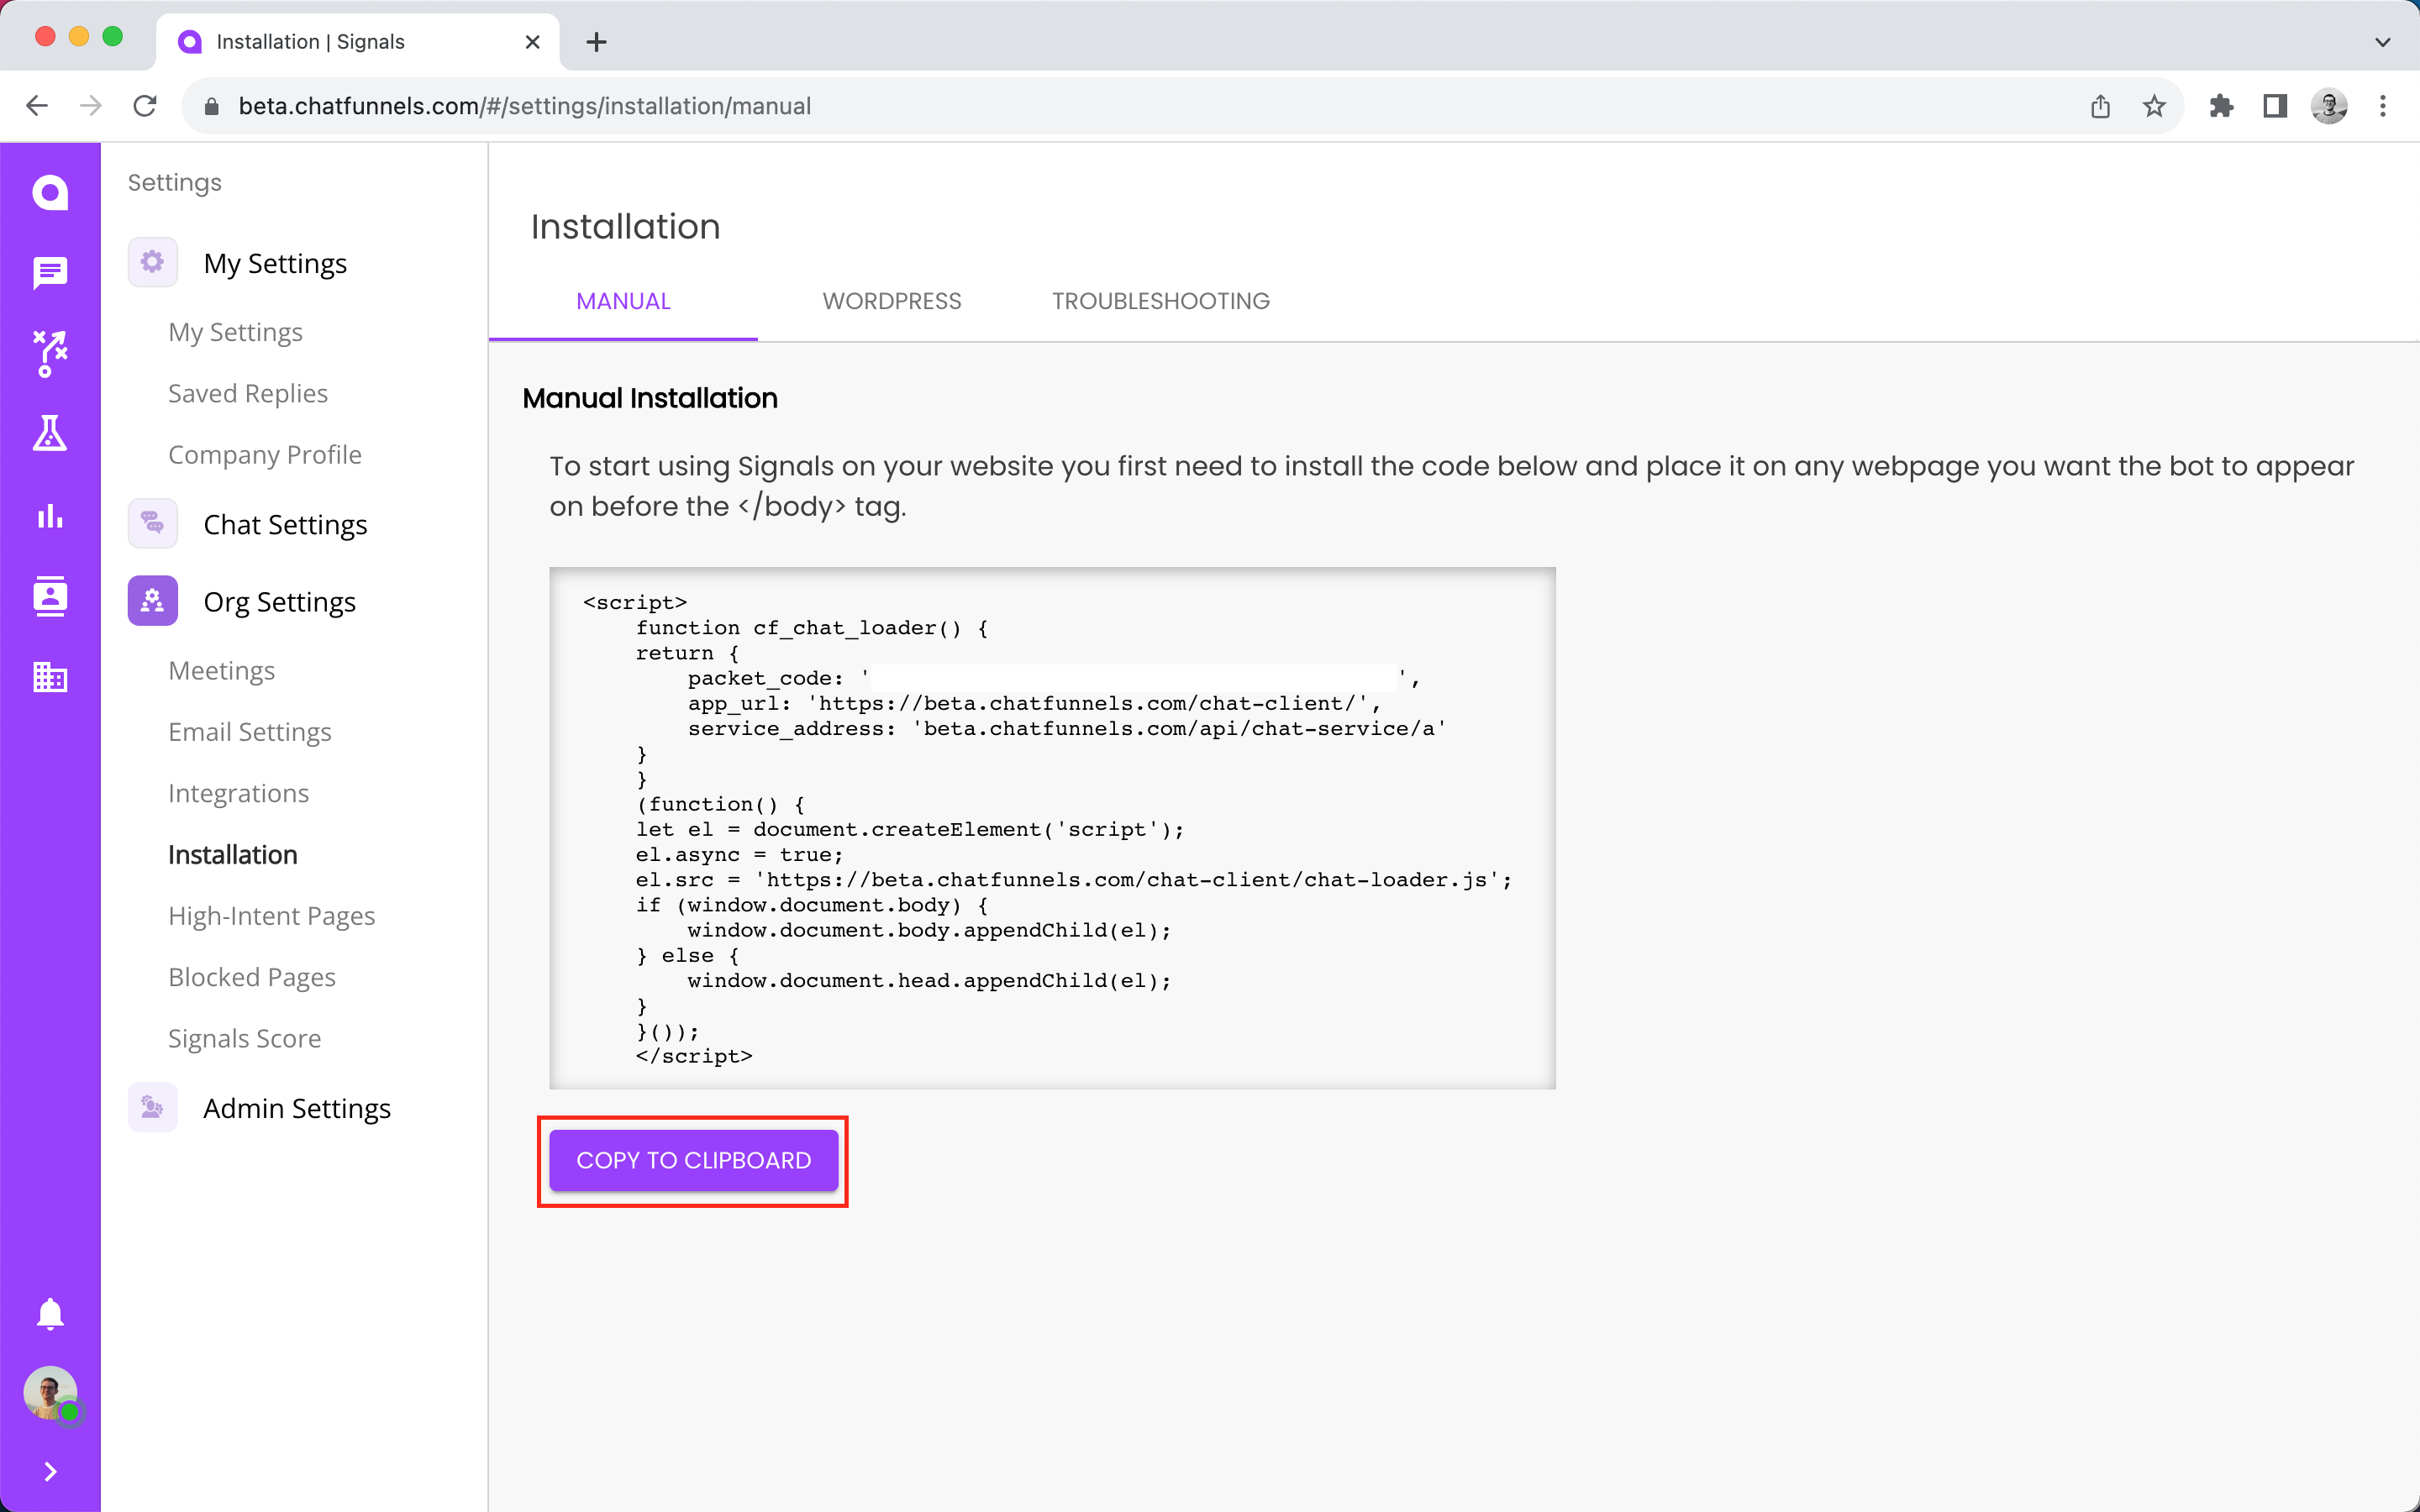
- Access your Signals account
- Click on the Settings tab at the bottom-left portion of the page
- Access the “Installation” section of the Chat Settings section at the top-left portion of the page
- Access the “Manual” tab
- Select the option to copy the manual code

Once you have obtained this Signals code, there are two different options available for you (or more likely your web developer) to apply it to your site:
- Add Code Directly to Your Web Pages
You can place this Signals code on any webpage you want the bot to appear on before the <body> tag. It does not matter where before the <body> tag you place the Signals code on your page.
- Global Header / Footer (Recommended)
We recommend placing your Signals code in either the global header or footer of you site. Doing so will apply the code globally to all pages of your site at once. This is the easiest way to implement Signals on your site because it does not require you to place the Signals individually on every page of your site where you want bots, which becomes very time-consuming and difficult to maintain / scale. After placing the code on your entire site, you can then use URL logic (hyperlink) for Funnel Bots to specify which page(s) a specific bot should appear on; you can also define bot priority (hyperlink) to ensure that more important bots appear before less important ones.
Google Tag Manager
To install the Signals script using Google Tag Manager, follow the steps below:
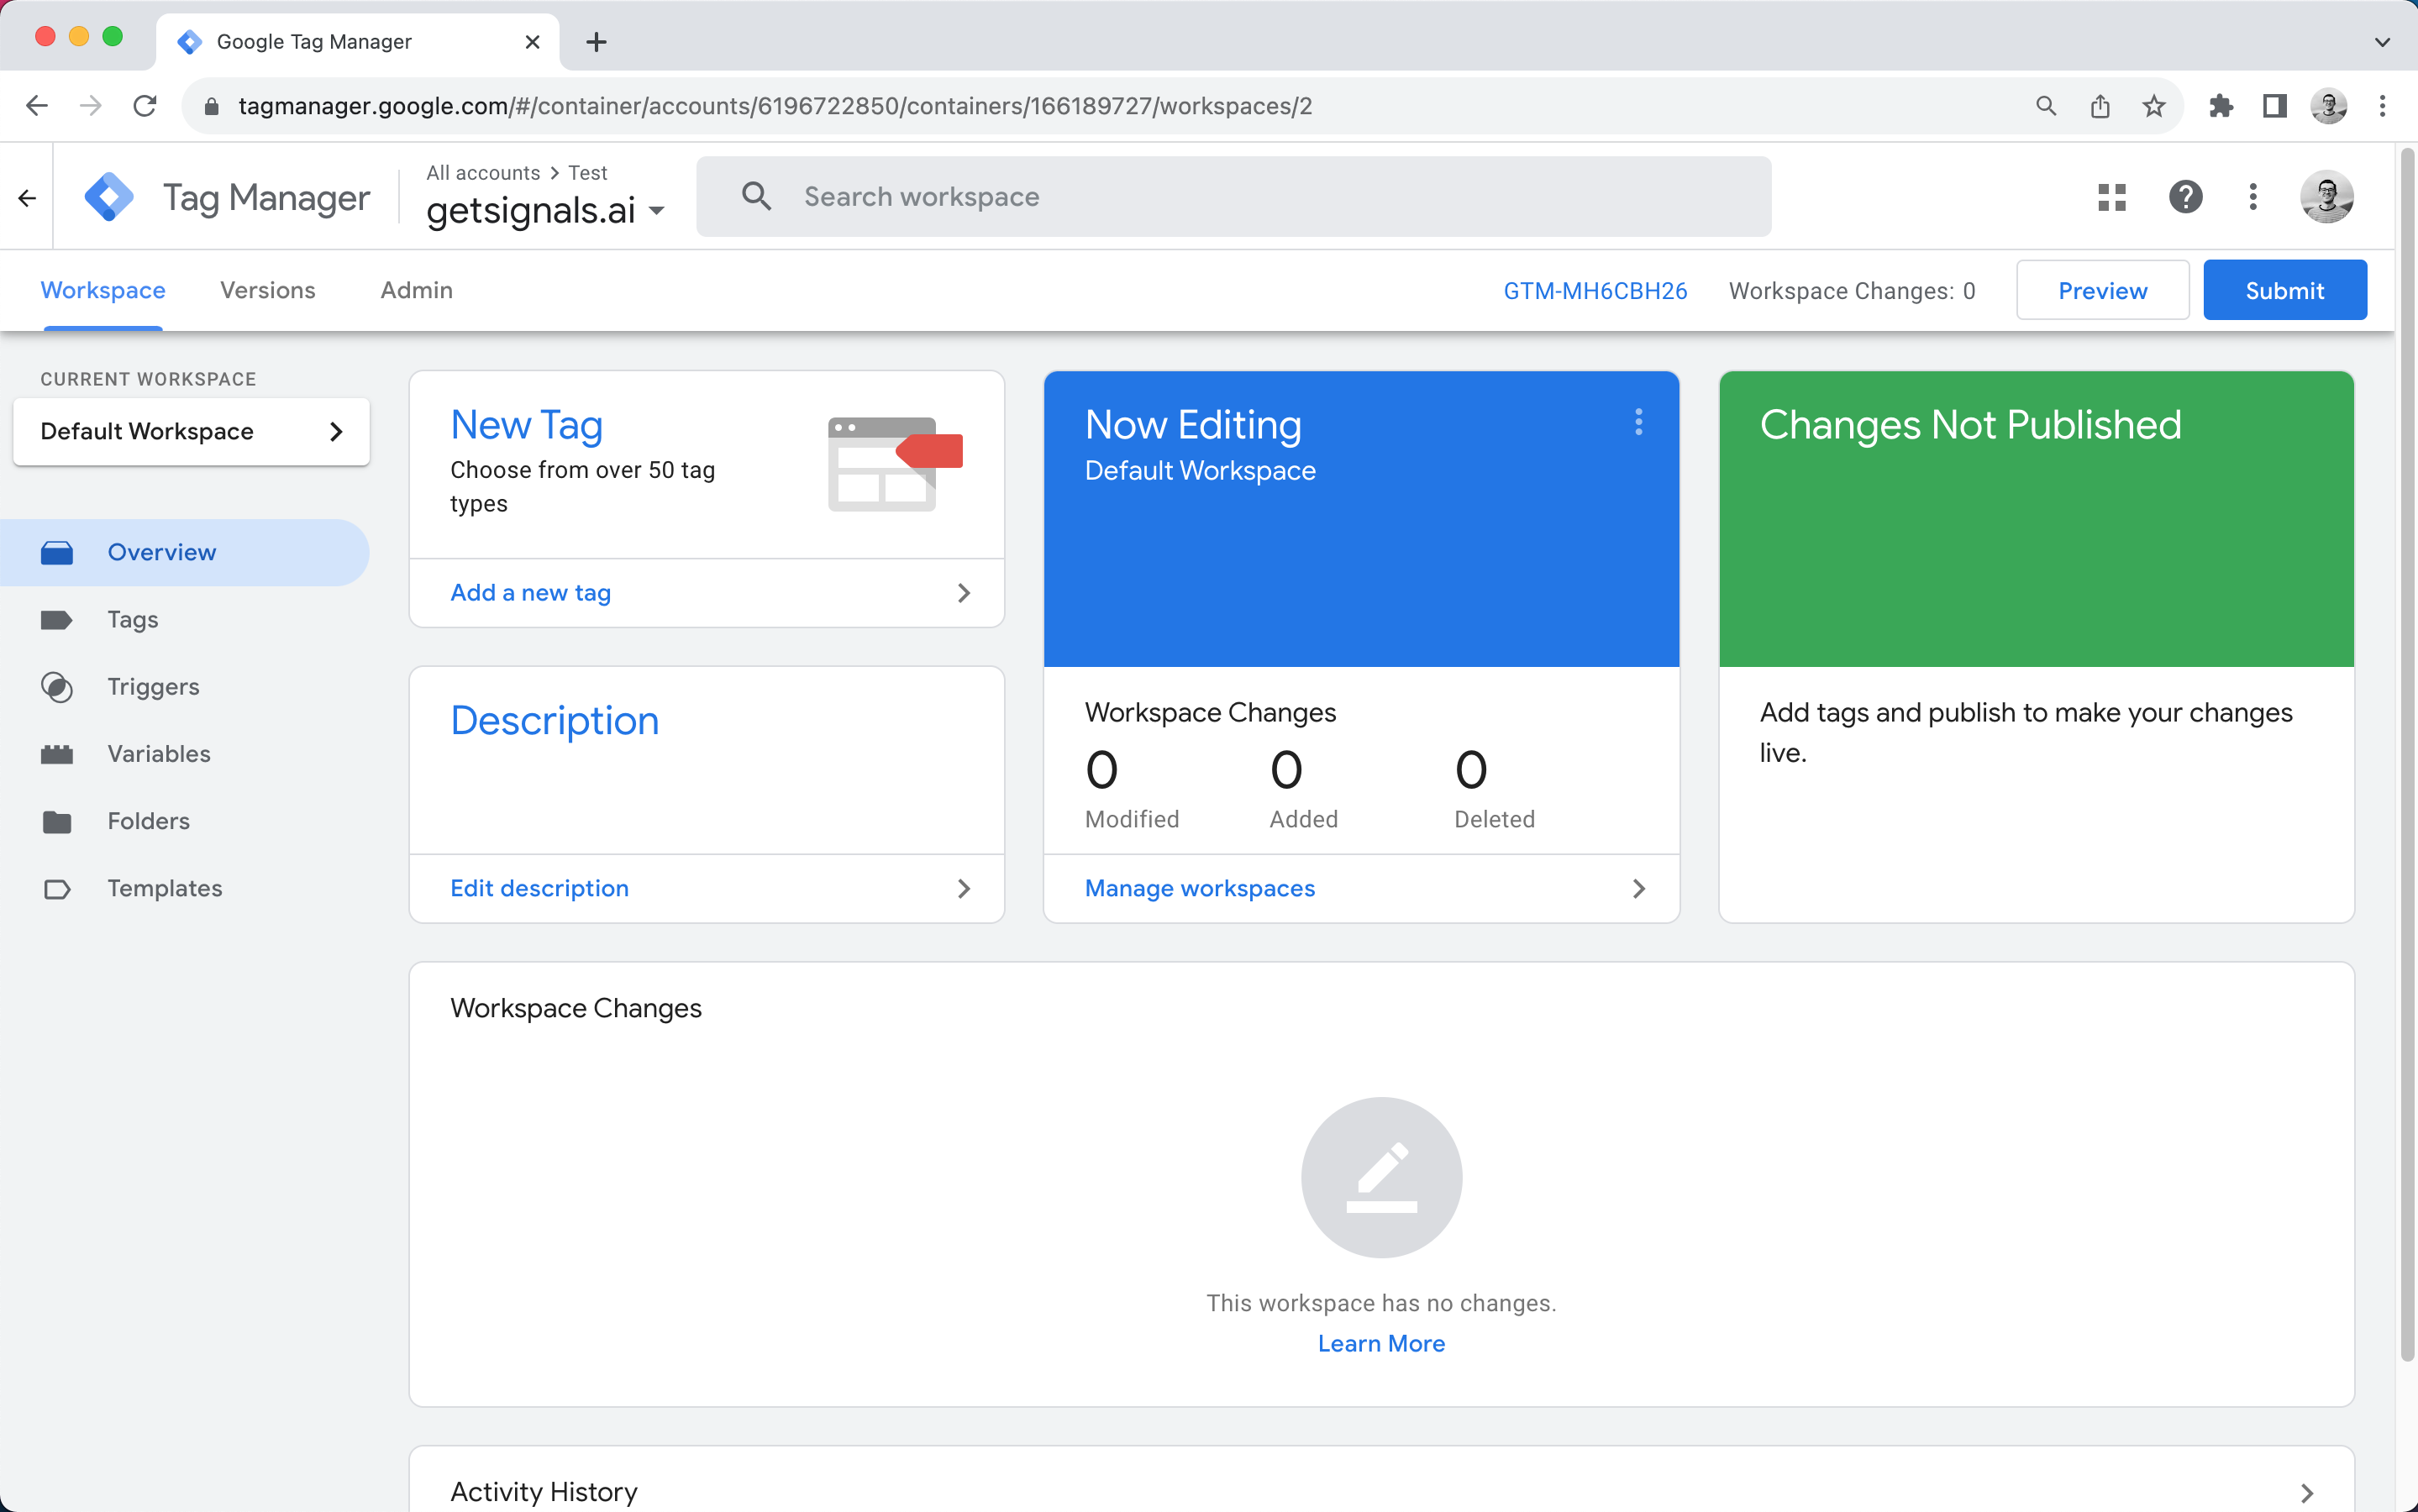
- Sign into your Google Tag Manager account and select your workspace
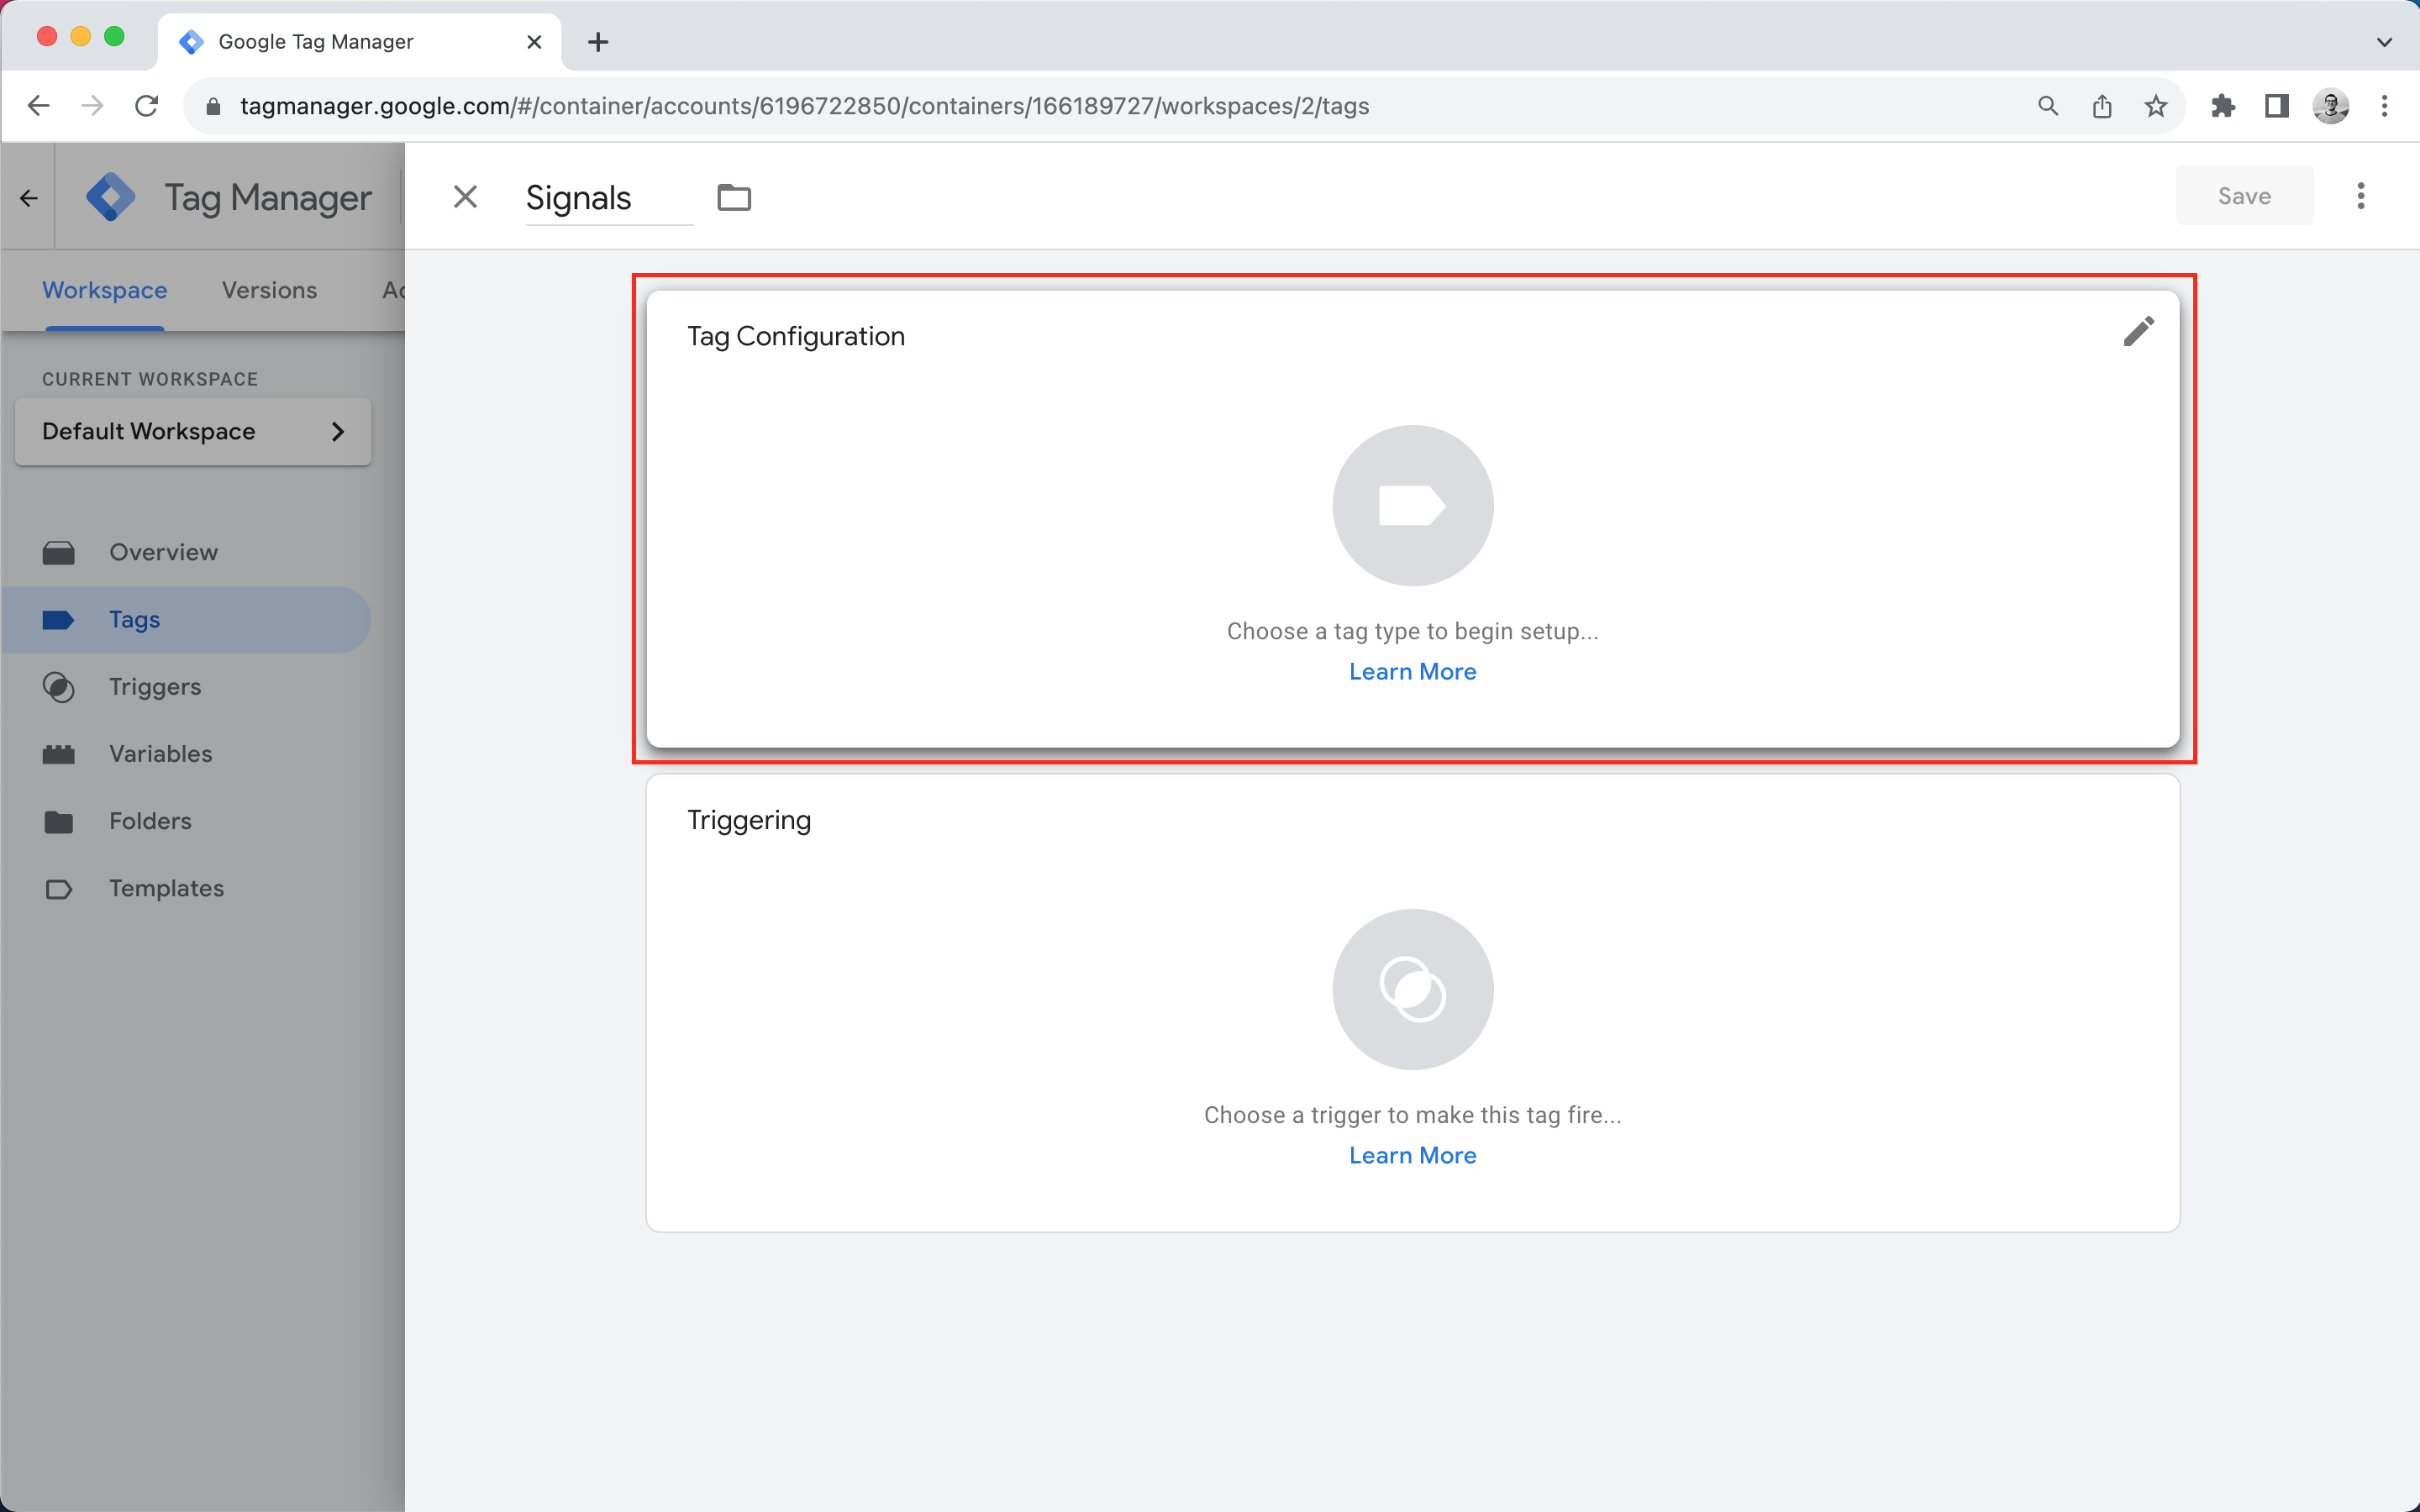
- Click “Tags” in the menu on the left and then click “New”

- Name the tag "Signals" and then click “Tag Configuration”
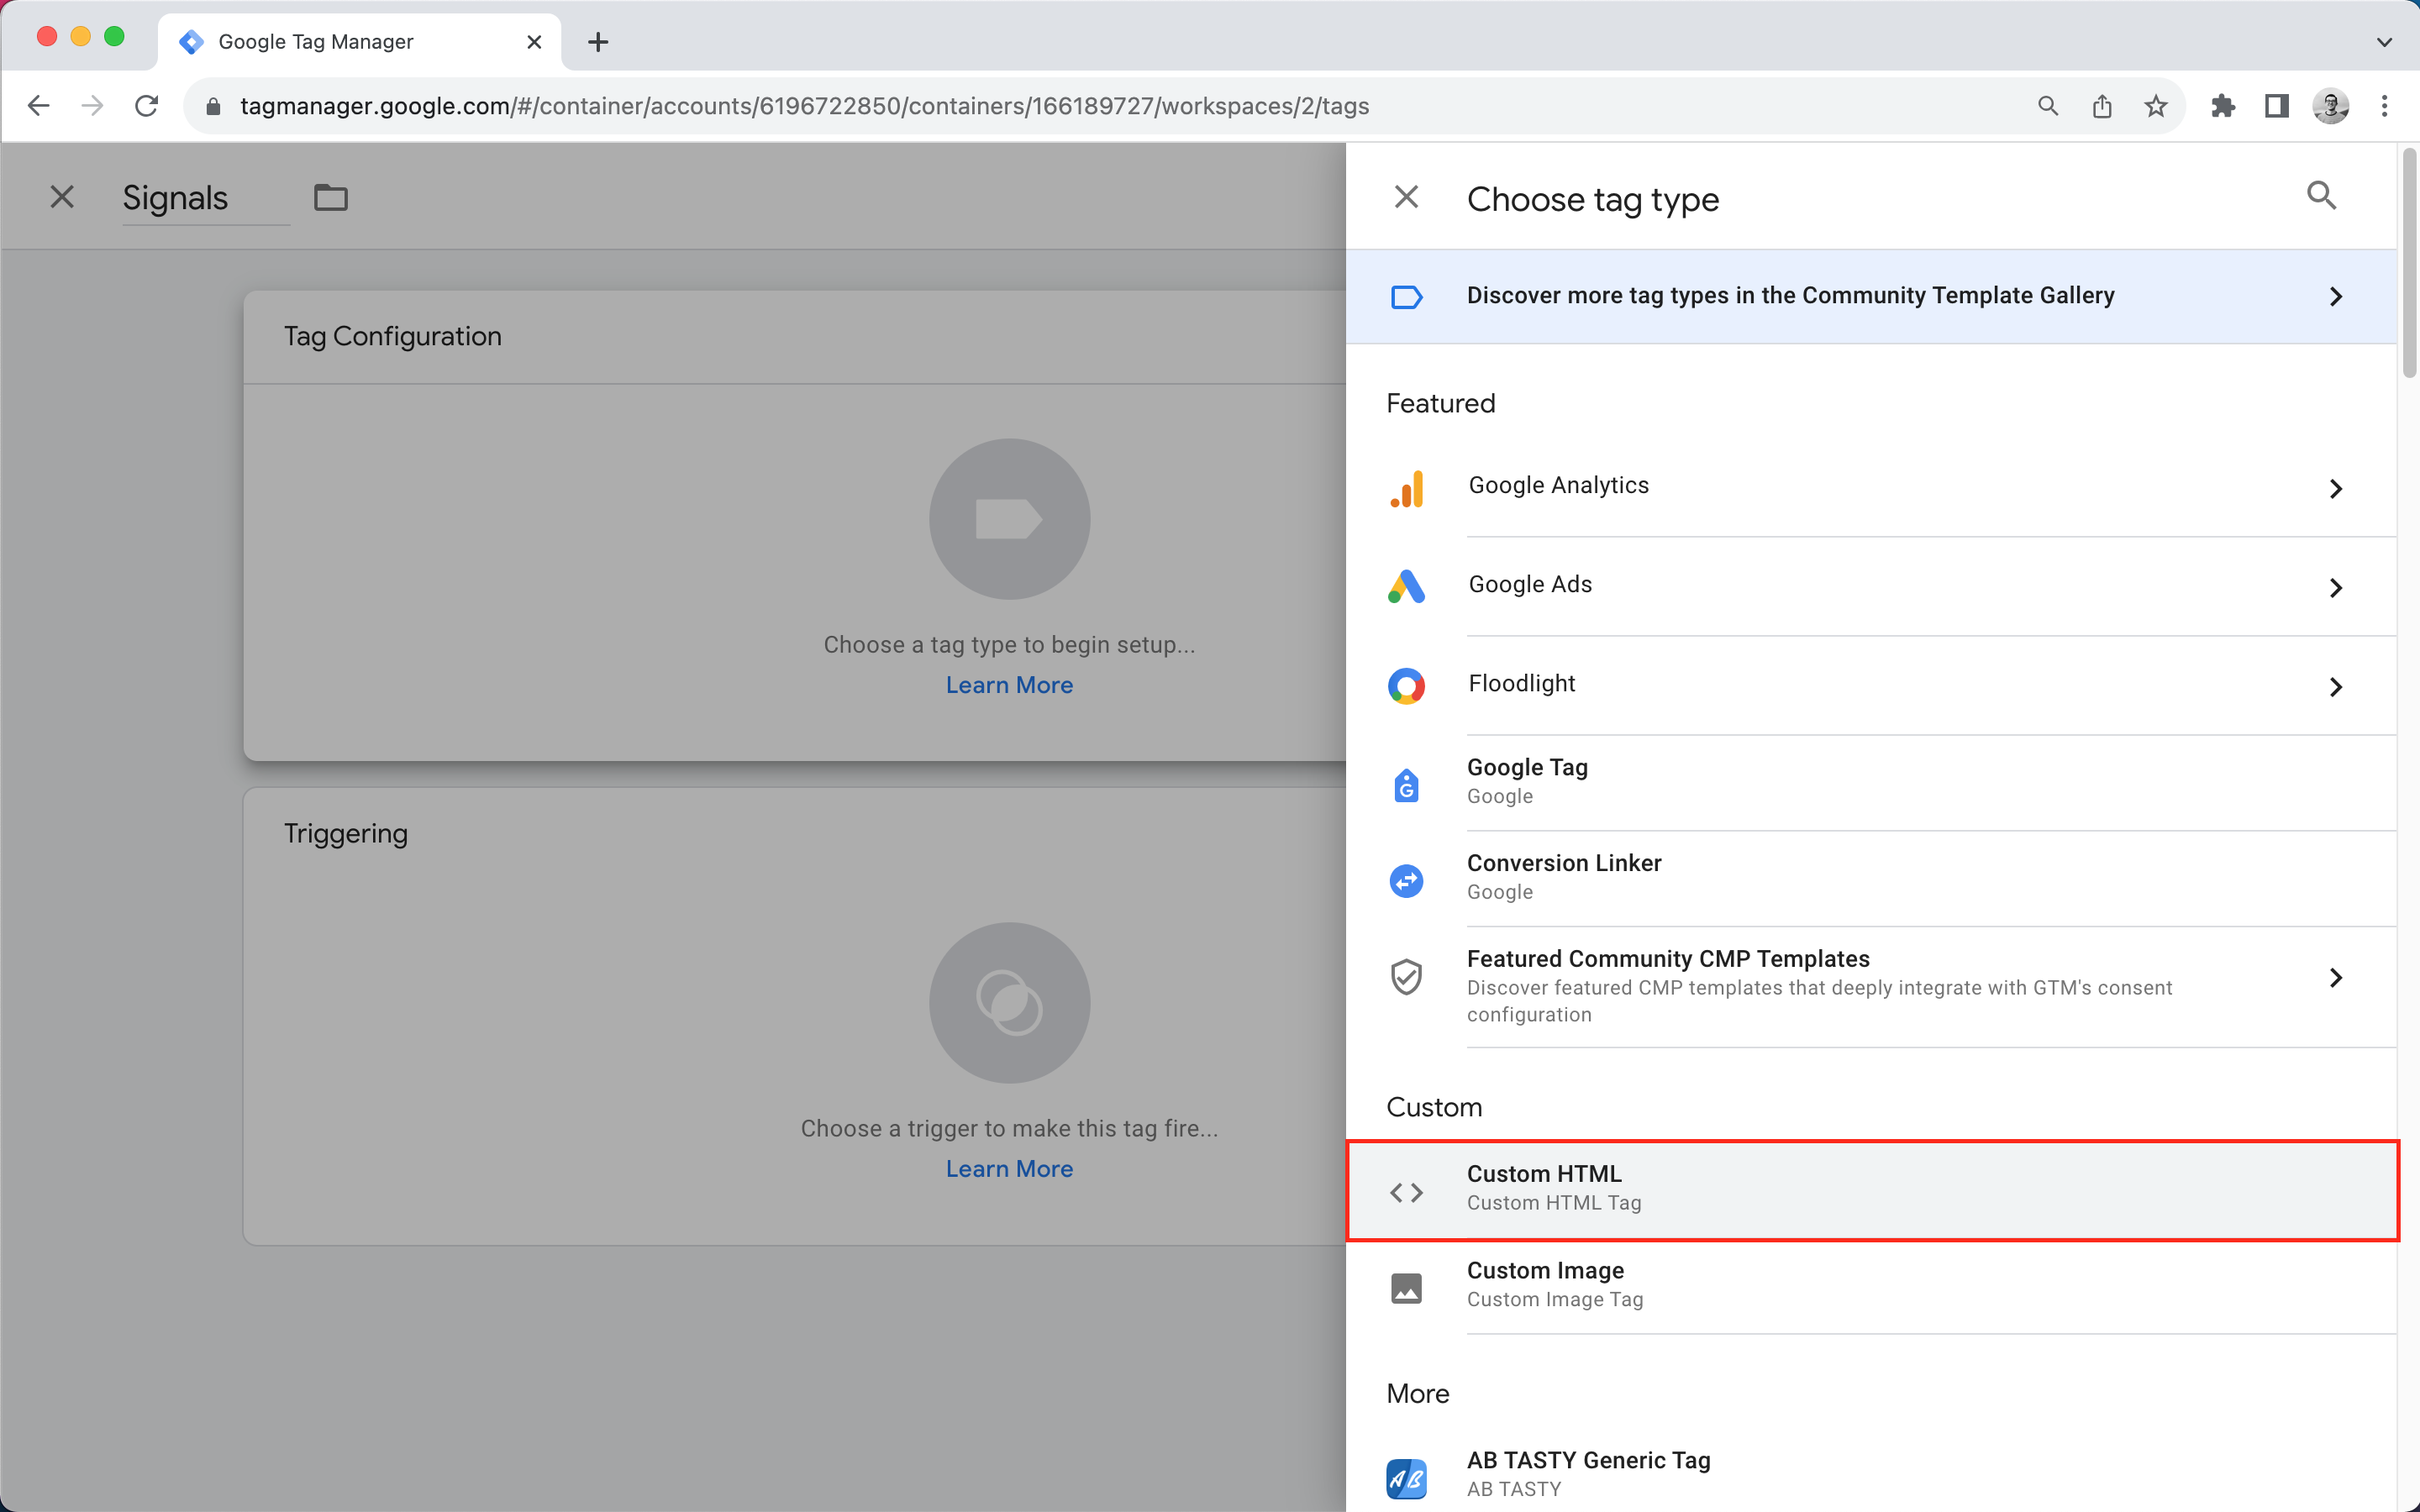
- Select “Custom HTML” in the list of tag types
- Copy the Signals script from the installation page
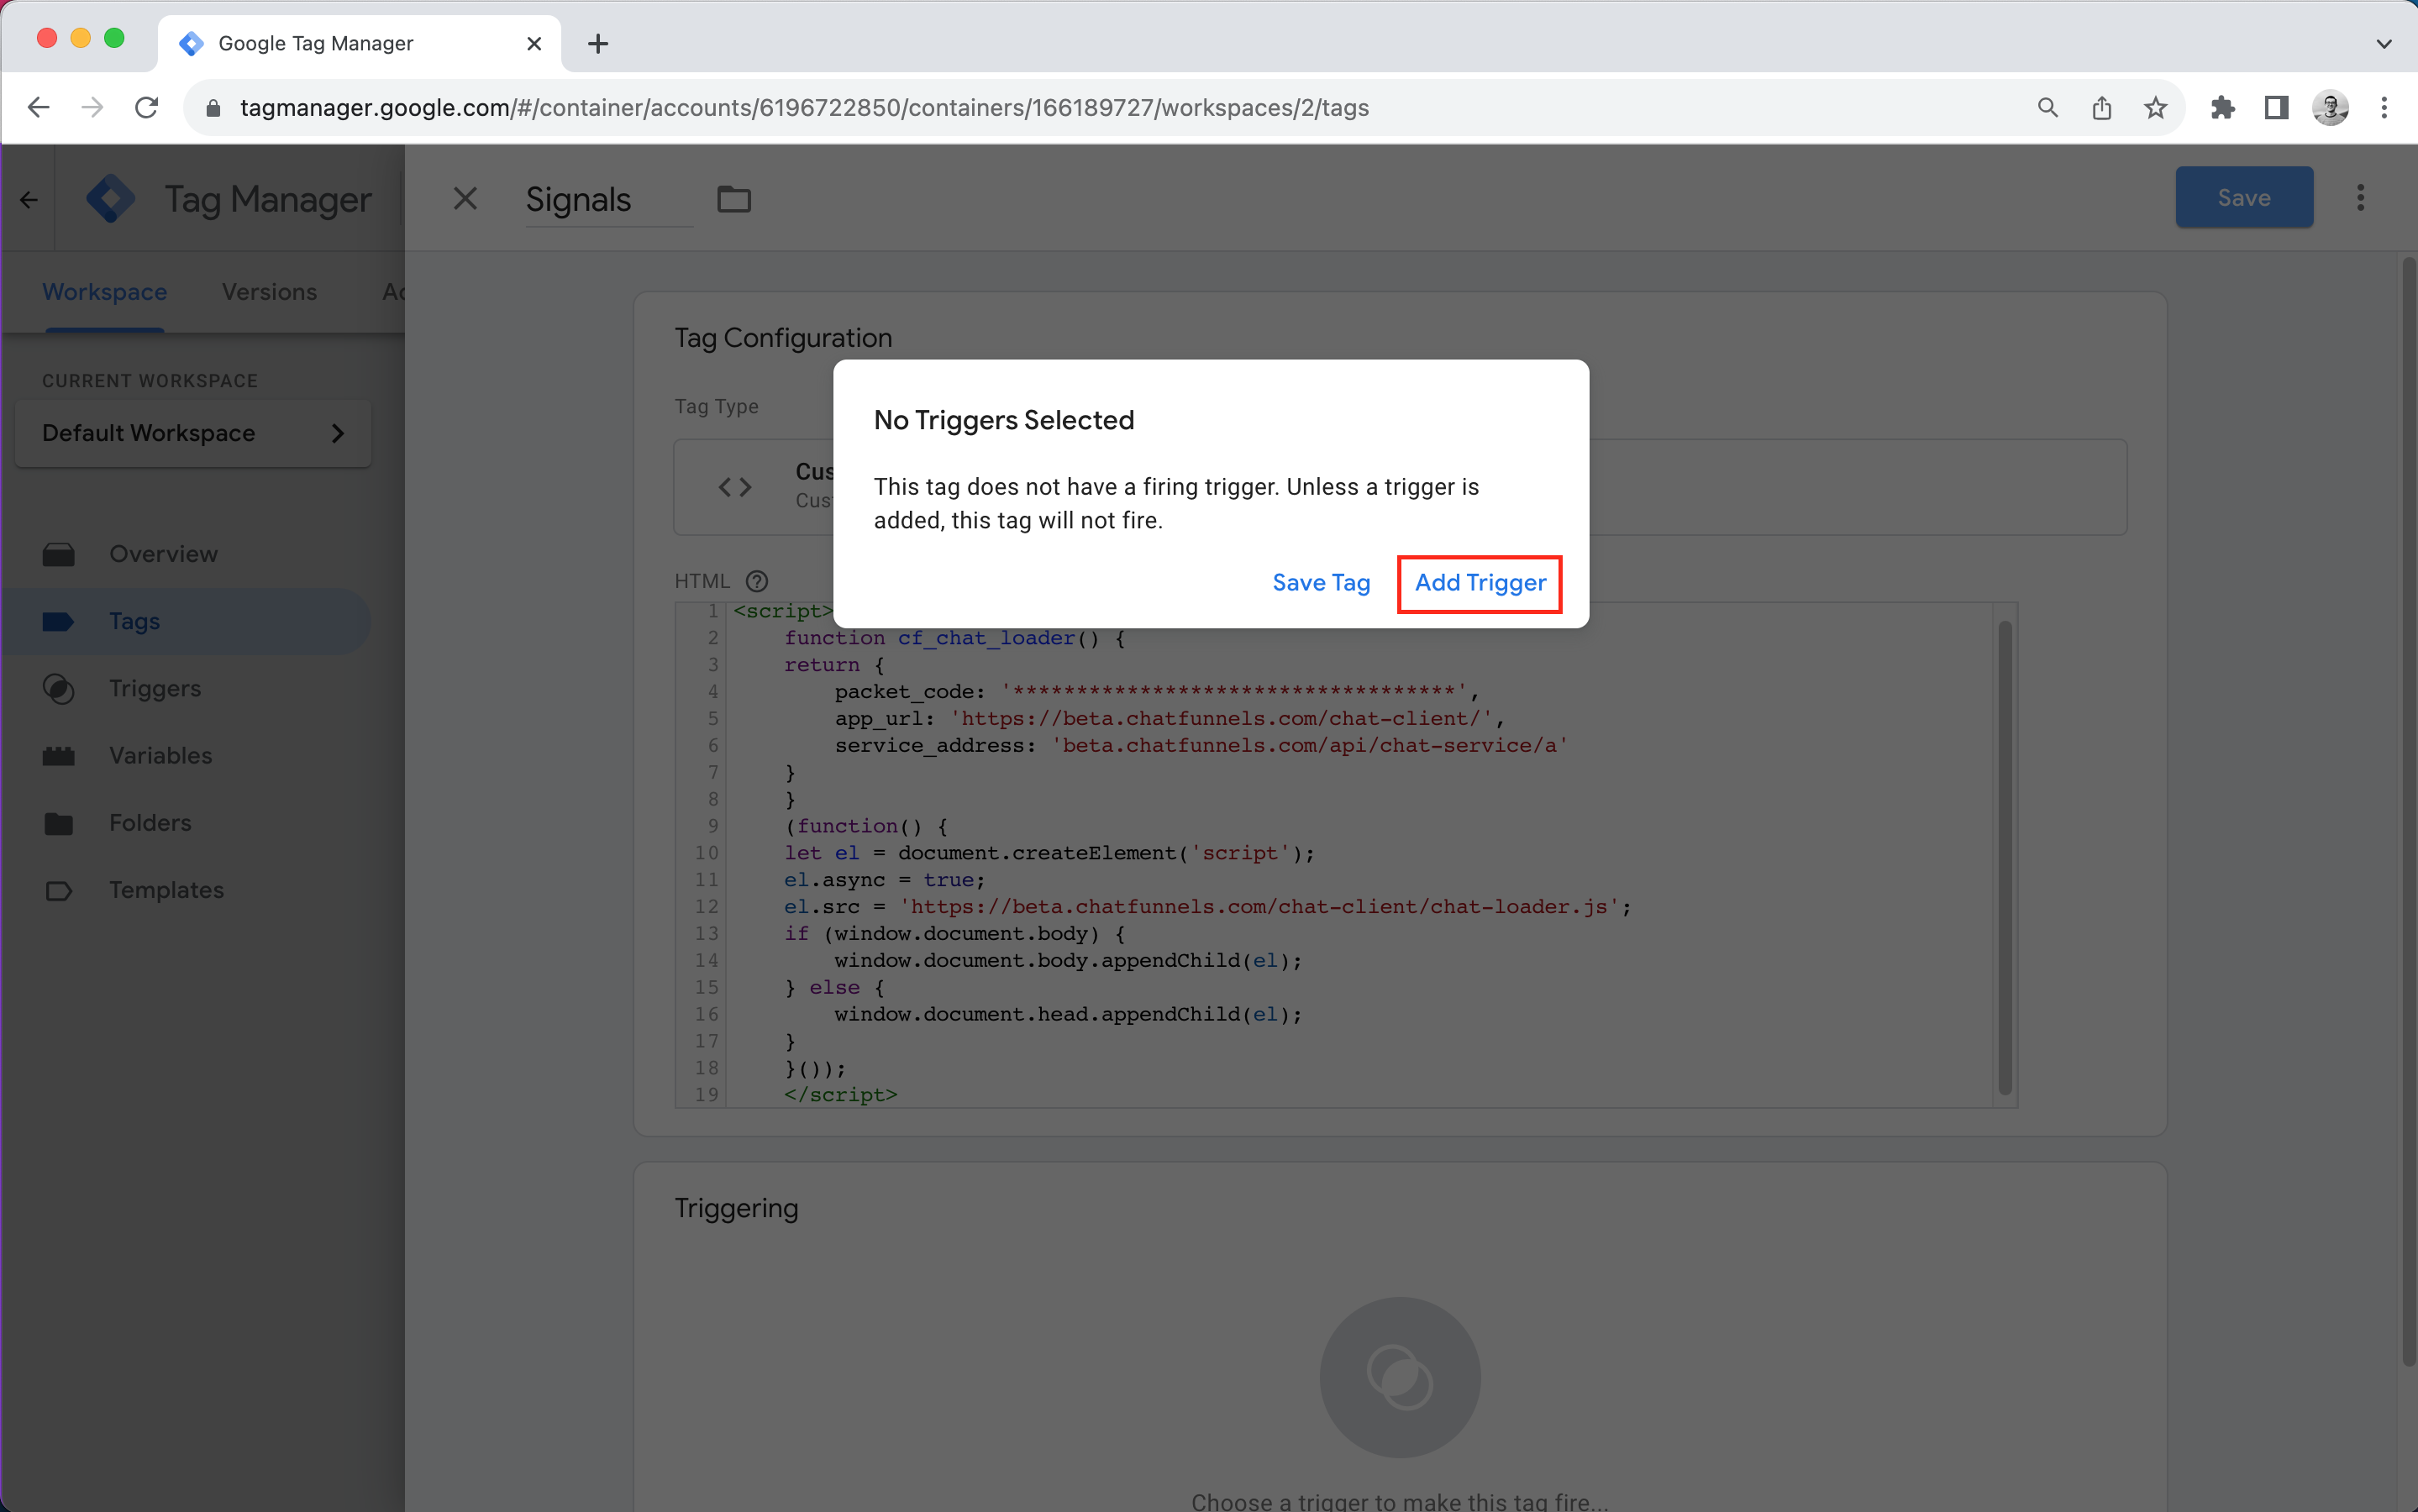
- Paste the script into the HTML field in Google Tag Manager and click "Save"

- When prompted to add a trigger, click "Add Trigger"
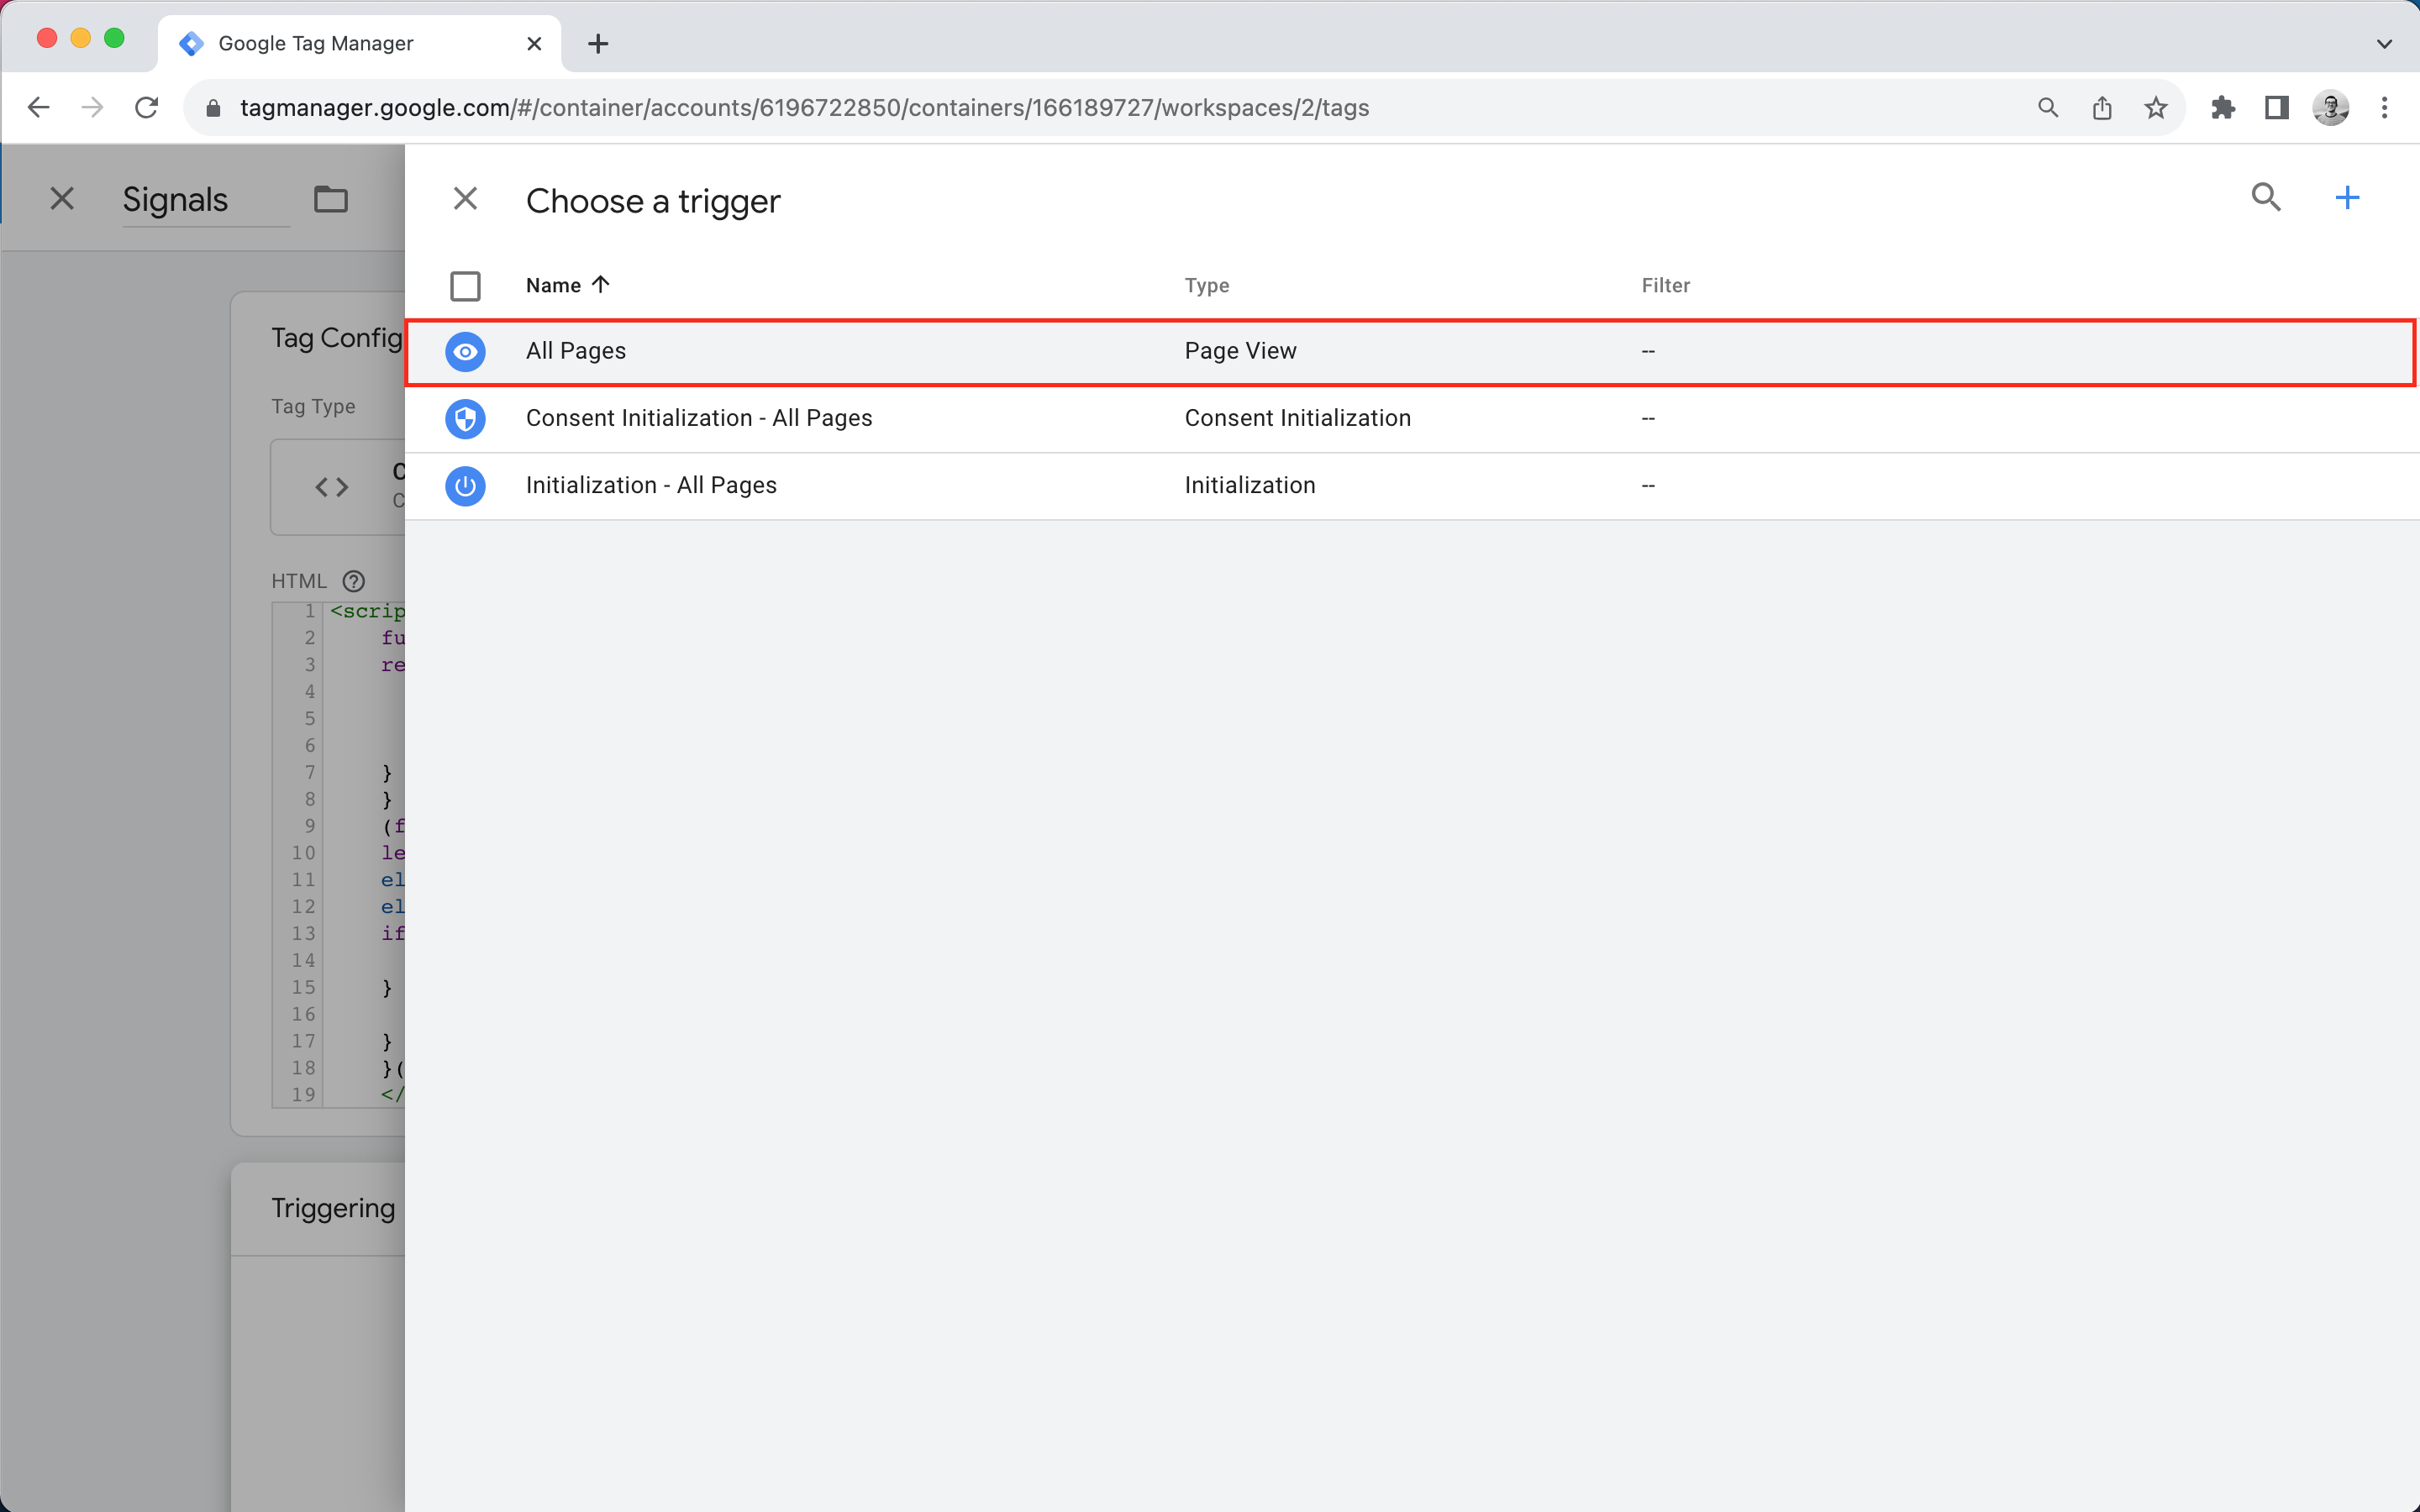
- Select "All Pages" and then click "Save"
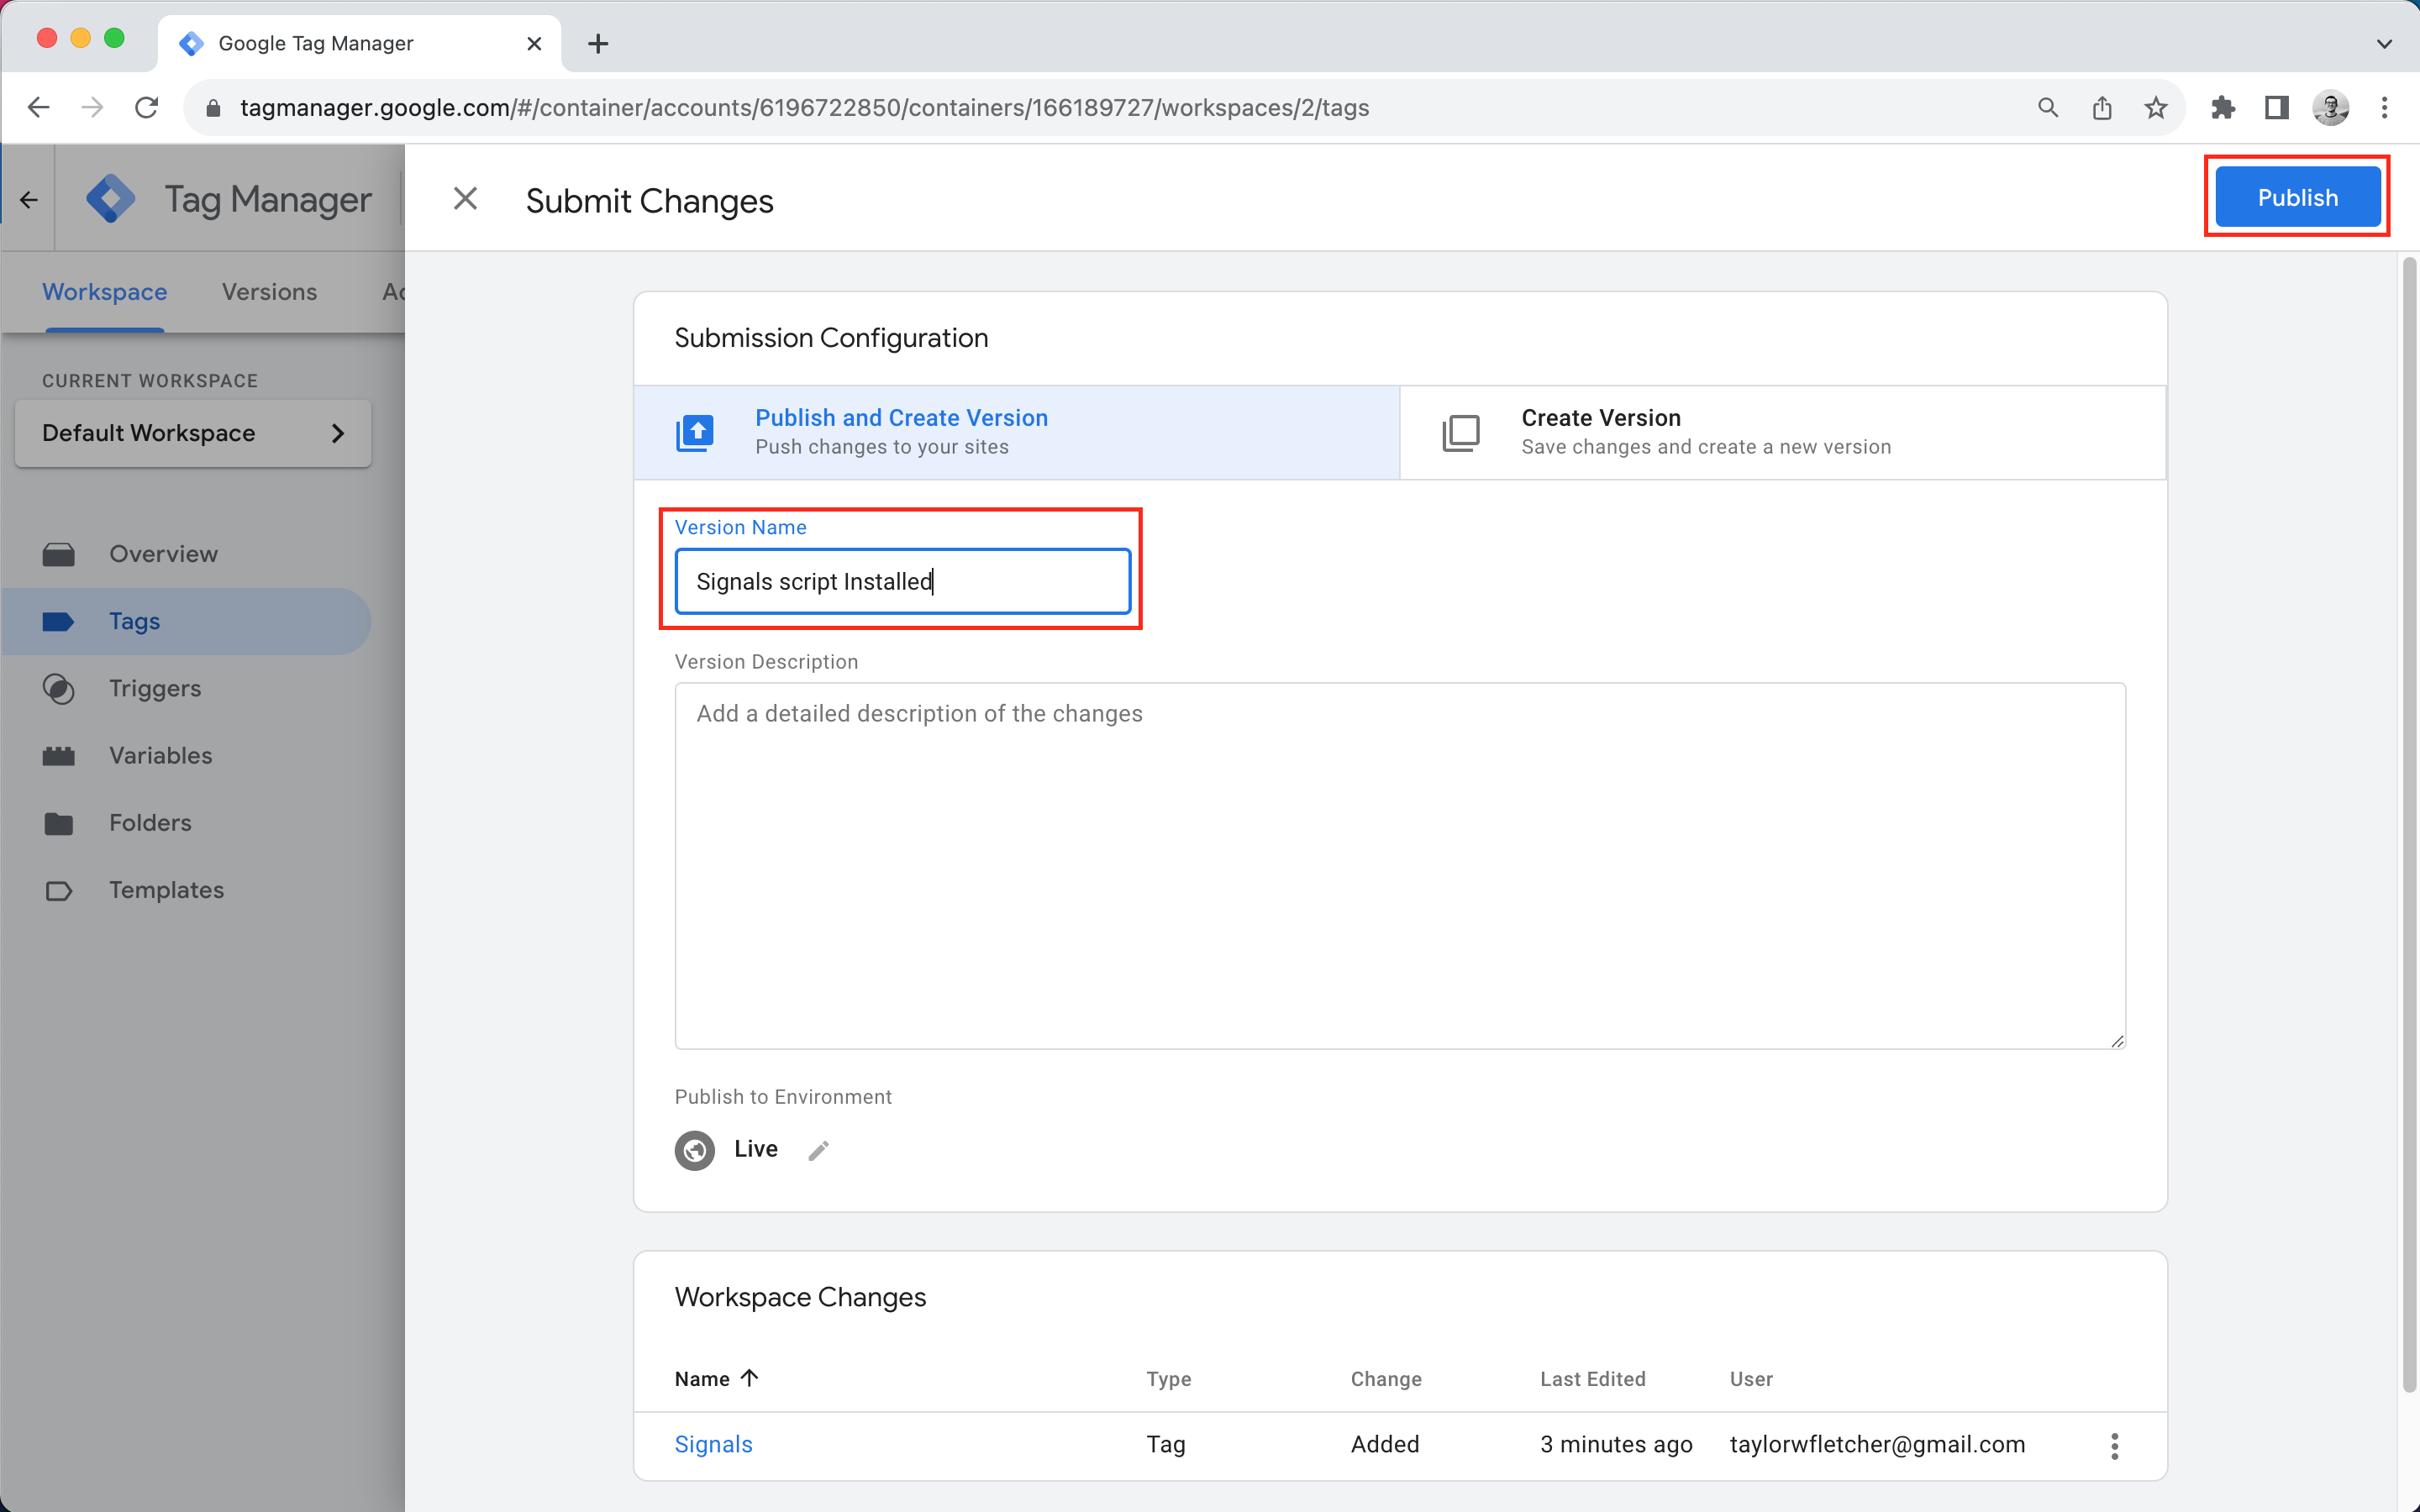
- When done, click “Submit”

- Name the version something like “Signals script installed” and click “Publish”